2010 CHEVROLET EQUINOX trailer
[x] Cancel search: trailerPage 268 of 394
8-64 Driving and Operating
Safety Chains
Always attach chains between the
vehicle and the trailer. Cross the
safety chains under the tongue of
the trailer to help prevent the tongue
from contacting the road if it
becomes separated from the hitch.
Leave enough slack so the rig can
turn. Never allow safety chains to
drag on the ground.
Trailer Brakes
Does the trailer have its own
brakes? Be sure to read and follow
the instructions for the trailer brakes
so they are installed, adjusted and
maintained properly.
Because the vehicle has antilock
brakes, do not tap into the vehicle's
brake system. If this is done, both
brake systems will not work well,
or at all.
Trailer Sway
Control (TSC)
The vehicle has a Trailer Sway
Control (TSC) feature as part of the
StabiliTrak system. If TSC detects
that the trailer is swaying, the
vehicle's brakes are automatically
applied.
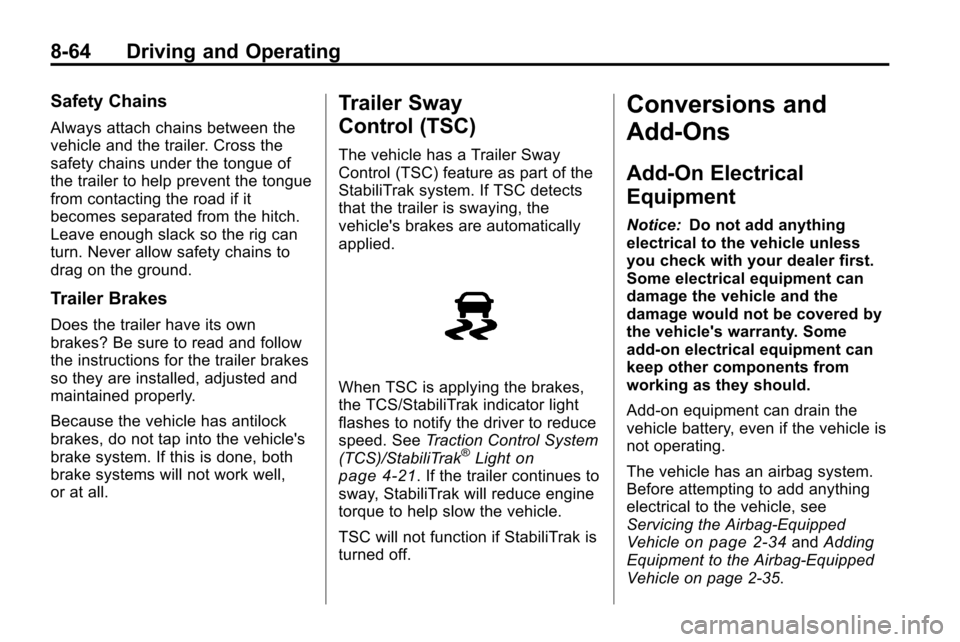
When TSC is applying the brakes,
the TCS/StabiliTrak indicator light
flashes to notify the driver to reduce
speed. SeeTraction Control System
(TCS)/StabiliTrak
®Lighton
page 4‑21. If the trailer continues to
sway, StabiliTrak will reduce engine
torque to help slow the vehicle.
TSC will not function if StabiliTrak is
turned off.
Conversions and
Add-Ons
Add-On Electrical
Equipment
Notice: Do not add anything
electrical to the vehicle unless
you check with your dealer first.
Some electrical equipment can
damage the vehicle and the
damage would not be covered by
the vehicle's warranty. Some
add-on electrical equipment can
keep other components from
working as they should.
Add-on equipment can drain the
vehicle battery, even if the vehicle is
not operating.
The vehicle has an airbag system.
Before attempting to add anything
electrical to the vehicle, see
Servicing the Airbag-Equipped
Vehicle
on page 2‑34and Adding
Equipment to the Airbag-Equipped
Vehicle on page 2‑35.
Page 287 of 394
Vehicle Care 9-19
If Steam Is Coming From The
Engine Compartment
{WARNING
Steam from an overheated engine
can burn you badly, even if you
just open the hood. Stay away
from the engine if you see or hear
steam coming from it. Just turn it
off and get everyone away from
the vehicle until it cools down.
Wait until there is no sign of
steam or coolant before you open
the hood.
If you keep driving when your
engine is overheated, the liquids
in it can catch fire. You or others
could be badly burned. Stop your
engine if it overheats, and get out
of the vehicle until the engine
is cool.
If No Steam Is Coming From
The Engine Compartment
If an engine overheat warning is
displayed but no steam can be seen
or heard, the problem may not be
too serious. Sometimes the engine
can get a little too hot when the
vehicle:
.Climbs a long hill on a hot day.
.Stops after high-speed driving.
.Idles for long periods in traffic.
.Tows a trailer.
If the overheat warning is displayed
with no sign of steam:
1. Turn the air conditioning off.
2. Turn the heater on to the highest temperature and to the highest
fan speed. Open the windows as
necessary. 3. In heavy traffic, let the engine
idle in N (Neutral) while stopped.
If it is safe to do so, pull off the
road, shift to P (Park) or
N (Neutral) and let the
engine idle.
If the temperature overheat gauge is
no longer in the overheat zone or an
overheat warning no longer
displays, the vehicle can be driven.
Continue to drive the vehicle slow
for about 10 minutes. Keep a safe
vehicle distance from the vehicle in
front. If the warning does not come
back on, continue to drive normally.
If the warning continues, pull over,
stop, and park the vehicle
right away.
If there is no sign of steam, idle the
engine for three minutes while
parked. If the warning is still
displayed, turn off the engine until it
cools down.
Page 304 of 394
9-36 Vehicle Care
Mini Fuses Usage16 Transmission
Control Module
Battery
17 Trailer Parking Light
18 Engine Control
Module Battery
19 Heated Mirror
20 Trailer Left
21 Lift Gate Module
22 Power Lumbar
23 Trailer Right
24 Canister Vent
25 Memory Mirror
Module
26 Regulated Voltage
Control Battery
Sensor
27 Rear Accessory
Power Outlet Mini Fuses Usage
28 Wiper
29 Rear Wiper
30 Air Conditioning
Compressor
31 Rear Latch
32 Horn
33 Right High‐Beam
Headlamp
34 Left High‐Beam
Headlamp
35 Ignition Even Coil
36 Ignition Odd Coil
37 Windshield Washer
38 Front Fog Lamps
39 Post Catalytic
Converter Oxygen
Sensor
40 Engine Control
Module Mini Fuses Usage
41 Pre–Catalytic
Converter Oxygen
Sensor
42 Transmission
Control Module
43 Mirror
44 Chassis Control
Module Ignition
45 Spare
46 Rear Drive Module
47 Lift Gate Module
Logic
48 Instrument Panel
Fuse Block Ignition
49 Heated Seat –Front
50 Chassis Control
Module
51 Engine Control
Module
52 Rear Vision Camera
Page 340 of 394
9-72 Vehicle Care
To disconnect the jumper cables
from both vehicles,
1. Disconnect the blacknegative (−) cable from the
vehicle that had the dead
battery.
2. Disconnect the black negative (−) cable from the
vehicle with the good battery.
3. Disconnect the red positive (+) cable from the vehicle with the
good battery.
4. Disconnect the red positive (+) cable from the other vehicle.
5. Return the underhood fuse block cover to its original position,
if applicable.Towing
Towing the Vehicle
To avoid damage, the disabled
vehicle should be towed with all four
wheels off the ground. Consult your
dealer or a professional towing
service if the disabled vehicle must
be towed. See Roadside Assistance
Program on page 12‑6.
To tow the vehicle behind
another vehicle for recreational
purposes —such as behind a
motorhome, see Recreational
Vehicle Towing following.
Recreational Vehicle
Towing
Recreational vehicle towing means
towing the vehicle behind another
vehicle –such as behind a
motorhome. The two most common
types of recreational vehicle towing
are known as dinghy towing and dolly towing. Dinghy towing is
towing the vehicle with all four
wheels on the ground. Dolly towing
is towing the vehicle with two
wheels on the ground and two
wheels up on a device known as a
dolly.
Here are some important things to
consider before recreational vehicle
towing:
.What is the towing capacity of
the towing vehicle? Be sure to
read the tow vehicle
manufacturer's
recommendations.
.What is the distance that will be
travelled? Some vehicles have
restrictions on how far and how
long they can tow.
.Is the proper towing equipment
going to be used? See your
dealer or trailering professional
for additional advice and
equipment recommendations.
Page 341 of 394
Vehicle Care 9-73
.Is the vehicle ready to be
towed? Just as preparing the
vehicle for a long trip, make sure
the vehicle is prepared to be
towed.
Dinghy Towing
Front-wheel‐drive and
all-wheel-drive vehicles may be
dinghy towed from the front. These
vehicles can also be towed by
placing them on a platform trailer
with all four wheels off of the
ground. For other towing options,
see“Dolly Towing” following in this
section.
For vehicles being dinghy towed,
the vehicle should be run at the
beginning of each day and at each
RV fuel stop for about five minutes.
This will ensure proper lubrication of
transmission components.
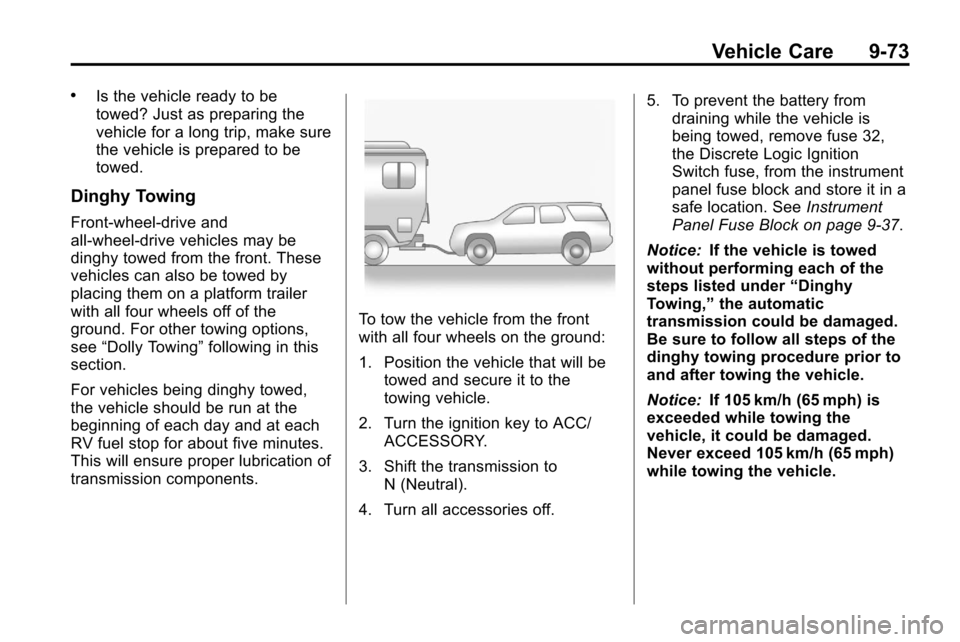
To tow the vehicle from the front
with all four wheels on the ground:
1. Position the vehicle that will be towed and secure it to the
towing vehicle.
2. Turn the ignition key to ACC/ ACCESSORY.
3. Shift the transmission to N (Neutral).
4. Turn all accessories off. 5. To prevent the battery from
draining while the vehicle is
being towed, remove fuse 32,
the Discrete Logic Ignition
Switch fuse, from the instrument
panel fuse block and store it in a
safe location. See Instrument
Panel Fuse Block on page 9‑37.
Notice: If the vehicle is towed
without performing each of the
steps listed under “Dinghy
Towing,” the automatic
transmission could be damaged.
Be sure to follow all steps of the
dinghy towing procedure prior to
and after towing the vehicle.
Notice: If 105 km/h (65 mph) is
exceeded while towing the
vehicle, it could be damaged.
Never exceed 105 km/h (65 mph)
while towing the vehicle.
Page 342 of 394
9-74 Vehicle Care
Once the destination has been
reached:
1. Set the parking brake.
2. Shift the transmission toP (Park).
3. Turn the ignition key to LOCK/OFF.
4. Install fuse 32, the Discrete Logic Ignition Switch fuse. See
Instrument Panel Fuse Block
on
page 9‑37.
5. Start the engine and let it idle for more than three minutes before
driving the vehicle.
Notice: Too much or too little
fluid can damage the
transmission. Be sure that the
transmission fluid is at the proper
level before towing with all four
wheels on the ground. Notice:
Do not tow a vehicle with
the front drive wheels on the
ground if one of the front tires is
a compact spare tire. Towing with
two different tire sizes on the
front of the vehicle can cause
severe damage to the
transmission.
Dolly Towing (All-Wheel‐Drive
Vehicles)
All-wheel‐drive vehicles should not
be towed with two wheels on the
ground. To properly tow these
vehicles, they should be placed on
a platform trailer with all four wheels
off of the ground or dinghy towed
from the front.
Dolly Towing
(Front-Wheel‐ Drive Vehicles)
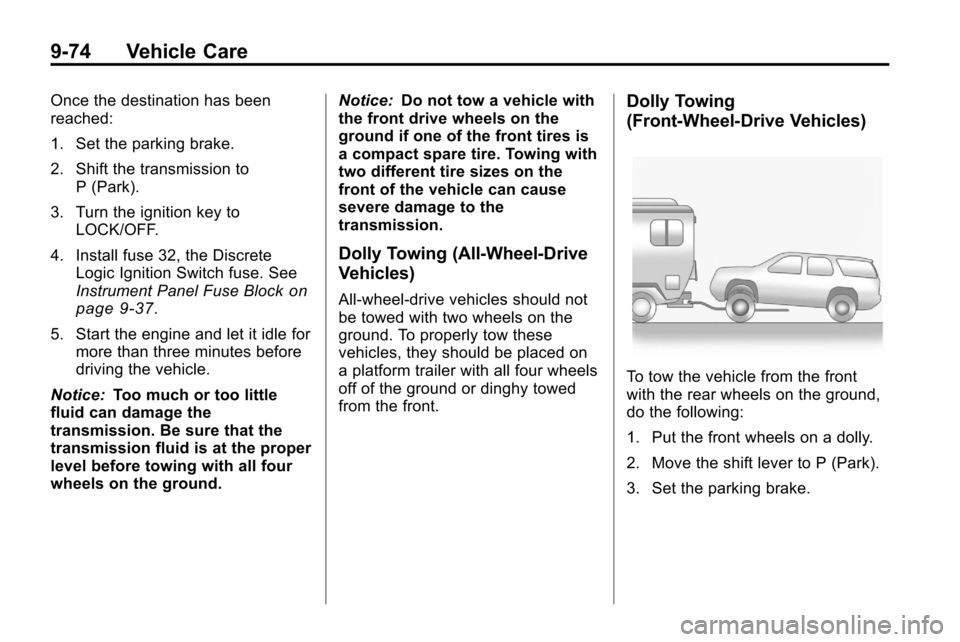
To tow the vehicle from the front
with the rear wheels on the ground,
do the following:
1. Put the front wheels on a dolly.
2. Move the shift lever to P (Park).
3. Set the parking brake.
Page 355 of 394
Service and Maintenance 10-5
First Engine Oil Change After
Every 40 000 km/25,000 Miles
.Fuel system inspection for
damage or leaks.
First Engine Oil Change After
Every 80 000 km/50,000 Miles
.Engine air cleaner filter
replacement. See Engine Air
Cleaner/Filter on page 9‑13.
.Automatic transmission fluid
change (severe service) for
vehicles mainly driven in heavy
city traffic in hot weather, in hilly
or mountainous terrain, when
frequently towing a trailer,
or used for taxi, police,
or delivery service. See
Automatic Transmission
Fluid on page 9‑12.
.Transfer case fluid change
(severe service) for vehicles
mainly driven in hilly or
mountainous terrain, when
frequently towing a trailer,
or used for taxi, police,
or delivery service.
First Engine Oil Change After
Every 160 000 km/100,000 Miles
.Automatic transmission fluid
change (normal service). See
Automatic Transmission Fluid
on
page 9‑12.
.Transfer case fluid change
(normal service).
.Spark plug replacement. An
Emission Control Service. First Engine Oil Change After
Every 240 000 km/150,000 Miles
.Engine cooling system drain,
flush, and refill, cooling system
and cap pressure check, and
cleaning of outside of radiator
and air conditioning condenser
(or every 5 years, whichever
occurs first). See
Cooling
System
on page 9‑14. An
Emission Control Service.
.Engine accessory drive belt
inspection for fraying, excessive
cracks, or obvious damage and
replacement, if needed. An
Emission Control Service.
Page 393 of 394

INDEX i-11
T
Tachometer . . . . . . . . . . . . . . . . . . . . 4-13
TaillampsBulb Replacement . . . . . . . . . . . . 9-32
Text Telephone (TTY) Users . . . 12-4
Theft-Deterrent Systems . . . . . . . 1-13 Immobilizer . . . . . . . . . . . . . . . . . . . 1-13
Time . . . . . . . . . . . . . . . . . . . . . . 4-9, 4-10
Tires Buying New Tires . . . . . . . . . . . . . 9-54
Chains . . . . . . . . . . . . . . . . . . . . . . . . 9-58
Changing . . . . . . . . . . . . . . . . . . . . . 9-61
Compact Spare . . . . . . . . . . . . . . . 9-68
Designations . . . . . . . . . . . . . . . . . 9-42
Different Size . . . . . . . . . . . . . . . . . 9-55
If a Tire Goes Flat . . . . . . . . . . . . 9-59
Inflation Monitor System . . . . . . 9-49
Inspection . . . . . . . . . . . . . . . . . . . . 9-52
Messages . . . . . . . . . . . . . . . . . . . . 4-33
Pressure Light . . . . . . . . . . . . . . . . 4-21 Tires (cont.)
Pressure Monitor System . . . . . 9-47
Rotation . . . . . . . . . . . . . . . . . . . . . . 9-52
Sidewall Labeling . . . . . . . . . . . . . 9-40
Terminology and
Definitions . . . . . . . . . . . . . . . . . . . 9-43
Uniform Tire Quality Grading . . . . . . . . . . . . . . . . . . . . . 9-56
Wheel Alignment and Tire
Balance . . . . . . . . . . . . . . . . . . . . . 9-57
Wheel Replacement . . . . . . . . . . 9-57
When It Is Time for New Tires . . . . . . . . . . . . . . . . . . . . . . . . 9-53
Towing
Driving Characteristics . . . . . . . . 8-58
Equipment . . . . . . . . . . . . . . . . . . . . 8-63
General Information . . . . . . . . . . 8-57
Recreational Vehicle . . . . . . . . . . 9-72
Trailer . . . . . . . . . . . . . . . . . . . . . . . . 8-61
Trailer Sway Control (TSC) . . . 8-64
Vehicle . . . . . . . . . . . . . . . . . . . . . . . 9-72 Traction
Control System (TCS) . . . . . . . . 8-41
Control System (TCS)/
StabiliTrak
®Light . . . . . . . . . . . . 4-21
Off Light . . . . . . . . . . . . . . . . . . . . . . 4-20
Trailer Sway Control (TSC) . . . . . . . . . . 8-64
Trailer Towing . . . . . . . . . . . . . . . . . 8-61
Transmission Automatic . . . . . . . . . . . . . . . . . . . . . 8-35
Fluid, Automatic . . . . . . . . . . . . . . 9-12
Messages . . . . . . . . . . . . . . . . . . . . 4-33
Transportation Program, Courtesy . . . . . . . . . . . . . . . . . . . . . 12-8
Turn and Lane-Change Signals . . . . . . . . . . . . . . . . . . . . . . . . 5-3
Turn Signal Bulb Replacement . . . . . . . . . . . . 9-32