2010 CHEVROLET EQUINOX battery
[x] Cancel search: batteryPage 102 of 394
4-16 Instruments and Controls
If the word ON or the on symbol is
lit on the passenger airbag status
indicator, it means that the right
front passenger frontal airbag is
enabled (may inflate).
If the word OFF or the off symbol is
lit on the passenger airbag status
indicator, it means that the
passenger sensing system has
turned off the right front passenger
frontal airbag.
If, after several seconds, both status
indicator lights remain on, or if there
are no lights at all, there may be a
problem with the lights or the
passenger sensing system. See
your dealer for service.
{WARNING
If the airbag readiness light ever
comes on and stays on, it means
that something may be wrong
with the airbag system. To help
avoid injury to yourself or others,
have the vehicle serviced right(Continued)
WARNING (Continued)
away. SeeAirbag Readiness
Light
on page 4‑15for more
information, including important
safety information.
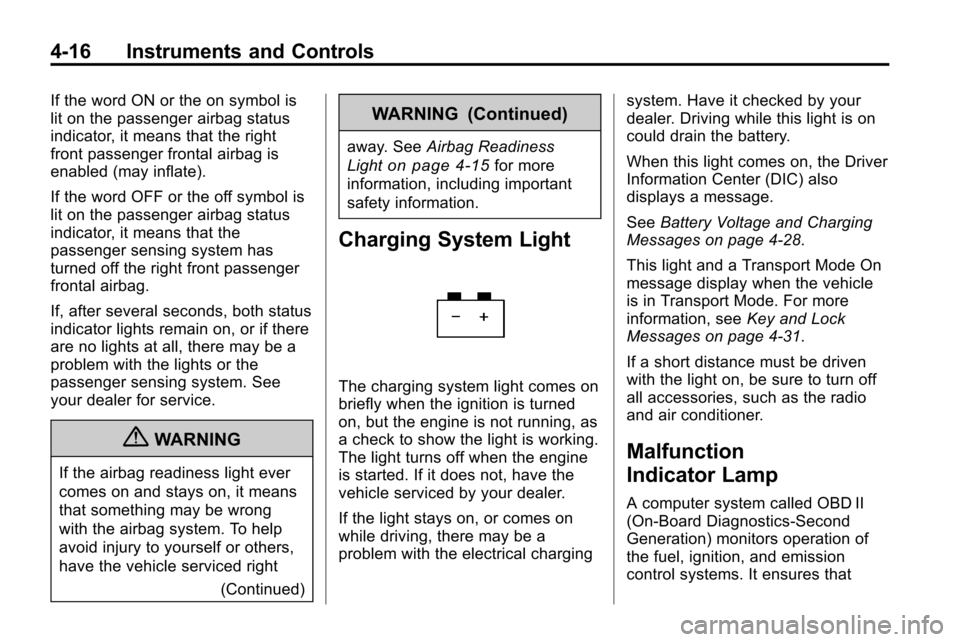
Charging System Light
The charging system light comes on
briefly when the ignition is turned
on, but the engine is not running, as
a check to show the light is working.
The light turns off when the engine
is started. If it does not, have the
vehicle serviced by your dealer.
If the light stays on, or comes on
while driving, there may be a
problem with the electrical charging system. Have it checked by your
dealer. Driving while this light is on
could drain the battery.
When this light comes on, the Driver
Information Center (DIC) also
displays a message.
See
Battery Voltage and Charging
Messages on page 4‑28.
This light and a Transport Mode On
message display when the vehicle
is in Transport Mode. For more
information, see Key and Lock
Messages on page 4‑31.
If a short distance must be driven
with the light on, be sure to turn off
all accessories, such as the radio
and air conditioner.
Malfunction
Indicator Lamp
A computer system called OBD II
(On-Board Diagnostics-Second
Generation) monitors operation of
the fuel, ignition, and emission
control systems. It ensures that
Page 104 of 394
4-18 Instruments and Controls
Light On Steady:An emission
control system malfunction has
been detected on the vehicle.
Diagnosis and service might be
required.
An emission system malfunction
might be corrected.
.Make sure the fuel cap is fully
installed. See Filling the Tankon
page 8‑56. The diagnostic
system can determine if the
fuel cap has been left off or
improperly installed. A loose or
missing fuel cap allows fuel to
evaporate into the atmosphere.
A few driving trips with the cap
properly installed should turn the
light off.
.If the vehicle has been driven
through a deep puddle of water,
the vehicle's electrical system
might be wet. The condition is
usually corrected when the
electrical system dries out. A
few driving trips should turn the
light off.
.Make sure to fuel the vehicle
with quality fuel. Poor fuel quality
causes the engine not to run as
efficiently as designed and may
cause: stalling after start-up,
stalling when the vehicle is
changed into gear, misfiring,
hesitation on acceleration,
or stumbling on acceleration.
These conditions might go away
once the engine is warmed up.
If one or more of these
conditions occurs, change the
fuel brand used. It will require at
least one full tank of the proper
fuel to turn the light off.
See Recommended Fuel
on
page 8‑54.
If none of the above have made
the light turn off, your dealer can
check the vehicle. The dealer
has the proper test equipment
and diagnostic tools to fix any
mechanical or electrical problems
that might have developed.
Emissions Inspection and
Maintenance Programs
Some state/provincial and local
governments have or might begin
programs to inspect the emission
control equipment on the vehicle.
Failure to pass this inspection could
prevent getting a vehicle
registration.
Here are some things to know to
help the vehicle pass an inspection:
.The vehicle will not pass this
inspection if the check engine
light is on with the engine
running, or if the key is in ON/
RUN and the light is not on.
.The vehicle will not pass this
inspection if the OBD II
(on-board diagnostic) system
determines that critical emission
control systems have not been
completely diagnosed by the
system. The vehicle would be
considered not ready for
inspection. This can happen if
the battery has recently been
replaced or if the battery has run
Page 114 of 394
4-28 Instruments and Controls
Battery Voltage and
Charging Messages
Battery Saver Active
This message displays when the
vehicle has detected that the battery
voltage is dropping beyond a
reasonable point. The battery saver
system starts reducing certain
features of the vehicle that you may
be able to notice. At the point that
features are disabled, this message
is displayed. It means that the
vehicle is trying to save the charge
in the battery. Turn off unnecessary
accessories to allow the battery to
recharge.
Low Battery
This message is displayed when the
battery voltage is low. SeeBattery
on page 9‑24for more information.
Service Battery Charging
System
This message is displayed when
there is a fault in the battery
charging system. Take the vehicle to
your dealer for service.
Brake System Messages
Brake Fluid Low
This message is displayed when the
brake fluid level is low, see Brake
Fluid on page 9‑22.
Release Parking Brake
This message is displayed as a
reminder that the parking brake is
on. Release it before you attempt to
drive.
Compass Messages
CAL
This message is displayed when the
compass needs to be calibrated.
See Compass on page 4‑8.
– – –
Three dashes will be displayed if the
compass needs service. See your
dealer for service.
Cruise Control Messages
Apply Brake Before Cruise
If this message displays when
attempting to activate cruise control,
apply the brake and then try again.
Cruise Set to XXX
This message will display when the
cruise control is set and it will show
the speed it was set to. See Cruise
Control
on page 8‑44for more
information.
Page 117 of 394
Instruments and Controls 4-31
Key and Lock Messages
Replace Battery In Remote Key
This message displays when the
battery in the Remote Keyless Entry
(RKE) transmitter needs to be
replaced.
Transport Mode On
This message displays when the
ignition is held in START for
15 seconds. The battery light may
also be flashing when this message
is displayed. To turn this message
off, start the vehicle and hold the
key in the START position for
15 seconds.
Object Detection System
Messages
Park Assist Off
This message is displayed when the
park assist system has been turned
off. SeeUltrasonic Parking Assist
on page 8‑46.
Service Park Assist
This message is displayed if there is
a problem with the park assist
system. Take the vehicle to your
dealer for service.
Ride Control System
Messages
All Wheel Drive Off
If your vehicle has the All-Wheel
Drive (AWD) system, this message
displays when the rear drive system
is overheating. This message turns
off when the rear drive system cools
down. If the warning message stays
on for a while, you need to reset the
warning message. To reset the
warning message, turn the ignition
off and then back on again. If the
message stays on, see your dealer
right away. See All-Wheel Drive
on
page 8‑38for more information.
Service All Wheel Drive
If your vehicle has the All-Wheel
Drive (AWD) system, this message
displays if a problem occurs with
this system. If this message
appears, stop as soon as possible
and turn off the vehicle. Restart the
vehicle and check for the message
on the DIC display. If the message
is still displayed or appears again
when you begin driving, the AWD
system needs service. See your
dealer.
Service Traction Control
This message displays when there
is a problem with the Traction
Control System (TCS). When this
message is displayed, the system
will not limit wheel spin. Adjust your
driving accordingly. See your dealer
for service.
Page 126 of 394
![CHEVROLET EQUINOX 2010 2.G Owners Manual 4-40 Instruments and Controls
The OnStar system can record and
transmit vehicle information. This
information is automatically sent to
an OnStar call center when
Qis
pressed,
]is pressed, or if the
ai CHEVROLET EQUINOX 2010 2.G Owners Manual 4-40 Instruments and Controls
The OnStar system can record and
transmit vehicle information. This
information is automatically sent to
an OnStar call center when
Qis
pressed,
]is pressed, or if the
ai](/manual-img/24/8150/w960_8150-125.png)
4-40 Instruments and Controls
The OnStar system can record and
transmit vehicle information. This
information is automatically sent to
an OnStar call center when
Qis
pressed,
]is pressed, or if the
airbags or ACR system deploy. This
information usually includes the
vehicle's GPS location and, in the
event of a crash, additional
information regarding the crash that
the vehicle was involved in (e.g. the
direction from which the vehicle was
hit). When the virtual advisor feature
of OnStar hands-free calling is
used, the vehicle also sends OnStar
the vehicle's GPS location so they
can provide services where it is
located.
Location information about the
vehicle is only available if the GPS
satellite signals are unobstructed
and available. The vehicle must have a working
electrical system, including
adequate battery power, for the
OnStar equipment to operate. There
are other problems OnStar cannot
control that may prevent OnStar
from providing OnStar service at
any particular time or place. Some
examples are damage to important
parts of the vehicle in a crash, hills,
tall buildings, tunnels, weather or
wireless phone network congestion.
OnStar Steering Wheel
Controls
This vehicle may have a Talk/Mute
button that can be used to interact
with OnStar hands-free calling. See
Steering Wheel Controls
on
page 4‑6for more information.
On some vehicles, the mute button
can be used to dial numbers into
voice mail systems, or to dial phone
extensions. See the OnStar Owner's
Guide for more information.
Your Responsibility
Increase the volume of the radio if
the OnStar advisor cannot be heard.
If the light next to the OnStar
buttons is red, the system may not
be functioning properly. Press
Q
and request a vehicle diagnostic.
If the light appears clear (no light
is appearing), your OnStar
subscription has expired and all
services have been deactivated.
Press
Qto confirm that the OnStar
equipment is active.
Page 164 of 394
6-34 Infotainment System
Before Driving
The RSE is for rear seat
passengers only. The driver cannot
safely view the video screen while
driving.
In severe or extreme weather
conditions, the RSE system may not
work until the temperature is within
the operating range. The operating
range is above−20°C (−4°F)
and below 60°C (140°F). If the
temperature is outside of this range,
heat or cool the vehicle until it is
within the operating range.
Global Off
Depending on the infotainment
system, the RSE system may
have a Global Off feature. The
Global Off feature disables all RSE
system features. Press and hold
the radio power button for more
than three seconds for Global Off
to disable the RSE features. On some infotainment systems, the
Global Off feature can be turned off
by performing one of the following:
.Press and hold the radio power
button for more than
three seconds.
.Insert or eject any disc.
.Insert a DVD video disc.
.Press the Remote Control power
button.
.Press the MEM/DVD/AUX button
or the
kbutton when a DVD
video disc is in the player.
.Press the SRC button on the
steering wheel when a DVD
video disc is in the player.
.Cycle the ignition.
Headphones
RSE includes two 2-channel
wireless headphones. Channel 1 is
dedicated to the DVD player, and
Channel 2 is dedicated to any
external auxiliary device connected
to the A/V jacks. The headphones
are used to listen to various
multi‐media. The wireless
headphones have an On/Off button,
channel 1/2 switch, and a volume
control. Turn the headphones off
when not in use.
Push the On/Off button to turn on
the headphones. A light on the
headphones comes on. If the light
does not come on, check the
batteries. Intermittent sound or static
can also indicate weak batteries.
See “Battery Replacement” later in
this section for more information.
Page 165 of 394
Infotainment System 6-35
Infrared transmitters are on the top
of the left seatback video screen.
The headphones shut off
automatically to save the battery
power if the RSE system is shut
off or if the headphones are out of
range of the transmitters for more
than three minutes. Moving too far
forward or stepping out of the
vehicle, can cause the headphones
to lose the signal or have static.
The headphones may automatically
turn off after four hours of
continuous use.
To adjust the volume on the
headphones, use the volume
control.
For best audio performance, the
headphones must be worn correctly,
with the headband over the top of
the head. L (Left) and R (Right)
are above the ear pads and are
indicators as to how the
headphones should be placed
on the head.Notice:
Do not store the
headphones in heat or direct
sunlight. This could damage the
headphones and repairs will not
be covered by the warranty.
Storage in extreme cold can
weaken the batteries. Keep the
headphones stored in a cool, dry
place.
If the foam ear pads become worn
or damaged, they can be replaced
separately from the headphones.
See your dealer for more
information.
Battery Replacement
To change the batteries:
1. Loosen the screw to the battery door located on the left side of
the headphones.
2. Slide the battery door open.
3. Replace the two AAA batteries.
4. Replace the battery door and tighten the screw. Remove the batteries if the
headphones are not going to be
used for a long period of time.
Audio/Video (A/V) Jacks
If available, the A/V jacks are
located on the rear of the floor
console. They allow audio or video
cables to be connected from an
auxiliary device such as a
camcorder or a video game system.
The A/V jacks are color coded:
.Yellow for video input.
.White for left audio input.
.Red for right audio input.
Power for auxiliary devices is not
supplied by the radio system.
To use the auxiliary inputs of the
RSE system:
1. Connect the auxiliary device cables to the A/V jacks.
2. Power on both the auxiliary device and the RSE video
screen.
Page 167 of 394
Infotainment System 6-37
Video Screens
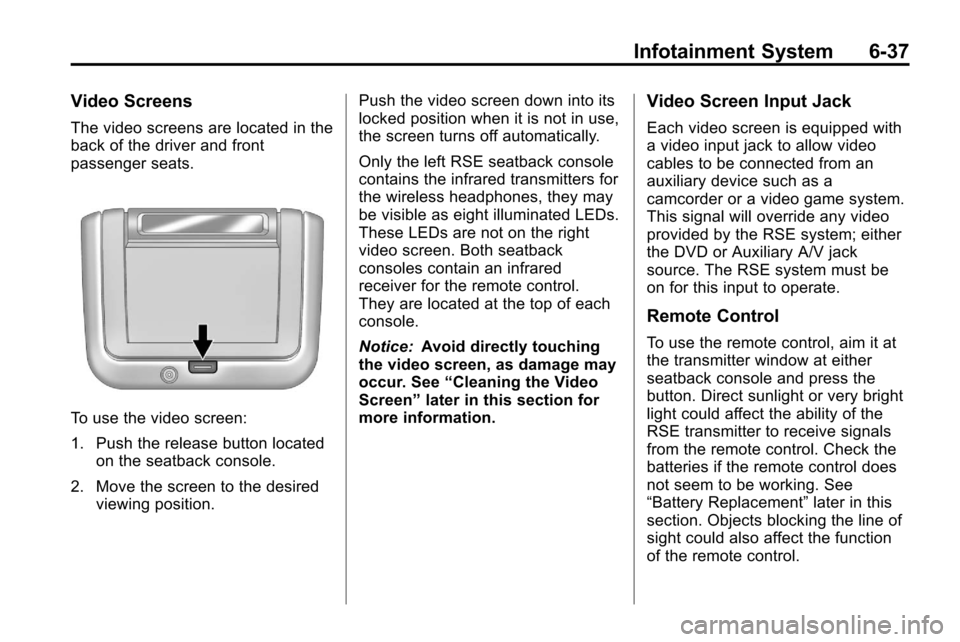
The video screens are located in the
back of the driver and front
passenger seats.
To use the video screen:
1. Push the release button locatedon the seatback console.
2. Move the screen to the desired viewing position. Push the video screen down into its
locked position when it is not in use,
the screen turns off automatically.
Only the left RSE seatback console
contains the infrared transmitters for
the wireless headphones, they may
be visible as eight illuminated LEDs.
These LEDs are not on the right
video screen. Both seatback
consoles contain an infrared
receiver for the remote control.
They are located at the top of each
console.
Notice:
Avoid directly touching
the video screen, as damage may
occur. See “Cleaning the Video
Screen” later in this section for
more information.
Video Screen Input Jack
Each video screen is equipped with
a video input jack to allow video
cables to be connected from an
auxiliary device such as a
camcorder or a video game system.
This signal will override any video
provided by the RSE system; either
the DVD or Auxiliary A/V jack
source. The RSE system must be
on for this input to operate.
Remote Control
To use the remote control, aim it at
the transmitter window at either
seatback console and press the
button. Direct sunlight or very bright
light could affect the ability of the
RSE transmitter to receive signals
from the remote control. Check the
batteries if the remote control does
not seem to be working. See
“Battery Replacement” later in this
section. Objects blocking the line of
sight could also affect the function
of the remote control.