2010 CHEVROLET CORVETTE instrument cluster
[x] Cancel search: instrument clusterPage 286 of 472
Active Handling System
The Active Handling System is a computer controlled
system that helps the driver maintain directional control
of the vehicle in difficult driving conditions. This is
accomplished by selectively applying any one of the
vehicle's brakes.
The ACTIVE HANDLING message will come on
when the system is operating. See DIC Warnings and
Messages
on page 4‑52for more information.
The system may be heard or felt while it is working.
This is normal.
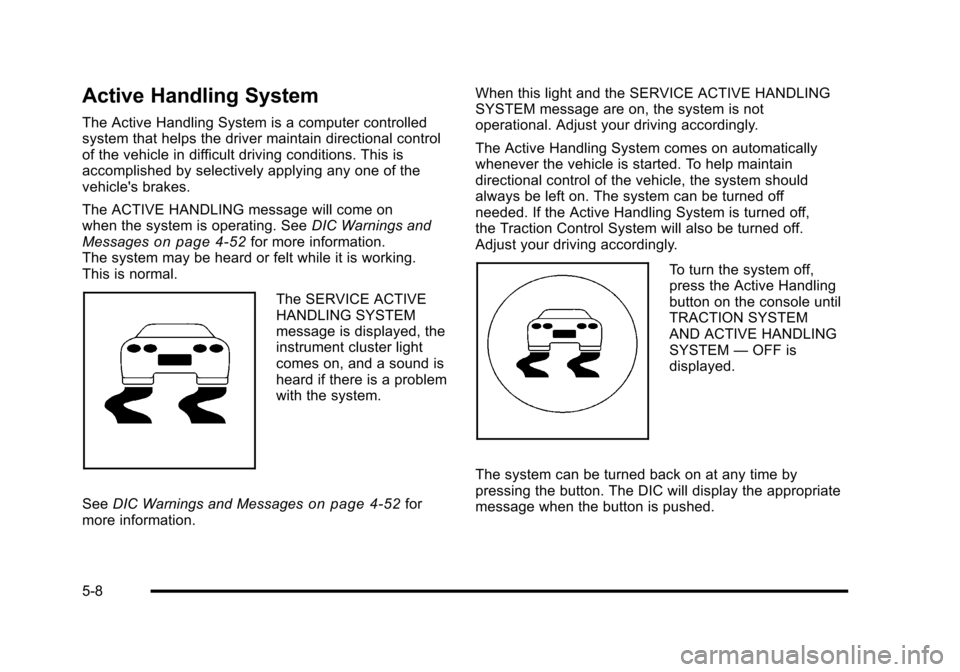
The SERVICE ACTIVE
HANDLING SYSTEM
message is displayed, the
instrument cluster light
comes on, and a sound is
heard if there is a problem
with the system.
See DIC Warnings and Messages
on page 4‑52for
more information. When this light and the SERVICE ACTIVE HANDLING
SYSTEM message are on, the system is not
operational. Adjust your driving accordingly.
The Active Handling System comes on automatically
whenever the vehicle is started. To help maintain
directional control of the vehicle, the system should
always be left on. The system can be turned off
needed. If the Active Handling System is turned off,
the Traction Control System will also be turned off.
Adjust your driving accordingly.
To turn the system off,
press the Active Handling
button on the console until
TRACTION SYSTEM
AND ACTIVE HANDLING
SYSTEM
—OFF is
displayed.
The system can be turned back on at any time by
pressing the button. The DIC will display the appropriate
message when the button is pushed.
5-8
Page 350 of 472
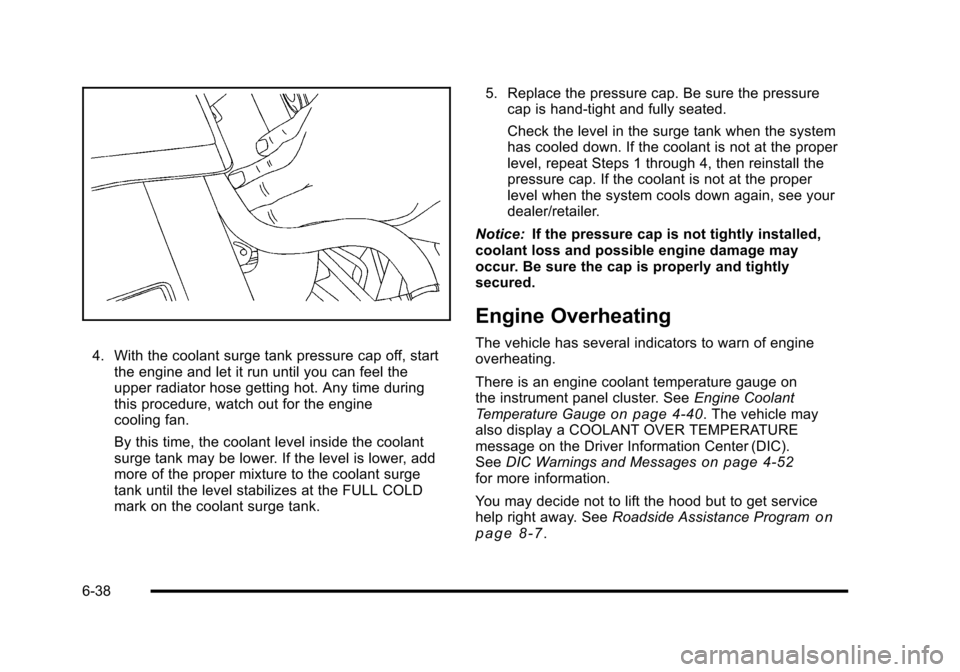
4. With the coolant surge tank pressure cap off, start the engine and let it run until you can feel the
upper radiator hose getting hot. Any time during
this procedure, watch out for the engine
cooling fan.
By this time, the coolant level inside the coolant
surge tank may be lower. If the level is lower, add
more of the proper mixture to the coolant surge
tank until the level stabilizes at the FULL COLD
mark on the coolant surge tank. 5. Replace the pressure cap. Be sure the pressure
cap is hand-tight and fully seated.
Check the level in the surge tank when the system
has cooled down. If the coolant is not at the proper
level, repeat Steps 1 through 4, then reinstall the
pressure cap. If the coolant is not at the proper
level when the system cools down again, see your
dealer/retailer.
Notice: If the pressure cap is not tightly installed,
coolant loss and possible engine damage may
occur. Be sure the cap is properly and tightly
secured.
Engine Overheating
The vehicle has several indicators to warn of engine
overheating.
There is an engine coolant temperature gauge on
the instrument panel cluster. See Engine Coolant
Temperature Gauge
on page 4‑40. The vehicle may
also display a COOLANT OVER TEMPERATURE
message on the Driver Information Center (DIC).
See DIC Warnings and Messages
on page 4‑52for more information.
You may decide not to lift the hood but to get service
help right away. See Roadside Assistance Program
on
page 8‑7.
6-38
Page 381 of 472
Run-Flat Tires
This vehicle, when new, had run-flat tires. There is no
spare tire, no tire changing equipment, and no place to
store a tire in the vehicle. Run-flat tires perform so well
without any air that a Tire Pressure Monitor System
(TPMS) is used to alert you if a tire has lost pressure.
{WARNING:
When the low tire warning light is displayed on
the instrument panel cluster, your vehicle's
handling capabilities will be reduced during
severe maneuvers. If you drive too fast, you could
lose control of your vehicle. You or others could
be injured. Do not drive over 55 mph (90 km/h)
when the low tire warning light is displayed.
Drive cautiously and check your tire pressures
as soon as you can.
If a tire goes flat, you will not need to stop on the side
of the road to change the tire. You can just keep on
driving. The shorter the distance you drive and the
slower the speed, the greater the chance that the tire will not have to be replaced. If you drive on a deflated
run-flat tire for 25 miles (40 km) or less and at speeds of
55 mph (90 km/h) or less, there is a good chance that
the tire can be repaired. The tires on coupe, convertible
and Z06 models can operate effectively with no air
pressure for up to 100 miles (160 km) at speeds up
to 55 mph (90 km/h), but the tire would then have to
be replaced. The tires on ZR1 models can operate
effectively with no air pressure for up to 50 miles
(80 km) at speeds up to 55 mph (90 km/h), but the tire
would then have to be replaced. When a tire is filled
with air, it provides a cushion between the road and the
wheel. Because you will not have this cushion when
driving on a deflated tire, try to avoid potholes that could
damage your wheel and require replacement of it.
Some road hazards can damage a tire beyond repair.
This damage could occur even before you have driven
on the tire in a deflated condition. When a tire has
been damaged, or if you have driven any distance on
a run-flat tire, check with an authorized run-flat tire
service center to determine whether the tire can be
repaired or should be replaced. To maintain your
vehicle's run-flat feature, all replacement tires must
be self-supporting tires. As soon as possible,
contact the nearest authorized GM or run-flat servicing
facility for inspection and repair or replacement.
6-69
Page 386 of 472
Tire Pressure Monitor Operation
This vehicle may have a Tire Pressure Monitor System
(TPMS). The TPMS is designed to warn the driver when
a low tire pressure condition exists. TPMS sensors are
mounted onto each tire and wheel assembly on your
vehicle. The TPMS sensors monitor the air pressure
in the vehicle's tires and transmits the tire pressure
readings to a receiver located in the vehicle.
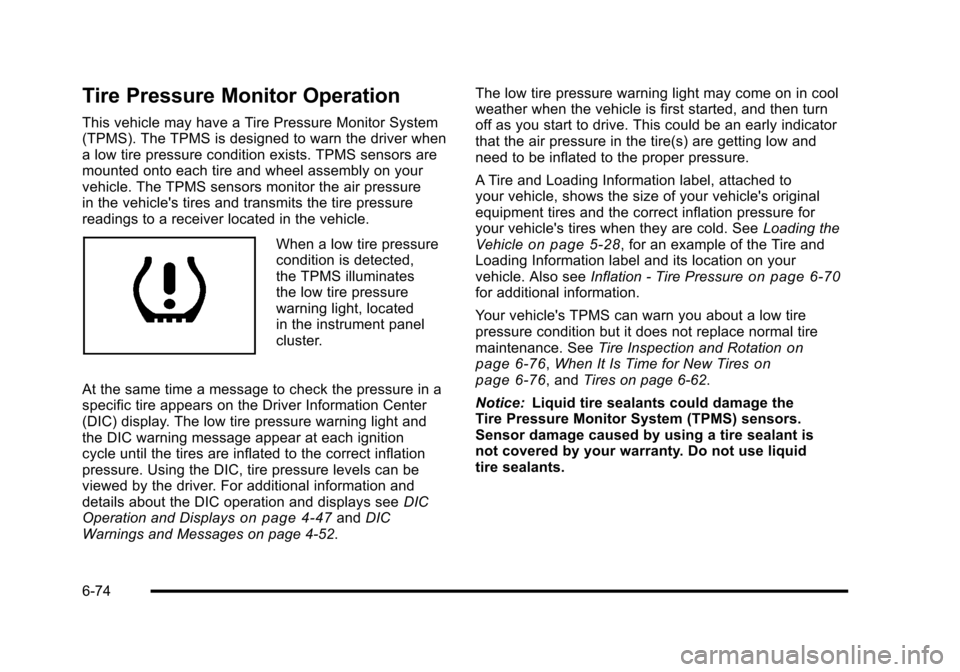
When a low tire pressure
condition is detected,
the TPMS illuminates
the low tire pressure
warning light, located
in the instrument panel
cluster.
At the same time a message to check the pressure in a
specific tire appears on the Driver Information Center
(DIC) display. The low tire pressure warning light and
the DIC warning message appear at each ignition
cycle until the tires are inflated to the correct inflation
pressure. Using the DIC, tire pressure levels can be
viewed by the driver. For additional information and
details about the DIC operation and displays see DIC
Operation and Displays
on page 4‑47and DIC
Warnings and Messages on page 4‑52. The low tire pressure warning light may come on in cool
weather when the vehicle is first started, and then turn
off as you start to drive. This could be an early indicator
that the air pressure in the tire(s) are getting low and
need to be inflated to the proper pressure.
A Tire and Loading Information label, attached to
your vehicle, shows the size of your vehicle's original
equipment tires and the correct inflation pressure for
your vehicle's tires when they are cold. See
Loading the
Vehicle
on page 5‑28, for an example of the Tire and
Loading Information label and its location on your
vehicle. Also see Inflation - Tire Pressure
on page 6‑70for additional information.
Your vehicle's TPMS can warn you about a low tire
pressure condition but it does not replace normal tire
maintenance. See Tire Inspection and Rotation
on
page 6‑76, When It Is Time for New Tireson
page 6‑76, and Tires on page 6‑62.
Notice: Liquid tire sealants could damage the
Tire Pressure Monitor System (TPMS) sensors.
Sensor damage caused by using a tire sealant is
not covered by your warranty. Do not use liquid
tire sealants.
6-74
Page 465 of 472

Headlamps (cont.) High/Low Beam Changer . . . . . . . . . . . . . . . . . . . . . . . . . . 4-5
On Reminder . . . . . . . . . . . . . . . . . . . . . . . . . . . . . . . . . . . . . 4-12
Wiper Activated . . . . . . . . . . . . . . . . . . . . . . . . . . . . . . . . . . . 4-12
Heated Seats . . . . . . . . . . . . . . . . . . . . . . . . . . . . . . . . . . . . . . . .2-4
High-Speed Operation, Tires . . . . . . . . . . . . . . . . . . . . . . 6-72
Highbeam On Light . . . . . . . . . . . . . . . . . . . . . . . . . . . . . . . . 4-45
Highway Hypnosis . . . . . . . . . . . . . . . . . . . . . . . . . . . . . . . . . 5-24
Hill and Mountain Roads . . . . . . . . . . . . . . . . . . . . . . . . . . . 5-24
Hood Checking Things Under . . . . . . . . . . . . . . . . . . . . . . . . . . . 6-12
Release . . . . . . . . . . . . . . . . . . . . . . . . . . . . . . . . . . . . . . . . . . 6-13
Horn . . . . . . . . . . . . . . . . . . . . . . . . . . . . . . . . . . . . . . . . . . . . . . . . .4-3
How to Wear Safety Belts Properly . . . . . . . . . . . . . . . . 2-14
Hydraulic Clutch . . . . . . . . . . . . . . . . . . . . . . . . . . . . . . . . . . . 6-31
I
Ignition Positions . . . . . . . . . . . . . . . . . . . . . . . . . . . . . . . . . . 3-23
Immobilizer . . . . . . . . . . . . . . . . . . . . . . . . . . . . . . . . . . . . . . . . 3-20
Infants and Young Children, Restraints . . . . . . . . . . . . 2-29
Inflation - Tire Pressure . . . . . . . . . . . . . . . . . . . . . . . . . . . . 6-70
Installing the Roof Panel . . . . . . . . . . . . . . . . . . . . . . . . . . . 3-58
Instrument Panel Brightness . . . . . . . . . . . . . . . . . . . . . . . . . . . . . . . . . . . . . . . . 4-15 Instrument Panel Cluster . . . . . . . . . . . . . . . . . . . . . . . . . . 4-30
Integrated Trailer Brake Control System (ITBC) . . . . 5-33
Introduction . . . . . . . . . . . . . . . . . . . . . . . . . . . . . . . . . . . . . . . . . .7-2
J
Jump Starting . . . . . . . . . . . . . . . . . . . . . . . . . . . . . . . . . . . . . . 6-50
K
Keyless Access System . . . . . . . . . . . . . . . . . . . . . . . . . . . . .3-5
Keyless Access System, Operation . . . . . . . . . . . . . . . . . .3-5
Keys . . . . . . . . . . . . . . . . . . . . . . . . . . . . . . . . . . . . . . . . . . . . . . . . .3-3
L
Labeling, Tire Sidewall . . . . . . . . . . . . . . . . . . . . . . . . . . . . . 6-64
Lamps
Courtesy . . . . . . . . . . . . . . . . . . . . . . . . . . . . . . . . . . . . . . . . . . 4-15
Daytime Running (DRL) . . . . . . . . . . . . . . . . . . . . . . . . . . 4-12
Exterior Lighting Battery Saver . . . . . . . . . . . . . . . . . . . 4-15
Malfunction Indicator . . . . . . . . . . . . . . . . . . . . . . . . . . . . . 4-41
Reading . . . . . . . . . . . . . . . . . . . . . . . . . . . . . . . . . . . . . . . . . . 4-15
Twilight Sentinel
®. . . . . . . . . . . . . . . . . . . . . . . . . . . . . . . . . 4-14
Lap-Shoulder Belt . . . . . . . . . . . . . . . . . . . . . . . . . . . . . . . . . 2-23
LATCH System for Child Restraints . . . . . . . . . . 2-35, 2-36
i - 7