2010 CHEVROLET CORVETTE start stop button
[x] Cancel search: start stop buttonPage 30 of 472
Engine Oil Life System
The engine oil life system calculates engine oil life
based on vehicle use and displays a DIC message
when it is necessary to change the engine oil and filter.
The oil life system should be reset to 100% only
following an oil change.
Resetting the Oil Life System
1. Press the TRIP button so the OIL LIFE percentageis displayed.
2. Press RESET and hold for two seconds. OIL LIFE REMAINING 100% will appear.
See Engine Oil Life System on page 6‑25.
Driving for Better Fuel Economy
Driving habits can affect fuel mileage. Here are some
driving tips to get the best fuel economy possible.
.Avoid fast starts and accelerate smoothly.
.Brake gradually and avoid abrupt stops.
.Avoid idling the engine for long periods of time.
.When road and weather conditions are
appropriate, use cruise control, if equipped.
.Always follow posted speed limits or drive more
slowly when conditions require.
.Keep vehicle tires properly inflated.
.Combine several trips into a single trip.
.Replace the vehicle's tires with the same
TPC Spec number molded into the tire's
sidewall near the size.
.Follow recommended scheduled maintenance.
Premium Fuel
This vehicle's engine was designed to use premium
unleaded gasoline. See Gasoline Octane on page 6‑7.
Battery
This vehicle has a maintenance free battery. See
Batteryon page 6‑49and Jump Starting on page 6‑50.
For ZO6, ZR1, and Grand Sport models the battery is
located in the rear hatch/trunk area. Access to the
battery is not necessary to jump start the vehicle.
There are positive (+) and negative (−) terminals in
the engine compartment.
1-24
Page 120 of 472
Retained Accessory Power (RAP)
These vehicle accessories can be used for up to
10 minutes after the engine is turned off:
.Audio System
.Power Windows
These features continue to work up to 10 minutes after
the engine is turned off or until either door is opened.
If a door is opened, the power windows and audio
system will shut off.
Starting the Engine
Move the shift lever to P (Park) or N (Neutral) for an
automatic transmission. For a manual transmission the
vehicle can be started in Neutral or any other gear as
long as the clutch pedal is pressed. To restart a vehicle
with a manual transmission when you are already
moving, use the Neutral position only. To restart a
vehicle with an automatic transmission when you
are already moving, use N (Neutral).
Notice: Do not try to shift to P (Park) if the vehicle
is moving. If you do, you could damage the
transmission. Shift to P (Park) only when the
vehicle is stopped.
The keyless access transmitter must be inside the
vehicle for the ignition to work. Cell phone chargers can interfere with the operation of
the Keyless Access System. Battery chargers should
not be plugged in when starting or turning off the
engine.
To start the vehicle, do the following:
1. For vehicles with an automatic transmission, with your foot on the brake pedal, press the
START button located on the instrument panel.
For vehicles with a manual transmission, you must
also press in the clutch pedal while pressing the
START button.
If there is not a keyless access transmitter in
the vehicle or if there is something causing
interference with it, the DIC will display NO FOBS
DETECTED. See DIC Warnings and Messages
on
page 4‑52for more information.
2. When the engine begins cranking, let go of the button and the engine cranks automatically until
it starts. If the battery in the keyless access
transmitter is weak, the DIC displays FOB
BATTERY LOW. You can still drive the vehicle.
See “Battery Replacement” underKeyless Access
System Operation
on page 3‑5for more
information. If the fob battery is dead, you need to
insert the fob into the fob slot to enable engine
starting. See “No Fobs Detected” underDIC
Warnings and Messages on page 4‑52.
3-24
Page 121 of 472
3. Do not race the engine immediately after starting it. Operate the engine and transmission gently until
the oil warms up and lubricates all moving parts.
4. If the engine does not start and no DIC message is displayed, wait 15 seconds before trying again to
let the cranking motor cool down.
If the engine does not start after 5-10 seconds,
especially in very cold weather (below −18°C
or 0°F), it could be flooded with too much gasoline.
Try pushing the accelerator pedal all the way
to the floor while cranking for up to 15 seconds
maximum. Wait at least 15 seconds between
each try, to allow the cranking motor to cool down.
When the engine starts, let go of the accelerator.
If the vehicle starts briefly but then stops again,
repeat these steps. This clears the extra gasoline
from the engine.
Notice: Cranking the engine for long periods of
time, by pressing the START button immediately
after cranking has ended, can overheat and damage
the cranking motor, and drain the battery. Wait at
least 15 seconds between each try, to allow the
cranking motor to cool down. The vehicle has a Computer-Controlled Cranking
System. This feature assists in starting the engine and
protects components. Once cranking has been initiated,
the engine continues cranking for a few seconds or
until the vehicle starts. If the engine does not start,
cranking automatically stops after 15 seconds to
prevent cranking motor damage. To prevent gear
damage, this system also prevents cranking if the
engine is already running.
Notice:
The engine is designed to work with the
electronics in the vehicle. If electrical parts or
accessories are added, you could change the
way the engine operates. Before adding electrical
equipment, check with your dealer/retailer. If you
do not, the engine might not perform properly. Any
resulting damage would not be covered by the
vehicle warranty.
3-25
Page 122 of 472
Stopping the Engine
If the vehicle has an automatic transmission, move
the shift lever to P (Park) and press and hold the
Acc. (Off/Accessory) button, located on the instrument
panel, until the engine shuts off. If the shift lever is not
in P (Park), the engine shuts off and the vehicle goes
into the Accessory Mode. The DIC displays SHIFT
TO PARK. Once the shifter is moved to P (Park),
the vehicle turns off. If the vehicle has a manual
transmission, it is recommended that you move the
shift lever to R (Reverse) and set the parking brake
after you turn off the engine by pressing and holding
the Acc. (Off/Accessory) button.
If the keyless access transmitter is not detected inside
the vehicle when it is turned to off, the DIC displays
NO FOB –OFF OR RUN?.
See DIC Warnings and Messages
on page 4‑52for
more information.
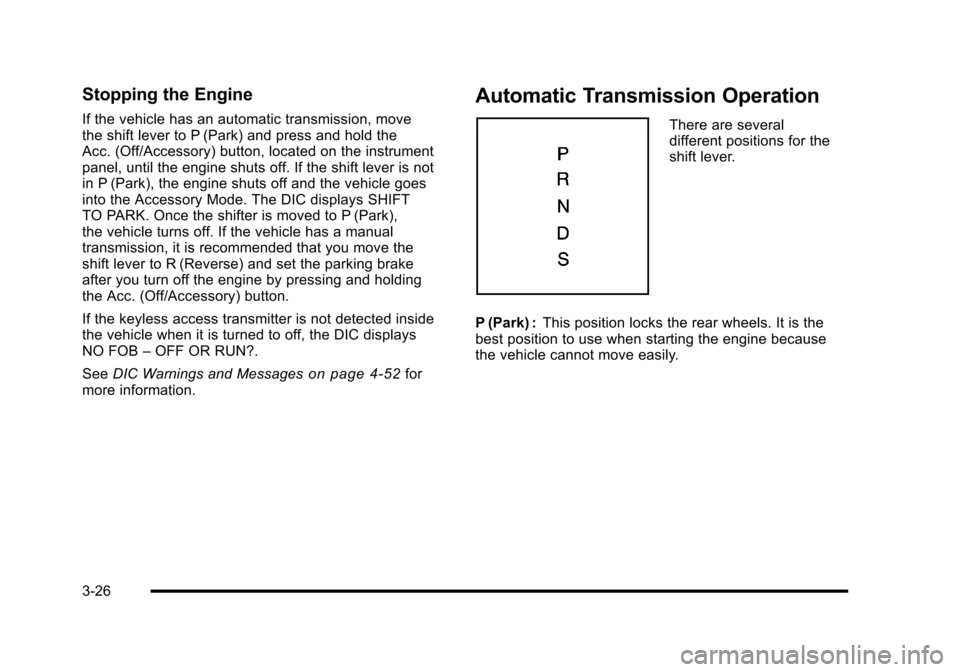
Automatic Transmission Operation
There are several
different positions for the
shift lever.
P (Park) : This position locks the rear wheels. It is the
best position to use when starting the engine because
the vehicle cannot move easily.
3-26
Page 123 of 472
{WARNING:
It is dangerous to get out of the vehicle if the shift
lever is not fully in P (Park) with the parking brake
firmly set. The vehicle can roll.
Do not leave the vehicle when the engine is
running unless you have to. If you have left the
engine running, the vehicle can move suddenly.
You or others could be injured. To be sure the
vehicle will not move, even when you are on fairly
level ground, always set the parking brake and
move the shift lever to P (Park). See Shifting Into
Park (Automatic Transmission) on page 3‑35.
Be sure the shift lever is fully in P (Park) before starting
the engine. The vehicle has an automatic transmission shift lock
control system. You have to fully apply the brakes and
then press the shift lever button before you can shift
from P (Park) when the vehicle is running. If you cannot
shift out of P (Park), ease pressure on the shift lever
and push the shift lever all the way into P (Park) as you
maintain brake application. Then press the shift lever
button and move the shift lever into another gear.
See
Shifting Out of Park on page 3‑36.
R (Reverse) : Use this gear to back up.
Notice: Shifting to R (Reverse) while the vehicle is
moving forward could damage the transmission.
The repairs would not be covered by the vehicle
warranty. Shift to R (Reverse) only after the vehicle
is stopped.
To rock the vehicle back and forth to get out of snow,
ice, or sand without damaging the transmission, see
If Your Vehicle is Stuck in Sand, Mud, Ice, or Snow
on
page 5‑27.
3-27
Page 125 of 472
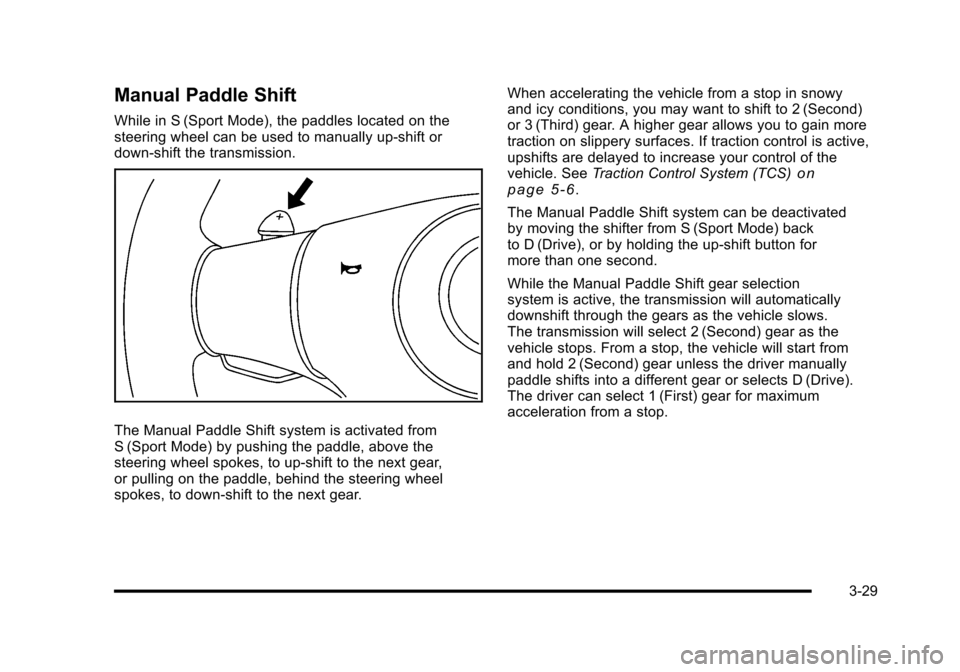
Manual Paddle Shift
While in S (Sport Mode), the paddles located on the
steering wheel can be used to manually up-shift or
down-shift the transmission.
The Manual Paddle Shift system is activated from
S (Sport Mode) by pushing the paddle, above the
steering wheel spokes, to up-shift to the next gear,
or pulling on the paddle, behind the steering wheel
spokes, to down-shift to the next gear. When accelerating the vehicle from a stop in snowy
and icy conditions, you may want to shift to 2 (Second)
or 3 (Third) gear. A higher gear allows you to gain more
traction on slippery surfaces. If traction control is active,
upshifts are delayed to increase your control of the
vehicle. See
Traction Control System (TCS)
on
page 5‑6.
The Manual Paddle Shift system can be deactivated
by moving the shifter from S (Sport Mode) back
to D (Drive), or by holding the up‐shift button for
more than one second.
While the Manual Paddle Shift gear selection
system is active, the transmission will automatically
downshift through the gears as the vehicle slows.
The transmission will select 2 (Second) gear as the
vehicle stops. From a stop, the vehicle will start from
and hold 2 (Second) gear unless the driver manually
paddle shifts into a different gear or selects D (Drive).
The driver can select 1 (First) gear for maximum
acceleration from a stop.
3-29
Page 139 of 472
Universal Home Remote System
Operation
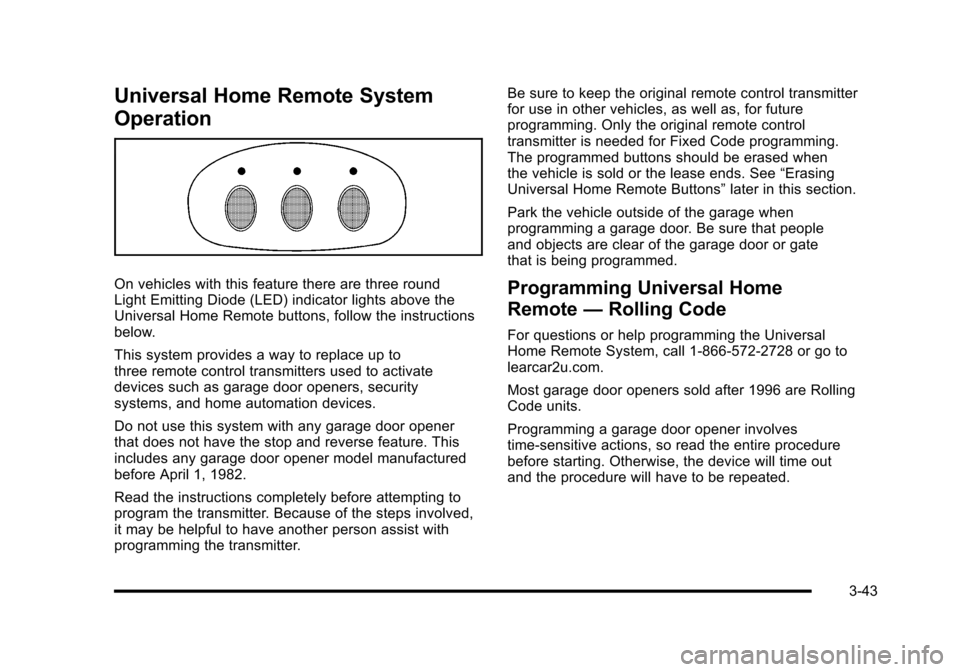
On vehicles with this feature there are three round
Light Emitting Diode (LED) indicator lights above the
Universal Home Remote buttons, follow the instructions
below.
This system provides a way to replace up to
three remote control transmitters used to activate
devices such as garage door openers, security
systems, and home automation devices.
Do not use this system with any garage door opener
that does not have the stop and reverse feature. This
includes any garage door opener model manufactured
before April 1, 1982.
Read the instructions completely before attempting to
program the transmitter. Because of the steps involved,
it may be helpful to have another person assist with
programming the transmitter. Be sure to keep the original remote control transmitter
for use in other vehicles, as well as, for future
programming. Only the original remote control
transmitter is needed for Fixed Code programming.
The programmed buttons should be erased when
the vehicle is sold or the lease ends. See
“Erasing
Universal Home Remote Buttons” later in this section.
Park the vehicle outside of the garage when
programming a garage door. Be sure that people
and objects are clear of the garage door or gate
that is being programmed.Programming Universal Home
Remote —Rolling Code
For questions or help programming the Universal
Home Remote System, call 1-866-572-2728 or go to
learcar2u.com.
Most garage door openers sold after 1996 are Rolling
Code units.
Programming a garage door opener involves
time-sensitive actions, so read the entire procedure
before starting. Otherwise, the device will time out
and the procedure will have to be repeated.
3-43
Page 219 of 472
TRIP Button
The TRIP button displays the odometer, trip distance,
elapsed time, average speed, and oil life remaining
information.
Odometer : The odometer shows how far your vehicle
has been driven in either kilometers or miles. Press the
TRIP button to display odometer readings, such as:
.ODOMETER 20008 km or
.ODOMETER 12345 MI
You can also display the odometer by turning on the
parking lamps.
Trip Odometers : There are two trip odometers.
Press the TRIP button to display TRIP ODOMETER A
readings and press the button again to display TRIP
ODOMETER B readings, such as:
.TRIP ODOMETER A 209.9 km or
.TRIP ODOMETER A 130.5 MI
.TRIP ODOMETER B 483.5 km or
.TRIP ODOMETER B 300.5 MI
Both of the trip odometers can be used simultaneously.
The trip odometers can be reset by pressing the RESET
button on the DIC. There is also a miles since last ignition feature that
displays the number of kilometers (miles) driven since
you last started the vehicle. Press and hold the RESET
button for three seconds, then release it. The kilometers
(miles) since the last ignition cycle will be set into the
trip odometer.
Elapsed Timer :
Press the TRIP button until ELAPSED
TIMER is displayed, such as ELAPSED TIMER .00.
When the ignition is in on, the DIC can be used as a
stopwatch. The display can show hours, minutes and
seconds. The elapsed time indicator will record up to
23 hours, 59 minutes and 59 seconds, then it will reset
to zero and continue counting. The display appears as
ELAPSED TIMER .00 in the elapsed time function.
You can start or stop the elapsed time by pressing the
RESET button. To reset the elapsed time to zero, press
the RESET button for three seconds while the timer is
displayed.
Pressing and holding the RESET button for at least
10 seconds will reset the timer display to the time since
last ignition cycle.
Average Speed : Press the TRIP button until the
average speed is displayed, such as:
.AVERAGE SPEED 100 km/h or
.AVERAGE SPEED 62 MPH
4-51