2010 CHEVROLET CORVETTE clock
[x] Cancel search: clockPage 23 of 472

Oe:Turn to select radio stations.
tSEEKu:Press to seek stations.
tSCANu: Press and hold to scan stations.
4:Press to change the information that shows on
the display while listening to the radio.
For more information about these and other radio
features, see Audio System(s)
on page 4‑80and
Radio(s) on page 4‑81.
Setting Preset Stations
Up to 30 stations (six FM1, six FM2, and six AM, and if
equipped, six XM1, and six XM2) can be programmed.
To program presets:
1. Turn the radio on.
2. Press BAND to select FM1, FM2, AM, or XM1 or XM2.
3. Tune in the desired station.
4. Press AUTO EQ to select the equalization.
5. Press and hold one of the six numbered pushbuttons until the radio beeps once.
6. Repeat the steps for each pushbutton.
See Radio(s) on page 4‑81.
Setting the Clock
To set the clock:
1. Press and hold H until the correct hour displays.
2. Press and hold M until the correct minute displays.
See Setting the Clock on page 4‑80.
Satellite Radio
XM is a satellite radio service that is based in the
48 contiguous United States and 10 Canadian
provinces. XM satellite radio has a wide variety
of programming and commercial-free music,
coast-to-coast, and in digital-quality sound.
A fee is required to receive the XM service.
For more information, refer to:
.www.xmradio.com or call 1-800-929-2100 (U.S.)
.www.xmradio.ca or call 1-877-438-9677 (Canada)
See “XM Satellite Radio Service” underRadio(s)
on
page 4‑81.
1-17
Page 111 of 472
Hatch/Trunk Lid Release
There are several ways to release the hatch/trunk lid.
If your vehicle has an automatic transmission, the shift
lever must be in P (Park). For manual transmission
vehicles, the parking brake must be set when the
ignition is started for the hatch/trunk release to operate.
The parking brake does not need to be set when the
ignition is off for the hatch/trunk release to operate.
See Parking Brake on page 3‑34.
V (Hatch/Trunk) : Press the hatch/trunk lid release
button, located on the instrument panel to the left of the
steering wheel. The theft-deterrent alarm system must
not be armed.
} (Hatch/Trunk) : Press the hatch/trunk lid release
button on the keyless access transmitter. See Keyless
Access System on page 3‑5.
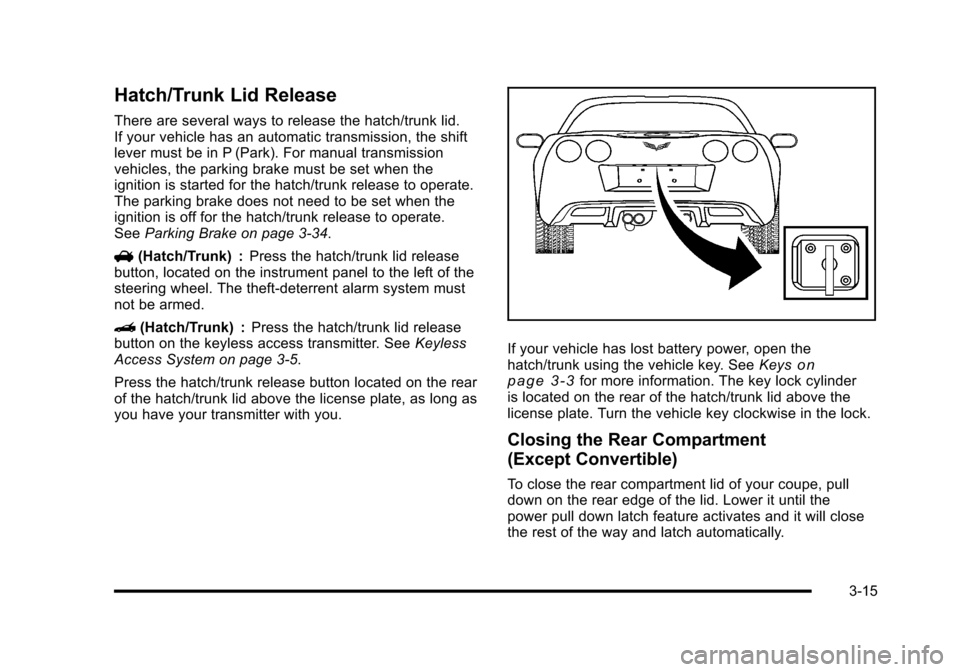
Press the hatch/trunk release button located on the rear
of the hatch/trunk lid above the license plate, as long as
you have your transmitter with you.
If your vehicle has lost battery power, open the
hatch/trunk using the vehicle key. See Keyson
page 3‑3for more information. The key lock cylinder
is located on the rear of the hatch/trunk lid above the
license plate. Turn the vehicle key clockwise in the lock.
Closing the Rear Compartment
(Except Convertible)
To close the rear compartment lid of your coupe, pull
down on the rear edge of the lid. Lower it until the
power pull down latch feature activates and it will close
the rest of the way and latch automatically.
3-15
Page 157 of 472

Lowering the Manual Convertible Top
1. Park on a level surface. Shift an automatic transmission into P (Park) and set the parking
brake. Shift a manual transmission into N (Neutral)
and set the parking brake.
2. Make sure the ignition is off.
3. Make sure the trunk is closed.
4. The convertible top front latch, located above the inside rearview mirror, must be unlocked.
Pull the convertible top front latch down and turn
it clockwise to unlock it.
5. Lift upward on the front edge (A) of the convertible top off of the windshield frame. Then lift upward
on the rear edge (B) of the convertible top so it
is vertical to the tonneau cover (C). The front
edge (A) and rear edge (B) should be straight up.
3-61
Page 162 of 472
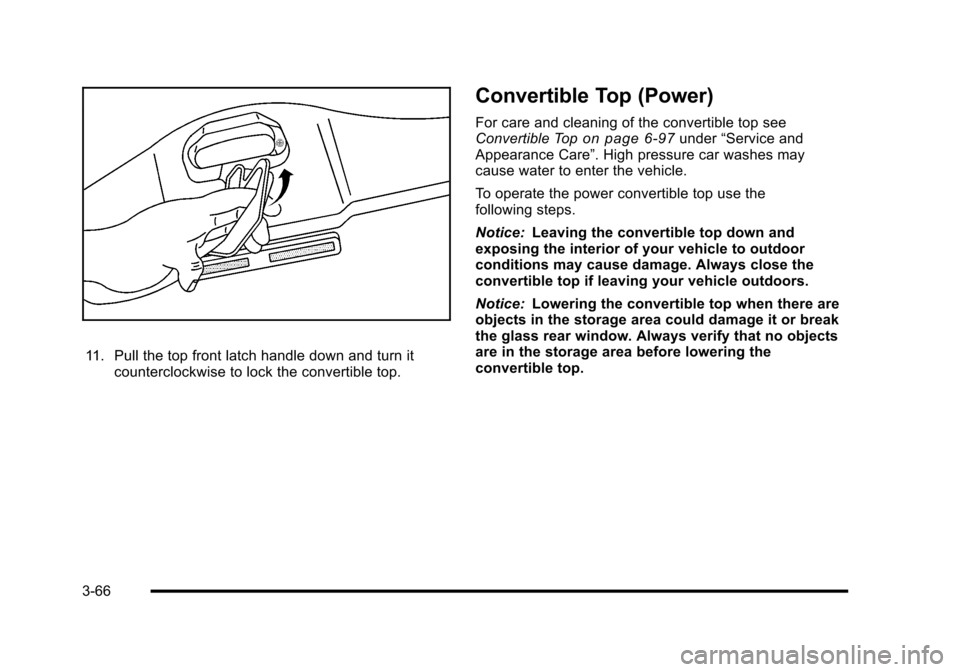
11. Pull the top front latch handle down and turn it counterclockwise to lock the convertible top.
Convertible Top (Power)
For care and cleaning of the convertible top see
Convertible Topon page 6‑97under “Service and
Appearance Care”. High pressure car washes may
cause water to enter the vehicle.
To operate the power convertible top use the
following steps.
Notice: Leaving the convertible top down and
exposing the interior of your vehicle to outdoor
conditions may cause damage. Always close the
convertible top if leaving your vehicle outdoors.
Notice: Lowering the convertible top when there are
objects in the storage area could damage it or break
the glass rear window. Always verify that no objects
are in the storage area before lowering the
convertible top.
3-66
Page 163 of 472
Notice:Lowering the top if it is damp, wet, or dirty
can cause stains, mildew, and damage to the inside
of your vehicle. Dry off the top before lowering it.
Notice: If you lower the top on your vehicle in cold
weather (0°F/-18°C or lower), you may damage top
components. Do not lower the top in cold weather.
Notice: If you raise or lower the convertible top
while the vehicle is in motion, you could damage
the top or the top mechanism. The repairs would
not be covered by your warranty. Always put an
automatic transmission in (P) Park or a manual
transmission in (N) Neutral before raising or
lowering the convertible top.
Lowering the Power Convertible Top
1. Park on a level surface. Start the engine. Shift an automatic transmission into P (Park) and set the
parking brake. Shift a manual transmission into
N (Neutral), and set the parking brake.
2. Make sure the trunk is closed and the rear trunk partition in the rear storage area is in the fastened
upright position, and that no objects are forward of
the divider. See “Rear Trunk Partition” underRear
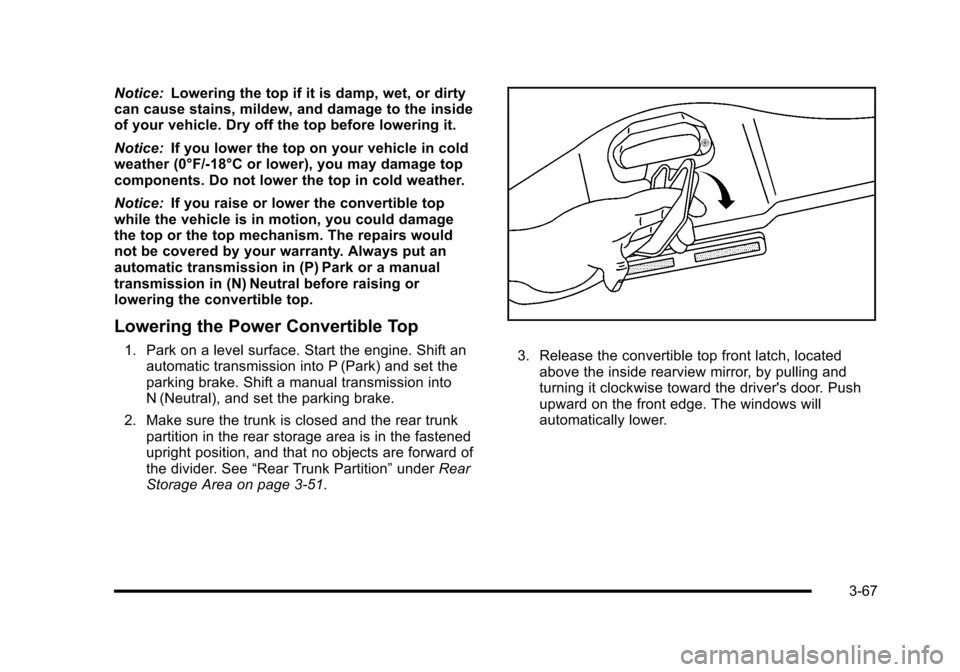
Storage Area on page 3‑51. 3. Release the convertible top front latch, located above the inside rearview mirror, by pulling and
turning it clockwise toward the driver's door. Push
upward on the front edge. The windows will
automatically lower.
3-67
Page 164 of 472
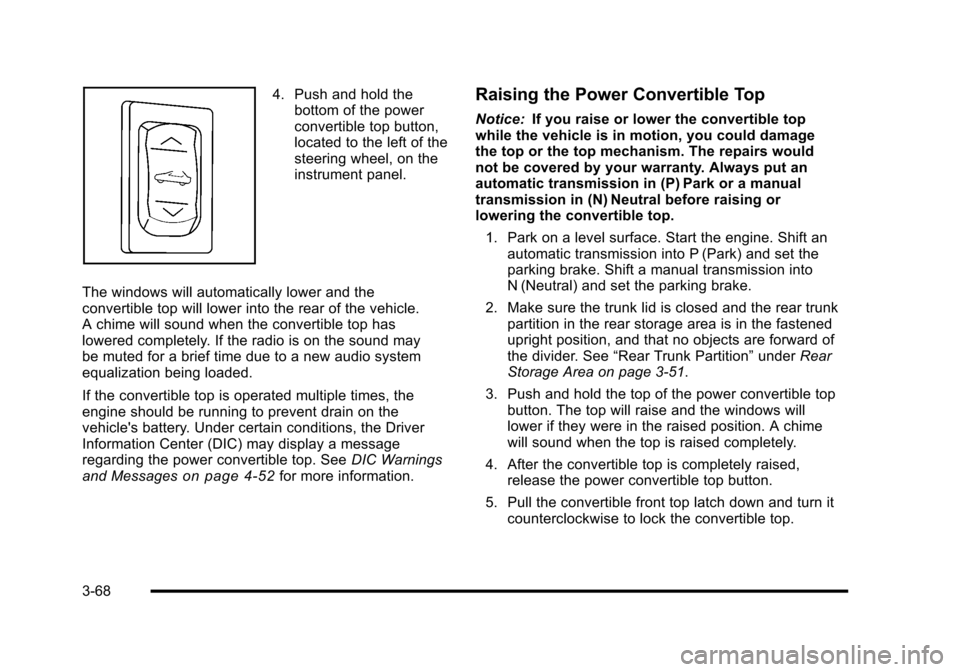
4. Push and hold the bottom of the power
convertible top button,
located to the left of the
steering wheel, on the
instrument panel.
The windows will automatically lower and the
convertible top will lower into the rear of the vehicle.
A chime will sound when the convertible top has
lowered completely. If the radio is on the sound may
be muted for a brief time due to a new audio system
equalization being loaded.
If the convertible top is operated multiple times, the
engine should be running to prevent drain on the
vehicle's battery. Under certain conditions, the Driver
Information Center (DIC) may display a message
regarding the power convertible top. See DIC Warnings
and Messages
on page 4‑52for more information.
Raising the Power Convertible Top
Notice: If you raise or lower the convertible top
while the vehicle is in motion, you could damage
the top or the top mechanism. The repairs would
not be covered by your warranty. Always put an
automatic transmission in (P) Park or a manual
transmission in (N) Neutral before raising or
lowering the convertible top.
1. Park on a level surface. Start the engine. Shift an automatic transmission into P (Park) and set the
parking brake. Shift a manual transmission into
N (Neutral) and set the parking brake.
2. Make sure the trunk lid is closed and the rear trunk partition in the rear storage area is in the fastened
upright position, and that no objects are forward of
the divider. See “Rear Trunk Partition” underRear
Storage Area on page 3‑51.
3. Push and hold the top of the power convertible top button. The top will raise and the windows will
lower if they were in the raised position. A chime
will sound when the top is raised completely.
4. After the convertible top is completely raised, release the power convertible top button.
5. Pull the convertible front top latch down and turn it counterclockwise to lock the convertible top.
3-68
Page 167 of 472
3. Use the wrench, located in the console, and turn the pressure release bolt counterclockwise
one revolution, to relieve pressure to the hydraulic
pump. This will allow you to manually raise the
convertible top.
4. Then follow the steps under raising the manual convertible top. See “Convertible Top (Manual)”
under Convertible Top (Manual)
on page 3‑59or
Convertible Top (Power) on page 3‑66
When power is restored to the vehicle, the hydraulic
bolt must be tightened, by turning it clockwise.
The power convertible top button can then be
used to lower or raise the convertible top. If the power convertible top is operated multiple times,
the engine should be running to prevent drain on the
vehicle's battery. Under certain conditions, the Driver
Information Center (DIC) may display a message
regarding the power top. See
DIC Warnings and
Messages
on page 4‑52for more information.
If the battery has been disconnected, the power
windows must be initialized for the power top to
operate. See Power Windows
on page 3‑17for
more information.
3-71
Page 170 of 472

Section 4 Instrument Panel
Fog Lamp Light . . . . . . . . . . . . . . . . . . . . . . . . . . . . . . . . 4-45
Lights On Reminder . . . . . . . . . . . . . . . . . . . . . . . . . . . 4-45
Highbeam On Light . . . . . . . . . . . . . . . . . . . . . . . . . . . . 4-45
Fuel Gauge . . . . . . . . . . . . . . . . . . . . . . . . . . . . . . . . . . . . 4-46
Boost Gauge (ZR1 Only) . . . . . . . . . . . . . . . . . . . . . . 4-47
Driver Information Center (DIC) . . . . . . . . . . . . . . . . . . 4-47
DIC Operation and Displays . . . . . . . . . . . . . . . . . . . 4-47
DIC Warnings and Messages . . . . . . . . . . . . . . . . . . 4-52
Other Messages . . . . . . . . . . . . . . . . . . . . . . . . . . . . . . . 4-70
DIC Vehicle Personalization . . . . . . . . . . . . . . . . . . . 4-71 Audio System(s)
. . . . . . . . . . . . . . . . . . . . . . . . . . . . . . . . . . 4-80
Setting the Clock . . . . . . . . . . . . . . . . . . . . . . . . . . . . . . 4-80
Radio(s) . . . . . . . . . . . . . . . . . . . . . . . . . . . . . . . . . . . . . . . 4-81
Using an MP3 . . . . . . . . . . . . . . . . . . . . . . . . . . . . . . . . . 4-92
XM Radio Messages . . . . . . . . . . . . . . . . . . . . . . . . . . . 4-95
Navigation/Radio System . . . . . . . . . . . . . . . . . . . . . . 4-96
Bluetooth
®. . . . . . . . . . . . . . . . . . . . . . . . . . . . . . . . . . . . . 4-96
Theft-Deterrent Feature . . . . . . . . . . . . . . . . . . . . . . 4-106
Audio Steering Wheel Controls . . . . . . . . . . . . . . . 4-107
Radio Reception . . . . . . . . . . . . . . . . . . . . . . . . . . . . . . 4-108
Diversity Antenna System . . . . . . . . . . . . . . . . . . . . 4-109
XM™ Satellite Radio Antenna System . . . . . . . . 4-109
4-2