Page 49 of 153
4-5Storage compartments
Luggage compartment
cover
Do not place heavy objects on the
cover. Loose objects should be
secured safely in the luggage
compartment before driving.
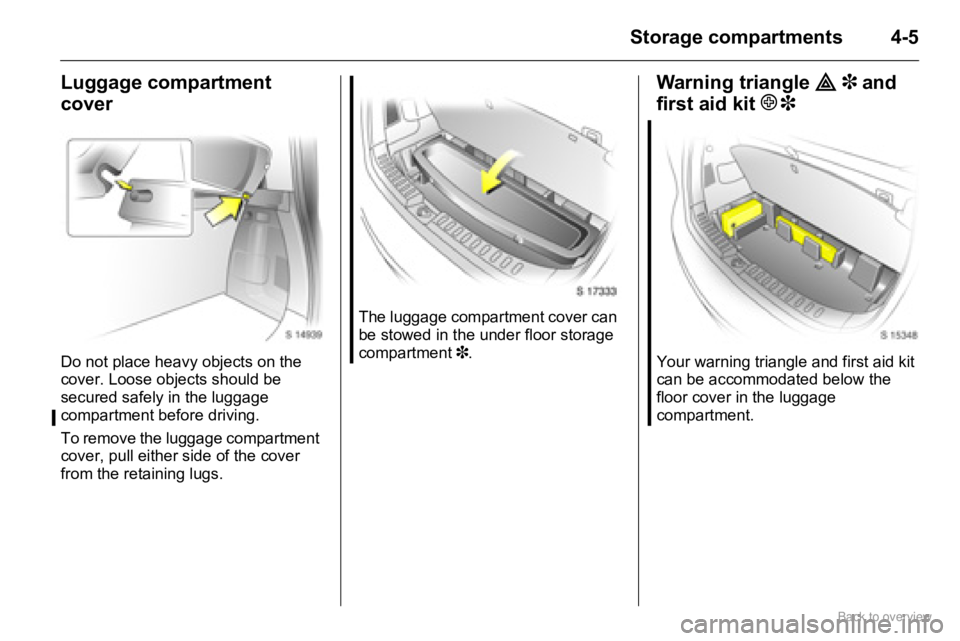
To remove the luggage compartment
cover, pull either side of the cover
from the retaining lugs.The luggage compartment cover can
be stowed in the under floor storage
compartment 3.
Warning triangle ¨ 3 and
first aid kit +
3
Your warning triangle and first aid kit
can be accommodated below the
floor cover in the luggage
compartment.
Page 50 of 153
4-6 Storage compartments
Roof rack system 3
For reasons of safety and to avoid
damaging the roof, we recommend
that you use roof rack systems
approved for your vehicle.
Fasten the roof rack to the roof rails
following the instructions that
accompany the system, ensuring that
the roof load is evenly distributed
over the side or cross rails. Loads
must not be placed on the roof
surface.
To prevent damage or loss, check
frequently that roof loads are securely
fastened.
Driving with a roof load affects the
vehicle’s centre of gravity: drive
carefully in crosswinds and do not
drive at high speeds.
Driving hints 3 9-1.
Page 51 of 153

5-1Instruments and controls
Instruments and
controlsSteering wheel adjustment
To adjust steering wheel 3, pull lever
forwards, adjust height, push lever
back and engage.
Adjust steering wheel only with
vehicle stationary and steering
column lock released.
Push the lever firmly backwards to
ensure that the steering wheel is
locked in position.
Steering wheel mounted
remote control 3
The functions of the Infotainment
system can be operated with the
buttons on the steering wheel.
Further information 3 7-2. Horn j .................................... 5-2
Windscreen wipers................ 5-2
Windscreen washer system .. 5-3
Rear window wiper/washer ... 5-3
Clock ..................................... 5-3
Outside temperature 3 .......... 5-4
Power outlets ........................ 5-4
Cigarette lighter ) 3 ............... 5-5
Ashtrays 3 ............................. 5-5
Warning lights, gauges and
indicators ............................ 5-5
Transmission display 3 ......... 5-7
Control indicators .................. 5-8
Warning chimes .................... 5-13
Service interval display 3 ...... 5-14
Engine oil life monitor 3......... 5-14
Trip computer 3 ..................... 5-14
Page 52 of 153
5-2 Instruments and controls
Horn j
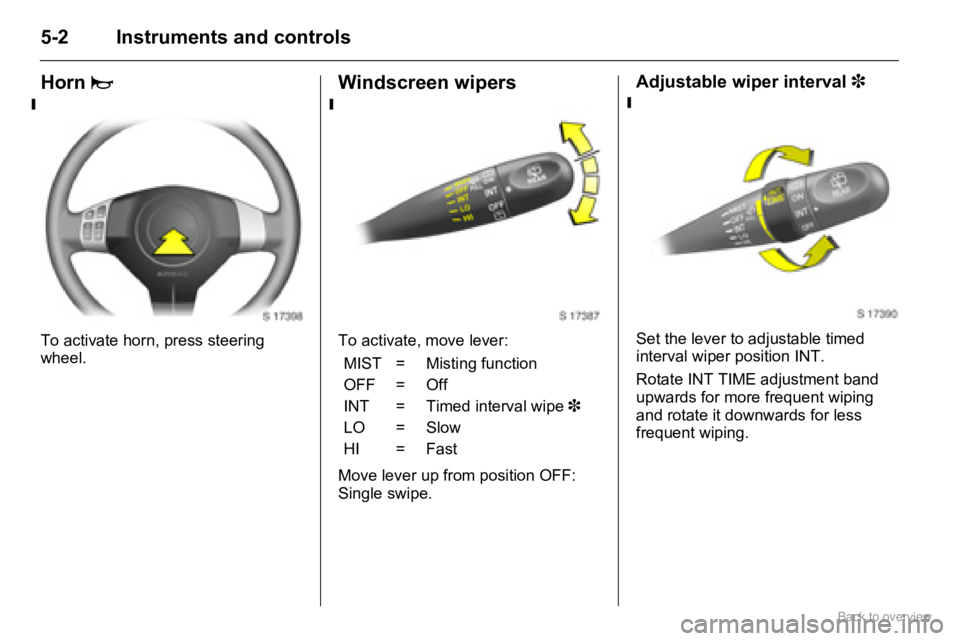
To activate horn, press steering
wheel.
Windscreen wipers
To activate, move lever:
Move lever up from position OFF:
Single swipe.
Adjustable wiper interval 3
Set the lever to adjustable timed
interval wiper position INT.
Rotate INT TIME adjustment band
upwards for more frequent wiping
and rotate it downwards for less
frequent wiping.
MIST = Misting function
OFF = Off
INT = Timed interval wipe 3
LO = Slow
HI = Fast
Page 53 of 153
5-3Instruments and controls
Windscreen washer system
To activate, pull lever towards
steering wheel. Washer fluid is
sprayed onto the windscreen.
In vehicles with timed interval wipe
position INT 3, the wipers switch on
automatically at low speed if they are
not already activated.
Rear window wiper/washer
To activate wiper and washer, rotate
end of lever:
Washer fluid is sprayed on to rear
window when the end of the lever is
turned to position
f. When the lever
is released, it will spring back to the
ON/OFF position.Further information 3 10-5, 10-30,
10-31.
Clock
The time is shown in the odometer
display when the ignition is switched
on.
Correcting time
To set the clock, press and hold the
Öbutton for approx. 2 seconds; clock
display now in setting mode. f=Washer
ON = Wiper on
INT = Timed interval wipe 3
OFF = Wiper off
f=Washer
Minute display flashes.
Press Ö to set minutes.
Page 54 of 153

5-4 Instruments and controls
Outside temperature 3
The outside temperature is shown in
the odometer display when the
ignition is switched on.If outside temperature drops to near
freezing point (0 °C), the symbol:
illuminates in the odometer display as
a warning for icy road surfaces.
Power outlets
Located on the instrument panel,
below the climate control switches.Operational with ignition switch in
positions ACC or ON.
Pull the cap out to use the accessory
socket, and replace it when not in
use.
The use of non-authorised
accessories may cause damage to
the socket.
Use of accessory sockets while the
engine is not running will discharge
the battery.
The maximum power requirement of
electrical accessories must not
exceed 120 watts.
Do not connect any current delivering
accessories, e.g. electrical charging
devices or batteries.
Connected electrical accessories
must comply with the EC standard in
terms of electromagnetic
compatibility requirements laid down
in DIN VDE 40 839, otherwise vehicle
malfunctions may occur. Release Ö for approx. 5 seconds to
set minute display.
Hour display flashes.
Press Ö to set hours.
Release Ö for approx. 5 seconds to
set hour display.
9 Warning
The road surface may already be
icy, even though the display
indicates a few degrees above
0°C.
Page 55 of 153
5-5Instruments and controls
Cigarette lighter ) 3
With ignition switch in positions ACC
or ON, push the cigarette lighter in all
the way and release it.
Heating up ceases once element is
glowing; cigarette lighter pops up
automatically. Withdraw lighter.
Ashtrays 3
Portable ashtrayThe portable ashtray can be fitted in
the front or rear cup holder in the
centre console.
Warning lights, gauges
and indicators
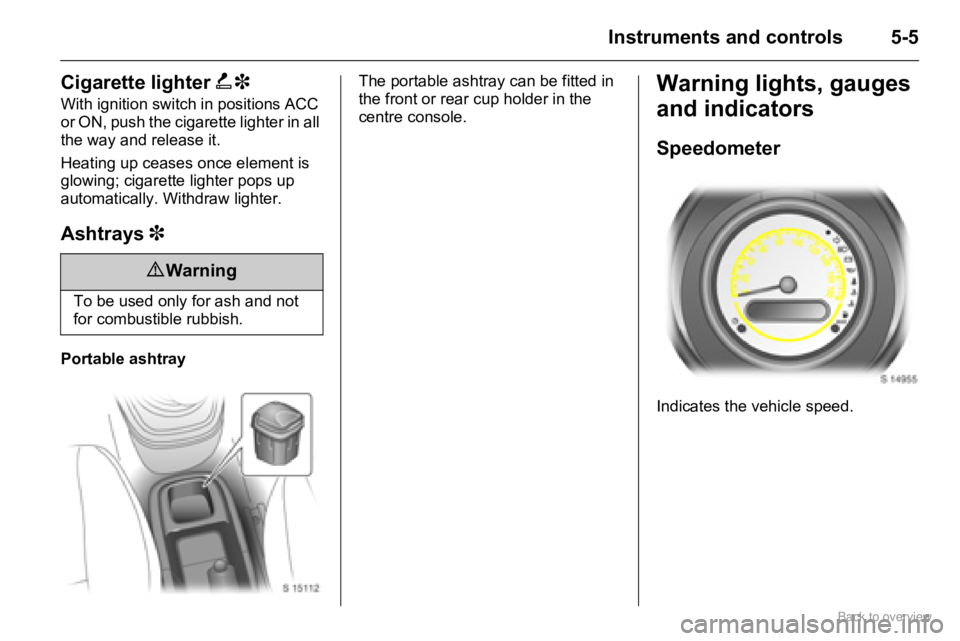
Speedometer
Indicates the vehicle speed.
9 Warning
To be used only for ash and not
for combustible rubbish.
Page 56 of 153
5-6 Instruments and controls
Odometer
The odometer indicates how far the
vehicle has been driven.
Trip odometer
There are two independent trip
odometers which indicate how far the
vehicle has been driven since the last
reset.
Press the MODE button repeatedly
until A or B appears on the left of the
odometer display. To reset a trip odometer, press and
hold the MODE button for approx.
2 seconds while the relevant trip
odometer is displayed.
Odometer display brightness
To change brightness level, switch on
headlamps and press the MODE
button repeatedly until the squares
that indicate the brightness level
appear in the odometer display. Then
press and hold the MODE button to
cycle through brightness levels.Four squares indicates maximum
brightness, while one square
indicates the minimum brightness
level.
Tachometer
Indicates the engine speed.
Caution
Pointer in warning zone; maximum
permissible engine speed
exceeded, danger to engine.