Page 149 of 521

To Accelerate For Passing
Press the accelerator as you would normally. When the
pedal is released, the vehicle will return to the set speed.
Using Electronic Speed Control On Hills
The transmission may downshift on hills to maintain the
vehicle set speed.
NOTE:The Electronic Speed Control system maintains
speed up and down hills. A slight speed change on
moderate hills is normal.
On steep hills, a greater speed loss or gain may occur so
it may be preferable to drive without Electronic Speed
Control.
REAR PARK ASSIST — IF EQUIPPED
The Rear Park Assist provides visible and audible indi-
cations of the distance between the rear fascia and the
detected obstacle when backing up. Refer to the WarningSection and Note Section for limitations of this system
and recommendations.
The Rear Park Assist will remember the last system state
(enabled or disabled) from the last ignition cycle when
the ignition is changed to the ON position.
The Rear Park Assist can be active only when the shift
lever is in REVERSE. If the Rear Park Assist is enabled at
this shift lever position, the system will be active until the
vehicle speed is increased to approximately 11 mph
(18 km/h) or above. The system will be active again if the
vehicle speed is decreased to speeds less than approxi-
mately 10 mph (16 km/h).
Rear Park Assist Sensors
The four Rear Park Assist Sensors, located in the rear
fascia, monitor the area behind the vehicle that is within
the sensors’ field of view.
UNDERSTANDING THE FEATURES OF YOUR VEHICLE 147
3
Page 155 of 521
4. When the vehicle is shifted into REVERSE, an image of
the rear of the vehicle will appear with a caution note to
�check entire surroundings�displayed across the top of
the screen. After five seconds this note will disappear.
5. When the vehicle is shifted out of REVERSE, the rear
camera mode is exited and the audio screen appears
again.
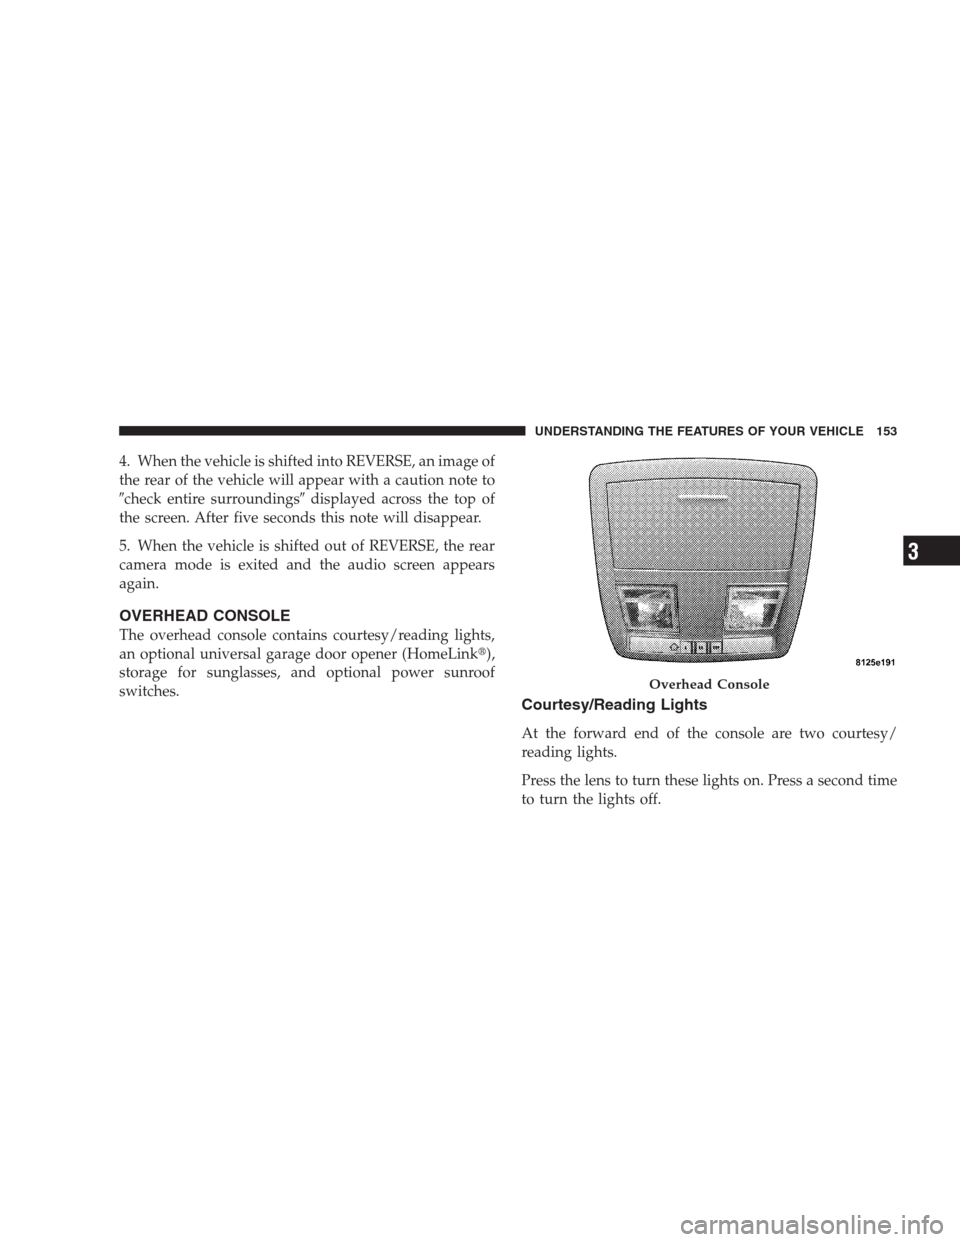
OVERHEAD CONSOLE
The overhead console contains courtesy/reading lights,
an optional universal garage door opener (HomeLink�),
storage for sunglasses, and optional power sunroof
switches.
Courtesy/Reading Lights
At the forward end of the console are two courtesy/
reading lights.
Press the lens to turn these lights on. Press a second time
to turn the lights off.
Overhead Console
UNDERSTANDING THE FEATURES OF YOUR VEHICLE 153
3
Page 156 of 521
The lights also turn on when a front door or rear door is
opened. The lights will also turn on when the UNLOCK
button on the remote keyless entry transmitter is pressed.
Sunglasses Storage
At the rear of the console a compartment is provided for
the storage of a pair of sunglasses.
The storage compartment access is a�push/push�design.
Push the finger depression on the overhead console to
open. Push the finger depression to close.
GARAGE DOOR OPENER — IF EQUIPPED
HomeLink�replaces up to three remote controls (hand-
held transmitters) that operate devices such as garage
door openers, motorized gates, lighting, or home security
systems. The HomeLink�unit operates off your vehicle’s
battery.The HomeLink�buttons are located in the overhead
console, and contain one, two, or three dots/lines desig-
nating the different HomeLink�channels.
NOTE:HomeLink�is disabled when the Vehicle Secu-
rity Alarm is active.
HomeLink�Buttons
154 UNDERSTANDING THE FEATURES OF YOUR VEHICLE
Page 160 of 521
 after several seconds of
transmission – which may not be long enough for
Ho")
Gate Operator/Canadian Programming
Canadian radio-frequency laws require transmitter sig-
nals to “time-out” (or quit) after several seconds of
transmission – which may not be long enough for
HomeLink�to pick up the signal during programming.
Similar to this Canadian law, some U.S. gate operators are
designed to “time-out” in the same manner.
It may be helpful to unplug the device during the cycling
process to prevent possible overheating of the garage
door or gate motor.
If you are having difficulties programming a garage door
opener or a gate operator, replace “Programming
HomeLink” Step 3 with the following:
3. Continue to press and hold the HomeLink�button
while you press and release - every two seconds
(“cycle”) your hand-held transmitter until HomeLink�has successfully accepted the frequency signal. The
EVIC display will change from “CHANNEL # TRAIN-
ING” to “CHANNEL # TRAINED.”
If you unplugged the device for training, plug it back in
at this time.
Then proceed with Step 4 under “Programming
HomeLink�” earlier in this section.
Using HomeLink�
To operate, simply press and release the programmed
HomeLink�button. Activation will now occur for the
trained device (i.e., garage door opener, gate operator,
security system, entry door lock, home/office lighting,
etc.) The hand-held transmitter of the device may also be
used at any time.
158 UNDERSTANDING THE FEATURES OF YOUR VEHICLE
Page 165 of 521
Ignition Off Operation
The power sunroof switches remain active for up to
10 minutes after the ignition switch has been turned OFF.
Opening either front door will cancel this feature.
Sunroof Fully Closed
Press the switch forward and release to ensure that the
sunroof is fully closed.
POWER OUTLETS
Front Power Outlet
To the left and right of the convenience tray (lower center
of instrument panel) is an outlet for electric-powered
accessories. Pull lightly on the tab of the plastic cover to
access the outlet.
Rear Power Outlet — If Equipped
The rear power outlet (if equipped) is located in the left
rear cargo area.The rear power outlet is a direct feed from the battery and
will receive power whether the ignition is in the ON or
LOCK position. All accessories connected to this outlet
should be removed or turned off when the vehicle is not
in use to protect the battery against discharge.
Rear Power Outlet
UNDERSTANDING THE FEATURES OF YOUR VEHICLE 163
3
Page 166 of 521

WARNING!
To avoid serious injury or death:
•Do not use a three-prong adapter.
•Do not insert any objects into the receptacles.
•Do not touch with wet hands.
•Close the lid when not in use and while driving
the vehicle.
•If this outlet is mishandled, it may cause an
electric shock and failure.
CAUTION!
•Many accessories that can be plugged in draw
power from the vehicle’s battery, even when not in
use (i.e., cellular phones, etc.). Eventually, if
plugged in long enough, the vehicle’s battery will
discharge sufficiently to degrade battery life
and/or prevent engine starting.
•Accessories that draw higher power (i.e., coolers,
vacuum cleaners, lights, etc.) will degrade the
battery even more quickly. Only use these inter-
mittently and with greater caution.
•After the use of high power draw accessories, or
long periods of the vehicle not being started (with
accessories still plugged in), the vehicle must be
driven a sufficient length of time to allow the
generator to recharge the vehicle’s battery.
164 UNDERSTANDING THE FEATURES OF YOUR VEHICLE
Page 169 of 521
CUPHOLDERS
In the center console, there are two cupholders for the
front seat passengers.
The rear passengers have access to two cupholders that
pull out from the lower center of the rear seat.
CARGO AREA FEATURES
Cargo Light
The cargo area light is activated by opening the liftgate,
opening any door, or by rotating the dimmer control on
the multifunction lever to the extreme top position. If all
doors are closed and only the liftgate is open, pushing onFront Cupholders
Rear Cupholders
UNDERSTANDING THE FEATURES OF YOUR VEHICLE 167
3
Page 170 of 521
the cargo light lens surface will turn off all interior lamps.
Push on the lens surface a second time to restore the
interior lights to normal operation.
Rear Storage Compartment
The rear storage compartment is located on the driver’s
side behind the second row seat.
Retractable Cargo Area Cover — If Equipped
NOTE:The purpose of this cover is for privacy, not to
secure loads. It will not prevent cargo from shifting or
protect passengers from loose cargo.
To cover the cargo area:
1. Grasp the cover at the center handle. Pull it over the
cargo area.
2. Insert the pins on the ends of the cover into the slots in
the pillar trim cover.
3. The liftgate may be opened with the cargo cover in
place.
Rear Storage Compartment
168 UNDERSTANDING THE FEATURES OF YOUR VEHICLE