2009 HYUNDAI TUCSON warning light
[x] Cancel search: warning lightPage 83 of 273
1FEATURES OF YOUR HYUNDAI72
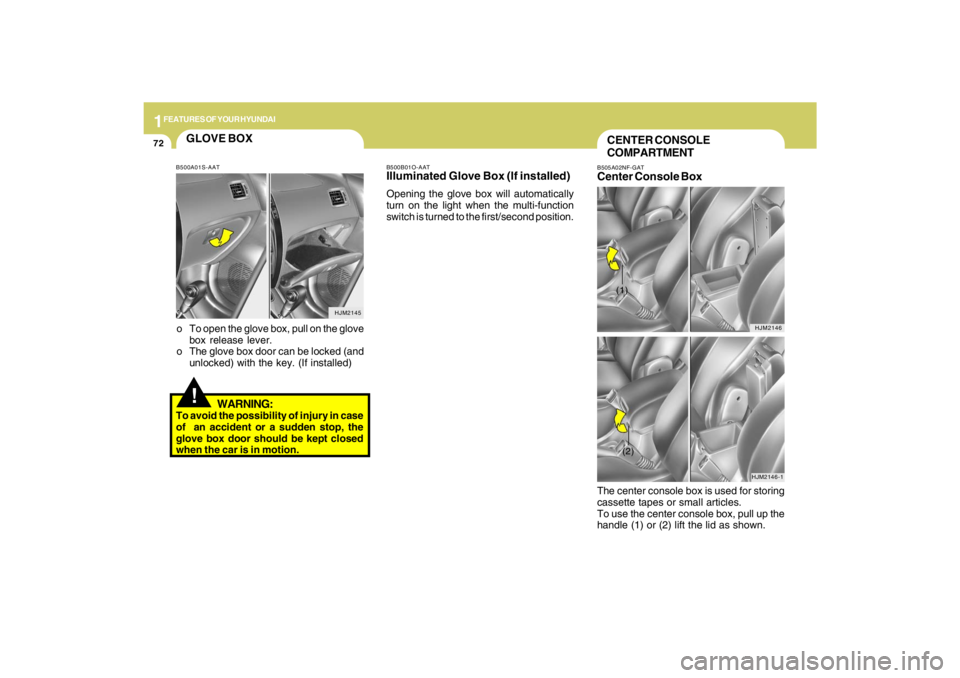
The center console box is used for storing
cassette tapes or small articles.
To use the center console box, pull up the
handle (1) or (2) lift the lid as shown.CENTER CONSOLE
COMPARTMENTB505A02NF-GATCenter Console Box
HJM2146
HJM2146-1
(1)(2)
HJM2145
GLOVE BOX!
o To open the glove box, pull on the glove
box release lever.
o The glove box door can be locked (and
unlocked) with the key. (If installed)
WARNING:
To avoid the possibility of injury in case
of an accident or a sudden stop, the
glove box door should be kept closed
when the car is in motion.
B500B01O-AATIlluminated Glove Box (If installed)Opening the glove box will automatically
turn on the light when the multi-function
switch is turned to the first/second position.
B500A01S-AAT
Page 89 of 273

1FEATURES OF YOUR HYUNDAI78
!TAIL GATEB540A01JM-AATo Pull and raise the "DOOR" release lever
to open the tail gate.
o To close, lower the door, then press
down on it until it locks. To be sure the
door is securely fastened, try to pull it up
again.
OJM019023
WARNING:
The tail gate should always be kept com-
pletely closed while the vehicle is in
motion. If it is left open or ajar, poisonous
exhaust gases may enter the car result-
ing in serious illness or death to the
occupants. See additional warnings con-
cerning exhaust gases on page 2-2.
PARKING BRAKEB530A02A-AATApplying the parking brakeTo engage the parking brake, first apply
the foot brake and then without pressing
the release button in, pull the parking brake
lever up as far as possible. In addition it is
recommended that when parking the ve-
hicle on a gradient, the shift lever should
be positioned in the appropriate low gear
on manual transaxle vehicles or in the P
(Park) position on automatic transaxle ve-
hicles.
HJM3026
Releasing the parking brakeTo release the parking brake, first apply
the foot brake and pull the parking brake
lever slightly. Secondly, depress the re-
lease button and lower the parking brake
lever while holding the button.
CAUTION:
Driving with the parking brake applied
will cause excessive brake pad (or lin-
ing) and brake rotor wear.
!
Page 95 of 273
1FEATURES OF YOUR HYUNDAI84
B560A01JM
!
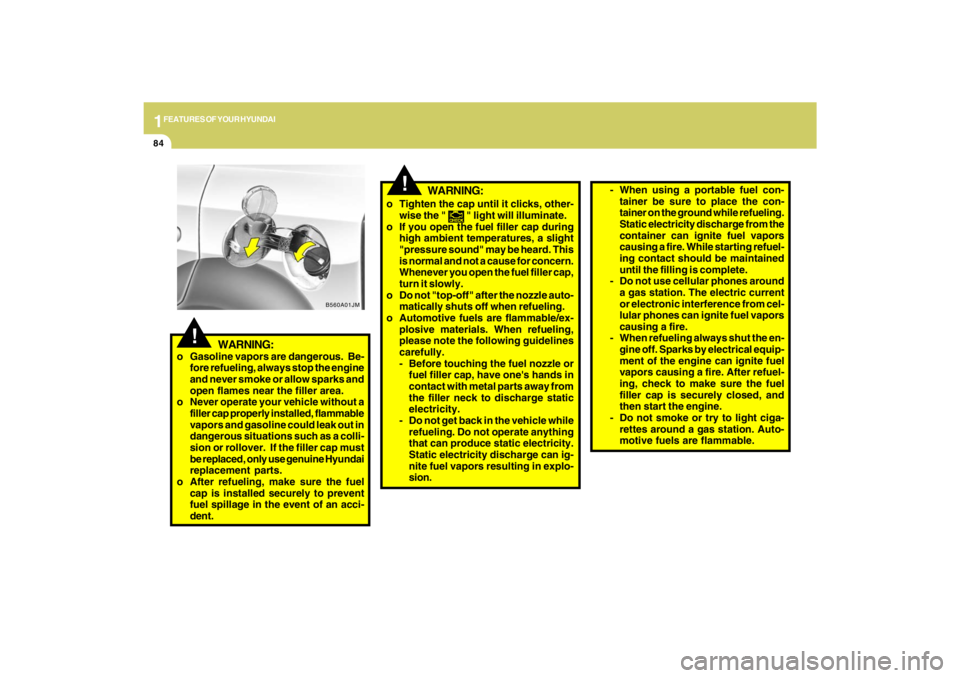
o Tighten the cap until it clicks, other-
wise the "
" light will illuminate.
o If you open the fuel filler cap during
high ambient temperatures, a slight
"pressure sound" may be heard. This
is normal and not a cause for concern.
Whenever you open the fuel filler cap,
turn it slowly.
o Do not "top-off" after the nozzle auto-
matically shuts off when refueling.
o Automotive fuels are flammable/ex-
plosive materials. When refueling,
please note the following guidelines
carefully.
- Before touching the fuel nozzle or
fuel filler cap, have one's hands in
contact with metal parts away from
the filler neck to discharge static
electricity.
- Do not get back in the vehicle while
refueling. Do not operate anything
that can produce static electricity.
Static electricity discharge can ig-
nite fuel vapors resulting in explo-
sion.
!
WARNING:
o Gasoline vapors are dangerous. Be-
fore refueling, always stop the engine
and never smoke or allow sparks and
open flames near the filler area.
o Never operate your vehicle without a
filler cap properly installed, flammable
vapors and gasoline could leak out in
dangerous situations such as a colli-
sion or rollover. If the filler cap must
be replaced, only use genuine Hyundai
replacement parts.
o After refueling, make sure the fuel
cap is installed securely to prevent
fuel spillage in the event of an acci-
dent.
- When using a portable fuel con-
tainer be sure to place the con-
tainer on the ground while refueling.
Static electricity discharge from the
container can ignite fuel vapors
causing a fire. While starting refuel-
ing contact should be maintained
until the filling is complete.
- Do not use cellular phones around
a gas station. The electric current
or electronic interference from cel-
lular phones can ignite fuel vapors
causing a fire.
- When refueling always shut the en-
gine off. Sparks by electrical equip-
ment of the engine can ignite fuel
vapors causing a fire. After refuel-
ing, check to make sure the fuel
filler cap is securely closed, and
then start the engine.
- Do not smoke or try to light ciga-
rettes around a gas station. Auto-
motive fuels are flammable.
WARNING:
Page 97 of 273
1FEATURES OF YOUR HYUNDAI86
FLOOR MAT ANCHOR!
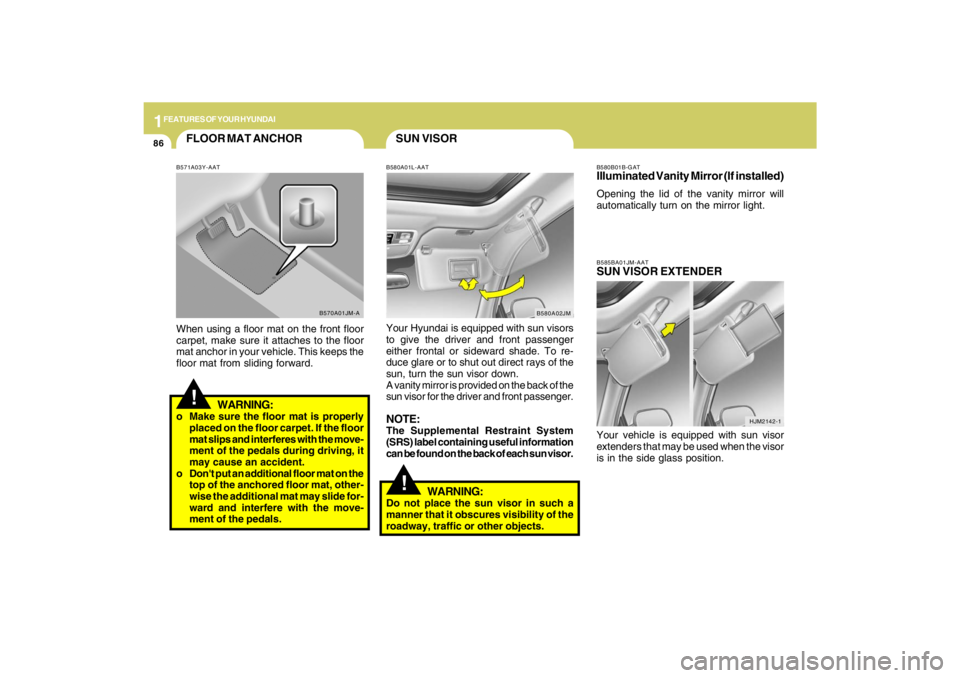
B571A03Y-AATWhen using a floor mat on the front floor
carpet, make sure it attaches to the floor
mat anchor in your vehicle. This keeps the
floor mat from sliding forward.
WARNING:
o Make sure the floor mat is properly
placed on the floor carpet. If the floor
mat slips and interferes with the move-
ment of the pedals during driving, it
may cause an accident.
o Don't put an additional floor mat on the
top of the anchored floor mat, other-
wise the additional mat may slide for-
ward and interfere with the move-
ment of the pedals.
B570A01JM-A
SUN VISORB580A01L-AATYour Hyundai is equipped with sun visors
to give the driver and front passenger
either frontal or sideward shade. To re-
duce glare or to shut out direct rays of the
sun, turn the sun visor down.
A vanity mirror is provided on the back of the
sun visor for the driver and front passenger.NOTE:The Supplemental Restraint System
(SRS) label containing useful information
can be found on the back of each sun visor.
B580A02JM
!
WARNING:
Do not place the sun visor in such a
manner that it obscures visibility of the
roadway, traffic or other objects.
HJM2142-1 B585BA01JM-AAT
SUN VISOR EXTENDERYour vehicle is equipped with sun visor
extenders that may be used when the visor
is in the side glass position.B580B01B-GATIlluminated Vanity Mirror (If installed)Opening the lid of the vanity mirror will
automatically turn on the mirror light.
Page 98 of 273
1
FEATURES OF YOUR HYUNDAI
87
HJM2067
STEERING WHEEL TILT LEVER!
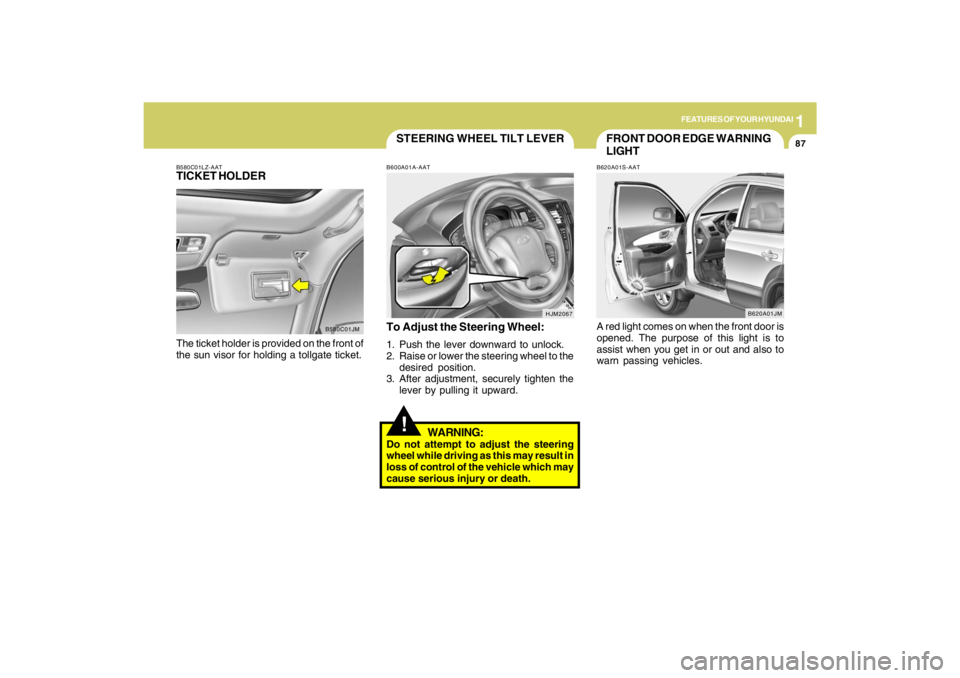
To Adjust the Steering Wheel:1. Push the lever downward to unlock.
2. Raise or lower the steering wheel to the
desired position.
3. After adjustment, securely tighten the
lever by pulling it upward.
WARNING:
Do not attempt to adjust the steering
wheel while driving as this may result in
loss of control of the vehicle which may
cause serious injury or death.B600A01A-AAT
B580C01LZ-AATTICKET HOLDERThe ticket holder is provided on the front of
the sun visor for holding a tollgate ticket.
B580C01JM
FRONT DOOR EDGE WARNING
LIGHTB620A01S-AATA red light comes on when the front door is
opened. The purpose of this light is to
assist when you get in or out and also to
warn passing vehicles.
B620A01JM
Page 100 of 273
1
FEATURES OF YOUR HYUNDAI
89
!
B660B04E-AATTo Set the Cruise Speed
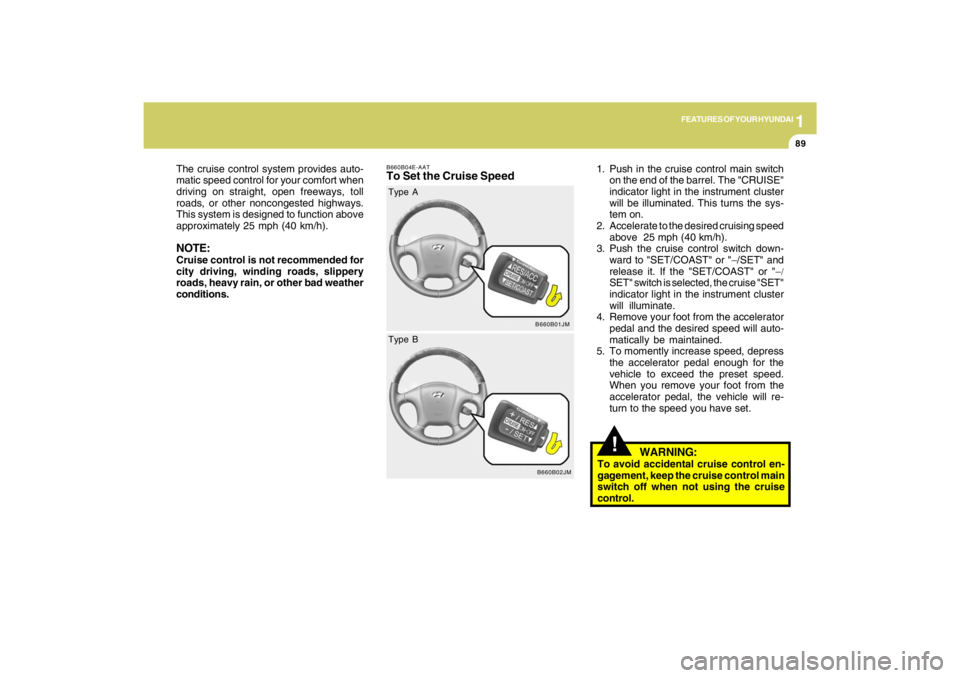
1. Push in the cruise control main switch
on the end of the barrel. The "CRUISE"
indicator light in the instrument cluster
will be illuminated. This turns the sys-
tem on.
2. Accelerate to the desired cruising speed
above 25 mph (40 km/h).
3. Push the cruise control switch down-
ward to "SET/COAST" or "−/SET" and
release it. If the "SET/COAST" or "−/
SET" switch is selected, the cruise "SET"
indicator light in the instrument cluster
will illuminate.
4. Remove your foot from the accelerator
pedal and the desired speed will auto-
matically be maintained.
5. To momently increase speed, depress
the accelerator pedal enough for the
vehicle to exceed the preset speed.
When you remove your foot from the
accelerator pedal, the vehicle will re-
turn to the speed you have set. The cruise control system provides auto-
matic speed control for your comfort when
driving on straight, open freeways, toll
roads, or other noncongested highways.
This system is designed to function above
approximately 25 mph (40 km/h).
NOTE:Cruise control is not recommended for
city driving, winding roads, slippery
roads, heavy rain, or other bad weather
conditions.
B660B01JM
Type A
B660B02JM
Type B
WARNING:
To avoid accidental cruise control en-
gagement, keep the cruise control main
switch off when not using the cruise
control.
Page 102 of 273
1
FEATURES OF YOUR HYUNDAI
91
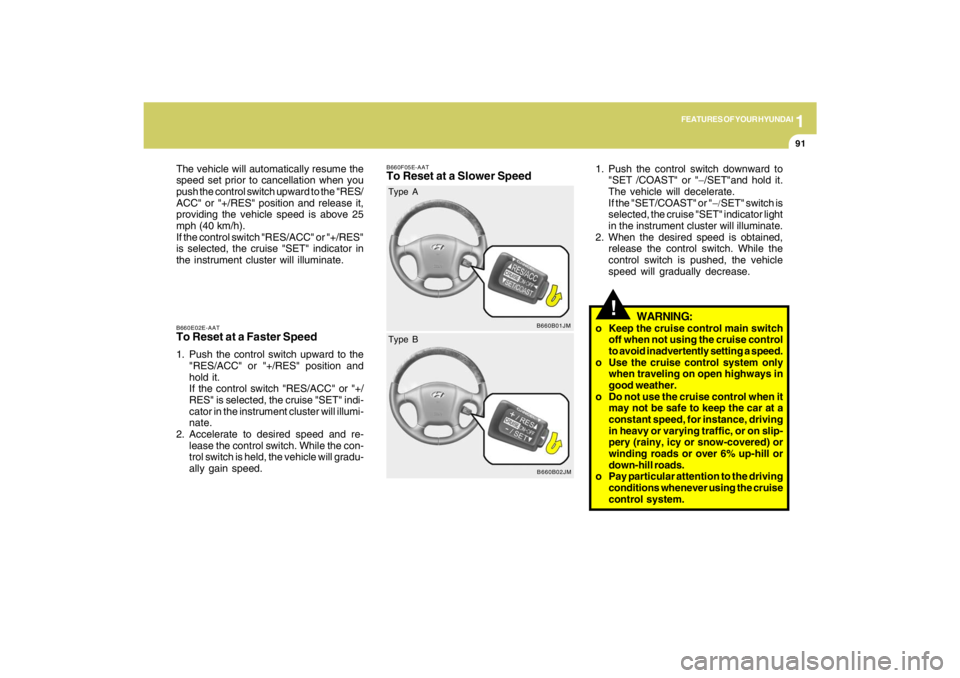
B660E02E-AATTo Reset at a Faster Speed1. Push the control switch upward to the
"RES/ACC" or "+/RES" position and
hold it.
If the control switch "RES/ACC" or "+/
RES" is selected, the cruise "SET" indi-
cator in the instrument cluster will illumi-
nate.
2. Accelerate to desired speed and re-
lease the control switch. While the con-
trol switch is held, the vehicle will gradu-
ally gain speed. The vehicle will automatically resume the
speed set prior to cancellation when you
push the control switch upward to the "RES/
ACC" or "+/RES" position and release it,
providing the vehicle speed is above 25
mph (40 km/h).
If the control switch "RES/ACC" or "+/RES"
is selected, the cruise "SET" indicator in
the instrument cluster will illuminate.
B660F05E-AATTo Reset at a Slower Speed
1. Push the control switch downward to
"SET /COAST" or "−/SET"and hold it.
The vehicle will decelerate.
If the "SET/COAST" or "−/SET" switch is
selected, the cruise "SET" indicator light
in the instrument cluster will illuminate.
2. When the desired speed is obtained,
release the control switch. While the
control switch is pushed, the vehicle
speed will gradually decrease.
!
WARNING:
o Keep the cruise control main switch
off when not using the cruise control
to avoid inadvertently setting a speed.
o Use the cruise control system only
when traveling on open highways in
good weather.
o Do not use the cruise control when it
may not be safe to keep the car at a
constant speed, for instance, driving
in heavy or varying traffic, or on slip-
pery (rainy, icy or snow-covered) or
winding roads or over 6% up-hill or
down-hill roads.
o Pay particular attention to the driving
conditions whenever using the cruise
control system.
B660B01JM
Type A
B660B02JM
Type B
Page 139 of 273
2
DRIVING YOUR HYUNDAI
4
TO START THE ENGINEC030A01E-AATCOMBINATION IGNITION SWITCHo If your Hyundai is equipped with a
manual transaxle, place the shift lever
in neutral and depress the clutch pedal
fully.
o If your Hyundai has an automatic
transaxle, place the shift lever in "P"
(park).
o To start the engine, insert the ignition
key and turn it to the "START" position.
Release it as soon as the engine starts.
Do not hold the key in the "START"
position for more that 15 seconds.NOTE:o For safety, the engine will not start if
the clutch pedal is not depressed fully
(Manual Transaxle) or the shift lever
is not in "P" or "N" Position (Auto-
matic Transaxle).
o The ignition key cannot be turned from
"ACC" position to "LOCK" position
unless the shift lever is in the "P"
(Park) position or the negative bat-
tery terminal is disconnected from
the battery. To remove the key, al-
ways confirm that the shift lever is
securely positioned in "P" (Park) (For
Automatic Transaxle).
o For additional information about start-
ing, see page 2-6.
BEFORE STARTING THE EN-
GINEC020A04A-AATBefore you start the engine, you should
always:
1. Look around the vehicle to be sure
there are no flat tires, puddles of oil,
water or other indications of possible
trouble.
2. After entering the car, check to be sure
the parking brake is engaged.
3. Check that all windows, and lights are
clean.
4. Check that the interior and exterior mir-
rors are clean and in position.
5. Check your seat, seatback and head-
rest to be sure they are in their proper
positions.
6. Lock all the doors.
7. Fasten your seat belt and be sure that all
other occupants have fastened theirs.
8. Turn off all lights and accessories that
are not needed.
9. When you turn the ignition switch to
"ON", check that all appropriate warn-
ing lights are operating and that you
have sufficient fuel.
10. Check the operation of warning lights
and all bulbs when key is in the "ON"
position.
!
WARNING:
o All passengers must be properly
belted whenever the vehicle is mov-
ing. Refer to pages: 1-19 through 1-
25 for more information on their proper
use.
o Always check the surrounding areas
near your vehicle for people, espe-
cially children, before putting a car
into 'drive.'
!
WARNING:
Always wear appropriate shoes when
operating your vehicle.
Unsuitable shoes (high heels, ski boots,
etc.) may interfere with your ability to
use the brake and accelerator pedal,
and the clutch (if installed).
!
WARNING:
When you intend to park or stop the
vehicle with the engine on, be careful not
to depress the accelerator pedal for a
long period of time. It may overheat the
engine or exhaust system and cause
fire.