2009 HYUNDAI TUCSON charging
[x] Cancel search: chargingPage 11 of 273
YOUR VEHICLE AT A GLANCE
F10
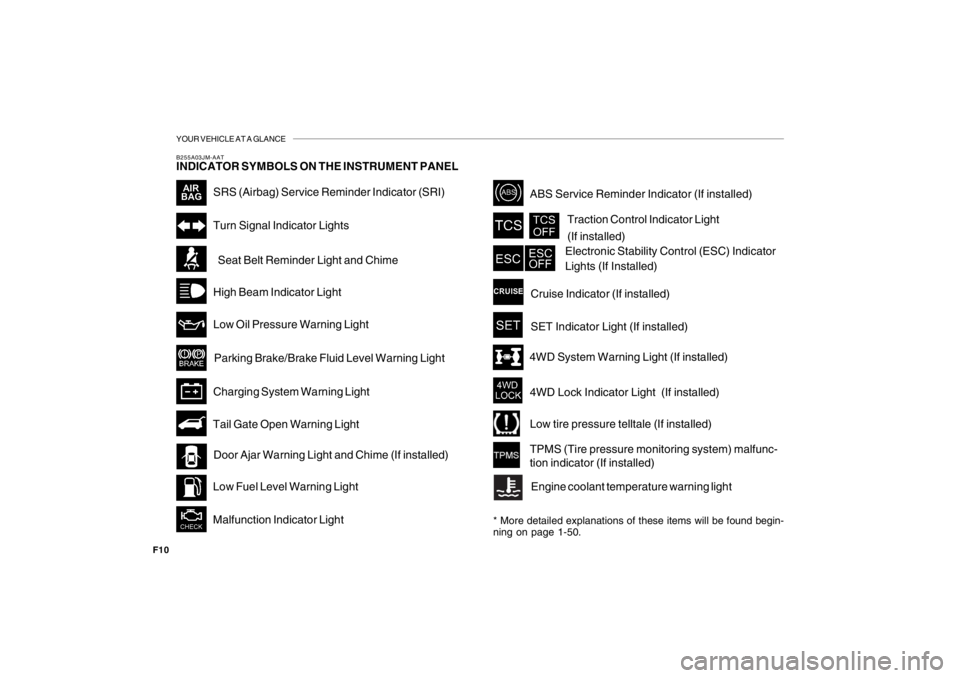
SRS (Airbag) Service Reminder Indicator (SRI)
B255A03JM-AATINDICATOR SYMBOLS ON THE INSTRUMENT PANEL
Turn Signal Indicator LightsHigh Beam Indicator Light
Low Oil Pressure Warning Light
Charging System Warning LightSeat Belt Reminder Light and Chime
* More detailed explanations of these items will be found begin-
ning on page 1-50.
Parking Brake/Brake Fluid Level Warning LightMalfunction Indicator Light Tail Gate Open Warning LightLow Fuel Level Warning LightDoor Ajar Warning Light and Chime (If installed)Traction Control Indicator Light
(If installed)
ABS Service Reminder Indicator (If installed)Cruise Indicator (If installed)
4WD Lock Indicator Light (If installed)4WD System Warning Light (If installed)SET Indicator Light (If installed)
Electronic Stability Control (ESC) Indicator
Lights (If Installed)
Low tire pressure telltale (If installed)
TPMS (Tire pressure monitoring system) malfunc-
tion indicator (If installed)
Engine coolant temperature warning light
Page 60 of 273
1
FEATURES OF YOUR HYUNDAI
49
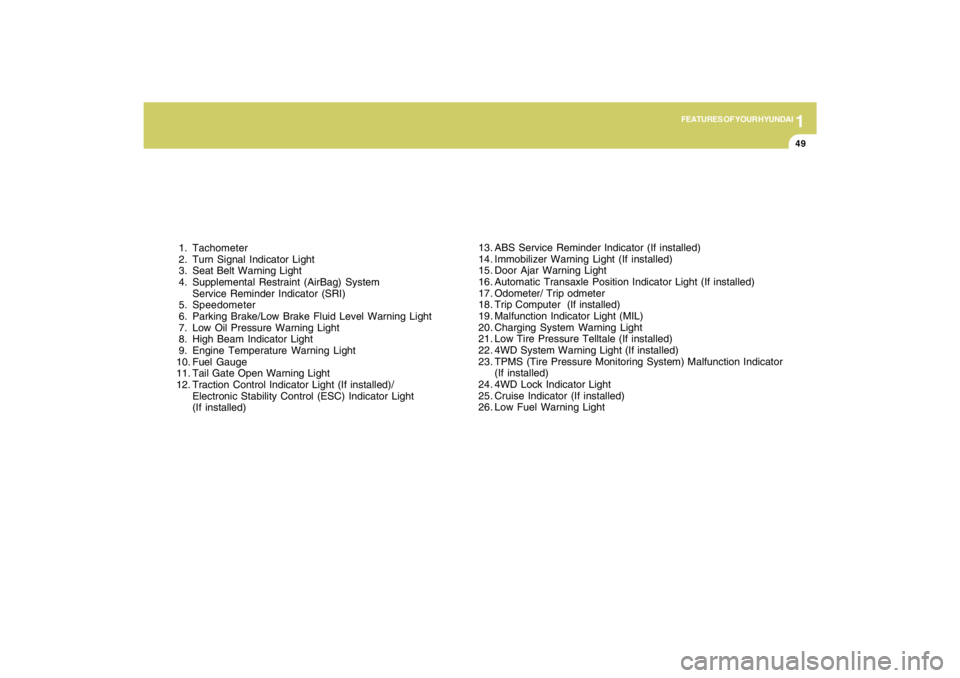
1. Tachometer
2. Turn Signal Indicator Light
3. Seat Belt Warning Light
4. Supplemental Restraint (AirBag) System
Service Reminder Indicator (SRI)
5. Speedometer
6. Parking Brake/Low Brake Fluid Level Warning Light
7. Low Oil Pressure Warning Light
8. High Beam Indicator Light
9. Engine Temperature Warning Light
10. Fuel Gauge
11. Tail Gate Open Warning Light
12. Traction Control Indicator Light (If installed)/
Electronic Stability Control (ESC) Indicator Light
(If installed)13. ABS Service Reminder Indicator (If installed)
14. Immobilizer Warning Light (If installed)
15. Door Ajar Warning Light
16. Automatic Transaxle Position Indicator Light (If installed)
17. Odometer/ Trip odmeter
18. Trip Computer (If installed)
19. Malfunction Indicator Light (MIL)
20. Charging System Warning Light
21. Low Tire Pressure Telltale (If installed)
22. 4WD System Warning Light (If installed)
23. TPMS (Tire Pressure Monitoring System) Malfunction Indicator
(If installed)
24. 4WD Lock Indicator Light
25. Cruise Indicator (If installed)
26. Low Fuel Warning Light
Page 62 of 273
1
FEATURES OF YOUR HYUNDAI
51
!
B260H02A-AAT
Parking Brake/Low Brake
Fluid Level Warning Light
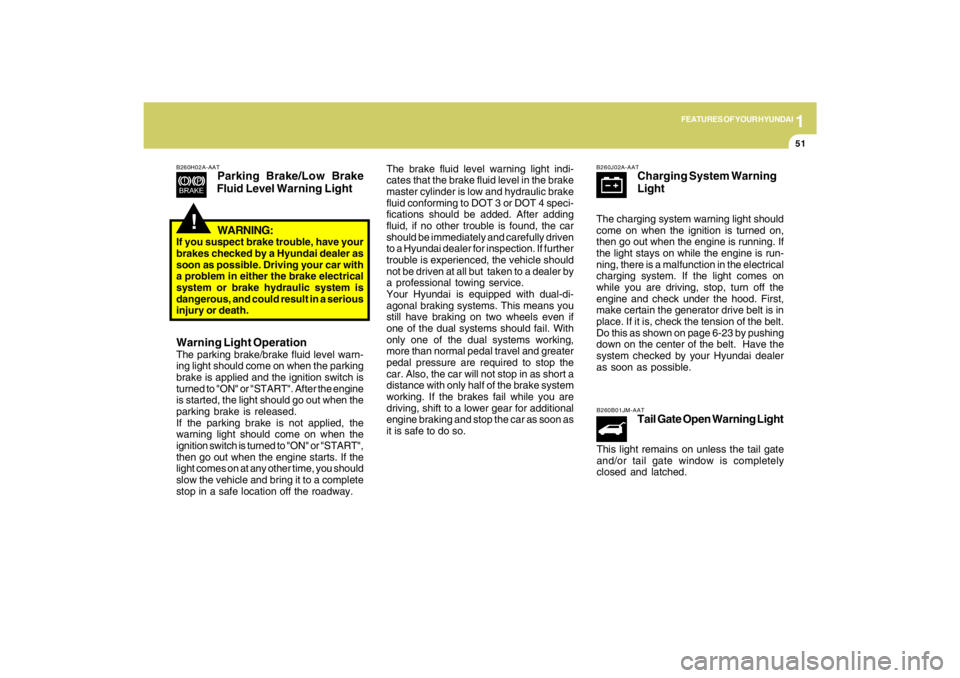
The brake fluid level warning light indi-
cates that the brake fluid level in the brake
master cylinder is low and hydraulic brake
fluid conforming to DOT 3 or DOT 4 speci-
fications should be added. After adding
fluid, if no other trouble is found, the car
should be immediately and carefully driven
to a Hyundai dealer for inspection. If further
trouble is experienced, the vehicle should
not be driven at all but taken to a dealer by
a professional towing service.
Your Hyundai is equipped with dual-di-
agonal braking systems. This means you
still have braking on two wheels even if
one of the dual systems should fail. With
only one of the dual systems working,
more than normal pedal travel and greater
pedal pressure are required to stop the
car. Also, the car will not stop in as short a
distance with only half of the brake system
working. If the brakes fail while you are
driving, shift to a lower gear for additional
engine braking and stop the car as soon as
it is safe to do so.
WARNING:
If you suspect brake trouble, have your
brakes checked by a Hyundai dealer as
soon as possible. Driving your car with
a problem in either the brake electrical
system or brake hydraulic system is
dangerous, and could result in a serious
injury or death.Warning Light OperationThe parking brake/brake fluid level warn-
ing light should come on when the parking
brake is applied and the ignition switch is
turned to "ON" or "START". After the engine
is started, the light should go out when the
parking brake is released.
If the parking brake is not applied, the
warning light should come on when the
ignition switch is turned to "ON" or "START",
then go out when the engine starts. If the
light comes on at any other time, you should
slow the vehicle and bring it to a complete
stop in a safe location off the roadway.
B260J02A-AAT
Charging System Warning
Light
The charging system warning light should
come on when the ignition is turned on,
then go out when the engine is running. If
the light stays on while the engine is run-
ning, there is a malfunction in the electrical
charging system. If the light comes on
while you are driving, stop, turn off the
engine and check under the hood. First,
make certain the generator drive belt is in
place. If it is, check the tension of the belt.
Do this as shown on page 6-23 by pushing
down on the center of the belt. Have the
system checked by your Hyundai dealer
as soon as possible.B260B01JM-AAT
Tail Gate Open Warning Light
This light remains on unless the tail gate
and/or tail gate window is completely
closed and latched.
Page 172 of 273
3
WHAT TO DO IN AN EMERGENCY
3
JUMP STARTING!
o If you should accidentally get acid on
your skin or in your eyes, immediately
remove any contaminated clothing and
flush the area with clear water for at
least 15 minutes. Then promptly obtain
medical attention. If you must be trans-
ported to an emergency facility, con-
tinue to apply water to the affected area
with a sponge or cloth.
o The gas produced by the battery during
the jump-start operation is highly explo-
sive. Do not smoke or allow a spark or
an open flame in the vicinity.
o The battery being used to provide the
jump start must be 12-volt. If you cannot
determine that it is a 12-volt battery, do
not attempt to use it for the jump start.
o To jump start a car with a discharged
battery, follow this procedure exactly:
1. If the booster battery is installed in an-
other vehicle, be sure the two vehicles
are not touching.
2. Turn off all unnecessary lights and
acces-sories in both vehicles.
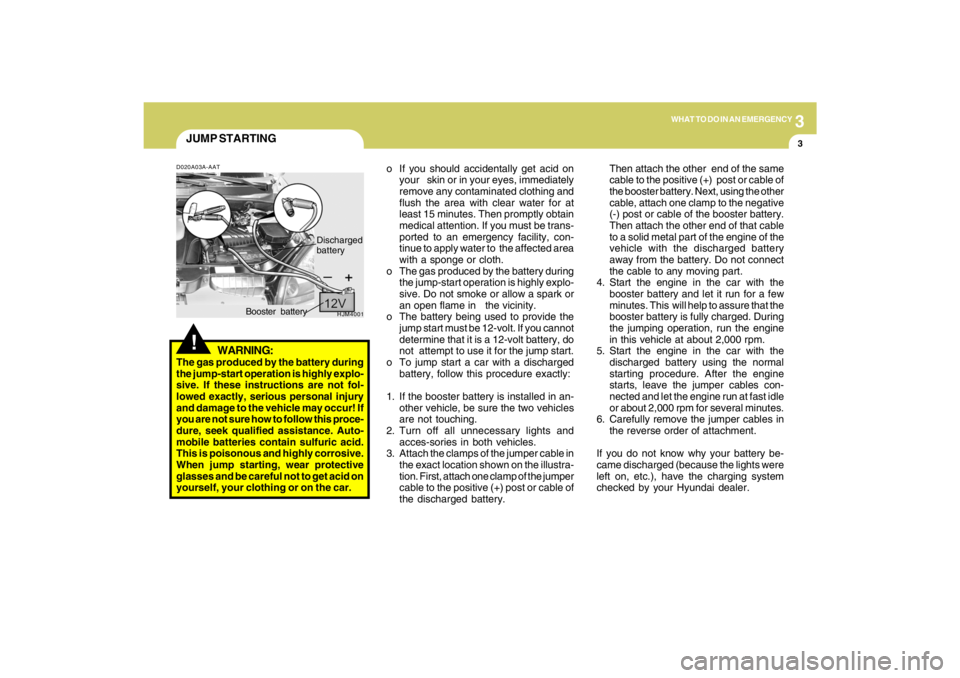
3. Attach the clamps of the jumper cable in
the exact location shown on the illustra-
tion. First, attach one clamp of the jumper
cable to the positive (+) post or cable of
the discharged battery.Then attach the other end of the same
cable to the positive (+) post or cable of
the booster battery. Next, using the other
cable, attach one clamp to the negative
(-) post or cable of the booster battery.
Then attach the other end of that cable
to a solid metal part of the engine of the
vehicle with the discharged battery
away from the battery. Do not connect
the cable to any moving part.
4. Start the engine in the car with the
booster battery and let it run for a few
minutes. This will help to assure that the
booster battery is fully charged. During
the jumping operation, run the engine
in this vehicle at about 2,000 rpm.
5. Start the engine in the car with the
discharged battery using the normal
starting procedure. After the engine
starts, leave the jumper cables con-
nected and let the engine run at fast idle
or about 2,000 rpm for several minutes.
6. Carefully remove the jumper cables in
the reverse order of attachment.
If you do not know why your battery be-
came discharged (because the lights were
left on, etc.), have the charging system
checked by your Hyundai dealer.
D020A03A-AAT
WARNING:
The gas produced by the battery during
the jump-start operation is highly explo-
sive. If these instructions are not fol-
lowed exactly, serious personal injury
and damage to the vehicle may occur! If
you are not sure how to follow this proce-
dure, seek qualified assistance. Auto-
mobile batteries contain sulfuric acid.
This is poisonous and highly corrosive.
When jump starting, wear protective
glasses and be careful not to get acid on
yourself, your clothing or on the car.
HJM4001
Booster batteryDischarged
battery
Page 228 of 273
6
DO-IT-YOURSELF MAINTENANCE
24
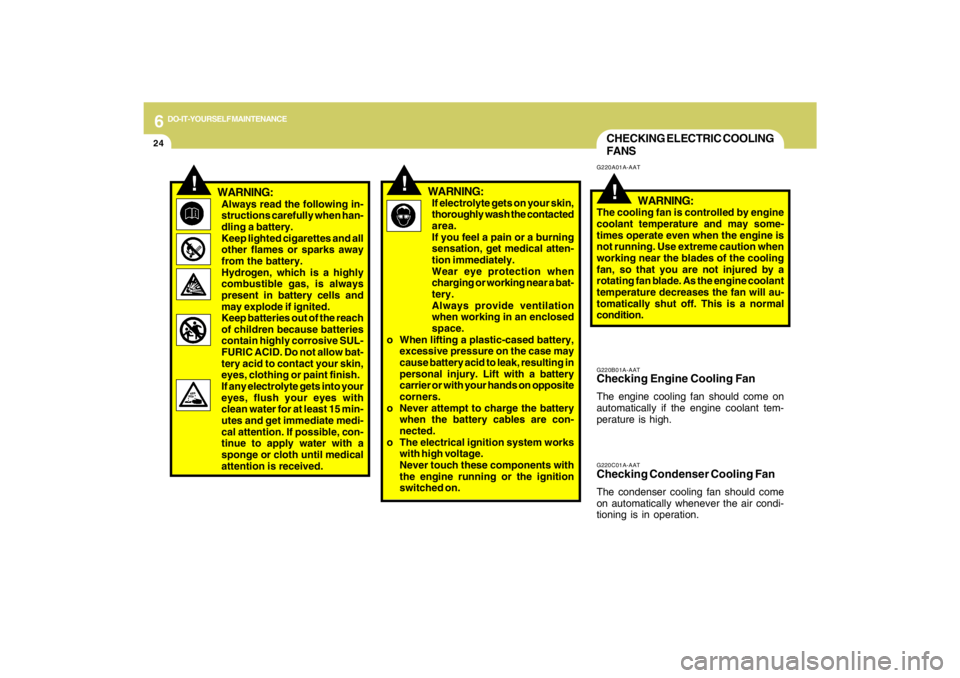
G220C01A-AATChecking Condenser Cooling FanThe condenser cooling fan should come
on automatically whenever the air condi-
tioning is in operation.G220B01A-AATChecking Engine Cooling FanThe engine cooling fan should come on
automatically if the engine coolant tem-
perature is high.CHECKING ELECTRIC COOLING
FANS!
G220A01A-AAT
WARNING:
The cooling fan is controlled by engine
coolant temperature and may some-
times operate even when the engine is
not running. Use extreme caution when
working near the blades of the cooling
fan, so that you are not injured by a
rotating fan blade. As the engine coolant
temperature decreases the fan will au-
tomatically shut off. This is a normal
condition.
If electrolyte gets on your skin,
thoroughly wash the contacted
area.
If you feel a pain or a burning
sensation, get medical atten-
tion immediately.
Wear eye protection when
charging or working near a bat-
tery.
Always provide ventilation
when working in an enclosed
space.
o When lifting a plastic-cased battery,
excessive pressure on the case may
cause battery acid to leak, resulting in
personal injury. Lift with a battery
carrier or with your hands on opposite
corners.
o Never attempt to charge the battery
when the battery cables are con-
nected.
o The electrical ignition system works
with high voltage.
Never touch these components with
the engine running or the ignition
switched on.
!
WARNING:
!
WARNING:Always read the following in-
structions carefully when han-
dling a battery.
Keep lighted cigarettes and all
other flames or sparks away
from the battery.
Hydrogen, which is a highly
combustible gas, is always
present in battery cells and
may explode if ignited.
Keep batteries out of the reach
of children because batteries
contain highly corrosive SUL-
FURIC ACID. Do not allow bat-
tery acid to contact your skin,
eyes, clothing or paint finish.
If any electrolyte gets into your
eyes, flush your eyes with
clean water for at least 15 min-
utes and get immediate medi-
cal attention. If possible, con-
tinue to apply water with a
sponge or cloth until medical
attention is received.