Page 70 of 418
COMP (Compression):Compression brings soft and loud CD passages
together for a more consistent listening level when in CD mode. Press to
turn the feature on/off.
SHUFFLE:Press to hear all tracks on the current CD in random order.
Press again to stop.
SCAN:Press for a brief sampling of all tracks on the current CD. Press
again to stop.
Playing MP3 discs
To play an MP3 disc on your DVD system:
1. Ensure that the vehicle is on or the ignition is in accessory mode.
2. Ensure that the DVD system is on.
3. Insert the MP3 disc into the DVD system, label side up.
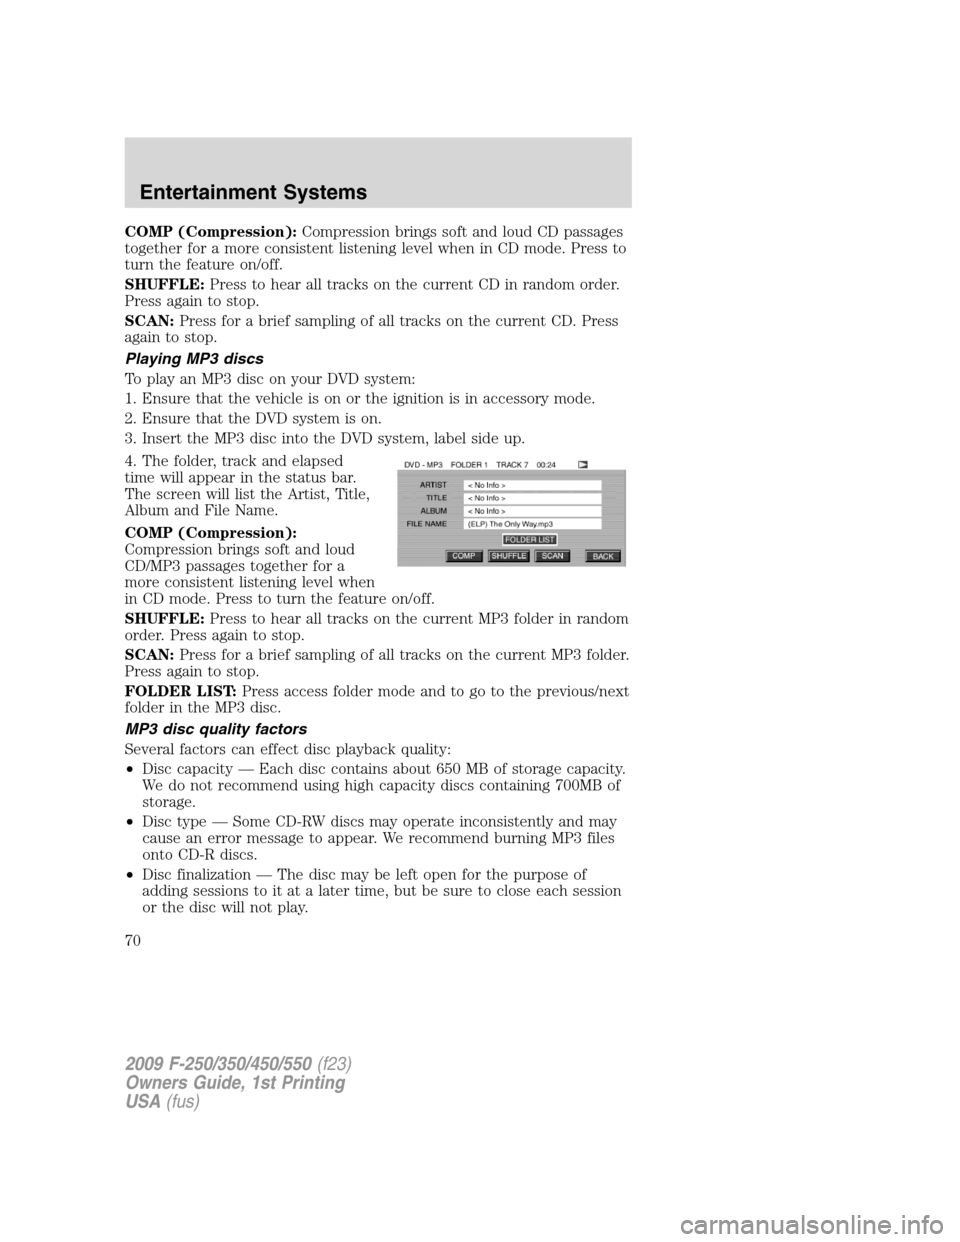
4. The folder, track and elapsed
time will appear in the status bar.
The screen will list the Artist, Title,
Album and File Name.
COMP (Compression):
Compression brings soft and loud
CD/MP3 passages together for a
more consistent listening level when
in CD mode. Press to turn the feature on/off.
SHUFFLE:Press to hear all tracks on the current MP3 folder in random
order. Press again to stop.
SCAN:Press for a brief sampling of all tracks on the current MP3 folder.
Press again to stop.
FOLDER LIST:Press access folder mode and to go to the previous/next
folder in the MP3 disc.
MP3 disc quality factors
Several factors can effect disc playback quality:
•Disc capacity — Each disc contains about 650 MB of storage capacity.
We do not recommend using high capacity discs containing 700MB of
storage.
•Disc type — Some CD-RW discs may operate inconsistently and may
cause an error message to appear. We recommend burning MP3 files
onto CD-R discs.
•Disc finalization — The disc may be left open for the purpose of
adding sessions to it at a later time, but be sure to close each session
or the disc will not play.
2009 F-250/350/450/550(f23)
Owners Guide, 1st Printing
USA(fus)
Entertainment Systems
70
Page 72 of 418
jammed. It is recommended that homemade CDs or DVDs be
identified with permanent felt tip marker rather than adhesive
labels. Ball point pens may damage CDs or DVDs. Please contact
your authorized dealer for further information.
Playing a DVD
1. Ensure that the vehicle is on or the ignition is in accessory mode.
2. Ensure that the navigation system is on.
3. Insert a DVD label-side up into the system.
4. Use the DVD bezel controls to:
Press to play or pause a DVD.
Press to stop or eject a DVD.
Press and release to go to the
previous chapter. Press and hold for
a fast reverse search.
Press and release to go to the next
chapter. Press and hold for a fast
forward search.
Press when not in menu mode to
adjust brightness, or when in menu
mode to navigate through the menu
selections.
Press to adjust volume levels.
Slow play
1. With a DVD playing, press pause.
2009 F-250/350/450/550(f23)
Owners Guide, 1st Printing
USA(fus)
Entertainment Systems
72
Page 74 of 418
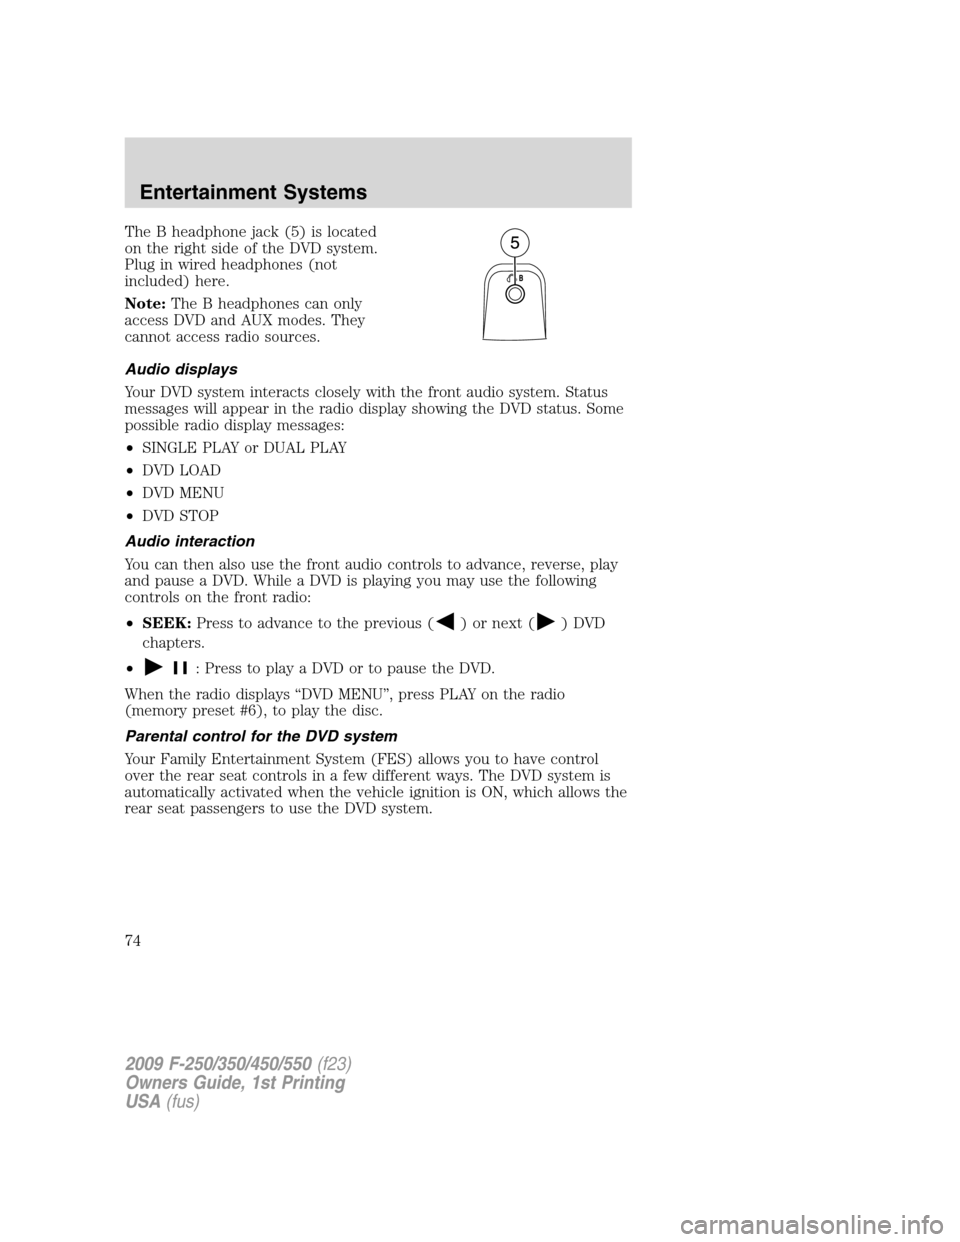
The B headphone jack (5) is located
on the right side of the DVD system.
Plug in wired headphones (not
included) here.
Note:The B headphones can only
access DVD and AUX modes. They
cannot access radio sources.
Audio displays
Your DVD system interacts closely with the front audio system. Status
messages will appear in the radio display showing the DVD status. Some
possible radio display messages:
•SINGLE PLAY or DUAL PLAY
•DVD LOAD
•DVD MENU
•DVD STOP
Audio interaction
You can then also use the front audio controls to advance, reverse, play
and pause a DVD. While a DVD is playing you may use the following
controls on the front radio:
•SEEK:Press to advance to the previous (
) or next () DVD
chapters.
•
: Press to play a DVD or to pause the DVD.
When the radio displays “DVD MENU”, press PLAY on the radio
(memory preset #6), to play the disc.
Parental control for the DVD system
Your Family Entertainment System (FES) allows you to have control
over the rear seat controls in a few different ways. The DVD system is
automatically activated when the vehicle ignition is ON, which allows the
rear seat passengers to use the DVD system.
2009 F-250/350/450/550(f23)
Owners Guide, 1st Printing
USA(fus)
Entertainment Systems
74
Page 82 of 418
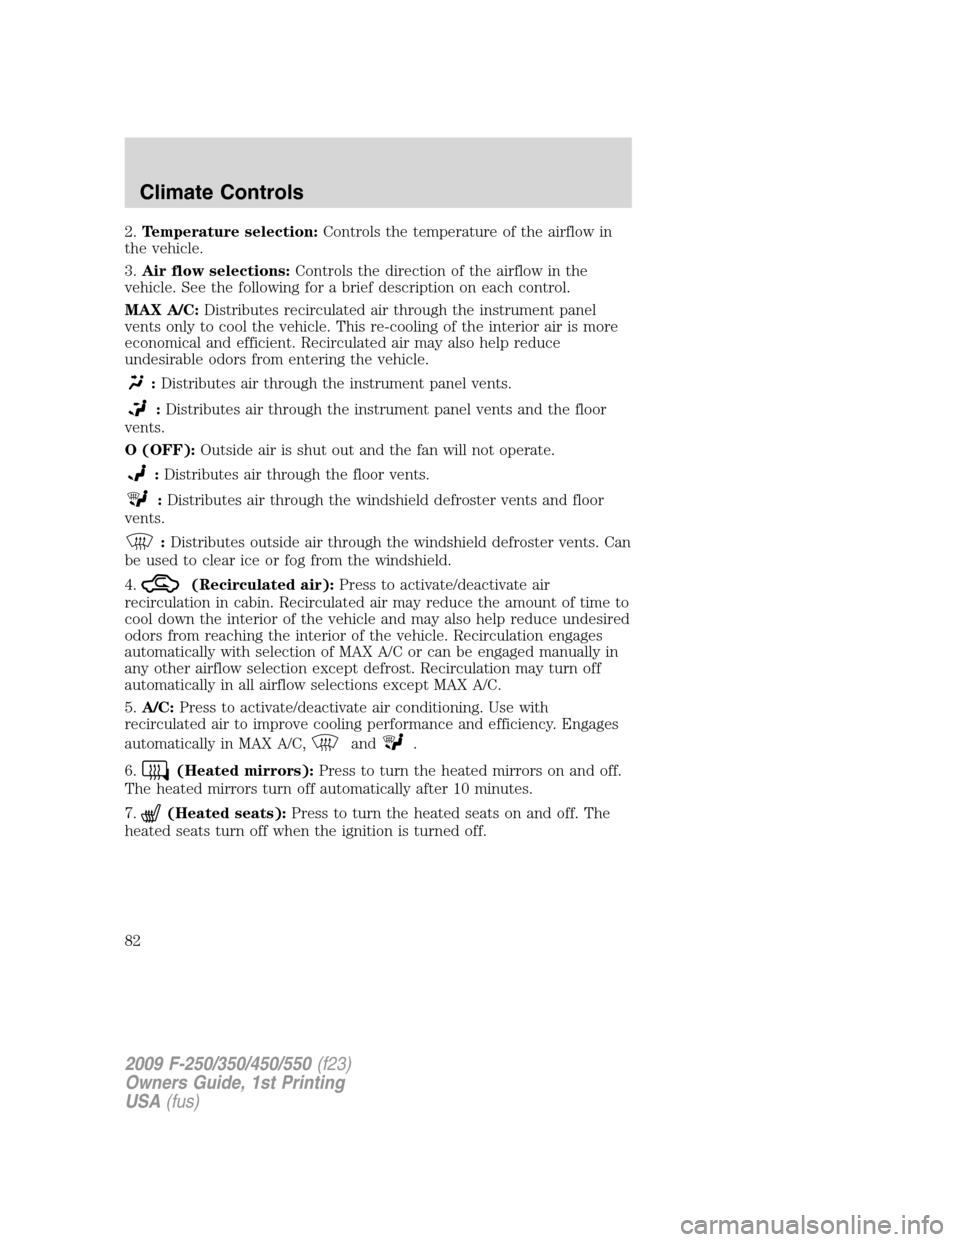
2.Temperature selection:Controls the temperature of the airflow in
the vehicle.
3.Air flow selections:Controls the direction of the airflow in the
vehicle. See the following for a brief description on each control.
MAX A/C:Distributes recirculated air through the instrument panel
vents only to cool the vehicle. This re-cooling of the interior air is more
economical and efficient. Recirculated air may also help reduce
undesirable odors from entering the vehicle.
:Distributes air through the instrument panel vents.
:Distributes air through the instrument panel vents and the floor
vents.
O (OFF):Outside air is shut out and the fan will not operate.
:Distributes air through the floor vents.
:Distributes air through the windshield defroster vents and floor
vents.
:Distributes outside air through the windshield defroster vents. Can
be used to clear ice or fog from the windshield.
4.
(Recirculated air):Press to activate/deactivate air
recirculation in cabin. Recirculated air may reduce the amount of time to
cool down the interior of the vehicle and may also help reduce undesired
odors from reaching the interior of the vehicle. Recirculation engages
automatically with selection of MAX A/C or can be engaged manually in
any other airflow selection except defrost. Recirculation may turn off
automatically in all airflow selections except MAX A/C.
5.A/C:Press to activate/deactivate air conditioning. Use with
recirculated air to improve cooling performance and efficiency. Engages
automatically in MAX A/C,
and.
6.
(Heated mirrors):Press to turn the heated mirrors on and off.
The heated mirrors turn off automatically after 10 minutes.
7.
(Heated seats):Press to turn the heated seats on and off. The
heated seats turn off when the ignition is turned off.
2009 F-250/350/450/550(f23)
Owners Guide, 1st Printing
USA(fus)
Climate Controls
82
Page 86 of 418
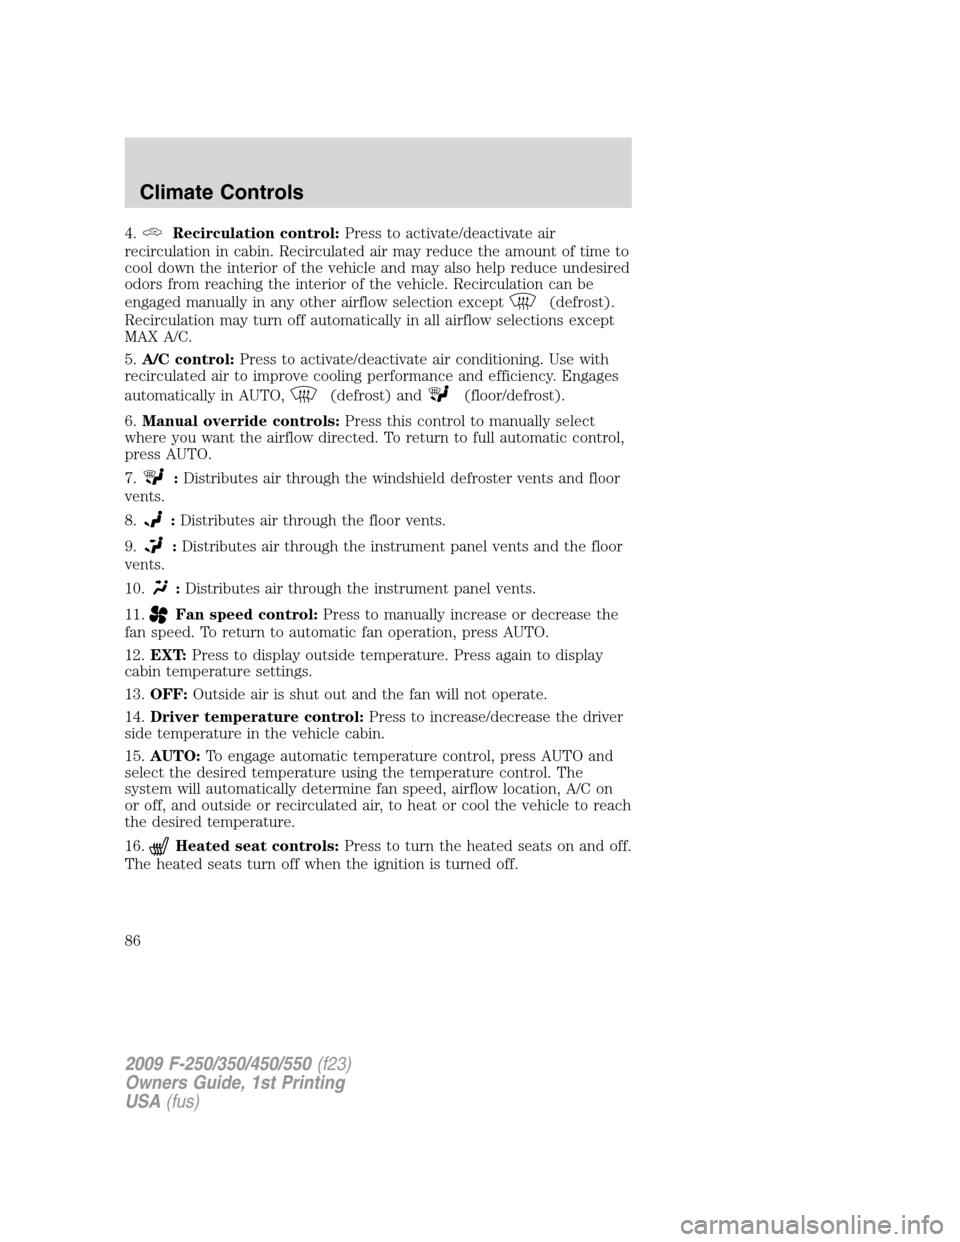
4.Recirculation control:Press to activate/deactivate air
recirculation in cabin. Recirculated air may reduce the amount of time to
cool down the interior of the vehicle and may also help reduce undesired
odors from reaching the interior of the vehicle. Recirculation can be
engaged manually in any other airflow selection except
(defrost).
Recirculation may turn off automatically in all airflow selections except
MAX A/C.
5.A/C control:Press to activate/deactivate air conditioning. Use with
recirculated air to improve cooling performance and efficiency. Engages
automatically in AUTO,
(defrost) and(floor/defrost).
6.Manual override controls:Press this control to manually select
where you want the airflow directed. To return to full automatic control,
press AUTO.
7.
:Distributes air through the windshield defroster vents and floor
vents.
8.
:Distributes air through the floor vents.
9.
:Distributes air through the instrument panel vents and the floor
vents.
10.
:Distributes air through the instrument panel vents.
11.
Fan speed control:Press to manually increase or decrease the
fan speed. To return to automatic fan operation, press AUTO.
12.EXT:Press to display outside temperature. Press again to display
cabin temperature settings.
13.OFF:Outside air is shut out and the fan will not operate.
14.Driver temperature control:Press to increase/decrease the driver
side temperature in the vehicle cabin.
15.AUTO:To engage automatic temperature control, press AUTO and
select the desired temperature using the temperature control. The
system will automatically determine fan speed, airflow location, A/C on
or off, and outside or recirculated air, to heat or cool the vehicle to reach
the desired temperature.
16.
Heated seat controls:Press to turn the heated seats on and off.
The heated seats turn off when the ignition is turned off.
2009 F-250/350/450/550(f23)
Owners Guide, 1st Printing
USA(fus)
Climate Controls
86
Page 89 of 418
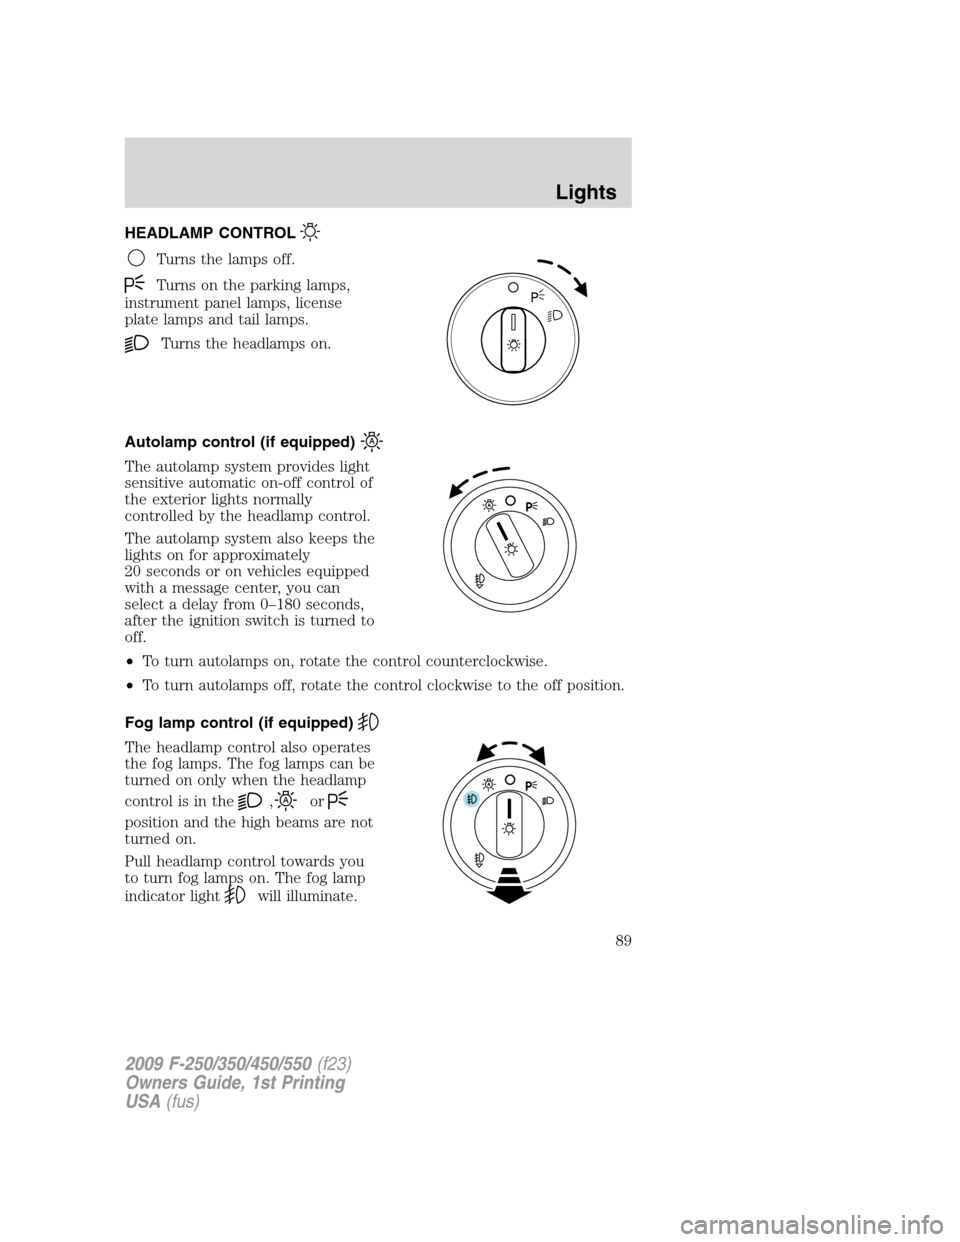
HEADLAMP CONTROL
Turns the lamps off.
Turns on the parking lamps,
instrument panel lamps, license
plate lamps and tail lamps.
Turns the headlamps on.
Autolamp control (if equipped)
The autolamp system provides light
sensitive automatic on-off control of
the exterior lights normally
controlled by the headlamp control.
The autolamp system also keeps the
lights on for approximately
20 seconds or on vehicles equipped
with a message center, you can
select a delay from 0–180 seconds,
after the ignition switch is turned to
off.
•To turn autolamps on, rotate the control counterclockwise.
•To turn autolamps off, rotate the control clockwise to the off position.
Fog lamp control (if equipped)
The headlamp control also operates
the fog lamps. The fog lamps can be
turned on only when the headlamp
control is in the
,or
position and the high beams are not
turned on.
Pull headlamp control towards you
to turn fog lamps on. The fog lamp
indicator light
will illuminate.
2009 F-250/350/450/550(f23)
Owners Guide, 1st Printing
USA(fus)
Lights
89
Page 90 of 418
Daytime running lamps (DRL) (if equipped)
Turns the headlamps on with a reduced output.
To activate:
•the ignition must be in the on position,
•the headlamp control is in the off or parking lamp position and
•the parking brake must be disengaged.
WARNING:Always remember to turn on your headlamps at
dusk or during inclement weather. The Daytime Running Lamp
(DRL) system does not activate the tail lamps and generally may not
provide adequate lighting during these conditions. Failure to activate
your headlamps under these conditions may result in a collision.
High beams
Push the lever toward the
instrument panel to activate. Pull
the lever towards you to deactivate.
Flash to pass
Pull toward you slightly to activate
and release to deactivate.
O
F
F
2009 F-250/350/450/550(f23)
Owners Guide, 1st Printing
USA(fus)
Lights
90
Page 95 of 418
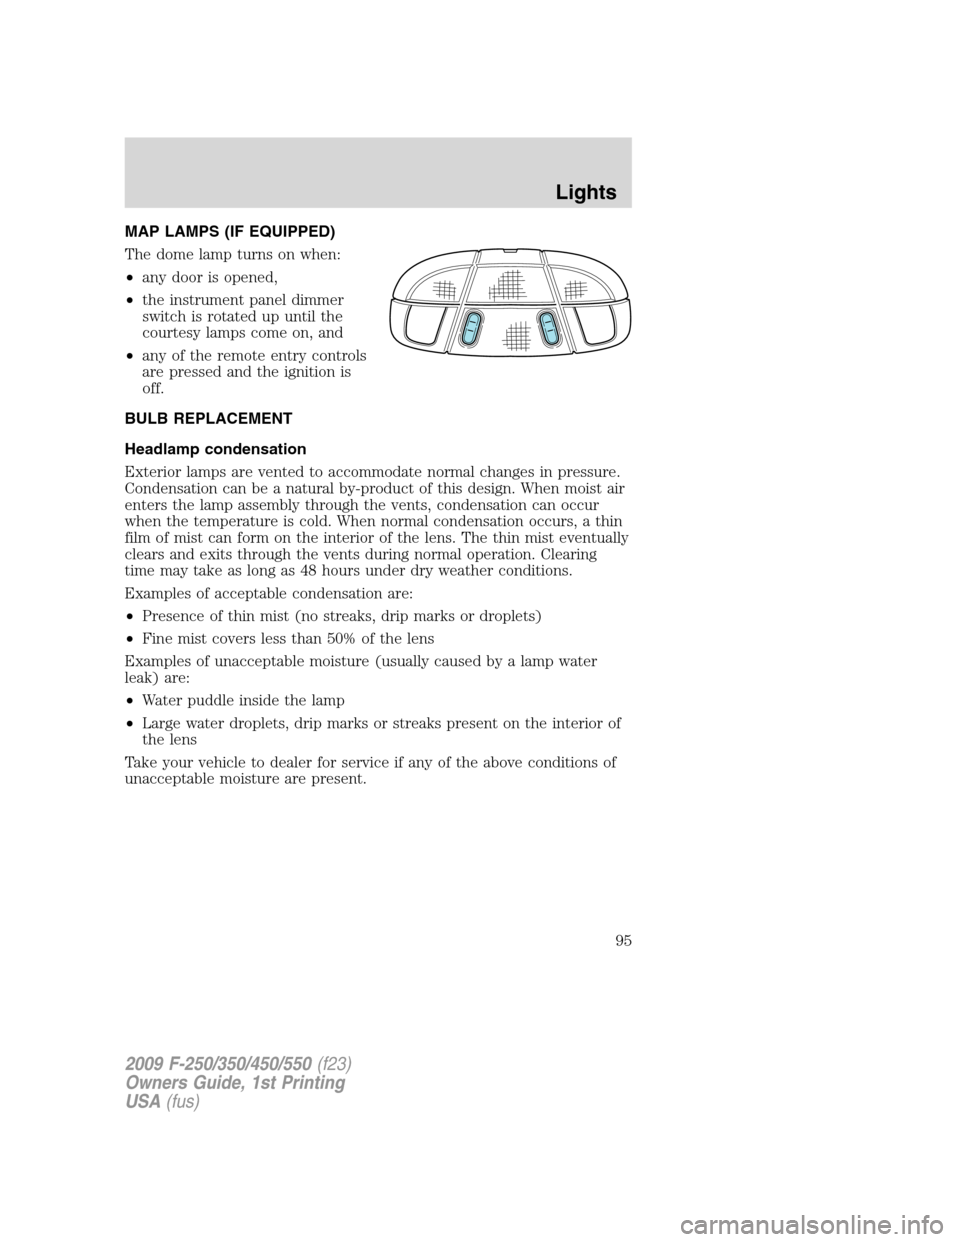
MAP LAMPS (IF EQUIPPED)
The dome lamp turns on when:
•any door is opened,
•the instrument panel dimmer
switch is rotated up until the
courtesy lamps come on, and
•any of the remote entry controls
are pressed and the ignition is
off.
BULB REPLACEMENT
Headlamp condensation
Exterior lamps are vented to accommodate normal changes in pressure.
Condensation can be a natural by-product of this design. When moist air
enters the lamp assembly through the vents, condensation can occur
when the temperature is cold. When normal condensation occurs, a thin
film of mist can form on the interior of the lens. The thin mist eventually
clears and exits through the vents during normal operation. Clearing
time may take as long as 48 hours under dry weather conditions.
Examples of acceptable condensation are:
•Presence of thin mist (no streaks, drip marks or droplets)
•Fine mist covers less than 50% of the lens
Examples of unacceptable moisture (usually caused by a lamp water
leak) are:
•Water puddle inside the lamp
•Large water droplets, drip marks or streaks present on the interior of
the lens
Take your vehicle to dealer for service if any of the above conditions of
unacceptable moisture are present.
2009 F-250/350/450/550(f23)
Owners Guide, 1st Printing
USA(fus)
Lights
95