Page 106 of 418
CENTER CONSOLE (IF EQUIPPED)
Your vehicle may be equipped with a variety of console features. These
include:
•Utility compartment with
cassette/CD holder
•Coin holder
•Pen holder
•Writing surface
•A power point inside the utility
compartment and on the rear of
the console
•Laptop storage
•Hanging file folder supports
•Rear cupholders (Crew Cab only)
WARNING:Use only soft cups in the cupholder. Hard objects
can injure you in a collision.
Center console/under-seat storage-Cabela’s Edition (if equipped)
Your vehicle may be equipped with a lockable compartment in the center
console and a lockable storage area under the rear seats.
Center console storage
Use the vehicle’s ignition key to
lock/unlock the compartment.
2009 F-250/350/450/550(f23)
Owners Guide, 1st Printing
USA(fus)
Driver Controls
106
Page 107 of 418

Under-seat storage
Flip the rear seat cushion up to
access the rear under-seat storage
area. SeeSeatingin theSeating
and safety restraintschapter for
more information.
Use the vehicle’s ignition key to
lock/unlock the compartment.
Release the lid latches to open the
storage area.
AUXILIARY POWER POINT (12VDC)
Power outlets are designed for accessory plugs only. Do not insert
any other object in the power outlet for this will damage the
outlet and blow the fuse. Do not hang any type of accessory or
accessory bracket from the plug. Improper use of the power
outlet can cause damage not covered by your warranty.
The auxiliary power point is located
on the instrument panel.
On SuperCab and Crew Cab
models,another power point is
located on the rear of the center
console (if equipped).
Do not use the power point for
operating the cigarette lighter
element (if equipped).
To prevent the fuse from being
blown, do not use the power point(s) over the vehicle capacity of
12 VDC/180W. If the power point or cigar lighter socket is not working, a
2009 F-250/350/450/550(f23)
Owners Guide, 1st Printing
USA(fus)
Driver Controls
107
Page 110 of 418

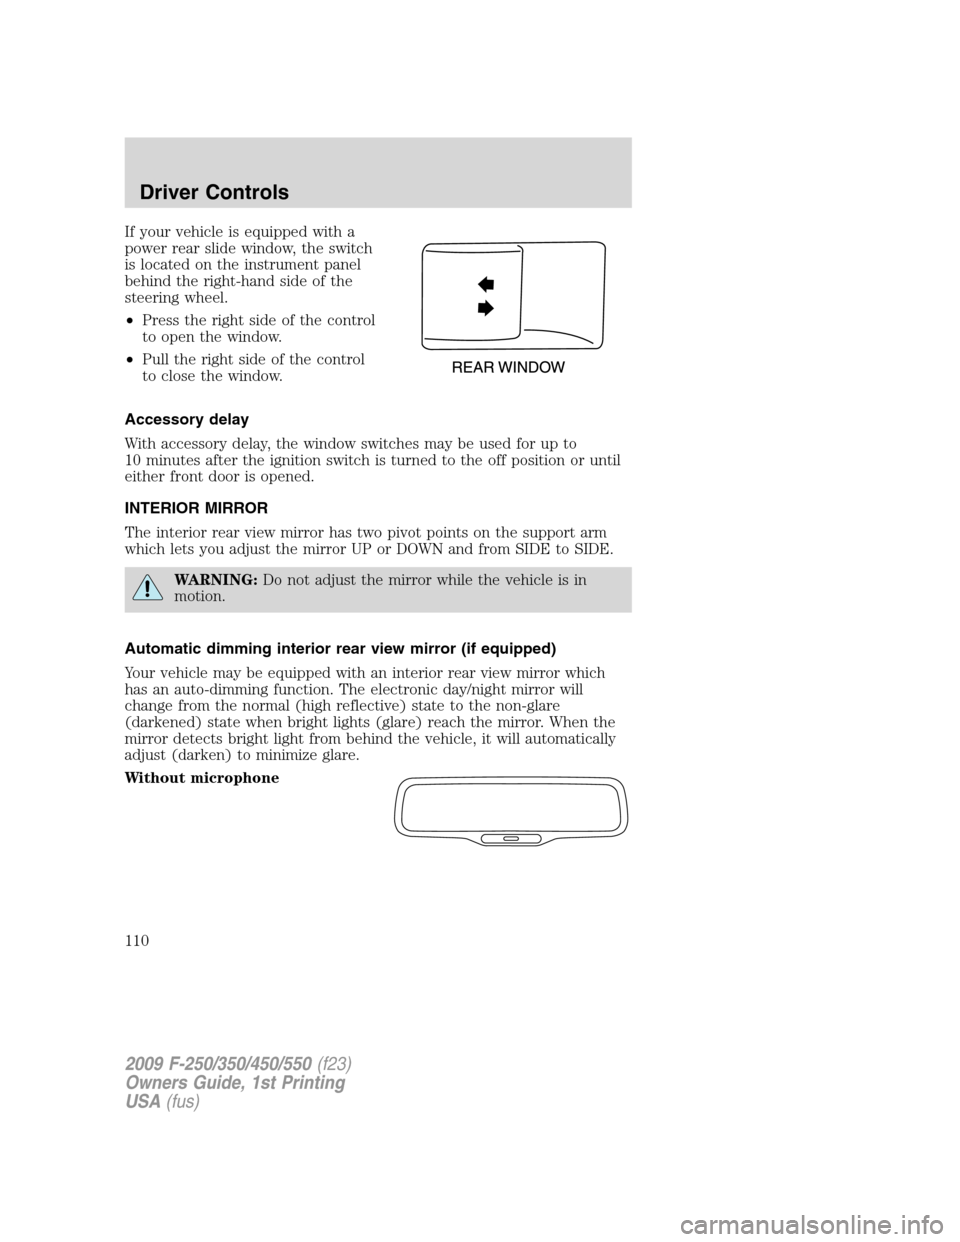
If your vehicle is equipped with a
power rear slide window, the switch
is located on the instrument panel
behind the right-hand side of the
steering wheel.
•Press the right side of the control
to open the window.
•Pull the right side of the control
to close the window.
Accessory delay
With accessory delay, the window switches may be used for up to
10 minutes after the ignition switch is turned to the off position or until
either front door is opened.
INTERIOR MIRROR
The interior rear view mirror has two pivot points on the support arm
which lets you adjust the mirror UP or DOWN and from SIDE to SIDE.
WARNING:Do not adjust the mirror while the vehicle is in
motion.
Automatic dimming interior rear view mirror (if equipped)
Your vehicle may be equipped with an interior rear view mirror which
has an auto-dimming function. The electronic day/night mirror will
change from the normal (high reflective) state to the non-glare
(darkened) state when bright lights (glare) reach the mirror. When the
mirror detects bright light from behind the vehicle, it will automatically
adjust (darken) to minimize glare.
Without microphone
2009 F-250/350/450/550(f23)
Owners Guide, 1st Printing
USA(fus)
Driver Controls
110
Page 118 of 418
Reducing speed while using speed control
There are two ways to reduce a set
speed:
•Press and hold the SET - control
until you get to the desired
speed, then release the control.
You can also use the SET -
control to operate the Tap-Down
function. Press and release this
control to decrease the vehicle
set speed in small amounts by
1 mph (1.6 km/h).
•Depress the brake pedal until the desired vehicle speed is reached,
press the SET + control.
Turning off speed control
There are two ways to turn off the speed control:
•Depress the brake pedal. This will not erase your vehicle’s previously
set speed.
•Press the speed control OFF
control.
Note:When you turn off the speed
control or the ignition, your speed
control set speed memory is erased.
STEERING WHEEL CONTROLS (IF EQUIPPED)
These controls allow you to operate some radio and climate control
features.
2009 F-250/350/450/550(f23)
Owners Guide, 1st Printing
USA(fus)
Driver Controls
118
Page 121 of 418

For further information on the Navigation system/SYNC system, refer to
theNavigation SystemandSYNCsupplements.
UPFITTER CONTROLS (IF EQUIPPED)
Your vehicle may be equipped with
the Upfitter option package which
will provide four switches, mounted
in the center of the instrument
panel, labeled AUX 1, AUX 2, AUX 3
and AUX 4. These switches will only
operate while the ignition is in the
on position, whether the engine is
running or not. It is, however, recommended that the engine remain
running to maintain battery charge when using the Upfitter switches for
extended duration or higher current draws. (This is even more important
for vehicles with diesel engines since the glow plugs are also draining
battery power when the ignition key is in the on position.)
When switched on by the operator they provide 10 amps, 15 amps or
30 amps of electrical battery power for a variety of personal or
commercial uses.
If your vehicle is equipped with this option, there will also be a relay box
located on the driver side end of the instrument panel. See your
authorized dealer for service.
The relays are coded as shown in
the accompanying illustration.
RELAY
1 RELAY
2 RELAY
3 RELAY
4
2009 F-250/350/450/550(f23)
Owners Guide, 1st Printing
USA(fus)
Driver Controls
121
Page 124 of 418

detect an object, signaling the door to stop and reverse, does not meet
current U.S. federal safety standards. For more information, contact
HomeLink�at:www.homelink.comor1–800–355–3515.
Retain the original transmitter for use in other vehicles as well as for
future programming procedures (i.e. new HomeLink�equipped vehicle
purchase). It is also suggested that upon the sale of the vehicle, the
programmed Homelink�buttons be erased for security purposes, refer to
Programmingin this section.
Programming
Do not program HomeLink�with the vehicle parked in the garage.
Note:Your vehicle may require the ignition switch to be turned to the
accessory position for programming and/or operation of the HomeLink�.
It is also recommended that a new battery be placed in the hand-held
transmitter of the device being programmed to HomeLink�for quicker
training and accurate transmission of the radio-frequency signal.
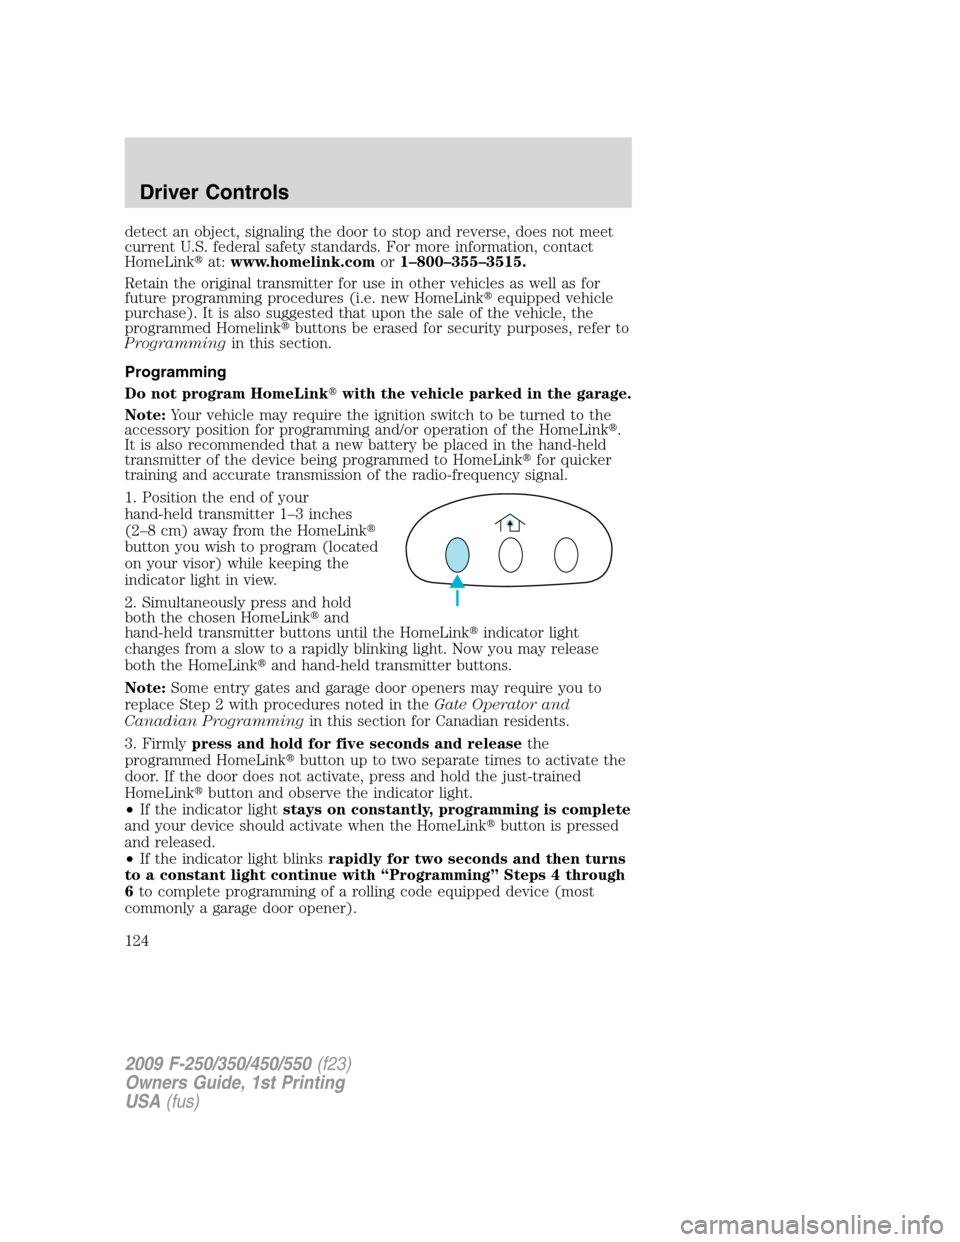
1. Position the end of your
hand-held transmitter 1–3 inches
(2–8 cm) away from the HomeLink�
button you wish to program (located
on your visor) while keeping the
indicator light in view.
2. Simultaneously press and hold
both the chosen HomeLink�and
hand-held transmitter buttons until the HomeLink�indicator light
changes from a slow to a rapidly blinking light. Now you may release
both the HomeLink�and hand-held transmitter buttons.
Note:Some entry gates and garage door openers may require you to
replace Step 2 with procedures noted in theGate Operator and
Canadian Programmingin this section for Canadian residents.
3. Firmlypress and hold for five seconds and releasethe
programmed HomeLink�button up to two separate times to activate the
door. If the door does not activate, press and hold the just-trained
HomeLink�button and observe the indicator light.
•If the indicator lightstays on constantly, programming is complete
and your device should activate when the HomeLink�button is pressed
and released.
•If the indicator light blinksrapidly for two seconds and then turns
to a constant light continue with “Programming” Steps 4 through
6to complete programming of a rolling code equipped device (most
commonly a garage door opener).
2009 F-250/350/450/550(f23)
Owners Guide, 1st Printing
USA(fus)
Driver Controls
124
Page 127 of 418

STANDARD MESSAGE CENTER (IF EQUIPPED)
With the ignition in the on position,
the message center, located on your
instrument cluster, displays text
messages that alert you to possible
problems or malfunctions in your
vehicle’s operating systems. All
warning messages will also provide
an indicator chime.
For improved message center readability, if your vehicle is equipped with
Autolamp control, the message center brightness cannot be adjusted
when parking lamps or headlamps are on in bright daytime ambient
conditions, refer toAutolamp controlin theLightschapter. In lower
ambient light conditions, the message center brightness can be adjusted
using the panel dimmer control when parking lamps or headlamps are
on, refer toPanel dimmer controlin theLightschapter.
Selectable features
Press and release the SELECT/RESET control switch, located in the
speedometer, to scroll and reset the following functions. Select or reset
the function by holding the SELECT/RESET button for more than
2 seconds.
Info menu
This menu displays the following control displays:
•Odometer/Trip Odometer (Trip A and Trip B)
•Engine hour meter (if equipped)
•Distance to Empty
•Average Fuel Economy
•Setup Menu
•System check
•Blank
Odometer/Trip odometer
Refer toGaugesin theInstrument Clusterchapter.
Engine hour meter (if equipped)
Refer toGaugesin theInstrument Clusterchapter.
2009 F-250/350/450/550(f23)
Owners Guide, 1st Printing
USA(fus)
Driver Controls
127
Page 128 of 418

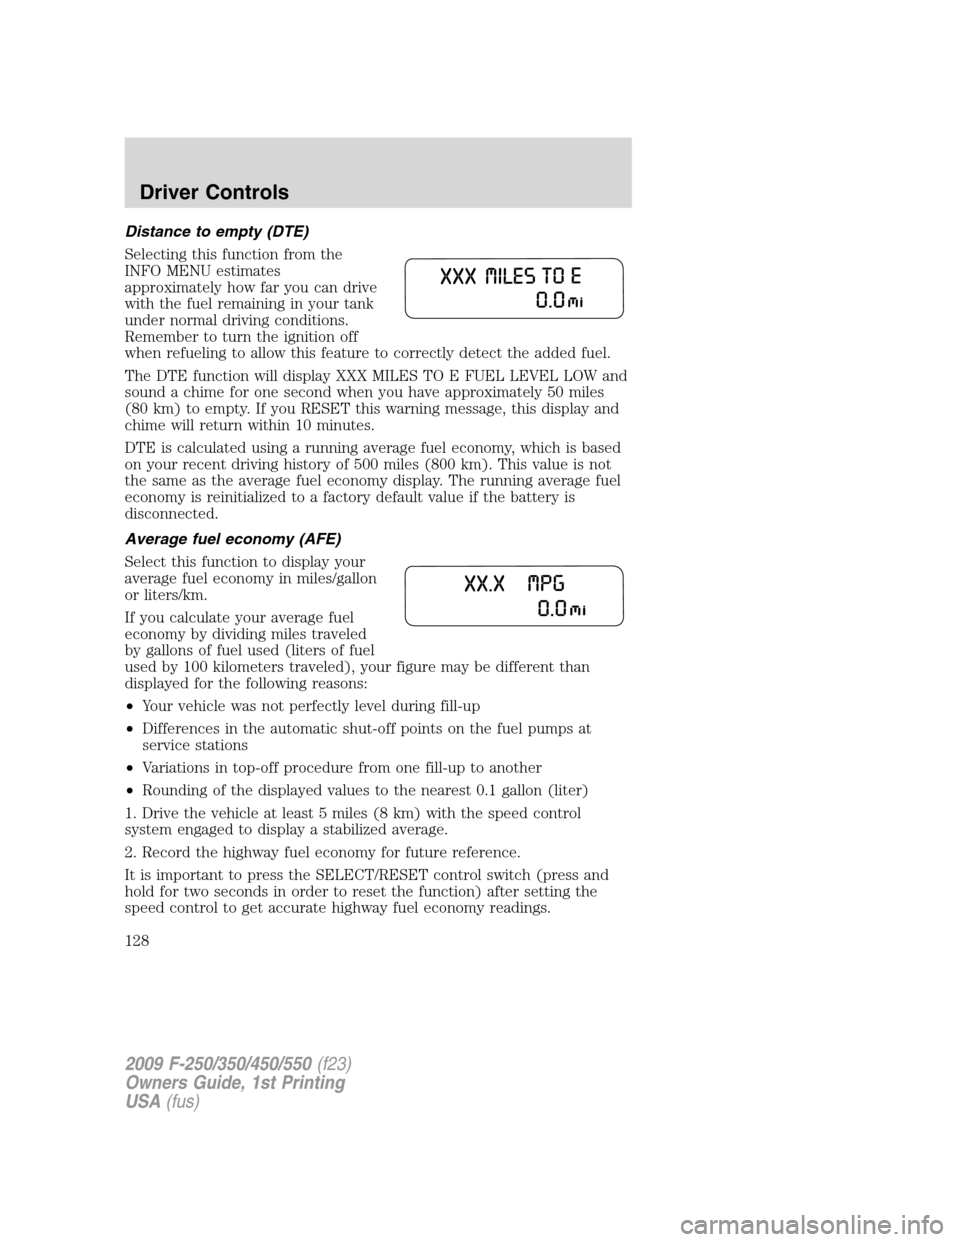
Distance to empty (DTE)
Selecting this function from the
INFO MENU estimates
approximately how far you can drive
with the fuel remaining in your tank
under normal driving conditions.
Remember to turn the ignition off
when refueling to allow this feature to correctly detect the added fuel.
The DTE function will display XXX MILES TO E FUEL LEVEL LOW and
sound a chime for one second when you have approximately 50 miles
(80 km) to empty. If you RESET this warning message, this display and
chime will return within 10 minutes.
DTE is calculated using a running average fuel economy, which is based
on your recent driving history of 500 miles (800 km). This value is not
the same as the average fuel economy display. The running average fuel
economy is reinitialized to a factory default value if the battery is
disconnected.
Average fuel economy (AFE)
Select this function to display your
average fuel economy in miles/gallon
or liters/km.
If you calculate your average fuel
economy by dividing miles traveled
by gallons of fuel used (liters of fuel
used by 100 kilometers traveled), your figure may be different than
displayed for the following reasons:
•Your vehicle was not perfectly level during fill-up
•Differences in the automatic shut-off points on the fuel pumps at
service stations
•Variations in top-off procedure from one fill-up to another
•Rounding of the displayed values to the nearest 0.1 gallon (liter)
1. Drive the vehicle at least 5 miles (8 km) with the speed control
system engaged to display a stabilized average.
2. Record the highway fuel economy for future reference.
It is important to press the SELECT/RESET control switch (press and
hold for two seconds in order to reset the function) after setting the
speed control to get accurate highway fuel economy readings.
2009 F-250/350/450/550(f23)
Owners Guide, 1st Printing
USA(fus)
Driver Controls
128