2009 FORD SUPER DUTY instrument panel
[x] Cancel search: instrument panelPage 42 of 418
discs, one at a time, label side up, when prompted. Once loaded, the disc
in the last slot loaded will begin to play.
Note:An MP3 disc with folders will show F001 (folder #) T001 (track #)
in the display. An MP3 disc without folders will show T001 (track#) in
the display. Refer toMP3 track and folder structurelater in this
chapter for further information.
18.
(CD eject):To eject a disc
from the system, press
. Select
the correct slot number using
memory presets 1–6. When ready, the system will eject the disc and the
display will read REMOVE CD. If the disc is not removed in 15 seconds,
the system will reload the disc.
To auto eject up to 6 CDs,press and hold
until the system begins
ejecting the current disc. Remove the current disc and the next disc will
be ejected. If the current disc is not removed, the system will reload the
disc.
19.CD slot:Insert a CD label side
up.
Auxiliary input jack (if equipped)
WARNING:Driving while distracted can result in loss of vehicle
control, accident and injury. Ford strongly recommends that
drivers use extreme caution when using any device that may take their
focus off the road. The driver’s primary responsibility is the safe
operation of their vehicle. Only use cell phones and other devices not
essential to the driving task when it is safe to do so.
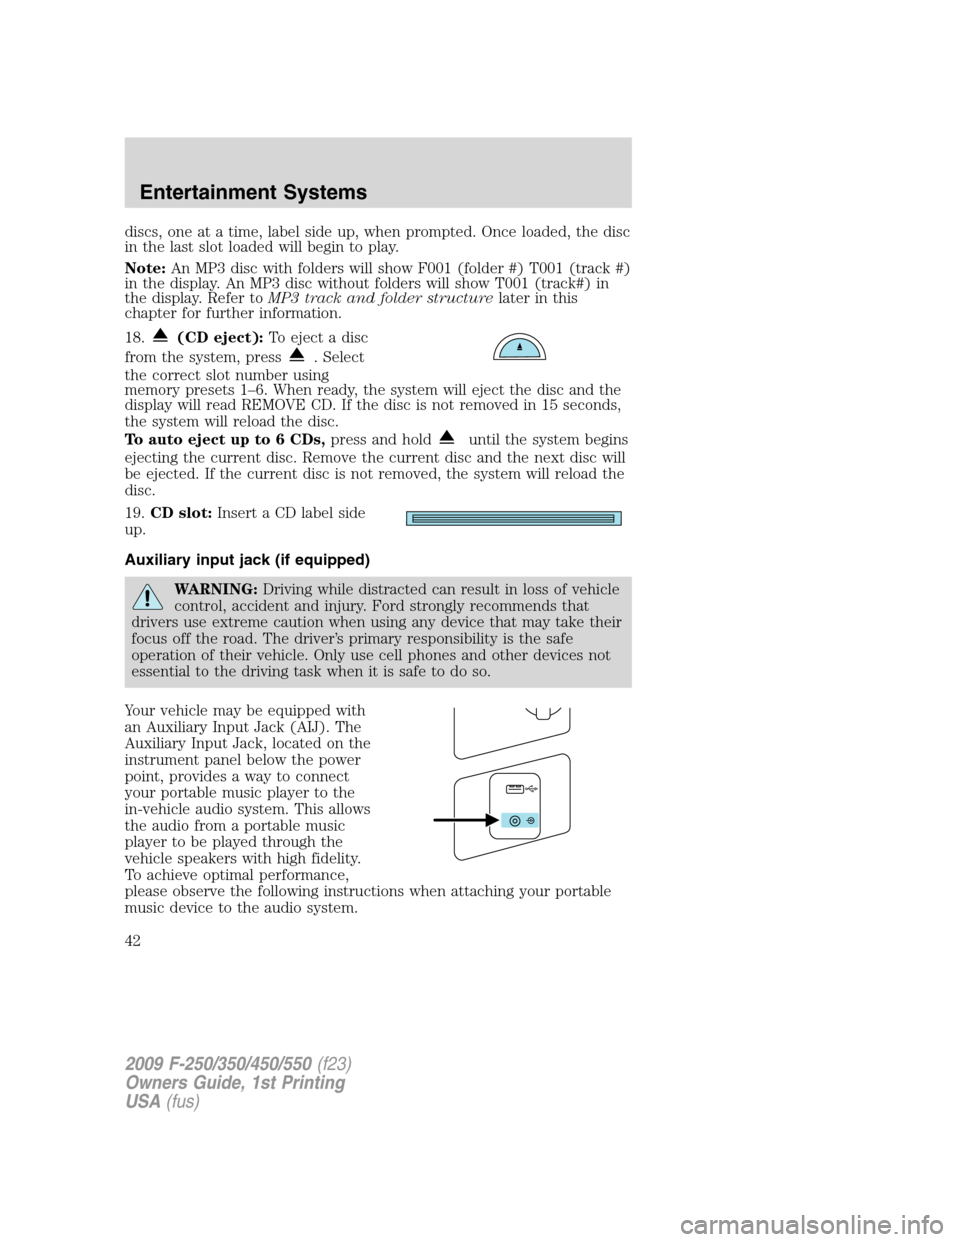
Your vehicle may be equipped with
an Auxiliary Input Jack (AIJ). The
Auxiliary Input Jack, located on the
instrument panel below the power
point, provides a way to connect
your portable music player to the
in-vehicle audio system. This allows
the audio from a portable music
player to be played through the
vehicle speakers with high fidelity.
To achieve optimal performance,
please observe the following instructions when attaching your portable
music device to the audio system.
2009 F-250/350/450/550(f23)
Owners Guide, 1st Printing
USA(fus)
Entertainment Systems
42
Page 44 of 418
3. If the music sounds distorted at lower listening levels, turn the
portable music player volume down. If the problems persist, replace or
recharge the batteries in the portable music player.
4. The portable music player must be controlled in the same manner
when it is used with headphones as the AIJ does not provide control
(play, pause, etc.) over the attached portable music player.
5. For safety reasons, connecting or adjusting the settings on your
portable music player should not be attempted while the vehicle is
moving. Also, the portable music player should be stored in a secure
location, such as the center console or the glove box, when the vehicle is
in motion. The audio extension cable must be long enough to allow the
portable music player to be safely stored while the vehicle is in motion.
USB port (if equipped)
WARNING:Driving while distracted can result in loss of vehicle
control, accident and injury. Ford strongly recommends that
drivers use extreme caution when using any device that may take their
focus off the road. The driver’s primary responsibility is the safe
operation of their vehicle. Only use cell phones and other devices not
essential to the driving task when it is safe to do so.
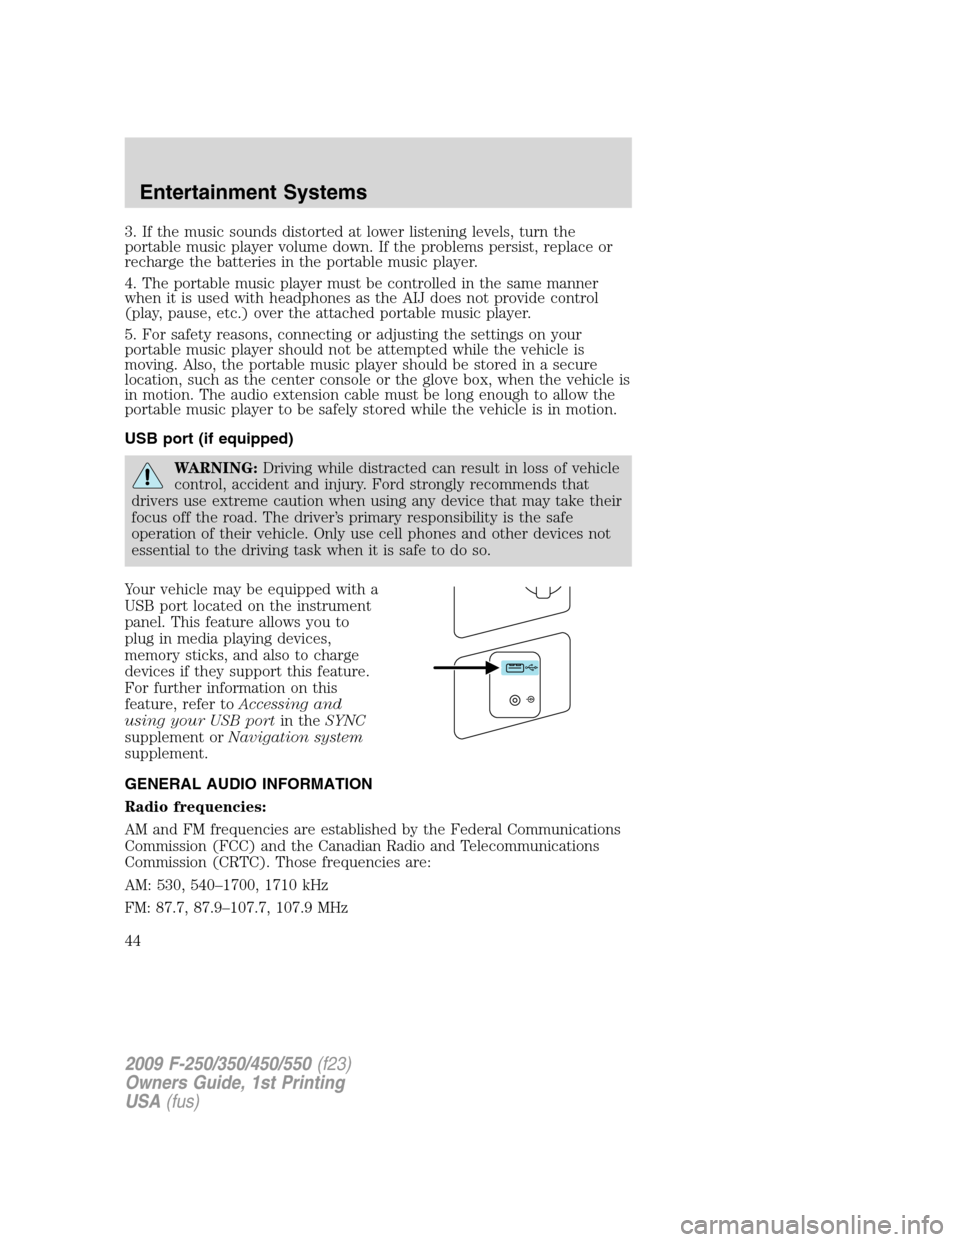
Your vehicle may be equipped with a
USB port located on the instrument
panel. This feature allows you to
plug in media playing devices,
memory sticks, and also to charge
devices if they support this feature.
For further information on this
feature, refer toAccessing and
using your USB portin theSYNC
supplement orNavigation system
supplement.
GENERAL AUDIO INFORMATION
Radio frequencies:
AM and FM frequencies are established by the Federal Communications
Commission (FCC) and the Canadian Radio and Telecommunications
Commission (CRTC). Those frequencies are:
AM: 530, 540–1700, 1710 kHz
FM: 87.7, 87.9–107.7, 107.9 MHz
2009 F-250/350/450/550(f23)
Owners Guide, 1st Printing
USA(fus)
Entertainment Systems
44
Page 80 of 418
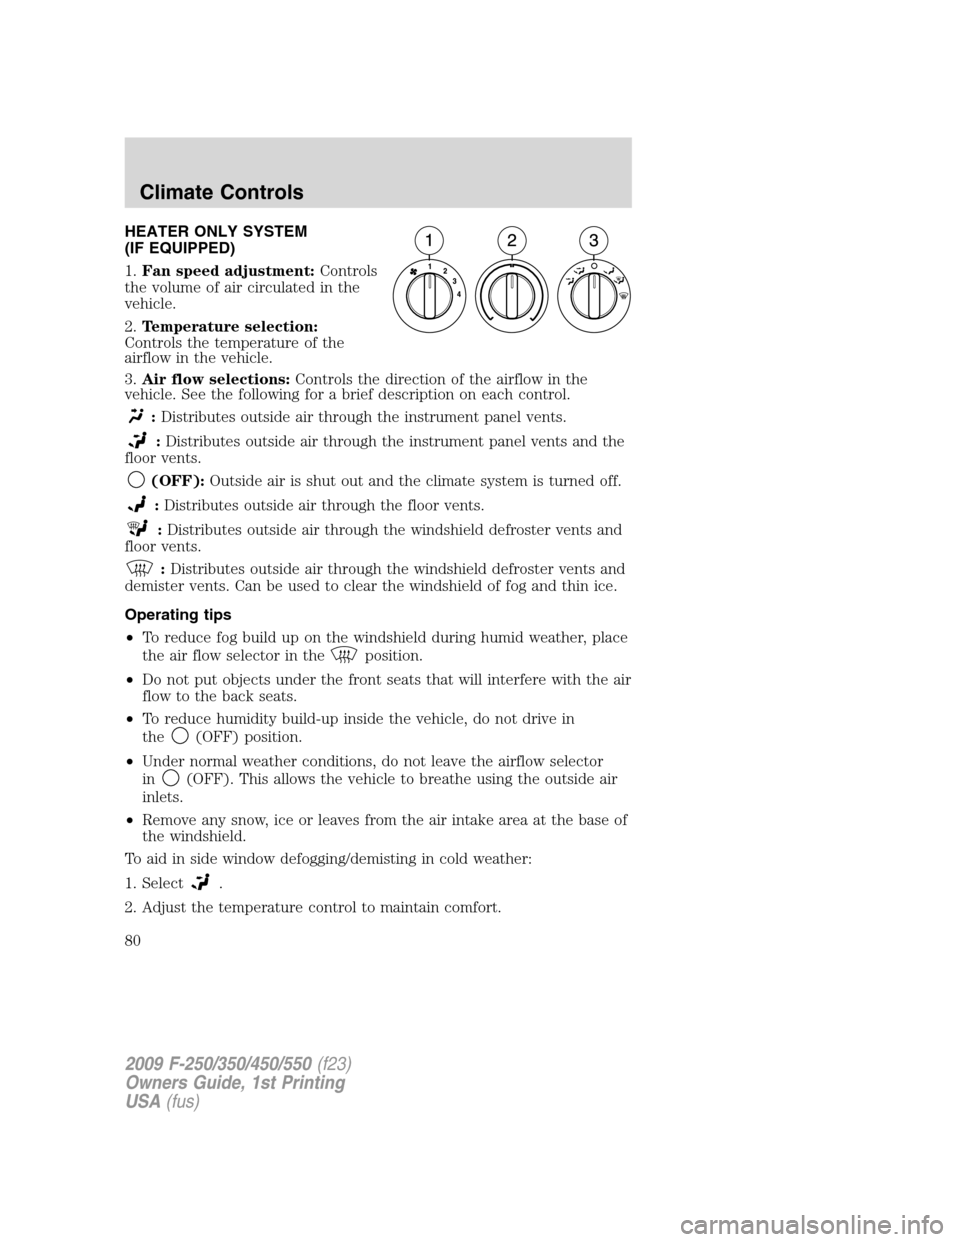
HEATER ONLY SYSTEM
(IF EQUIPPED)
1.Fan speed adjustment:Controls
the volume of air circulated in the
vehicle.
2.Temperature selection:
Controls the temperature of the
airflow in the vehicle.
3.Air flow selections:Controls the direction of the airflow in the
vehicle. See the following for a brief description on each control.
:Distributes outside air through the instrument panel vents.
:Distributes outside air through the instrument panel vents and the
floor vents.
(OFF):Outside air is shut out and the climate system is turned off.
:Distributes outside air through the floor vents.
:Distributes outside air through the windshield defroster vents and
floor vents.
:Distributes outside air through the windshield defroster vents and
demister vents. Can be used to clear the windshield of fog and thin ice.
Operating tips
•To reduce fog build up on the windshield during humid weather, place
the air flow selector in the
position.
•Do not put objects under the front seats that will interfere with the air
flow to the back seats.
•To reduce humidity build-up inside the vehicle, do not drive in
the
(OFF) position.
•Under normal weather conditions, do not leave the airflow selector
in
(OFF). This allows the vehicle to breathe using the outside air
inlets.
•Remove any snow, ice or leaves from the air intake area at the base of
the windshield.
To aid in side window defogging/demisting in cold weather:
1. Select
.
2. Adjust the temperature control to maintain comfort.
2009 F-250/350/450/550(f23)
Owners Guide, 1st Printing
USA(fus)
Climate Controls
80
Page 81 of 418
3. Set the fan speed to the highest setting.
4. Direct the outer instrument panel vents towards the side windows.
To increase airflow to the outer instrument panel vents, close the vents
located in the middle of the instrument panel.
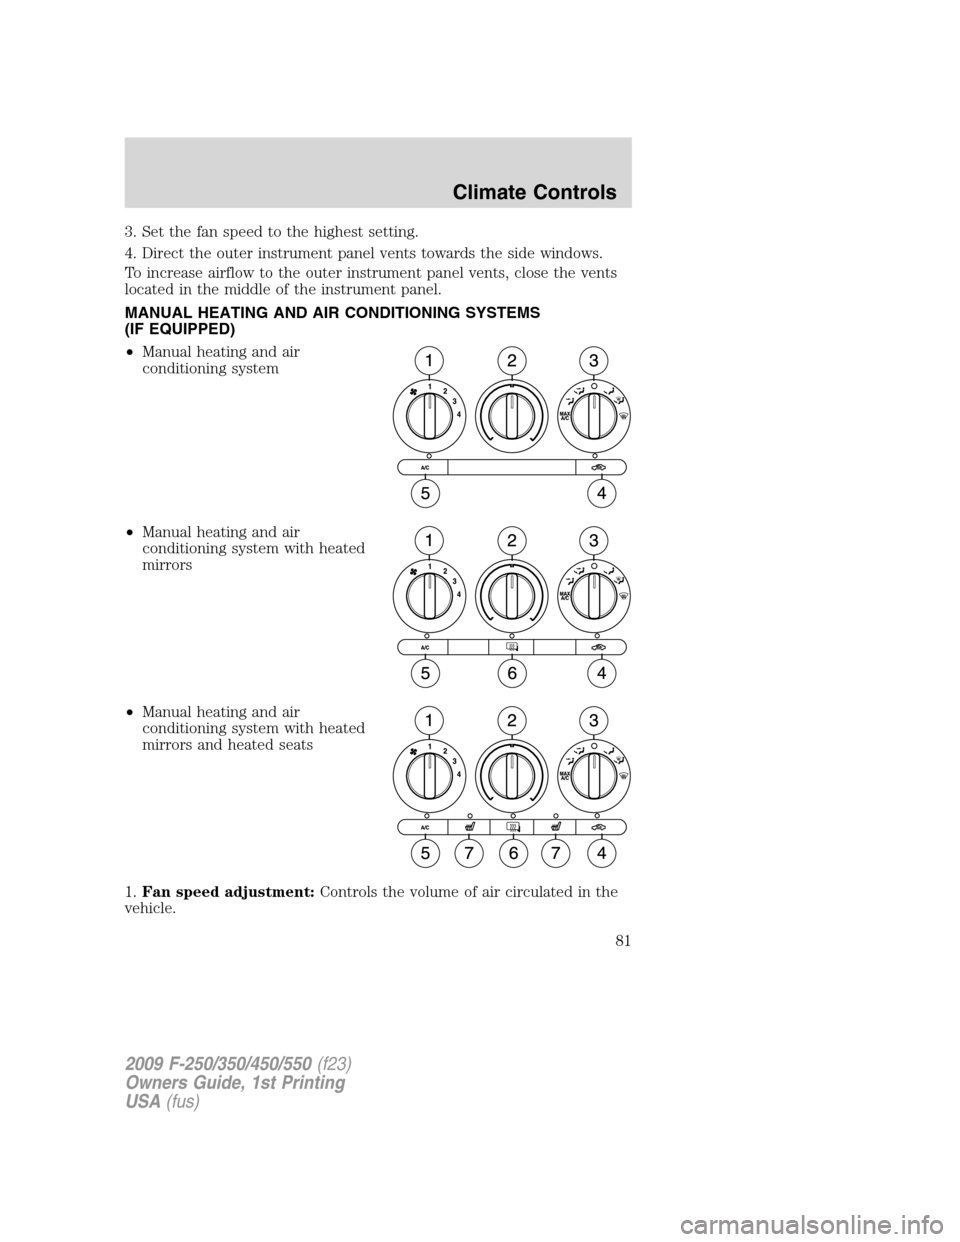
MANUAL HEATING AND AIR CONDITIONING SYSTEMS
(IF EQUIPPED)
•Manual heating and air
conditioning system
•Manual heating and air
conditioning system with heated
mirrors
•Manual heating and air
conditioning system with heated
mirrors and heated seats
1.Fan speed adjustment:Controls the volume of air circulated in the
vehicle.
2009 F-250/350/450/550(f23)
Owners Guide, 1st Printing
USA(fus)
Climate Controls
81
Page 82 of 418
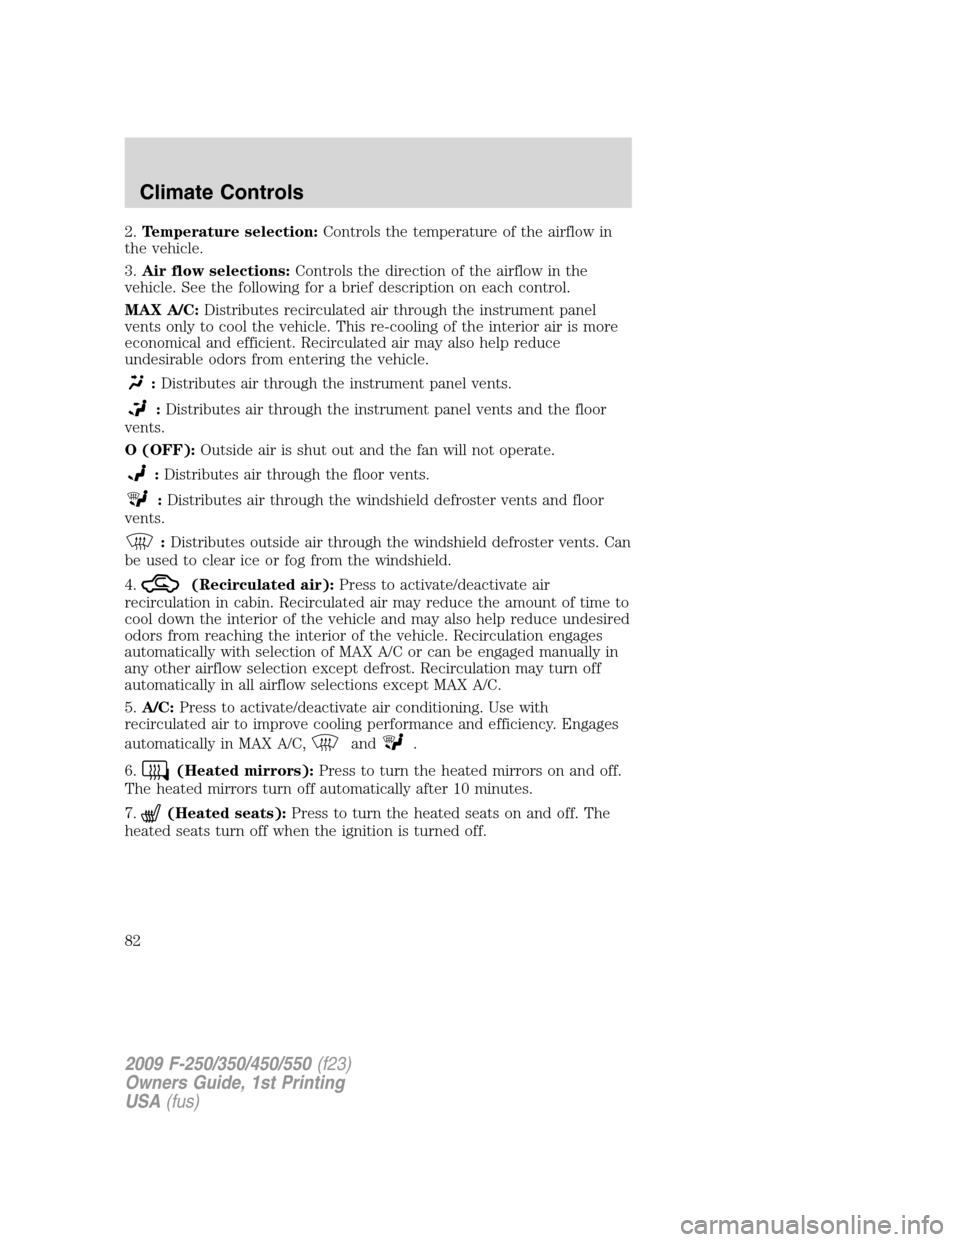
2.Temperature selection:Controls the temperature of the airflow in
the vehicle.
3.Air flow selections:Controls the direction of the airflow in the
vehicle. See the following for a brief description on each control.
MAX A/C:Distributes recirculated air through the instrument panel
vents only to cool the vehicle. This re-cooling of the interior air is more
economical and efficient. Recirculated air may also help reduce
undesirable odors from entering the vehicle.
:Distributes air through the instrument panel vents.
:Distributes air through the instrument panel vents and the floor
vents.
O (OFF):Outside air is shut out and the fan will not operate.
:Distributes air through the floor vents.
:Distributes air through the windshield defroster vents and floor
vents.
:Distributes outside air through the windshield defroster vents. Can
be used to clear ice or fog from the windshield.
4.
(Recirculated air):Press to activate/deactivate air
recirculation in cabin. Recirculated air may reduce the amount of time to
cool down the interior of the vehicle and may also help reduce undesired
odors from reaching the interior of the vehicle. Recirculation engages
automatically with selection of MAX A/C or can be engaged manually in
any other airflow selection except defrost. Recirculation may turn off
automatically in all airflow selections except MAX A/C.
5.A/C:Press to activate/deactivate air conditioning. Use with
recirculated air to improve cooling performance and efficiency. Engages
automatically in MAX A/C,
and.
6.
(Heated mirrors):Press to turn the heated mirrors on and off.
The heated mirrors turn off automatically after 10 minutes.
7.
(Heated seats):Press to turn the heated seats on and off. The
heated seats turn off when the ignition is turned off.
2009 F-250/350/450/550(f23)
Owners Guide, 1st Printing
USA(fus)
Climate Controls
82
Page 83 of 418
Operating tips
•To reduce fog build up on the windshield during humid weather, place
the air flow selector in the
position.
•To reduce humidity build up inside the vehicle, do not drive with the
air flow selector in the O (OFF) position.
•Do not put objects under the front seats that will interfere with the
airflow to the rear seats.
•Remove any snow, ice or leaves from the air intake area at the base of
the windshield.
•To improve the A/C cool down, drive with the windows slightly open
for 2–3 minutes after start up or until the vehicle has been “aired out.”
During extreme high ambient temperatures when idling stationary for
extended periods of time in gear, it is recommended to run the A/C in
the MAX A/C position, reduce blower fan speed from the highest setting
and put the vehicle’s transmission into the PARK gear position
(automatic transmission only) to continue to receive cool air from your
A/C system.
For maximum cooling performance in MAX A/C mode:
1. Move the temperature control to the coolest setting.
2. Set the fan to the highest speed initially, then adjust in order to
maintain comfort.
To aid in side window defogging and demisting in cold weather:
1. Select
.
2. Select A/C.
3. Set the temperature control to maintain comfort.
4. Set the fan speed to highest setting.
5. Direct the outer instrument panel vents towards the side windows.
2009 F-250/350/450/550(f23)
Owners Guide, 1st Printing
USA(fus)
Climate Controls
83
Page 86 of 418
4.Recirculation control:Press to activate/deactivate air
recirculation in cabin. Recirculated air may reduce the amount of time to
cool down the interior of the vehicle and may also help reduce undesired
odors from reaching the interior of the vehicle. Recirculation can be
engaged manually in any other airflow selection except
(defrost).
Recirculation may turn off automatically in all airflow selections except
MAX A/C.
5.A/C control:Press to activate/deactivate air conditioning. Use with
recirculated air to improve cooling performance and efficiency. Engages
automatically in AUTO,
(defrost) and(floor/defrost).
6.Manual override controls:Press this control to manually select
where you want the airflow directed. To return to full automatic control,
press AUTO.
7.
:Distributes air through the windshield defroster vents and floor
vents.
8.
:Distributes air through the floor vents.
9.
:Distributes air through the instrument panel vents and the floor
vents.
10.
:Distributes air through the instrument panel vents.
11.
Fan speed control:Press to manually increase or decrease the
fan speed. To return to automatic fan operation, press AUTO.
12.EXT:Press to display outside temperature. Press again to display
cabin temperature settings.
13.OFF:Outside air is shut out and the fan will not operate.
14.Driver temperature control:Press to increase/decrease the driver
side temperature in the vehicle cabin.
15.AUTO:To engage automatic temperature control, press AUTO and
select the desired temperature using the temperature control. The
system will automatically determine fan speed, airflow location, A/C on
or off, and outside or recirculated air, to heat or cool the vehicle to reach
the desired temperature.
16.
Heated seat controls:Press to turn the heated seats on and off.
The heated seats turn off when the ignition is turned off.
2009 F-250/350/450/550(f23)
Owners Guide, 1st Printing
USA(fus)
Climate Controls
86
Page 88 of 418
To aid in side window defogging/demisting in cold weather:
1. Select
.
2. Select A/C.
3. Adjust the temperature control to maintain comfort.
4. Set the fan speed to the highest setting.
5. Direct the outer instrument panel vents towards the side windows.
To increase airflow to the outer instrument panel vents, close the vents
located in the middle of the instrument panel.
2009 F-250/350/450/550(f23)
Owners Guide, 1st Printing
USA(fus)
Climate Controls
88