Page 81 of 136
WARNING:Never use wheels or lug nuts different than the
original equipment as this could damage the wheel or mounting
system. This damage could allow the wheels to come off while the
vehicle is being driven.
8–lug nut torque sequence
10–lug nut torque sequence
11. Replace any wheel trim.
12. Stow the jack, handle and lug wrench.
13. Unblock the wheels.
2009 Motorhome(mot)
Supplement, 1st Printing
USA(fus)
Roadside Emergencies
81
Page 82 of 136
, and again at 500 miles
(800 km) of new vehic")
WHEEL LUG NUT TORQUE SPECIFICATIONS
On vehicles equipped with dual rear wheels, retighten the wheel lug nuts
to the specified torque at 100 miles (160 km), and again at 500 miles
(800 km) of new vehicle operation and after any wheel disturbance (tire
rotation, changing a flat tire, wheel removal, etc.).
Bolt size Wheel lug nut torque*
lb.ft. N•m
19.5 in. wheels: M14 x 1.5 150 200
22.5 in. wheels: M22 x 1.5 450 610
* Torque specifications are for nut and bolt threads free of dirt and
rust. Use only Ford recommended replacement fasteners.
On all two-piece flat wheel nuts,
apply one drop of motor oil between
the flat washer and the nut. Do not
apply motor oil to the wheel nut
threads or the wheel stud threads.
WARNING:When a wheel is installed, always remove any
corrosion, dirt or foreign materials present on the mounting
surfaces of the wheel or the surface of the wheel hub, brake drum or
brake disc that contacts the wheel. Ensure that any fasteners that
attach the rotor to the hub are secured so they do not interfere with
the mounting surfaces of the wheel. Installing wheels without correct
metal-to-metal contact at the wheel mounting surfaces can cause the
wheel nuts to loosen and the wheel to come off while the vehicle is in
motion, resulting in loss of control.
JUMP STARTING
WARNING:The gases around the battery can explode if
exposed to flames, sparks, or lit cigarettes. An explosion could
result in injury or vehicle damage.
WARNING:Batteries contain sulfuric acid which can burn skin,
eyes and clothing, if contacted.
2009 Motorhome(mot)
Supplement, 1st Printing
USA(fus)
Roadside Emergencies
82
Page 83 of 136

Do not attempt to push-start your automatic transmission
vehicle. Automatic transmissions do not have push-start
capability. Attempting to push-start a vehicle with an automatic
transmission may cause transmission damage.
Preparing your vehicle
When the battery is disconnected or a new battery is installed, the
automatic transmission must relearn its shift strategy. As a result, the
transmission may have firm and/or soft shifts. This operation is
considered normal and will not affect function or durability of the
transmission. Over time, the adaptive learning process will fully update
transmission operation.
1.Use only a 12–volt supply to start your vehicle.
2. Do not disconnect the battery of the disabled vehicle as this could
damage the vehicle’s electrical system.
3. Park the booster vehicle close to the hood of the disabled vehicle
making sure the two vehiclesdo nottouch. Set the parking brake on
both vehicles and stay clear of the engine cooling fan and other moving
parts.
4. Check all battery terminals and remove any excessive corrosion before
you attach the battery cables. Ensure that vent caps are tight and level.
5. Turn the heater fan on in both vehicles to protect from any electrical
surges. Turn all other accessories off.
Connecting the jumper cables
1. Connect the positive (+) jumper cable to the positive (+) terminal of
the discharged battery.
Note:In the illustrations,lightning boltsare used to designate the
assisting (boosting) battery.
+–+–
2009 Motorhome(mot)
Supplement, 1st Printing
USA(fus)
Roadside Emergencies
83
Page 84 of 136
2. Connect the other end of the positive (+) cable to the positive (+)
terminal of the assisting battery.
3. Connect the negative (-) cable to the negative (-) terminal of the
assisting battery.
4. Make the final connection of the negative (-) cable to an exposed
metal part of the stalled vehicle’s engine, away from the battery and the
carburetor/fuel injection system.Do notuse fuel lines, engine rocker
covers or the intake manifold asgroundingpoints.
WARNING:Do not connect the end of the second cable to the
negative (-) terminal of the battery to be jumped. A spark may
cause an explosion of the gases that surround the battery.
5. Ensure that the cables are clear of fan blades, belts, moving parts of
both engines, or any fuel delivery system parts.
+–+–
+–+–
+–+–
2009 Motorhome(mot)
Supplement, 1st Printing
USA(fus)
Roadside Emergencies
84
Page 85 of 136
Jump starting
1. Start the engine of the booster vehicle and run the engine at
moderately increased speed.
2. Start the engine of the disabled vehicle.
3. Once the disabled vehicle has been started, run both engines for an
additional three minutes before disconnecting the jumper cables.
Removing the jumper cables
Remove the jumper cables in the reverse order that they were
connected.
1. Remove the jumper cable from thegroundmetal surface.
Note:In the illustrations,lightning boltsare used to designate the
assisting (boosting) battery.
2. Remove the jumper cable on the negative (-) connection of the
booster vehicle’s battery.
+–+–
+–+–
2009 Motorhome(mot)
Supplement, 1st Printing
USA(fus)
Roadside Emergencies
85
Page 86 of 136
 terminal of the booster
vehicle’s battery.
4. Remove the jumper cable from the positive (+) terminal of the
disabled vehicle’s battery.
After the d")
3. Remove the jumper cable from the positive (+) terminal of the booster
vehicle’s battery.
4. Remove the jumper cable from the positive (+) terminal of the
disabled vehicle’s battery.
After the disabled vehicle has been started and the jumper cables
removed, allow it to idle for several minutes so the engine computer can
relearnits idle conditions.
WRECKER TOWING
If you need to have your vehicle towed, contact a professional towing
service or, if you are a member of a roadside assistance program, your
roadside assistance service provider.
It is recommended that your vehicle be towed with a wheel lift (with the
rear wheels on the ground and the front wheels off the ground) or
flatbed equipment.
To avoid transmission damage when towing your vehicle from the front
with the rear wheels on the ground, do not exceed a maximum distance
of 50 miles (80 km) and a maximum speed of 35 mph (56 km/h). If the
maximum distance or speed will be exceeded, the driveshaft must be
removed by a qualified technician or transmission damage will result.
If the vehicle is towed by other means or incorrectly, vehicle
damage may occur.
When calling for a tow truck, tell the operator what kind of vehicle you
have.
+–+–
+–+–
2009 Motorhome(mot)
Supplement, 1st Printing
USA(fus)
Roadside Emergencies
86
Page 87 of 136
Emergency towing
In case of a roadside emergency with a disabled vehicle (without access
to wheel dollies, car hauling trailer, or flatbed transport vehicle) your
vehicle (regardless of transmission powertrain configuration) can be flat
towed (all wheels on the ground) under the following conditions:
•Vehicle is facing forward so that it is being towed in a forward
direction.
•Place the transmission in N (Neutral). Refer toBrake shift interlock
in theDrivingchapter for specific instructions if you cannot move the
gear shift lever into N (Neutral).
•Maximum speed is not to exceed 35 mph (56 km/h).
•Maximum distance is 50 miles (80 km).
2009 Motorhome(mot)
Supplement, 1st Printing
USA(fus)
Roadside Emergencies
87
Page 88 of 136

GETTING THE SERVICES YOU NEED
At home
You must take your Ford vehicle to an authorized dealer for warranty
repairs. While any authorized dealer handling your vehicle line will
provide warranty service, we recommend you return to your selling
authorized dealer who wants to ensure your continued satisfaction.
Please note that certain warranty repairs require special training and/or
equipment, so not all authorized dealers are authorized to perform all
warranty repairs. This means that, depending on the warranty repair
needed, you may have to take your vehicle to another authorized dealer.
In certain instances, Ford may authorize that your vehicle be repaired at
a repair center other than an authorized dealer facility. A reasonable
time must be allowed to perform a repair after taking your vehicle to the
authorized dealer. Repairs will be made using Ford or Motorcraft parts,
or remanufactured or other parts that are authorized by Ford.
If you have questions or concerns, or are unsatisfied with the service you
are receiving, follow these steps:
1. Contact your Sales Representative or Service Advisor at your
selling/servicing authorized dealer.
2. If your inquiry or concern remains unresolved, contact the Sales
Manager Service Manager or Customer Relations Manager.
3. If you require assistance or clarification on Ford Motor Company
policies or procedures, please contact the Ford Customer Relationship
Center at 1-800-392-3673 (FORD).
Away from home
If you own a motorhome built on a Ford Chassis and are away from
home when your vehicle needs service, or if you need more help than
the authorized dealer could provide, after following the steps above,
contact the Ford Motorhome Customer Assistance Center to find an
authorized dealer or service location to help you. In the United States
and Canada:
Ford Motorhome Customer Assistance Center
900 N. Lake Havasu Avenue
Lake Havasu City, AZ
1-800-444-3311
Open 365/24/7
2009 Motorhome(mot)
Supplement, 1st Printing
USA(fus)
Customer Assistance
88
 1
1 2
2 3
3 4
4 5
5 6
6 7
7 8
8 9
9 10
10 11
11 12
12 13
13 14
14 15
15 16
16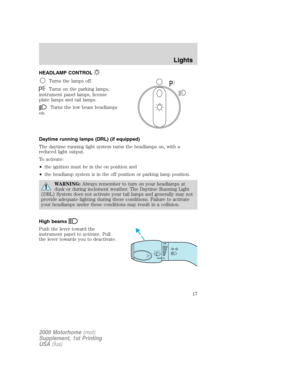 17
17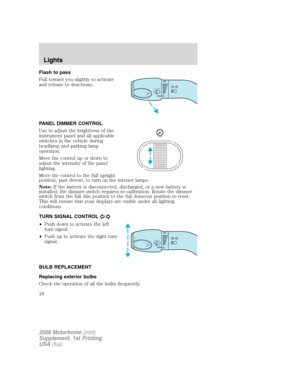 18
18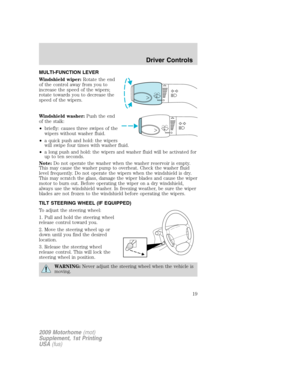 19
19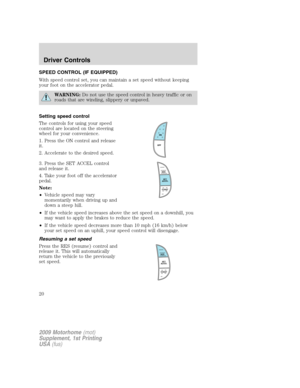 20
20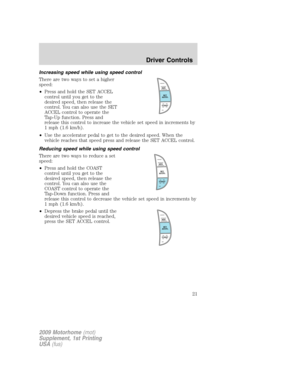 21
21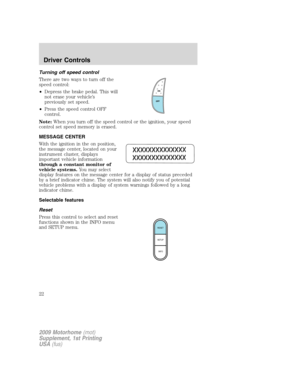 22
22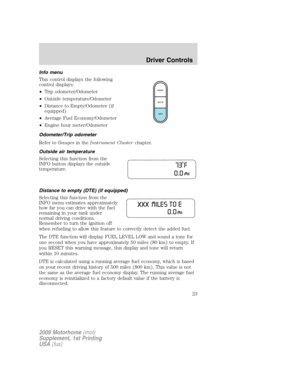 23
23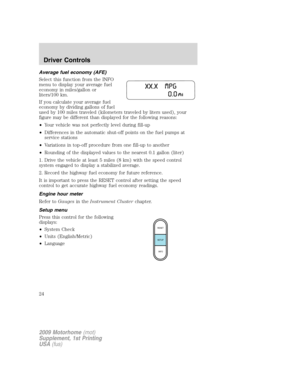 24
24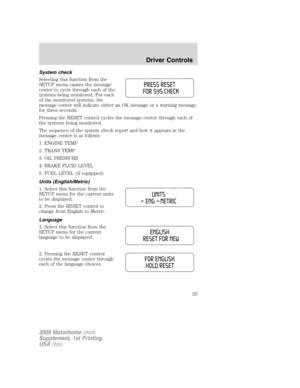 25
25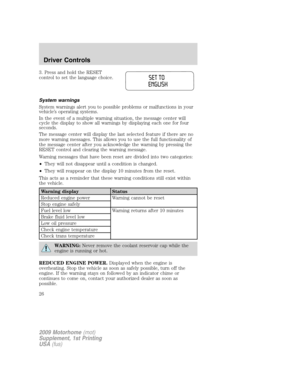 26
26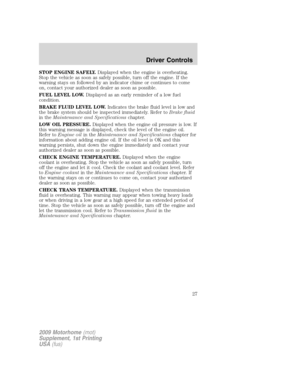 27
27 28
28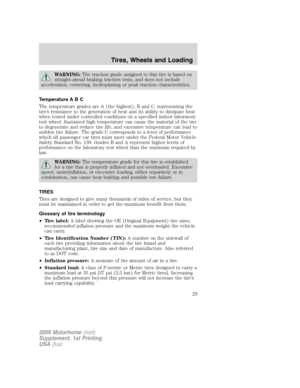 29
29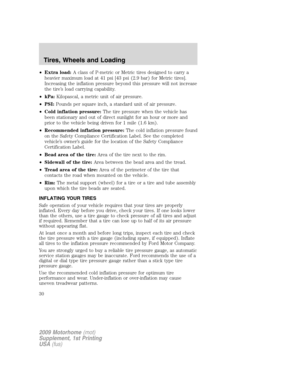 30
30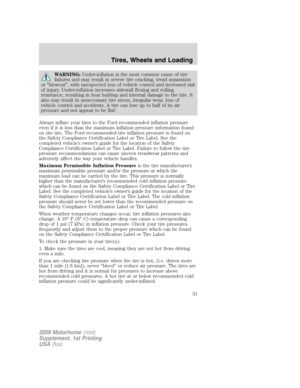 31
31 32
32 33
33 34
34 35
35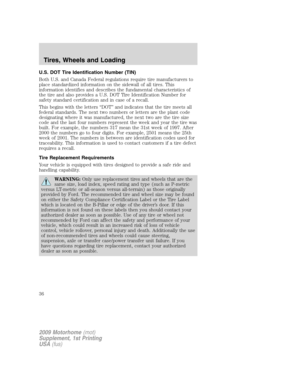 36
36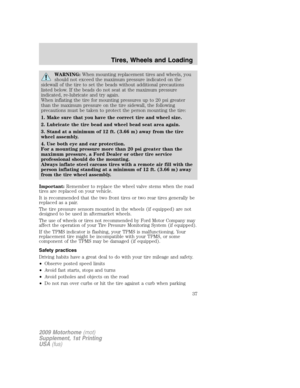 37
37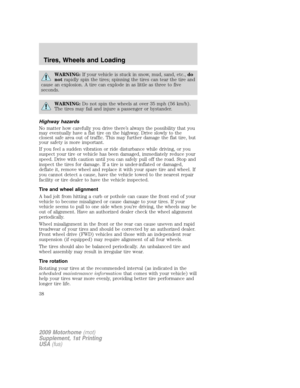 38
38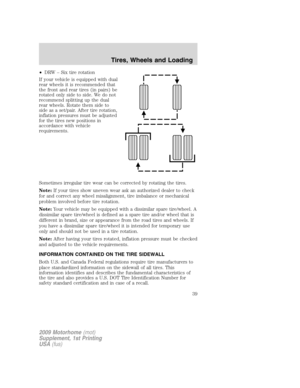 39
39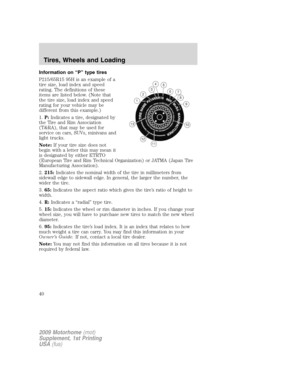 40
40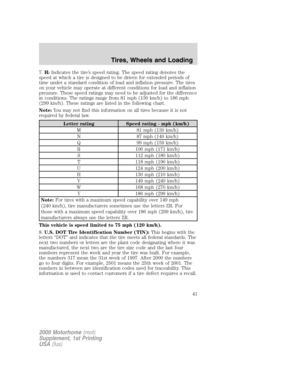 41
41 42
42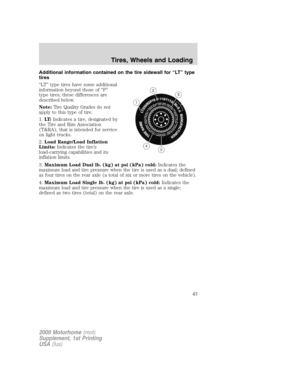 43
43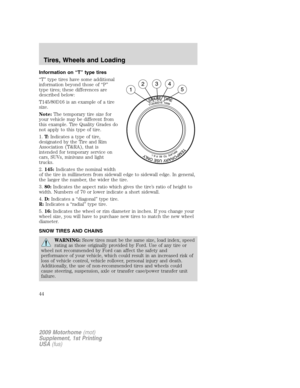 44
44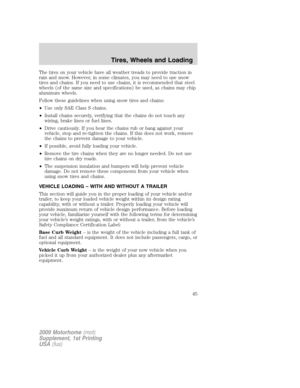 45
45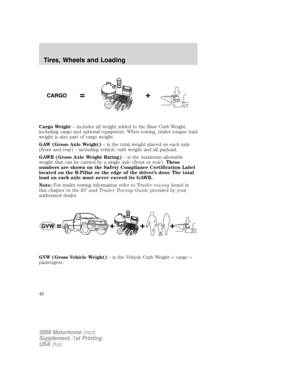 46
46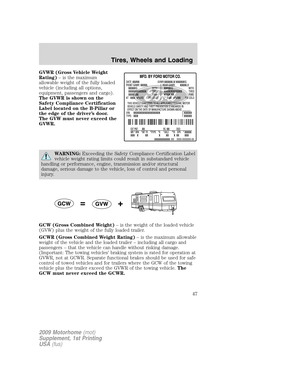 47
47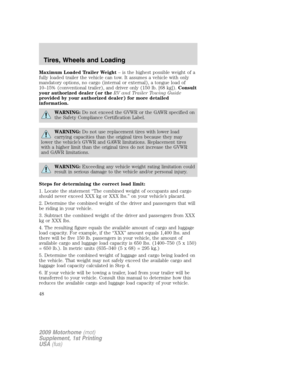 48
48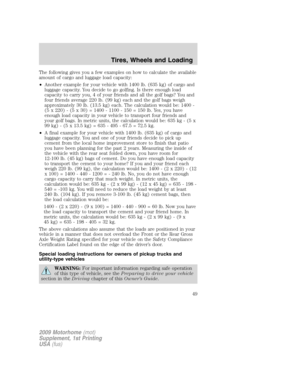 49
49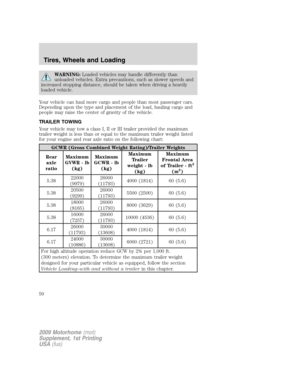 50
50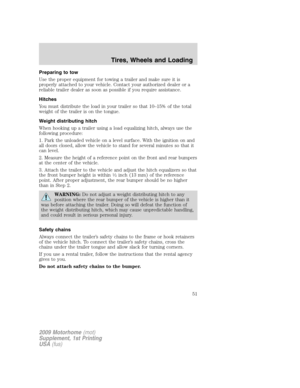 51
51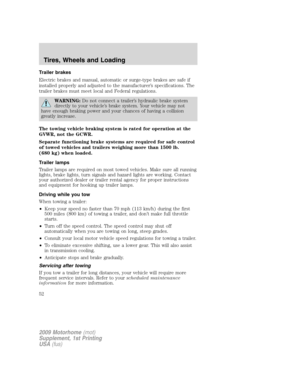 52
52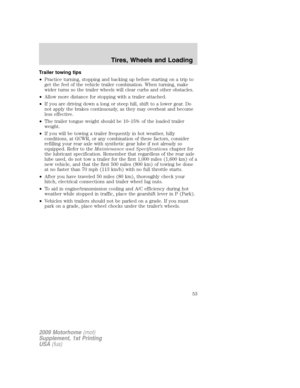 53
53 54
54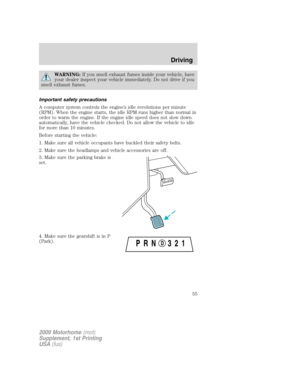 55
55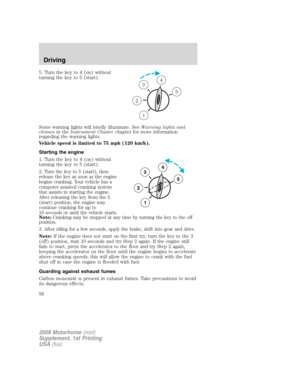 56
56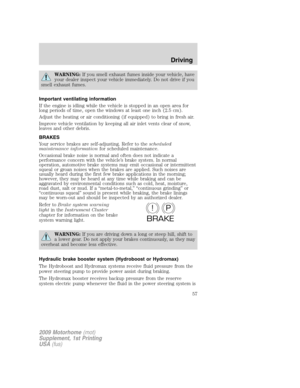 57
57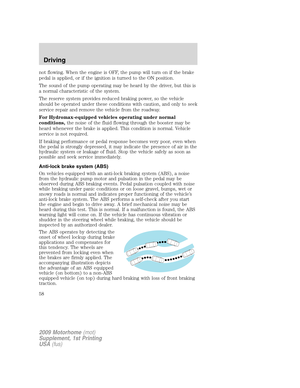 58
58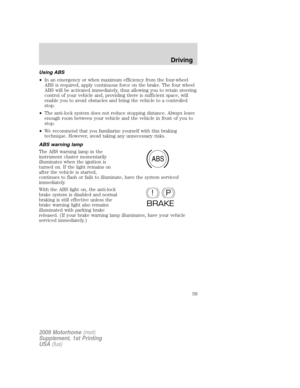 59
59 60
60 61
61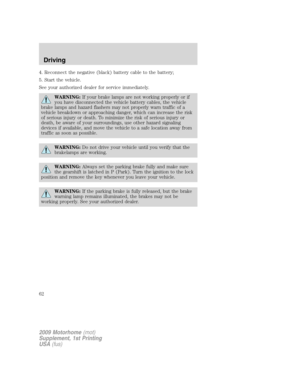 62
62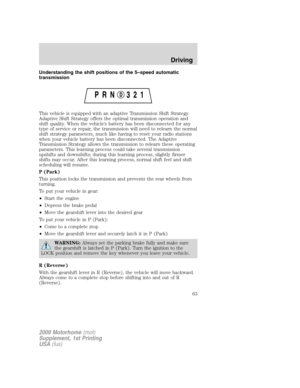 63
63 64
64 65
65 66
66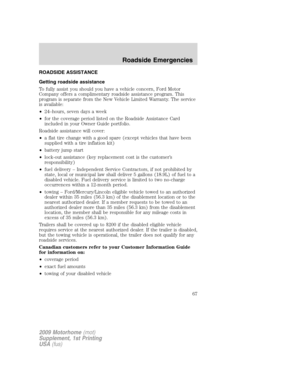 67
67 68
68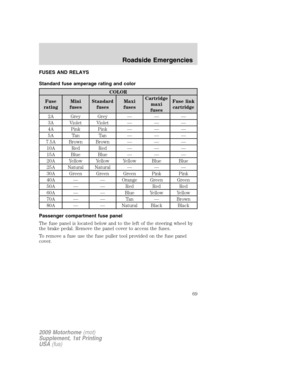 69
69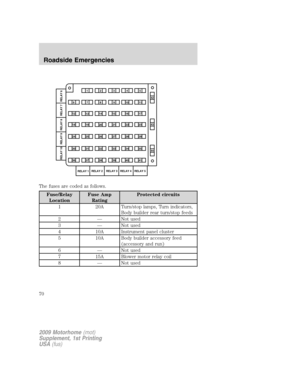 70
70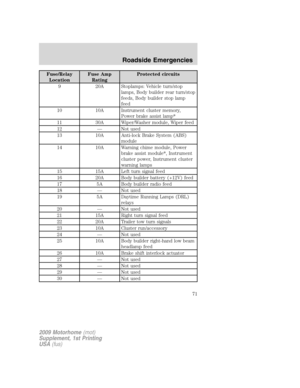 71
71 72
72 73
73 74
74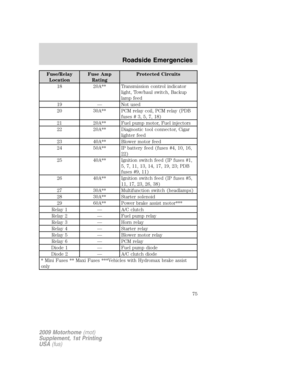 75
75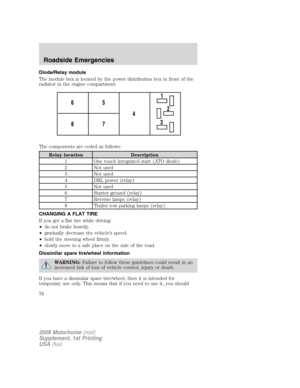 76
76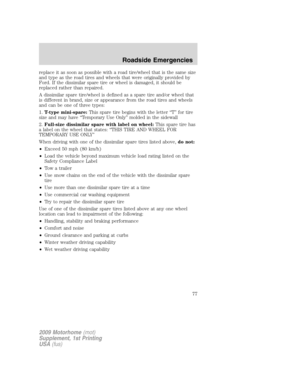 77
77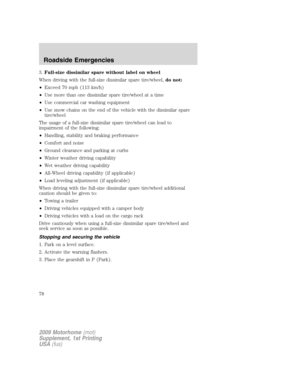 78
78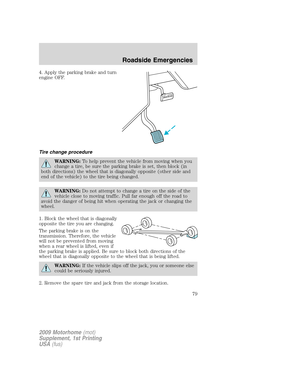 79
79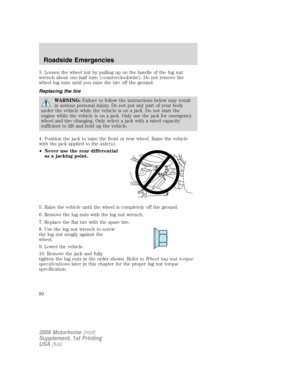 80
80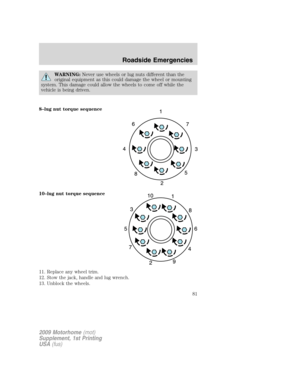 81
81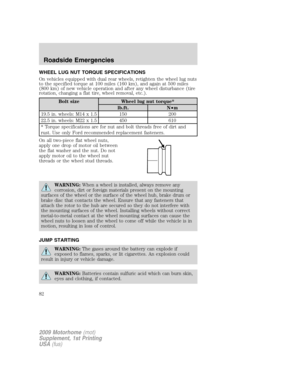 82
82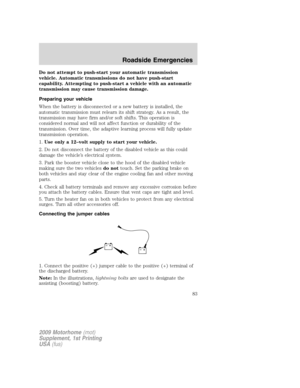 83
83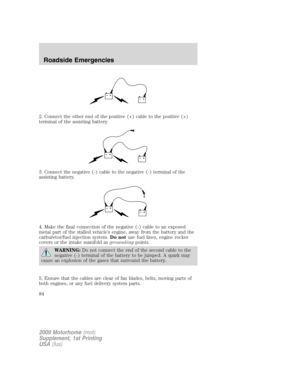 84
84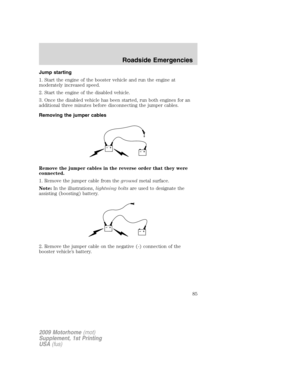 85
85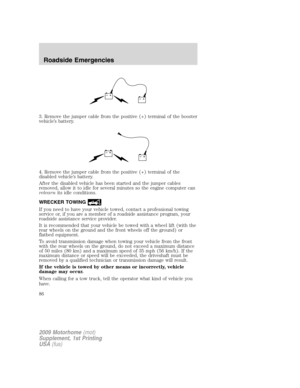 86
86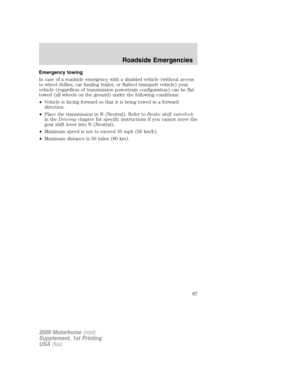 87
87 88
88 89
89 90
90 91
91 92
92 93
93 94
94 95
95 96
96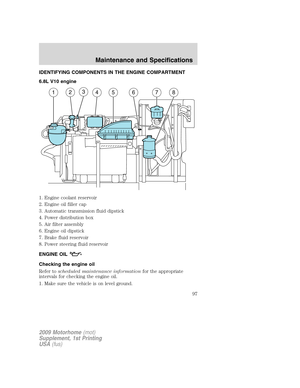 97
97 98
98 99
99 100
100 101
101 102
102 103
103 104
104 105
105 106
106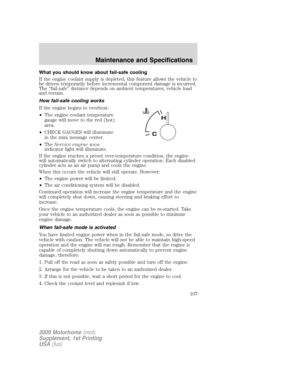 107
107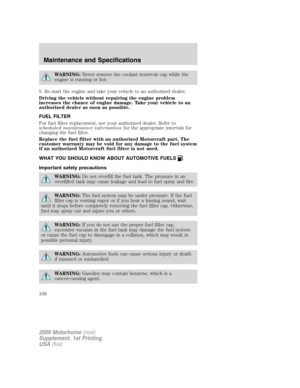 108
108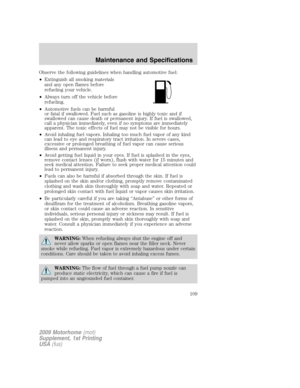 109
109 110
110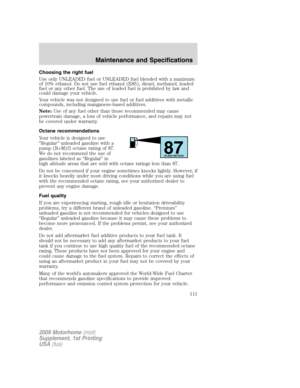 111
111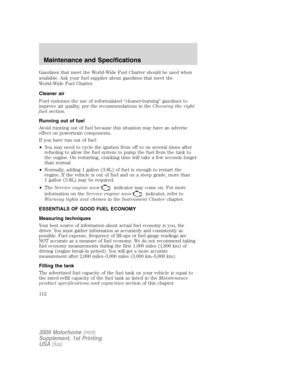 112
112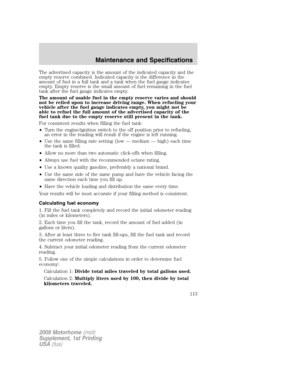 113
113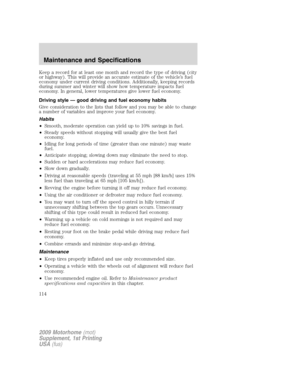 114
114 115
115 116
116 117
117 118
118 119
119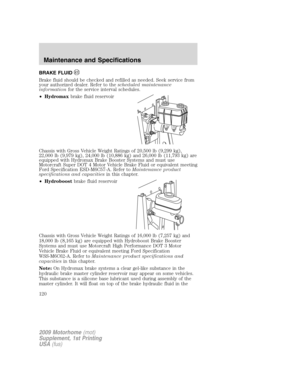 120
120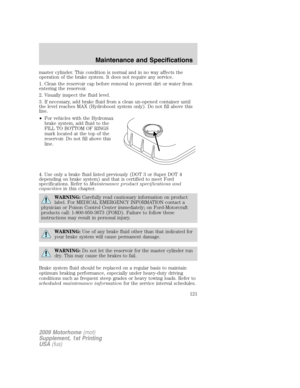 121
121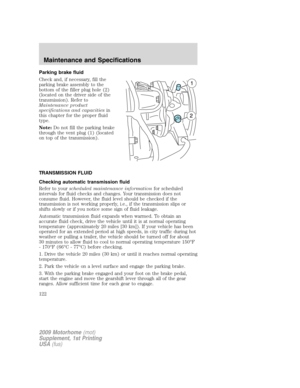 122
122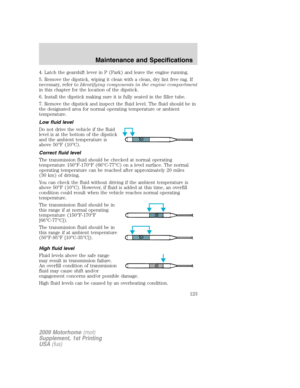 123
123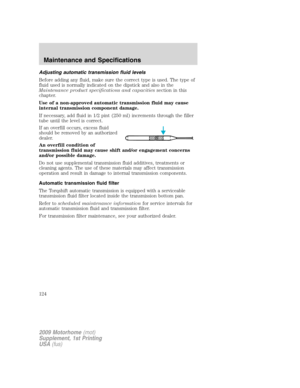 124
124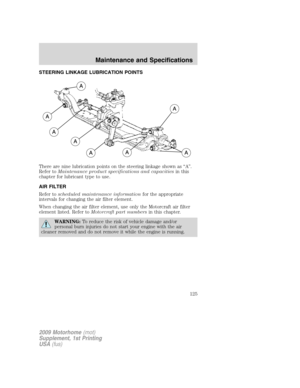 125
125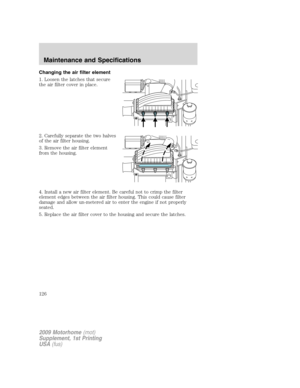 126
126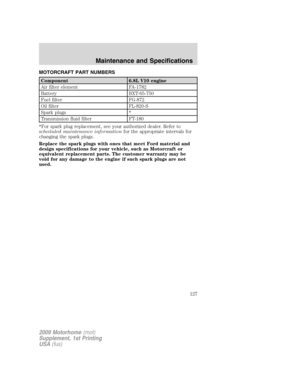 127
127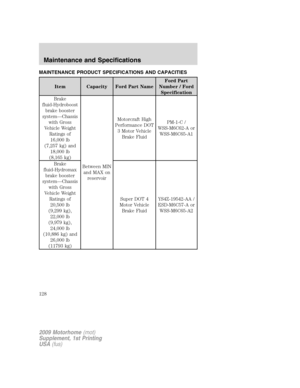 128
128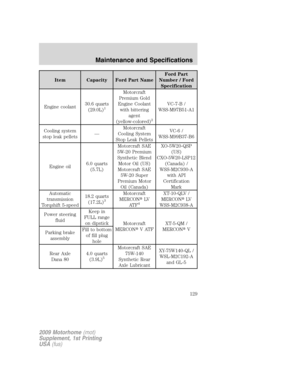 129
129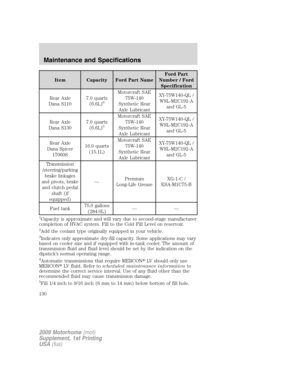 130
130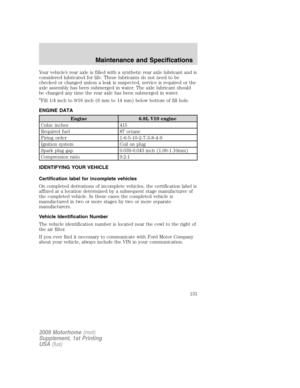 131
131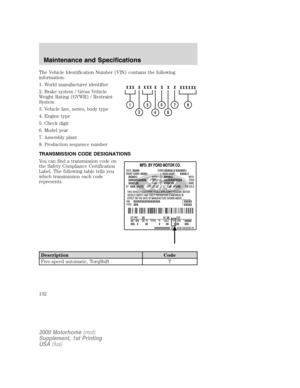 132
132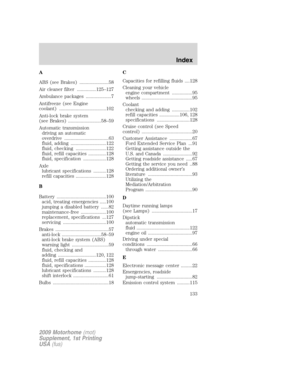 133
133 134
134 135
135
 cable to the positive (+)
terminal of the assisting battery.
3. Connect the negative (-) cable to the negative (-) terminal of the
assisting battery.
4. Ma")

 your
vehicle (regardless of transmission p")