2009 FIAT SEDICI warning
[x] Cancel search: warningPage 91 of 270
90
Do not attempt to adjust the
display while driving.
If you attempt to adjust the display
while driving, you could lose control
of the vehicle.
WARNING
NOTE
❒If you push the indicator selector knob
or do not turn the knob for more than
5 seconds while activating the illumi-
nation control, the illumination con-
trol will be canceled automatically and
the display (D) will show the odome-
ter indication.
❒You can change the brightness when
the position lights or headlights are on
even if the ignition switch is in the
“ACC” or “LOCK” position.
❒When you reconnect the negative (–)
terminal to the battery, the brightness
of the instrument panel lights will be
reinitialized. Readjust the brightness
according to your preference.
NOTE If you select the highest brightness
level when the position lights or headlights
are on, the instrument panel lights are not
dimmed.
Clock (for versions/markets, where
provided)
When the ignition switch is in the “ON”
position, the display (E) shows the time.
80JM039
IMPORTANT Keep track of your odome-
ter reading and check the maintenance
schedule regularly for required services.
Increased wear or damage to certain parts
can result from failure to perform re-
quired services at the proper mileage in-
tervals.
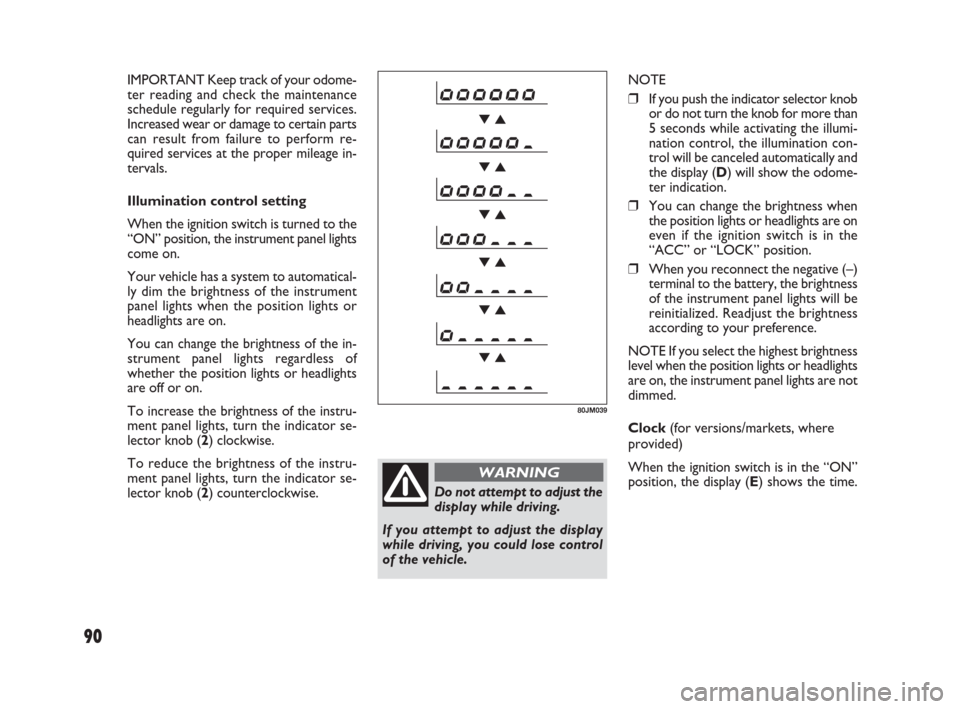
Illumination control setting
When the ignition switch is turned to the
“ON” position, the instrument panel lights
come on.
Your vehicle has a system to automatical-
ly dim the brightness of the instrument
panel lights when the position lights or
headlights are on.
You can change the brightness of the in-
strument panel lights regardless of
whether the position lights or headlights
are off or on.
To increase the brightness of the instru-
ment panel lights, turn the indicator se-
lector knob (2) clockwise.
To reduce the brightness of the instru-
ment panel lights, turn the indicator se-
lector knob (2) counterclockwise.
071-128 SEDICI LUM FL GB 1E 19-06-2009 12:05 Pagina 90
Page 92 of 270
91
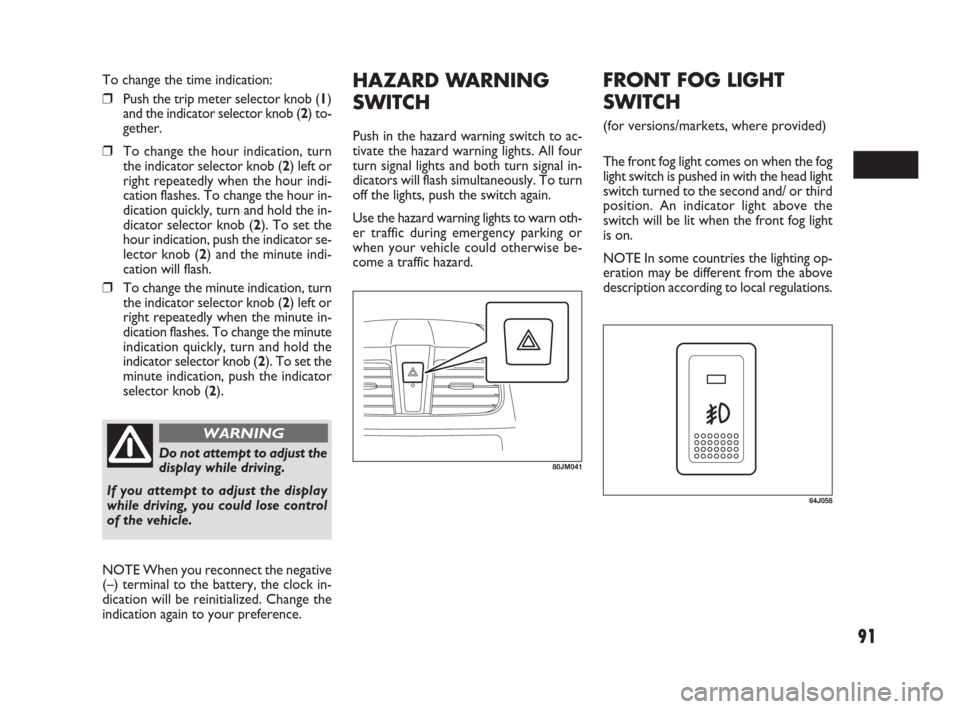
HAZARD WARNING
SWITCH
Push in the hazard warning switch to ac-
tivate the hazard warning lights. All four
turn signal lights and both turn signal in-
dicators will flash simultaneously. To turn
off the lights, push the switch again.
Use the hazard warning lights to warn oth-
er traffic during emergency parking or
when your vehicle could otherwise be-
come a traffic hazard.
80JM041Do not attempt to adjust the
display while driving.
If you attempt to adjust the display
while driving, you could lose control
of the vehicle.
WARNING
To change the time indication:
❒Push the trip meter selector knob (1)
and the indicator selector knob (2) to-
gether.
❒To change the hour indication, turn
the indicator selector knob (2) left or
right repeatedly when the hour indi-
cation flashes. To change the hour in-
dication quickly, turn and hold the in-
dicator selector knob (2). To set the
hour indication, push the indicator se-
lector knob (2) and the minute indi-
cation will flash.
❒To change the minute indication, turn
the indicator selector knob (2) left or
right repeatedly when the minute in-
dication flashes. To change the minute
indication quickly, turn and hold the
indicator selector knob (2). To set the
minute indication, push the indicator
selector knob (2).
NOTE When you reconnect the negative
(–) terminal to the battery, the clock in-
dication will be reinitialized. Change the
indication again to your preference.
64J058
FRONT FOG LIGHT
SWITCH
(for versions/markets, where provided)
The front fog light comes on when the fog
light switch is pushed in with the head light
switch turned to the second and/ or third
position. An indicator light above the
switch will be lit when the front fog light
is on.
NOTE In some countries the lighting op-
eration may be different from the above
description according to local regulations.
071-128 SEDICI LUM FL GB 1E 19-06-2009 12:05 Pagina 91
Page 95 of 270
94
HEADLIGHT LEVELING
SWITCH
(for versions/markets, where provided)
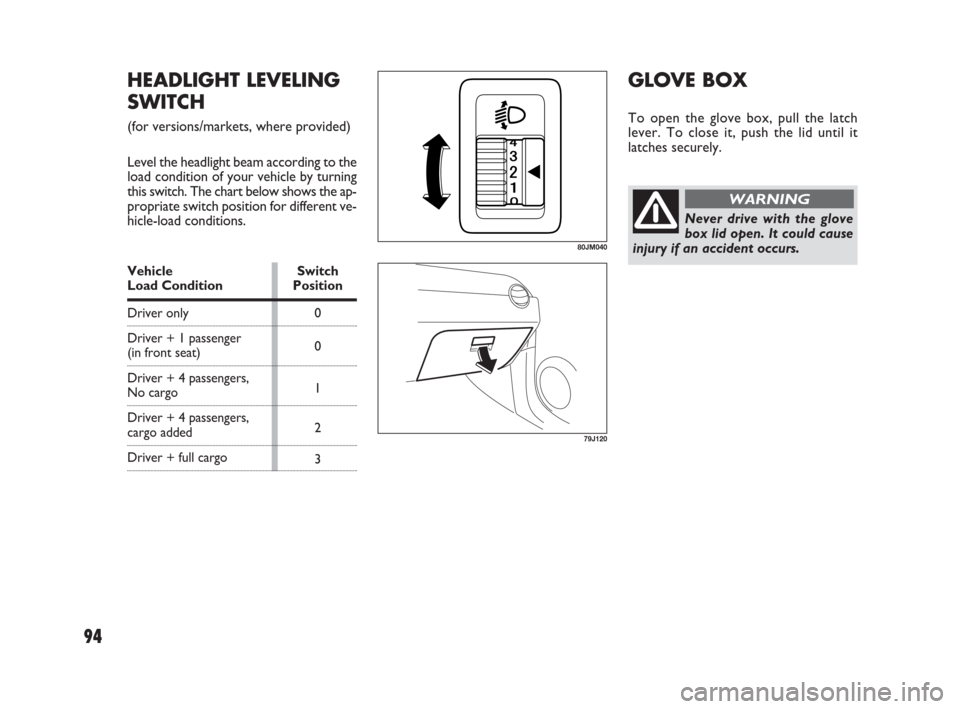
Level the headlight beam according to the
load condition of your vehicle by turning
this switch. The chart below shows the ap-
propriate switch position for different ve-
hicle-load conditions.
Vehicle Load Condition
Driver only
Driver + 1 passenger
(in front seat)
Driver + 4 passengers,
No cargo
Driver + 4 passengers,
cargo added
Driver + full cargoSwitch
Position
0
0
1
2
3
80JM040
GLOVE BOX
To open the glove box, pull the latch
lever. To close it, push the lid until it
latches securely.
Never drive with the glove
box lid open. It could cause
injury if an accident occurs.
WARNING
79J120
071-128 SEDICI LUM FL GB 1E 19-06-2009 12:05 Pagina 94
Page 96 of 270
95
79J045
Front panel ashtray
79J047
Make sure tobacco is fully
extinguished before closing
the ashtrays. Never throw waste in
the ashtrays: it could create a fire
hazard.
WARNING
CIGARETTE LIGHTER
AND ASHTRAY
(for versions/markets, where provided)
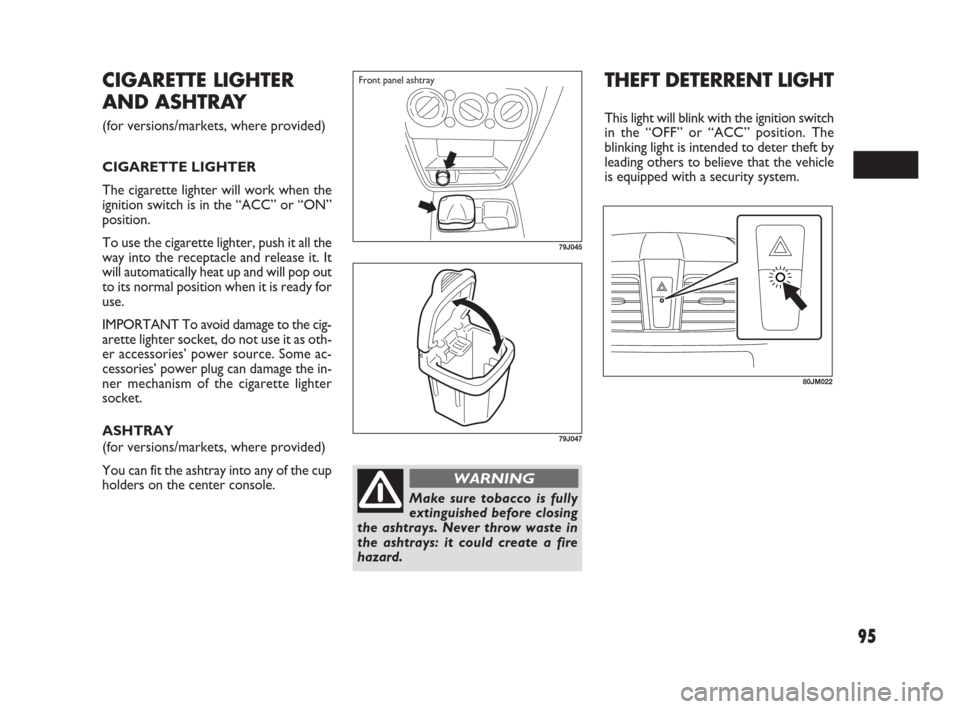
CIGARETTE LIGHTER
The cigarette lighter will work when the
ignition switch is in the “ACC” or “ON”
position.
To use the cigarette lighter, push it all the
way into the receptacle and release it. It
will automatically heat up and will pop out
to its normal position when it is ready for
use.
IMPORTANT To avoid damage to the cig-
arette lighter socket, do not use it as oth-
er accessories’ power source. Some ac-
cessories’ power plug can damage the in-
ner mechanism of the cigarette lighter
socket.
ASHTRAY
(for versions/markets, where provided)
You can fit the ashtray into any of the cup
holders on the center console.
THEFT DETERRENT LIGHT
This light will blink with the ignition switch
in the “OFF” or “ACC” position. The
blinking light is intended to deter theft by
leading others to believe that the vehicle
is equipped with a security system.
80JM022
071-128 SEDICI LUM FL GB 1E 19-06-2009 12:05 Pagina 95
Page 111 of 270
110
AUDIO SYSTEMS
❒Driving on extremely bumpy roads
which cause severe vibrations may
cause sound to skip.
❒This unit uses a precision mechanism.
Even in the event that trouble arises,
never open the case, disassemble the
unit, or lubricate the rotating parts.
Please bring the unit to an authorized
Fiat Dealership. MAINTENANCE
If you do not use the air conditioner for
a long period, such as during winter, it may
not give the best performance when you
start using it again. To help maintain op-
timum performance and durability of your
air conditioner, it needs to be run peri-
odically. Operate the air conditioner at
least once a month for one minute with
the engine idling. This circulates the re-
frigerant and oil and helps protect the in-
ternal components.
Your air conditioner is equipped with air
filters. Clean or replace them as specified
in the “Maintenance Schedule” in the “IN-
SPECTION AND MAINTENANCE” sec-
tion. Have this job done by your Fiat Deal-
ership as the lower glove box must be
lowered for this job.
NOTE Your vehicle uses the air condi-
tioning refrigerant HFC-134a, commonly
called “R-134a”. R-134a replaced R-12
around 1993 for automotive applications.
Other refrigerants are available, including
recycled R-12, but only R-134a should be
used in your vehicle.
IMPORTANT Using the wrong refriger-
ant may damage your air conditioning sys-
tem. Use R-134a only. Do not mix or re-
place the R-134a with other refrigerants.
79J188
Too high a volume when dri-
ving can put the driver’s life
at risk and that of other people.
Therefore the volume should always
be adjusted in such a way that it is al-
ways possible to hear the noises of
the surrounding environment (e.g.:
horns, ambulance, police sirens, etc.).
WARNING
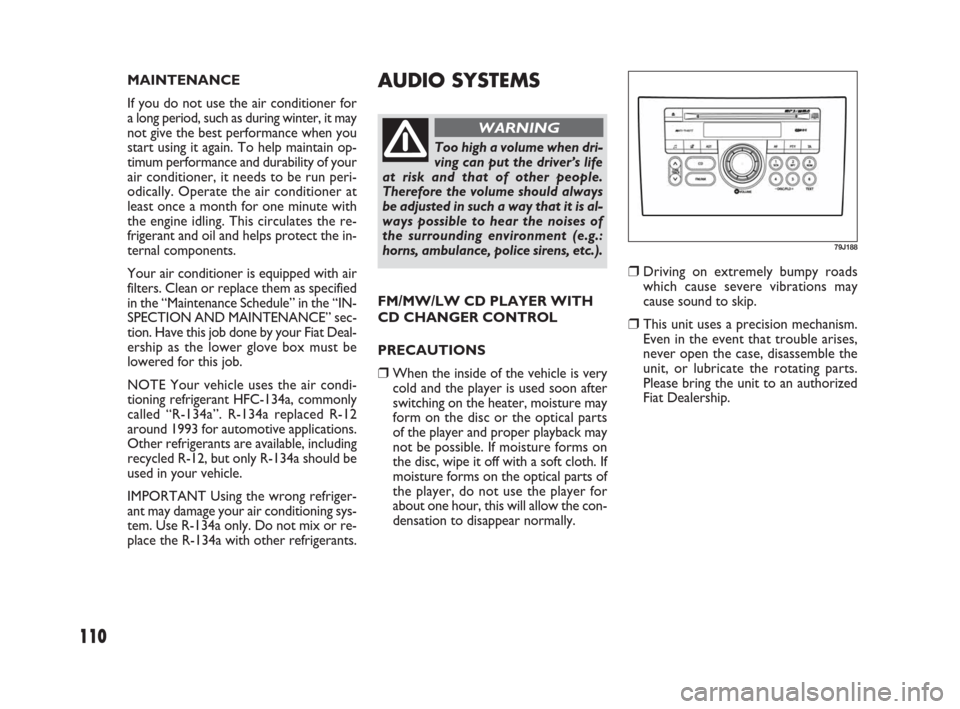
FM/MW/LW CD PLAYER WITH
CD CHANGER CONTROL
PRECAUTIONS
❒When the inside of the vehicle is very
cold and the player is used soon after
switching on the heater, moisture may
form on the disc or the optical parts
of the player and proper playback may
not be possible. If moisture forms on
the disc, wipe it off with a soft cloth. If
moisture forms on the optical parts of
the player, do not use the player for
about one hour, this will allow the con-
densation to disappear normally.
071-128 SEDICI LUM FL GB 1E 19-06-2009 12:05 Pagina 110
Page 131 of 270
130
PARKING BRAKE
LEVER
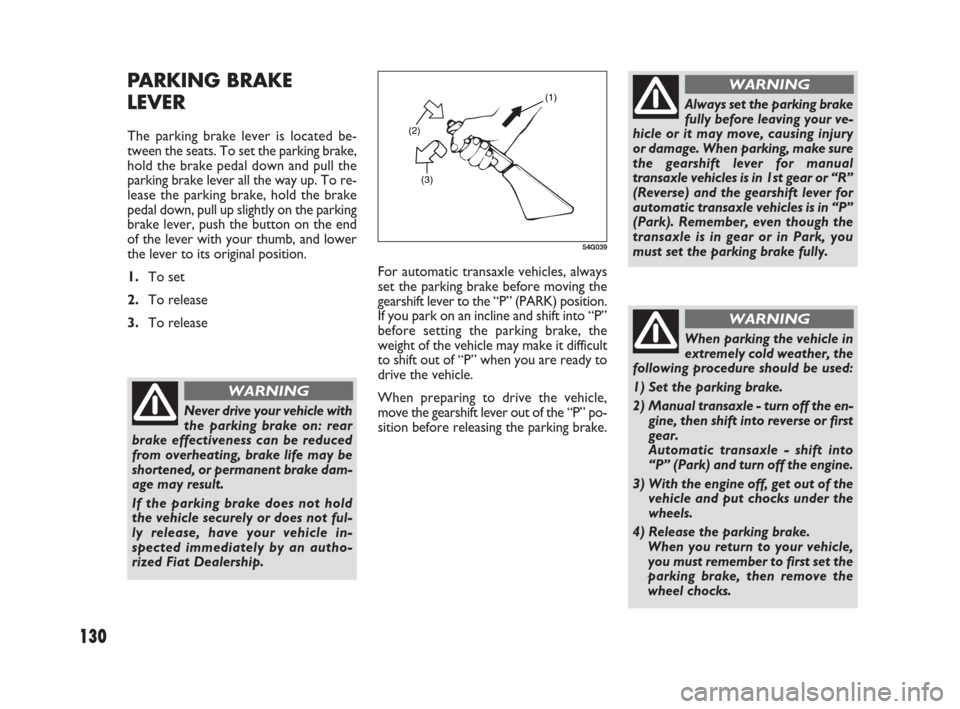
The parking brake lever is located be-
tween the seats. To set the parking brake,
hold the brake pedal down and pull the
parking brake lever all the way up. To re-
lease the parking brake, hold the brake
pedal down, pull up slightly on the parking
brake lever, push the button on the end
of the lever with your thumb, and lower
the lever to its original position.
1.To set
2.To release
3.To release(2)
(3)(1)
54G039
Never drive your vehicle with
the parking brake on: rear
brake effectiveness can be reduced
from overheating, brake life may be
shortened, or permanent brake dam-
age may result.
If the parking brake does not hold
the vehicle securely or does not ful-
ly release, have your vehicle in-
spected immediately by an autho-
rized Fiat Dealership.
WARNING
Always set the parking brake
fully before leaving your ve-
hicle or it may move, causing injury
or damage. When parking, make sure
the gearshift lever for manual
transaxle vehicles is in 1st gear or “R”
(Reverse) and the gearshift lever for
automatic transaxle vehicles is in “P”
(Park). Remember, even though the
transaxle is in gear or in Park, you
must set the parking brake fully.
WARNING
When parking the vehicle in
extremely cold weather, the
following procedure should be used:
1) Set the parking brake.
2) Manual transaxle - turn off the en-
gine, then shift into reverse or first
gear.
Automatic transaxle - shift into
“P” (Park) and turn off the engine.
3) With the engine off, get out of the
vehicle and put chocks under the
wheels.
4) Release the parking brake.
When you return to your vehicle,
you must remember to first set the
parking brake, then remove the
wheel chocks.
WARNING
For automatic transaxle vehicles, always
set the parking brake before moving the
gearshift lever to the “P” (PARK) position.
If you park on an incline and shift into “P”
before setting the parking brake, the
weight of the vehicle may make it difficult
to shift out of “P” when you are ready to
drive the vehicle.
When preparing to drive the vehicle,
move the gearshift lever out of the “P” po-
sition before releasing the parking brake.
129-148 SEDICI LUM FL GB 1E 19-06-2009 13:31 Pagina 130
Page 132 of 270
131
PEDAL
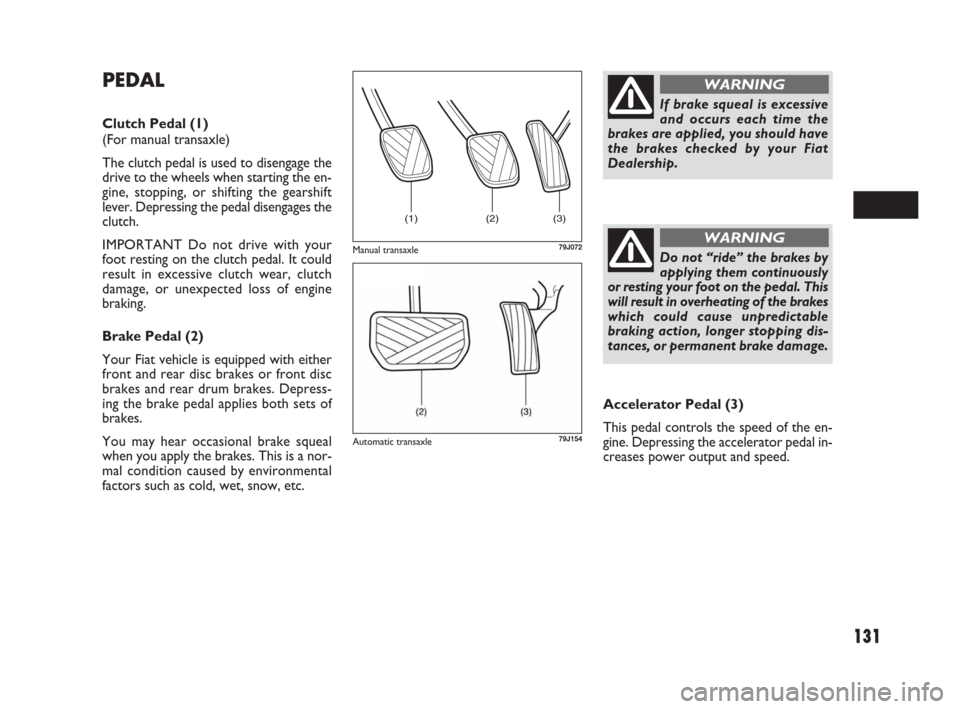
Clutch Pedal (1)
(For manual transaxle)
The clutch pedal is used to disengage the
drive to the wheels when starting the en-
gine, stopping, or shifting the gearshift
lever. Depressing the pedal disengages the
clutch.
IMPORTANT Do not drive with your
foot resting on the clutch pedal. It could
result in excessive clutch wear, clutch
damage, or unexpected loss of engine
braking.
Brake Pedal (2)
Your Fiat vehicle is equipped with either
front and rear disc brakes or front disc
brakes and rear drum brakes. Depress-
ing the brake pedal applies both sets of
brakes.
You may hear occasional brake squeal
when you apply the brakes. This is a nor-
mal condition caused by environmental
factors such as cold, wet, snow, etc.Accelerator Pedal (3)
This pedal controls the speed of the en-
gine. Depressing the accelerator pedal in-
creases power output and speed.
(1) (2) (3)
79J072
If brake squeal is excessive
and occurs each time the
brakes are applied, you should have
the brakes checked by your Fiat
Dealership.
WARNING
Do not “ride” the brakes by
applying them continuously
or resting your foot on the pedal. This
will result in overheating of the brakes
which could cause unpredictable
braking action, longer stopping dis-
tances, or permanent brake damage.
WARNINGManual transaxle
79J154Automatic transaxle
129-148 SEDICI LUM FL GB 1E 19-06-2009 13:31 Pagina 131
Page 133 of 270
132
FUEL FILLER CAP
The fuel filler cap is located on the left rear
side of the vehicle. The fuel filler lid can be
unlocked by pulling up the opener lever lo-
cated on the outboard side of the driver’s
seat and locked by simply closing the lid.
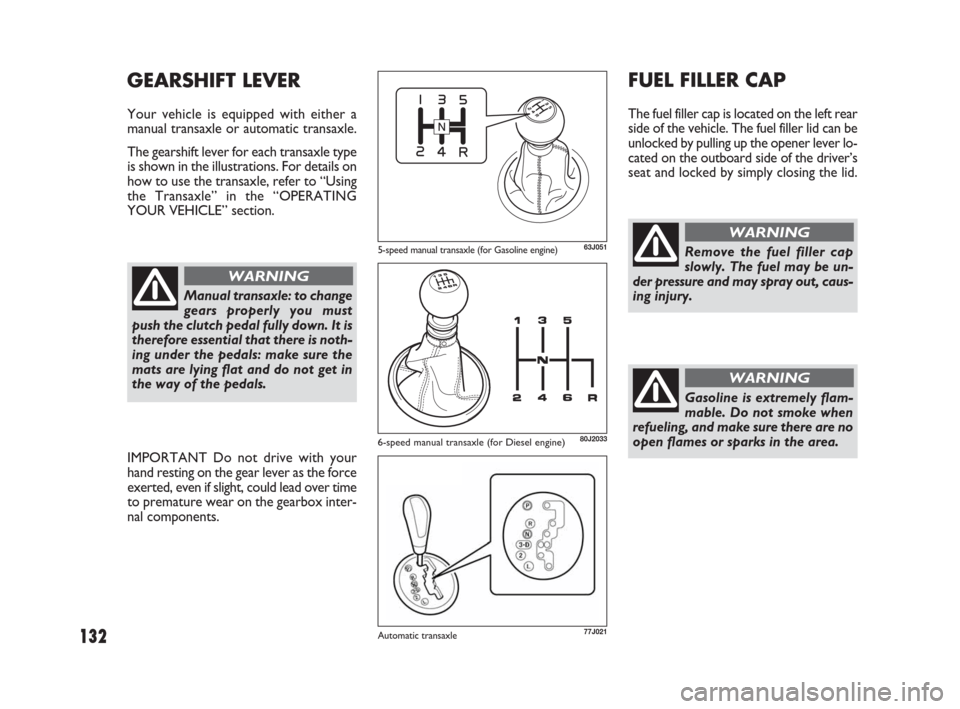
GEARSHIFT LEVER
Your vehicle is equipped with either a
manual transaxle or automatic transaxle.
The gearshift lever for each transaxle type
is shown in the illustrations. For details on
how to use the transaxle, refer to “Using
the Transaxle” in the “OPERATING
YOUR VEHICLE” section.
63J051
80J2033
Remove the fuel filler cap
slowly. The fuel may be un-
der pressure and may spray out, caus-
ing injury.
WARNING
Gasoline is extremely flam-
mable. Do not smoke when
refueling, and make sure there are no
open flames or sparks in the area.
WARNING
Manual transaxle: to change
gears properly you must
push the clutch pedal fully down. It is
therefore essential that there is noth-
ing under the pedals: make sure the
mats are lying flat and do not get in
the way of the pedals.
WARNING
IMPORTANT Do not drive with your
hand resting on the gear lever as the force
exerted, even if slight, could lead over time
to premature wear on the gearbox inter-
nal components.
5-speed manual transaxle (for Gasoline engine)
77J021Automatic transaxle
6-speed manual transaxle (for Diesel engine)
129-148 SEDICI LUM FL GB 1E 19-06-2009 13:31 Pagina 132