Page 244 of 532
Bi-Level
Air flows through the outlets located in the instru-
ment panel and those located on the floor.
NOTE: There is a difference in temperature between the
upper and lower outlets for added comfort. The warmer
air goes to the floor outlets. This feature gives improved
comfort during sunny but cool conditions.
Heat
Outside air flows primarily through the floor out-
lets located under the instrument panel.
Mix
Outside air flows in equal proportions through the
floor and defroster outlets.
Defrost
Outside air is primarily directed to the windshield
through the defroster outlets located at the base of
the windshield and side window demist outlets.
NOTE: The air conditioning compressor operates in
both Mix and Defrost or a blend of these modes, even if
the A/C button has not been pressed. This dehumidifies
the air to help dry the windshield.
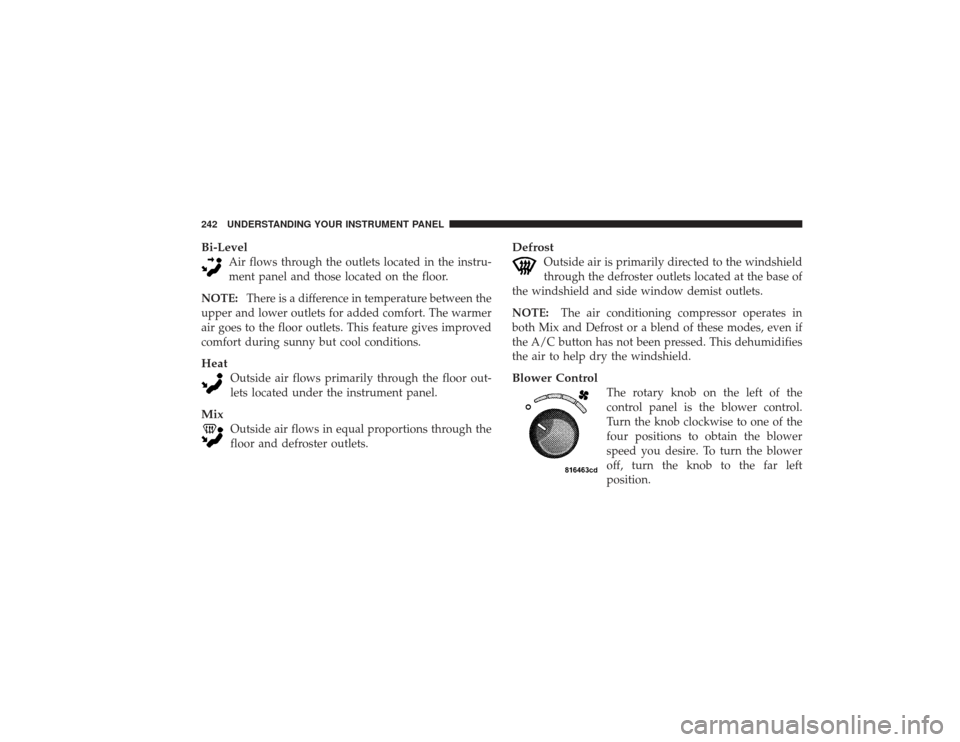
Blower Control
The rotary knob on the left of the
control panel is the blower control.
Turn the knob clockwise to one of the
four positions to obtain the blower
speed you desire. To turn the blower
off, turn the knob to the far left
position.
242 UNDERSTANDING YOUR INSTRUMENT PANEL
Page 245 of 532
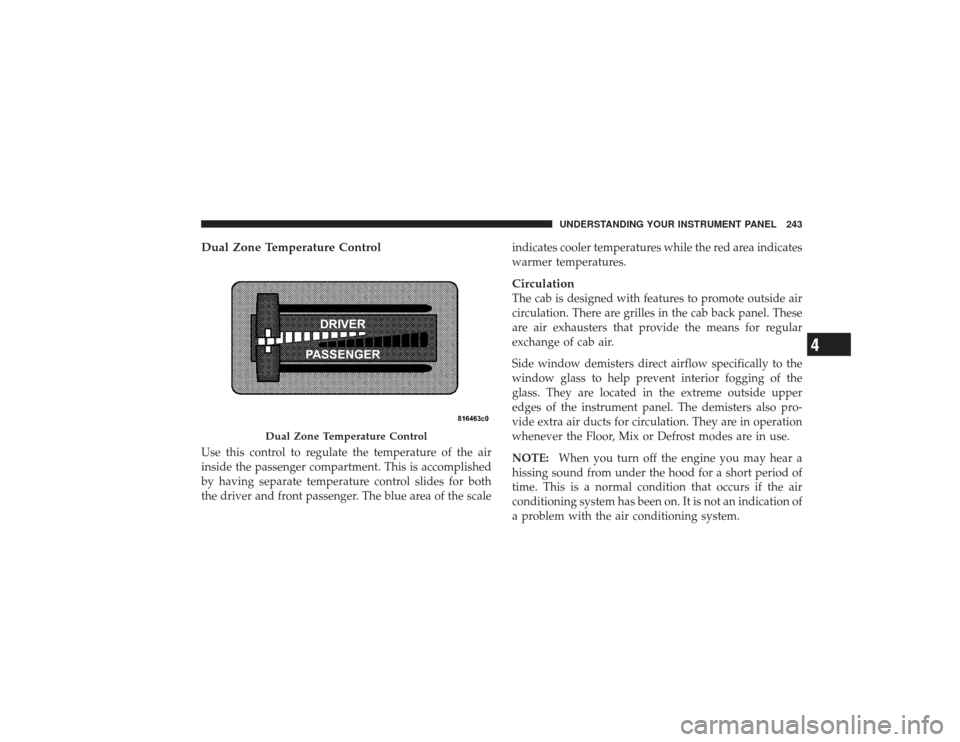
Dual Zone Temperature ControlUse this control to regulate the temperature of the air
inside the passenger compartment. This is accomplished
by having separate temperature control slides for both
the driver and front passenger. The blue area of the scaleindicates cooler temperatures while the red area indicates
warmer temperatures.
CirculationThe cab is designed with features to promote outside air
circulation. There are grilles in the cab back panel. These
are air exhausters that provide the means for regular
exchange of cab air.
Side window demisters direct airflow specifically to the
window glass to help prevent interior fogging of the
glass. They are located in the extreme outside upper
edges of the instrument panel. The demisters also pro-
vide extra air ducts for circulation. They are in operation
whenever the Floor, Mix or Defrost modes are in use.
NOTE:
When you turn off the engine you may hear a
hissing sound from under the hood for a short period of
time. This is a normal condition that occurs if the air
conditioning system has been on. It is not an indication of
a problem with the air conditioning system.
Dual Zone Temperature Control
UNDERSTANDING YOUR INSTRUMENT PANEL 243
4
Page 246 of 532
Operating Tips
Fast CooldownFor a fast cooldown, turn the blower fan rotary knob to
the extreme right position, turn the mode control to the
panel fresh position, press the snowflake button to turn
on the air conditioning, and drive with the windows
open for the first few minutes. Once the hot air has been
expelled, close the windows and press the recirculation
pushbutton, on dual-zone control, or switch the mode
from panel/fresh to panel/recirculate on single-zone
control. When a comfortable condition has been reached,
choose a mode position and adjust the temperature
control slide and blower speed as necessary to maintain
comfort. For high humidity conditions it may be neces-
sary to remain in the Recirculation mode to maintain
comfort.
Window FoggingWindows will fog on the inside when the humidity inside
the vehicle is high. This often occurs in mild or cool
temperatures when it’s rainy or humid. In most cases
turning on the air conditioning (pressing the snowflake
button) will clear the fog. Adjust the temperature control,
air direction and blower speed to maintain comfort.
As the temperature gets colder it may be necessary to
direct air onto the windshield by using MIX Mode
position on the control. Adjust the temperature control
and blower speed to maintain comfort. Higher blower
speeds will reduce fogging. Interior fogging on the
windshield can be quickly removed by selecting the
defrost mode.
Regular cleaning of the inside of the windows with a
non-filming cleaning solution (vinegar and water works
very well) will help prevent contaminates (cigarette
smoke, perfumes, etc.) from sticking to the windows.
Contaminates increase the rate of window fogging.
244 UNDERSTANDING YOUR INSTRUMENT PANEL
Page 316 of 532
WARNING! (Continued)
•
Always keep hands and clothing clear of the wire
rope, hook and fairlead opening during operation
and when spooling.
•
Never wrap wire rope back onto itself. Always use
a choker chain, wire choker rope or tree trunk
protector on the anchor.
•
Never attach a recovery strap to the winch hook to
increase the length of a pull.
•
Never attempt to tow a vehicle with the recovery
strap attached directly to the winch hook.
•
Never use\bbungee\bstraps that develop tremen-
dous and potentially dangerous amounts of force
when stretched.
•
Always disconnect the remote control when not in
use.
(Continued)
WARNING! (Continued)
•
Never winch when there are less than five wraps
of wire rope around the winch drum.
•
Always pass remote control through a window to
avoid pinching lead in door, then using remote
inside a vehicle.
•
Never leave the remote control plugged into the
winch while free spooling, rigging or sitting idle.
Failure to observe any of these warnings regarding
proper winch usage may result in severe injury.
314 STARTING AND OPERATING
Page 322 of 532
9. Connect the remote control to the winch control box,
located behind the front bumper. Be careful not to let the
remote control cord dangle in front of the winch. If you
choose to control the winch from inside your vehicle,
always pass the remote through a window to avoid
pinching the cord in the door. Always disconnect the
remote control when not in use.10. Put wire rope under tension. Using the remote con-
trol switch, slowly wind the wire rope until no slack
remains. Once the wire rope is under tension, stand well
clear of it and never step over it.
11. Check your anchor. Make sure all connections are
secured and free of debris before continuing with the
winching procedure.320 STARTING AND OPERATING
Page 375 of 532

Tire Pressure Monitoring Low Pressure Warnings
The “Tire Pressure Monitoring Telltale Light” will
illuminate in the instrument cluster, and an au-
dible chime will be activated when one or more of
the four active road tire pressures are low. Should this
occur, you should stop as soon as possible, check the
inflation pressure of each tire on your vehicle and inflate
each tire to the vehicle’s recommended cold placard
pressure value. The system will automatically update
and the “Tire Pressure Monitoring Telltale Light” will
extinguish once the updated tire pressures have been
received. The vehicle may need to be driven for up to
20 minutes above 15 mph (25 km/h) to receive this
information.
Check TPMS WarningsThe “Tire Pressure Monitoring Telltale Light” (located in
the instrument cluster) will flash on and off for 75 sec-
onds and will remain on solid when a system fault is
detected. The system fault will also sound a chime. If the ignition key is cycled, this sequence will repeat, provid-
ing the system fault still exists. A system fault can occur
by any of the following scenarios:
1. Signal interference due to electronic devices or driving
next to facilities emitting the same Radio Frequencies as
the TPM sensors.
2. Installing aftermarket window tinting that affects ra-
dio wave signals.
3. Accumulation of snow or ice around the wheels or
wheel housings.
4. Using tire chains on the vehicle.
5. Using wheels/tires not equipped with TPM sensors.
6. Loss of communication with the trigger modules or
tire pressure monitoring sensors.
NOTE: Your vehicle is equipped with a non-matching
full size spare wheel and tire assembly.
STARTING AND OPERATING 373
5
Page 381 of 532
Carbon Monoxide Warnings
WARNING!
Carbon monoxide (CO) in exhaust gases is deadly.
Follow the precautions below to prevent carbon
monoxide poisoning:•
Do not inhale exhaust gases. They contain carbon
monoxide, a colorless and odorless gas which can kill.
Never run the engine in a closed area, such as a
garage, and never sit in a parked vehicle with the
engine running for an extended period. If the vehicle is
stopped in an open area with the engine running for
more than a short period, adjust the ventilation system
to force fresh, outside air into the vehicle.
•
Guard against carbon monoxide with proper mainte-
nance. Have the exhaust system inspected every timethe vehicle is raised. Have any abnormal conditions
repaired promptly. Until repaired, drive with all side
windows fully open.
ADDING FUELThe fuel tank filler tube has a restricting door about 2 in
(50 mm) inside the opening. If using a portable fuel
container, it should have a flexible nozzle long enough to
force open the restricting door.
CAUTION!
•
Damage to the fuel system or emissions control
system could result from using an improper fuel
tank filler tube cap (gas cap). A poorly fitting cap
could let impurities into the fuel system. Also, a
poorly-fitted aftermarket cap can cause the MIL
(Malfunction Indicator Light) to illuminate due to
fuel vapors escaping from the system.
(Continued)
STARTING AND OPERATING 379
5
Page 458 of 532
soaking your leather upholstery with any liquid. Please
do not use polishes, oils, cleaning fluids, solvents, deter-
gents, or ammonia-based cleaners to clean your leather
upholstery. Application of a leather conditioner is not
required to maintain the original condition.
WARNING!
Do not use volatile solvents for cleaning purposes.
Many are potentially flammable, and if used in
closed areas they may cause respiratory harm.Cleaning HeadlightsYour vehicle has plastic headlights that are lighter and
less susceptible to stone breakage than glass headlights.
Plastic is not as scratch resistant as glass and therefore
different lens cleaning procedures must be followed.To minimize the possibility of scratching the lenses and
reducing light output, avoid wiping with a dry cloth. To
remove road dirt, wash with a mild soap solution fol-
lowed by rinsing.
Do not use abrasive cleaning components, solvents, steel
wool or other aggressive material to clean the lenses.
Glass SurfacesAll glass surfaces should be cleaned on a regular basis
with MOPAR�
Glass Cleaner or any commercial
household-type glass cleaner. Never use an abrasive type
cleaner. Use caution when cleaning the inside rear win-
dow equipped with electric defrosters or the right rear
quarter window equipped with the radio antenna. Do
not use scrapers or other sharp instruments which may
scratch the elements. When cleaning the rearview mirror,
spray cleaner on the towel or rag that you are using. Do
not spray cleaner directly on the mirror.
456 MAINTAINING YOUR VEHICLE