Page 25 of 226
DESTINATION SEARCH
43
3. Touch one of “US1” through “CAN” to
select a search area.
4. Touch “OK” and the “Destination”
screen returns.SELECTING THE SEARCH AREA ON THE
INPUT SCREEN
Change the search area in order to set a des-
tination from a different area by using “Ad-
dress”, “POI Name”, “Freeway Ent./Exit”, or
“Intersection”.
1. Touch the search area button like
“US9” on the input screen to display a
map of the United States and Canada di-
vided into 12 areas. (For map database in-
formation and updates, see “Map database
information and updates” on page 224.)
2. Touch one of “US1” through “CAN” to
select a search area.
3. Touch “OK” and the previous screen
returns.
Page 26 of 226
DESTINATION SEARCH
44
U.S.A.
ButtonStates included in the search area
“US1”
Idaho
Oregon
Washington
“US2”California
Nevada
“US3”
Arizona
Colorado
Montana
New Mexico
Utah
Wyoming
“US4”
Iowa
Kansas
Minnesota
Missouri
North Dakota
Nebraska
South Dakota
“US5”Oklahoma
Texas
“US6”
Illinois
Indiana
Kentucky
Michigan
Ohio
Wisconsin
“US7”
Arkansas
Alabama
Louisiana
Mississippi
Tennessee
“US8”
Connecticut
Massachusetts
Maine
New Hampshire
New Jersey
New York
Rhode Island
Vermont
“US9”
Washington, D.C.
Delaware
Maryland
New Jersey
Pennsylvania
Virginia
West Virginia
“US10”
Florida
Georgia
North Carolina
South Carolina
“HI”Hawaii
Canada
ButtonProvinces and regions included in
the search area
“CAN”All provinces and regions in
Canada included in this button.
Page 27 of 226

DESTINATION SEARCH
45
— Destination search by Home
1. Push the “DEST” button.
2. Touch the home touch screen button
on the “Destination” screen.
The screen changes and displays the map
location for home and the route preference.
(See “Starting route guidance” on page 61.)
To use this function, it is necessary to set
“Home” for the memory point. (To register
“Home”, see page 94.)
INFORMATION
Guidance starts from the current vehicle
position to your home if “Enter” is
touched even while driving.
— Destination search by
Quick access
1. Push the “DEST” button.
2. Touch any of the quick access touch
screen buttons on the “Destination”
screen.
The screen changes and displays the map
location of the quick access point and the
route preference. (See “Starting route guid-
ance” on page 61.)
To use this function, it is necessary to set
“Quick access” for each memory point. (To
register “Quick Access”, see page 91.)
INFORMATION
Guidance starts from the current vehicle
position to the quick access point if “En-
ter” is touched even while driving.
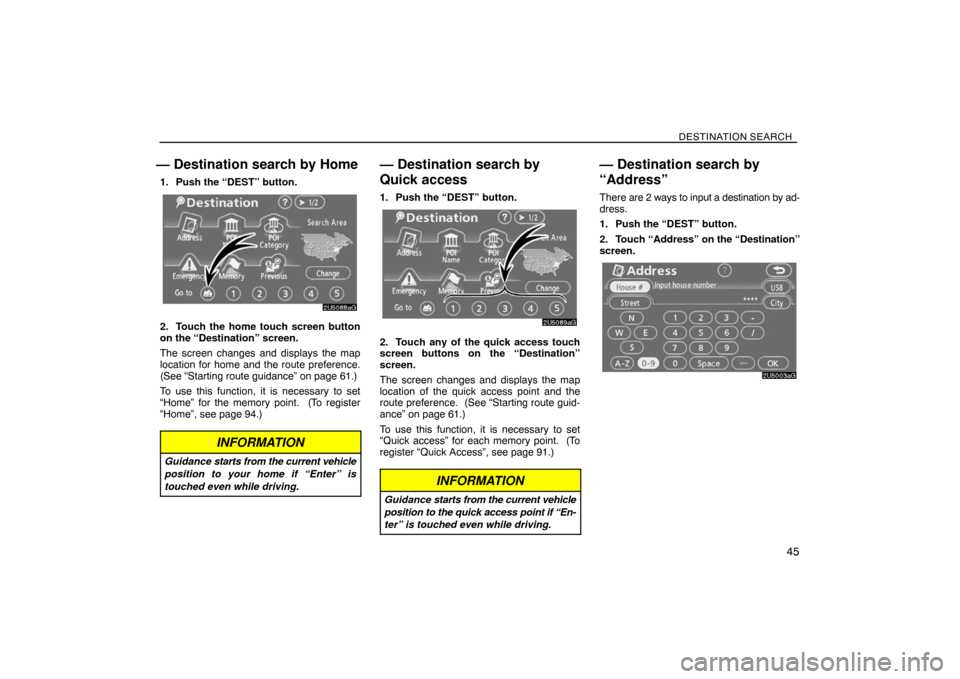
— Destination search by
“Address”
There are 2 ways to input a destination by ad-
dress.
1. Push the “DEST” button.
2. Touch “Address” on the “Destination”
screen.
Page 28 of 226
DESTINATION SEARCH
46
(a) Inputting a house number and a street
name
1. Touch numerals directly on the screen
to input a house number.
After inputting a house number, touch “OK”
to display the screen for inputting a street
name.
It is possible to input a street name first.
Touch “Street” to display the screen for in-
putting a street name.
2. Input the street name and touch “List”.3. When the desired street name is found,
touch the corresponding touch screen
button.
The screen changes and displays the map
location of the selected destination and the
route preference. (See “Starting route guid-
ance” on page 61.)
If the same address exists in more than one
city, the current screen changes to the city list
screen.
Page 29 of 226
DESTINATION SEARCH
47
4. Select or enter the desired city.
“Input Name”: To narrow down the listed
items by inputting the city name.If inputting a street name first, the screen
changes. The house number can then be in-
put.
If the above screen appears, an address
range on the screen can be selected.
If the same address exists in more than one
city, the current screen changes to the city list
screen.
Page 30 of 226
DESTINATION SEARCH
48
(b) Selecting a city to search
Touch “City”.
To search by city, the following three methods
are possible.
1. Input the city name
2. Select from the nearest 5 cities
3. Select from the last 5 cities
INFORMATION
To change the search area, touch
“Search Area”.
To cancel the city setting, touch “Any
City”.
INPUTTING THE CITY NAME
1. Touch “Input City Name”.
2. Input a city name.
Page 31 of 226

DESTINATION SEARCH
49
3. Touch the touch screen button of the
desired city name from the displayed list.
“Map”: To display the selected destination
and the route preference. (See “Starting
route guidance” on page 61.)
The current screen changes to the screen for
inputting a house number or a street name.
(See “(a) Inputting a house number and a
street name” on page 46.)SELECTING FROM THE NEAREST 5
CITIES
1. Touch “Nearest 5 Cities”.
2. Touch the touch screen button of the
desired city name from the displayed list.
The current screen changes to the screen for
inputting a house number or a street name.
(See “(a) Inputting a house number and a
street name” on page 46.)SELECTING FROM THE LAST 5 CITIES
Touch the touch screen button of the de-
sired city name.
If the navigation has not be used, no cities will
be displayed on the screen.
The current screen changes to the screen for
inputting a house number or a street name.
(See “(a) Inputting a house number and a
street name” on page 46.)
Page 32 of 226
DESTINATION SEARCH
50
— Destination search by “POI
Name”
1. Push the “DEST” button.
2. Touch “POI Name” on the “Destina-
tion” screen.
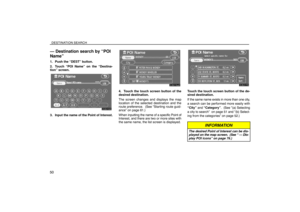
3. Input the name of the Point of Interest.
4. Touch the touch screen button of the
desired destination.
The screen changes and displays the map
location of the selected destination and the
route preference. (See “Starting route guid-
ance” on page 61.)
When inputting the name of a specific Point of
Interest, and there are two or more sites with
the same name, the list screen is displayed.Touch the touch screen button of the de-
sired destination.
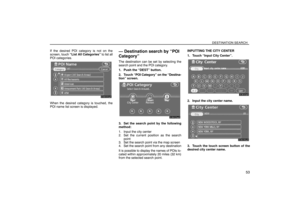
If the same name exists in more than one city,
a search can be performed more easily with
“City” and “Category”. (See “(a) Selecting
a city to search” on page 51 and “(b) Select-
ing from the categories” on page 52.)
INFORMATION
The desired Point of Interest can be dis-
played on the map screen. (See “ — Dis-
play POI icons” on page 76.)