Page 335 of 531
339
3−6. Other interior features
3
Interior features
Clock
nThe clock is displayed when
The “ENGINE START STOP” switch is in ACCESSORY or IGNITION ON
mode.
nWhen the battery is disconnected
The time display will automatically be set to 1:00.
nAdjust clock
Adjust hours.
Adjust minutes.
Round the nearest hour.
*
*
:e.g. 1:00 to 1:29 1:00
1:30 to 1:59
2:00
2
1
3
ITY35C003
Page 337 of 531
341
3−6. Other interior features
3
Interior features
Ashtrays
Front
Press in and release the lid to
open.
Press down on the lock spring
plate to remove.
Push the lid to close.
Rear
Pull the ashtray lid to open.
Pull the ashtray upwards to
remove.
Page 342 of 531
346
3−6. Other interior features
Seat heaters
For front seats
For driver’s seat
Pops the switch out.
For front passenger ’s seat
Pops the switch out.
On
The indicator light comes on.
Adjusts the seat tempera−
ture
The further you turn the knob
clockwise, the warmer the seat
becomes.
Raise the knob when you wish to
adjust the seat warmth, and push
the knob back in when finished.
For second seats (if equipped)
For left second seat
For right second seat
High heating temperature
Low heating temperature
Off
To turn on the seat heater, press
“HI” or “LO”.
To turn off, press “OFF”.
The indicator light on “HI” or “LO”
switch indicates that the seat
heater is on.
L
R
L
ITY35C016
AUTO TEMP
OFF
TEMP
HI
LOOFF
HI
LO4
12
3
5
4
3
5
ITY35C018
Page 348 of 531
352
3−6. Other interior features
Garage door opener
The garage door opener (HomeLink Universal Transceiver) is manufac−
tured under license from HomeLink
.
Programming HomeLink (for U.S.A. owners)
The HomeLink compatible transceiver in your vehicle has 3 buttons
which can be programmed to operate 3 different devices. Refer to the
programming method below appropriate for the device.
Buttons
Indicator
The garage door opener can be programmed to operate garage
doors, gates, entry do ors, door locks, home lighting systems, secu�
rity systems, and other devices.
ITY35C029
Page 352 of 531
/Programming
all devices in the Canadian market
Place your transmitter 1 to 3 in. (25 to 75 mm) away from the
surface")
356 3−6. Other interior features
nProgramming an entry gate (f or U.S.A. owners)/Programming
all devices in the Canadian market
Place your transmitter 1 to 3 in. (25 to 75 mm) away from the
surface of the HomeLink
.
Keep the HomeLink indicator light in view while programming.
Press and hold the selected HomeLink button.
Repeatedly press and release (cycle) the device’s remote
control button for two seconds each until step 4 is completed.
When the indicator light on the HomeLink
compatible trans−
ceiver starts to flash rapidly, release the buttons.
Test the operation of the HomeLink
by pressing the newly
programmed button. Check to se e if the gate/device operates
correctly.
Repeat the steps above to program another device for each of
the remaining HomeLink
buttons.
nProgramming other devices
To program other devices such
as home security systems, home
door locks or lighting, contact your authorized Toyota dealer for
assistance.
nReprogramming a button
The individual HomeLink
buttons cannot be erased but can be
reprogrammed. To reprogram a button, follow the “Reprogramming
a HomeLink
button” instructions.
STEP1
STEP 2
STEP 3
STEP 4
STEP 5
STEP6
Page 362 of 531
367
4−2. Maintenance
4
Maintenance and care
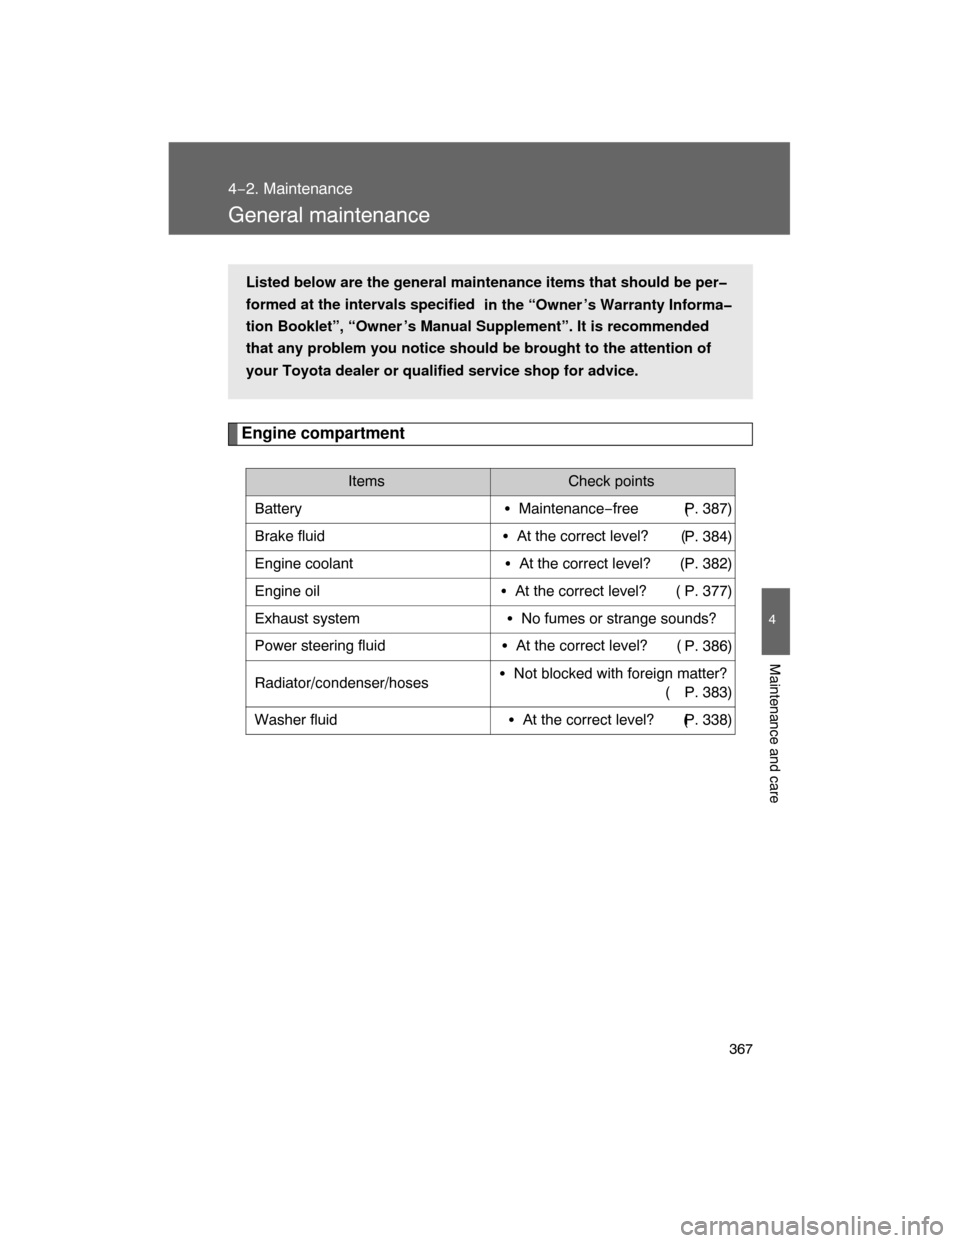
General maintenance
Engine compartment
Items Check points
Battery�Maintenance−free (
P. 387)
Brake fluid�At the correct level? (
P. 384)
Engine coolant�At the correct level? (
P. 382)
Engine oil�At the correct level? (
P. 377)
Exhaust system�No fumes or strange sounds?
Power steering fluid�At the correct level? (
P. 386)
Radiator/condenser/hoses�Not blocked with foreign matter?
( P. 383)
Washer fluid�At the correct level? (
P. 338)
Listed below are the general maintenance items that should be per�
formed at the intervals specified
in the “Owner ’s Warranty Informa�
tion Booklet”, “Owner ’s Manual Supplement”. It is recommended
that any problem you notice should be brought to the attention of
your Toyota dealer or qualified service shop for advice.
Page 363 of 531
368 4−2. Maintenance
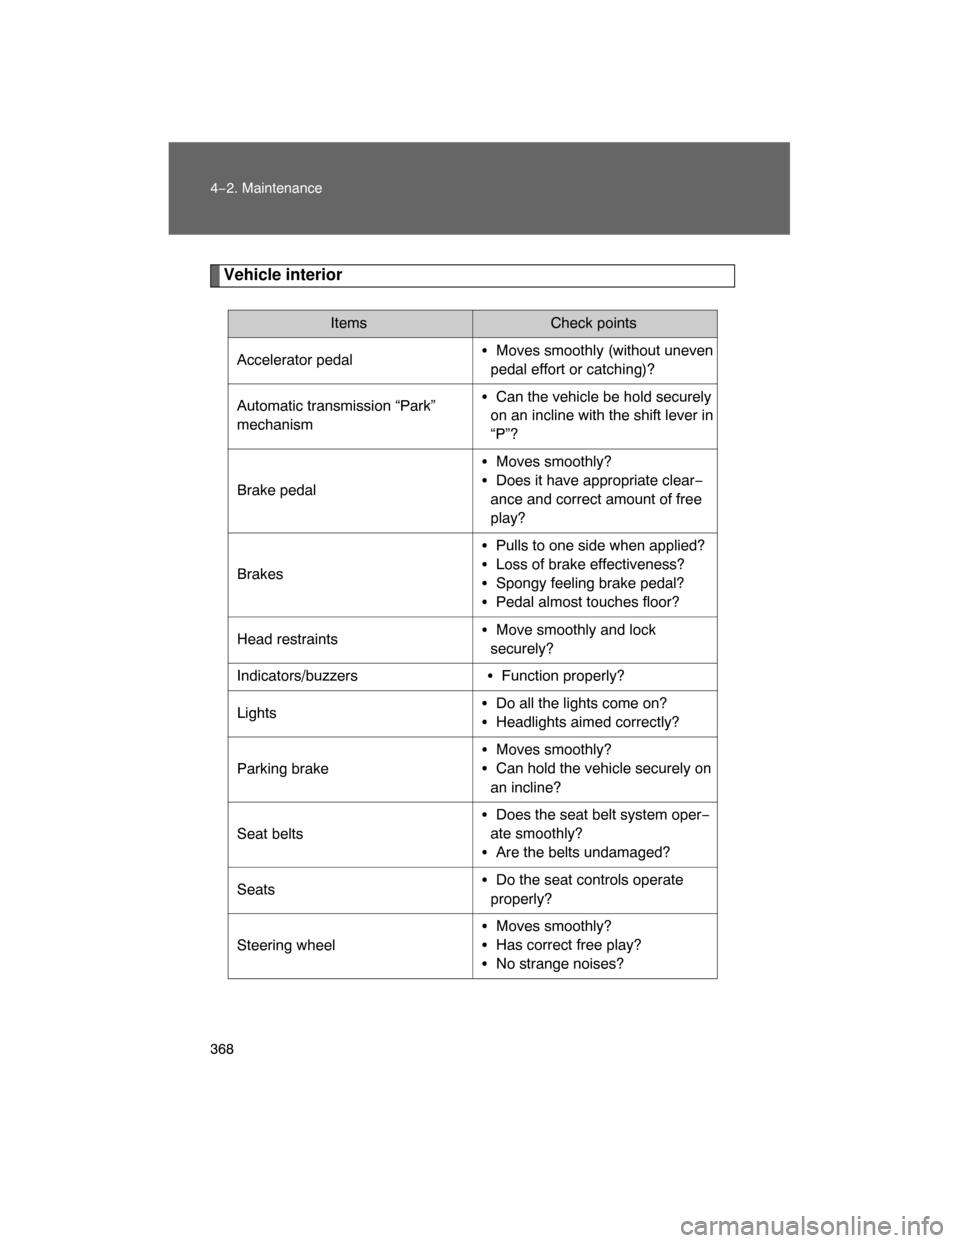
Vehicle interior
Items Check points
Accelerator pedal�Moves smoothly (without uneven
pedal effort or catching)?
Automatic transmission “Park”
mechanism�Can the vehicle be hold securely
on an incline with the shift lever in
“P”?
Brake pedal�Moves smoothly?
�Does it have appropriate clear−
ance and correct amount of free
play?
Brakes�Pulls to one side when applied?
�Loss of brake effectiveness?
�Spongy feeling brake pedal?
�Pedal almost touches floor?
Head restraints�Move smoothly and lock
securely?
Indicators/buzzers�Function properly?
Lights�Do all the lights come on?
�Headlights aimed correctly?
Parking brake�Moves smoothly?
�Can hold the vehicle securely on
an incline?
Seat belts�Does the seat belt system oper−
ate smoothly?
�Are the belts undamaged?
Seats�Do the seat controls operate
properly?
Steering wheel
�Moves smoothly?
�Has correct free play?
�No strange noises?
Page 364 of 531
369
4−2. Maintenance
4
Maintenance and care
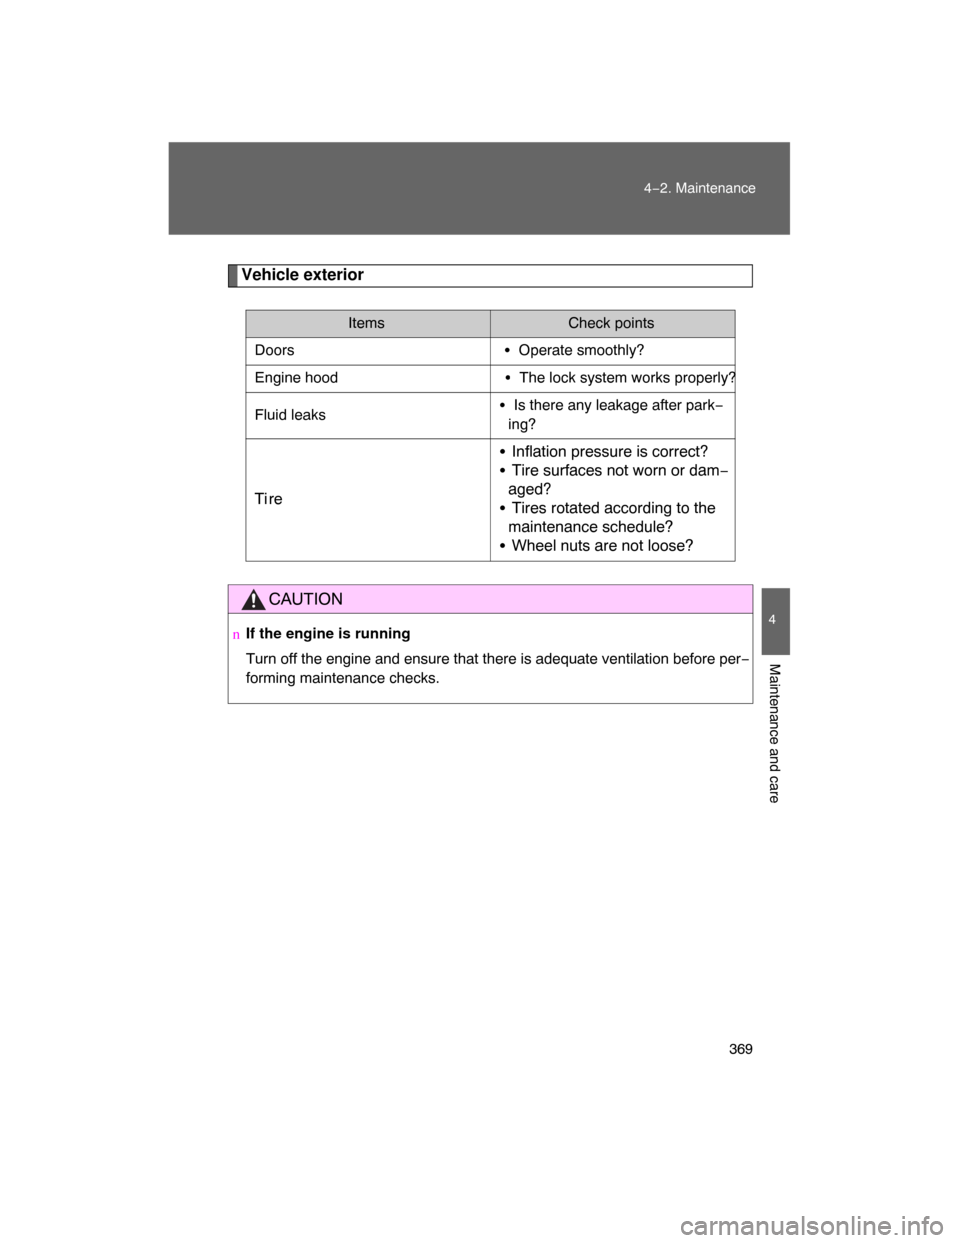
Vehicle exterior
Items Check points
Doors�Operate smoothly?
Engine hood�The lock system works properly?
Fluid leaks�Is there any leakage after park−
ing?
Ti re�Inflation pressure is correct?
�Tire surfaces not worn or dam−
aged?
�Tires rotated according to the
maintenance schedule?
�Wheel nuts are not loose?
CAUTION
nIf the engine is running
Turn off the engine and ensure that there is adequate ventilation before per−
forming maintenance checks.


 is manufac−
tured under license from HomeLink
.
Programming HomeLink (for U.S.A. owner")