Page 116 of 496

104
CY13043
Move seat
fully back
�A forward−facing child restraint sys-
tem should be allowed to be
installed on the front passenger
seat only when it is unavoidable.
Always move the seat as far back
as possible even if the front pas-
senger occupant classification indi-
cator light indicates �OFF", because
the front passenger airbag could in-
flate with considerable speed and
force. Otherwise, the child may be
killed or seriously injured.
�Do not allow the child to lean his/
her head or any part of his/her
body against the door or the area
of the seat, front or rear pillar or
roof side rail from which the side
airbags or curtain shield airbags
deploy even if the child is seated in
the child restraint system. It is dan-
gerous if the side airbag and/or
curtain shield airbag inflate, and the
impact could cause death or seri-
ous injury to the child.
CY13044
�Do not install a child restraint sys-
tem on the second (or third) seat if
it interferes with the lock mecha-
nism of the front (or second) seats.
Otherwise, the child or front (or
second) seat occupant(s) may be
killed or seriously injured in case
of sudden braking or a collision.
�If the driver’s seat position does
not allow sufficient space for safe
installation, install the child re-
straint system on the rear right
seat.
Page 117 of 496

105
CY13117
To install the forward−facing convertible
seat:1. Run the lap and shoulder belt through or around the convertible seat following
the instructions provided by its
manufacturer and insert the tab into
the buckle taking care not to twist the
belt. Keep the lap portion of the belt
tight.
For instructions concerning the installation
of the rear−facing convertible seat, see
�(A) INFANT SEAT INSTALLATION" on
page 99.
CAUTION
�After inserting the tab, make sure
the tab and buckle are locked and
that the lap and shoulder portions
of the belt are not twisted.
�Do not insert coins, clips, etc. in
the buckle as this may prevent your
child from properly latching the tab
and buckle.
�If the seat belt does not function
normally, it cannot protect your
child from death or serious injury.
Contact your Toyota dealer immedi-
ately. Do not install the child
restraint system on the seat until
the seat belt is fixed.
CY13144
2. Fully extend the shoulder belt to put it in the lock mode. When the belt is
then retracted even slightly, it cannot
be extended.
To hold the convertible seat securely,
make sure the belt is in the lock mode
before letting the belt retract.
Page 119 of 496
107
CY13147
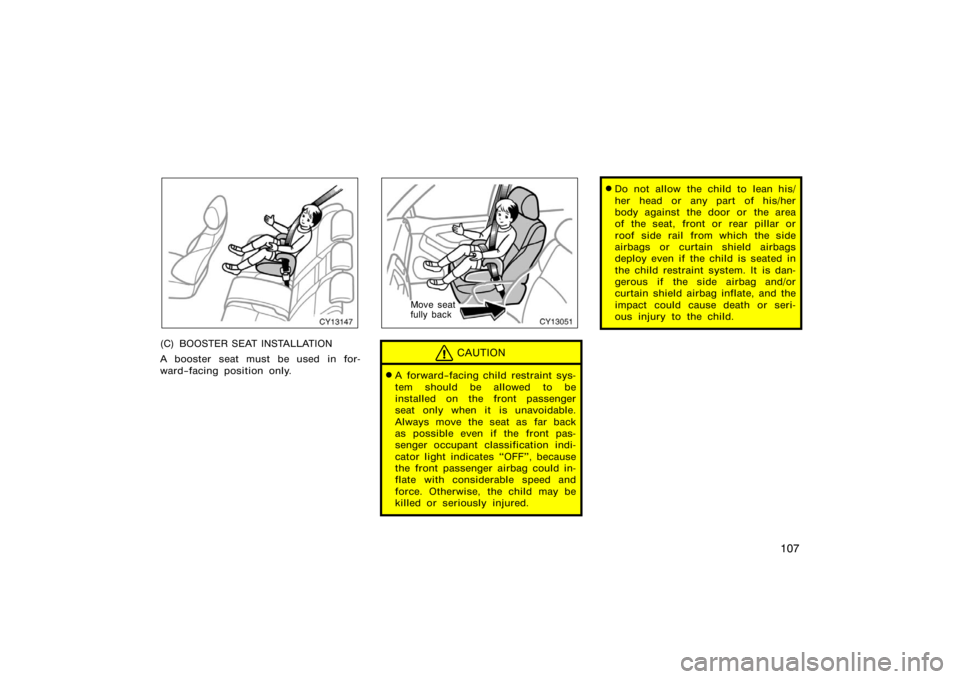
(C) BOOSTER SEAT INSTALLATION
A booster seat must be used in for-
ward−facing position only.
CY13051
Move seat
fully back
CAUTION
�A forward−facing child restraint sys-
tem should be allowed to be
installed on the front passenger
seat only when it is unavoidable.
Always move the seat as far back
as possible even if the front pas-
senger occupant classification indi-
cator light indicates �OFF", because
the front passenger airbag could in-
flate with considerable speed and
force. Otherwise, the child may be
killed or seriously injured.
�Do not allow the child to lean his/
her head or any part of his/her
body against the door or the area
of the seat, front or rear pillar or
roof side rail from which the side
airbags or curtain shield airbags
deploy even if the child is seated in
the child restraint system. It is dan-
gerous if the side airbag and/or
curtain shield airbag inflate, and the
impact could cause death or seri-
ous injury to the child.
Page 127 of 496

11 5
CY13263
Canada only
Ty p e B
CHILD RESTRAINT SYSTEM
INSTALLATION1. Widen the gap between the seat cushion and seatback slightly and
confirm the position of the lower an-
chorages near the button on the
seatback.
2. Type A�Latch the hooks of lower straps onto the anchorages and
tighten the lower straps.
Type B�Latch the buckles onto the
anchorages.
For owners in Canada� The symbol on
a child restraint system indicates the pres-
ence of a lower connector system.
If your child restraint system has a top
strap, it should be anchored. (For the
installation of the top strap, see ��Using
a top strap" on page 109 in this Section.)
For installation details, refer to the instruc-
tion manual equipped with each product.CAUTION
�When using the lower anchorages
for the child restraint system, be
sure that there are no irregular ob-
jects around the anchorages or that
the seat belt is not caught.
�Push and pull the child restraint
system in different directions to be
sure it is secure. Follow all the
installation instructions provided by
its manufacturer.
�Do not install a child restraint sys-
tem on the rear seat if it interferes
with the lock mechanism of the
front seats. Otherwise, the child or
front seat occupant(s) may be killed
or seriously injured in case of sud-
den braking or a collision.
Page 129 of 496
11 7
CY13285
Canada only
Ty p e A
CY13286
Canada only
Ty p e B
3. Widen the slits of the seat cushionslightly and confirm the position of
the lower anchorages near the but-
ton on the seatback.
4. Type A�Latch the hooks of lower straps onto the anchorages and
tighten the lower straps.
Type B�Latch the buckles onto the
anchorages.
For owners in Canada� The symbol on
a child restraint system indicates the pres-
ence of a lower connector system.
If your child restraint system has a top
strap, it should be anchored. (For the
installation of the top strap, see ��Using
a top strap" on page 112 in this Section.)
For installation details, refer to the instruc-
tion manual equipped with each product.
Page 135 of 496
123
CY13011
The rear view mirrors can be folded
backward for parking in compact areas.
To fold the rear view mirror, push back-
ward.
CAUTION
Do not drive with the mirrors folded
backward. Both the driver and pas-
senger side rear view mirrors must
be extended and properly adjusted
before driving.
CY13012
Adjust the mirror so that you can just
see the rear of your vehicle in the mir-
ror.
To reduce glare from the headlights of
the vehicle behind you during night
driving, operate the lever on the lower
edge of the mirror.
Daylight driving�Lever at position 1
The reflection in the mirror has greater
clarity at this position.
Night driving�Lever at position 2
Remember that by reducing glare you also
lose some rear view clarity.
CAUTION
Do not adjust the mirror while the
vehicle is moving. Doing so may
cause the driver to mishandle the ve-
hicle and an accident may occur re-
sulting in death or serious injuries.
�Folding rear view mirrorsAnti−glare inside rear view
mirror
Page 136 of 496

124
CY13312
Adjust the mirror so that you can just
see the rear of your vehicle in the mir-
ror.
This mirror is equipped with auto anti−
glare function. The function is designed
to reduce glare from the headlights of
the vehicle behind you during night
driving.
When the engine switch is turned on, the
inside rear view mirror always turns on in
the automatic function mode.
The indicator illuminates to show you that
the function is on.In automatic function mode, if the mirror
detects light from the headlights of the
vehicle behind you, the mirror surface
darkens slightly to reduce the reflected
light.
To turn off and on the automatic function,
push the �
" switch for longer than 3
seconds.
Adjust it before driving so that the rear
view is in the best condition.
When the inside air temperature is low, it
may take a little longer for the mirror to
darken in response to the detection of
headlights.
CAUTION
Do not adjust the mirror while the
vehicle is moving. Doing so may
cause the driver to mishandle the ve-
hicle and an accident may occur re-
sulting in death or serious injuries.
CY13313
To ensure correct functioning of anti−
glare mirror sensors located on both
sides of the mirror, do not touch or
cover the sensors with your finger or
a piece of cloth, etc.
Auto anti−glare inside rear
view mirror
Page 139 of 496
127
CY13160
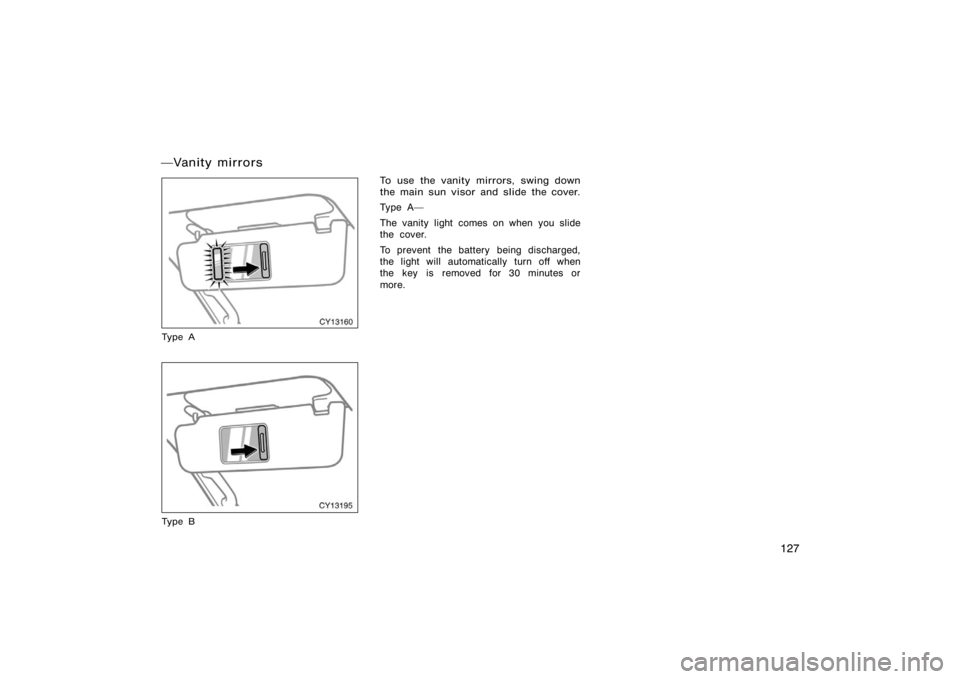
Ty p e A
CY13195
Ty p e B
To use the vanity mirrors, swing down
the main sun visor and slide the cover.
Ty p e A �
The vanity light comes on when you slide
the cover.
To prevent the battery being discharged,
the light will automatically turn off when
the key is removed for 30 minutes or
more.
�Vanity mirrors