Page 41 of 126
40
Setting Route
■“Coordinates” methodYou can set destinations or waypoints using their latitudes and longitudes as follows:1
Enter the latitude of the desired location.Use the numeric keys together with the [°] (degrees), [’] (minutes), and [“] (seconds)
keys.
2
Enter the longitude of the location.
:Use this key to switch over to the north latitude.
:Use this key to switch over to the south latitude.
:Use this key to switch over to the west longitude.
:Use this key to switch over to the east longitude.
:Use this key to delete the character last entered. Select it repeatedly if you
want to delete all the characters entered.
First, choose either of the two procedures below to follow the “coordinates” method.
• Press the button or select , select (destination entry), and then select (coordinates).
• Press the button and select (coordinates).
Page 42 of 126
41
3
Select .
4
Select (destination) or (waypoint).
Setting Route
Page 43 of 126
42
Setting Route
■“Intersection” methodYou can use a intersection defined by two street names as a location for setting your destination or a waypoint.1
Enter the name of the first street and then select .
2
Select the street from the “Intersection” list.
: Use this key to display up to five previous suggestions.
: Use this key to display the previous suggestion.
: Use this key to display the next suggestion.
: Use this key to display up to five of the next suggestions.
First, choose either of the two procedures below to follow the “intersection” method.
• Press the button or select , select (destination entry), and then select (intersection).
• Press the button and select (intersection).
Page 44 of 126
43
3
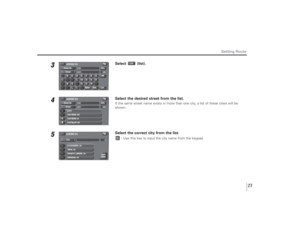
Specify the second street using the same procedure as the first street.
4
Select (destination) or (waypoint).
NOTENo intersection is defined if
• the two streets do not cross each other,
• the two streets are a freeway and a highway,
• either street is for right or left turns only,
• both are one-way streets,
• either street is for U-turns,
• the two streets cross on the inside lane,
• either street is an on/off ramp,
• either street is a frontage street, and/or
Setting Route
Page 45 of 126
44
Setting Route
■“Phone number” methodThis function allows buildings and the like to be located using their phone numbers.1
Enter the phone number starting with the area code.
2
Select .
First, choose either of the two procedures below to follow the “phone number” method.
• Press the button or select , select (destination entry), and then select (phone number).
• Press the button and select (phone number).
Page 46 of 126
45
3
Select (destination) or (waypoint).
NOTEIf a number of candidates exist as a result of, for example, different area codes, these will be displayed in a list. Your desired destination
can then be selected from the list.
Setting Route
Page 47 of 126

46
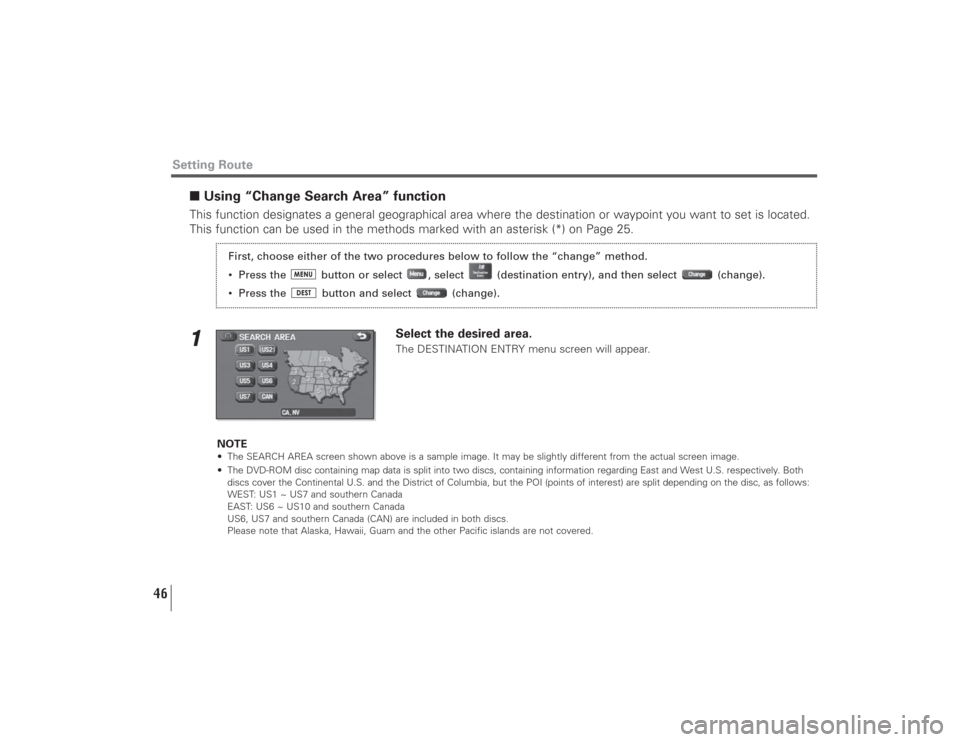
■Using “Change Search Area” function This function designates a general geographical area where the destination or waypoint you want to set is located.
This function can be used in the methods marked with an asterisk (*) on Page 25.1
Select the desired area.The DESTINATION ENTRY menu screen will appear.
NOTE
• The SEARCH AREA screen shown above is a sample image. It may be slightly different from the actual screen image.
• The DVD-ROM disc containing map data is split into two discs, containing information regarding East and West U.S. respectively. Both
discs cover the Continental U.S. and the District of Columbia, but the POI (points of interest) are split depending on the disc, as follows:
WEST: US1 ~ US7 and southern Canada
EAST: US6 ~ US10 and southern Canada
US6, US7 and southern Canada (CAN) are included in both discs.
Please note that Alaska, Hawaii, Guam and the other Pacific islands are not covered.
Setting Route
First, choose either of the two procedures below to follow the “change” method.
• Press the button or select , select (destination entry), and then select (change).
• Press the button and select (change).
Page 48 of 126
47
Route GuidanceDuring route guidance, the system can indicate on a second screen the directions in which you must make
turns at the next and following intersections in either of two ways: “turn arrow” or “turn list”. Specify your
preferred method of indication as follows:
1
Select (screen configuration).
2
Select for turn arrow indication or for turn list indication.If you need not make any further selection, select . The relevant keys will
disappear.
Route Guidance Screen
Turn direction is indicated by an arrow.
Turn directions are indicated in a list.