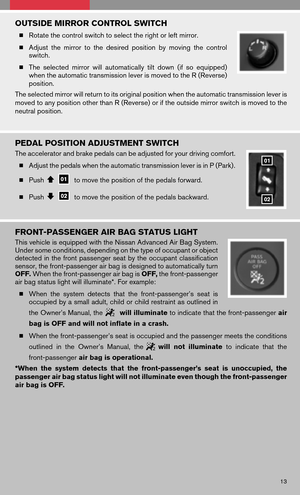
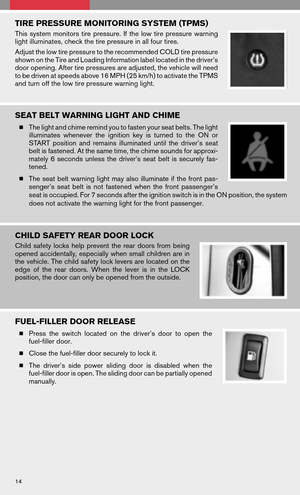
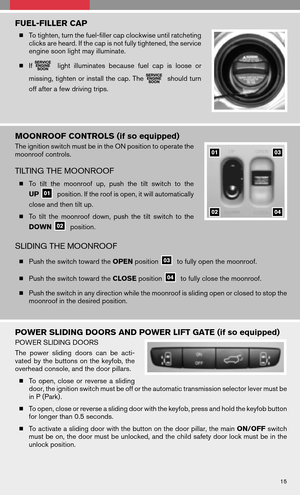
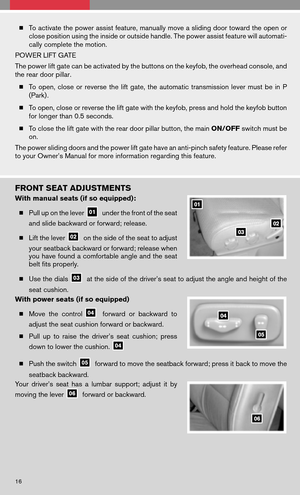
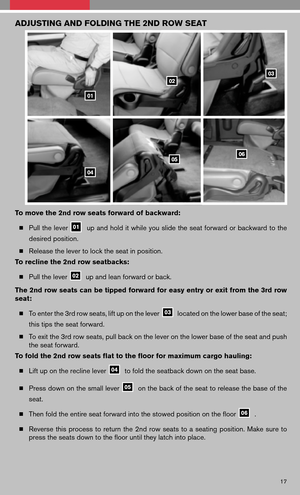
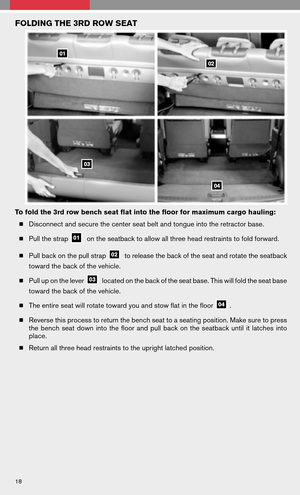
Page 25 of 36

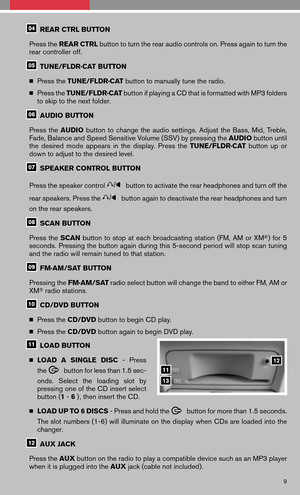
MODEBUTTON –Press thisbutton toselect theAudio/Video sourcebetween
DVD and AUX input.
STOP BUTTON – Press the button once to stop the disc in play.
PLAY/PAUSEBUTTON–Press thisbutton oncetobegin play;press againto
pause play.
MENU BUTTON – Press this button when the DVD is in PLAY mode and the DVD
menu will appear in the display. Press the button again to resume play.
DISPLAY BUTTON –Press thisbutton forless than 2seconds andthedisplay
menu will appear on screen; press the button for longer than 2 seconds to remove
the display information screen.
NAVIGATION KEYS – These buttons perform a number of functions, depending on
which mode the player is in.
INPUT JACKS – These are used to plug additional compatible devices into the DVD
system. They are color-coded (yellow – video input; white – left channel audio input;
red – right channel audio input) .
PLAYING A DIGITAL VIDEO DISC
The DVD player plays DVD videos, video CDs and audio CDs. To play a DVD, begin by turning
the ignition to ACC or ON and pressing the POWERbutton. Insert the disc into the slot. The
disc is automatically drawn in. The player can be operated by using the control panel buttons
or the remote control. The DVD player can be operated by pressing the CD/DVDbutton or
by pressing the REAR CTRLbutton on the instrument panel for 2 seconds. If you press the
REAR CTRL button quickly, you will toggle between rear audio control on and off. Press the
CD/DVD button to toggle between the CD and DVD operation.
PLAYING A COMPACT DISC
The DVD player plays DVD videos, video CDs and audio CDs. To play a CD, begin by turning
the ignition to ACC or ON and pressing the POWERbutton. Insert the disc into the slot. The
disc is automatically drawn in. The player can be operated by using the control panel buttons
or the remote control.
USING THE AUXILIARY INPUT JACKS
Auxiliary inputjacks areused toplug incompatible devices,suchasvideo games and
portable video players. The jacks are located on the control panel and are color-coded for
identification. Refer to the section titled DVD Controls for a description.
23
Page 26 of 36
")
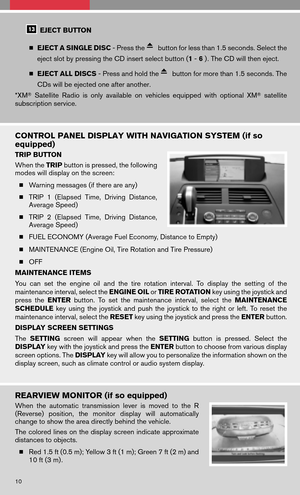
FLIP DOWN SCREEN
The flip down screen has a wireless remote con-
trol receiver. The screen rotates down for viewing
and back up into the housing when not in use.
REAR AUDIO CONTROLS (if so equipped)
Tolock orunlock audiocontrols, pressthe REAR CTRLbutton onthe front radio control
panel.
VOLUME CONTROL BUTTON – This button allows the rear passengers to adjust
the headphone volume.
MODE BUTTON – This button allows the rear passengers to change between FM,
AM, CD, and DVD.
SPEAKER CONTROL BUTTON – Press this button to turn the rear speakers off
and theheadphones on;press againtoturn therear speakers onand thehead-
phones off.
NEXT BUTTON – When this button is pressed while in FM or AM mode, the radio
will change to the next preset. The NEXTbutton does not function when playing a
DVD or CD.
SEEK BUTTON – In FM or AM mode this button allows rear seat passengers to find
the next radio station up or down the band frequency. In CD mode, this button allows
the rear passengers to chose the next or previous selection on the disc.
HEADPHONE JACKS – These allow two rear seat passengers to listen privately to
the audio system.
24
Page 27 of 36
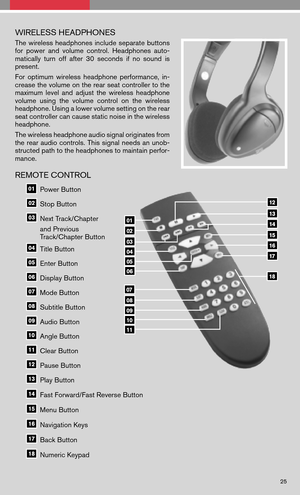
WIRELESS HEADPHONES
Thewireless headphones includeseparate buttons
for power andvolume control. Headphones auto-
matically turnoffafter 30seconds ifno sound is
present.
For optimum wirelessheadphone performance, in-
crease the volume on the rear seat controller to the
maximum levelandadjust thewireless headphone
volume usingthevolume controlonthe wireless
headphone. Using a lower volume setting on the rear
seat controller can cause static noise in the wireless
headphone.
The wireless headphone audio signal originates from
the rear audio controls. Thissignal needs anunob-
structed path to the headphones to maintain perfor-
mance.
REMOTE CONTROL
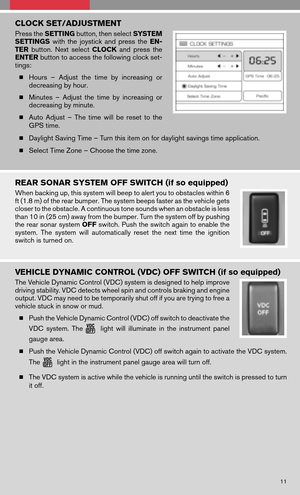
Power Button
Stop Button
Next Track/Chapter
and Previous
Track/Chapter Button
Title Button
Enter Button
Display Button
Mode Button
Subtitle Button
Audio Button
Angle Button
Clear Button
Pause Button
Play Button
Fast Forward/Fast Reverse Button
Menu Button
Navigation Keys
Back Button
Numeric Keypad
25
Page 28 of 36
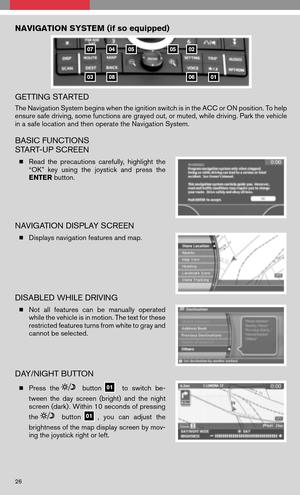
NAVIGATION SYSTEM (if so equipped)
GETTING STARTED
The Navigation System begins when the ignition switch is in the ACC or ON position. To help
ensure safe driving, some functions are grayed out, or muted, while driving. Park the vehicle
in a safe location and then operate the Navigation System.
BASIC FUNCTIONS
START-UP SCREEN
� Read theprecautions carefully,highlightthe
“OK” keyusing thejoystick andpress the
ENTER button.
NAVIGATION DISPLAY SCREEN
�Displays navigation features and map.
DISABLED WHILE DRIVING
�Not allfeatures canbemanually operated
while the vehicle is in motion. The text for these
restricted features turns from white to gray and
cannot be selected.
DAY/NIGHT BUTTON
� Press thebuttontoswitch be-
tween theday screen (bright) andthenight
screen (dark) . Within 10 seconds of pressing
the
button, you can adjust the
brightness of the map display screen by mov-
ing the joystick right or left.
26
Page 29 of 36
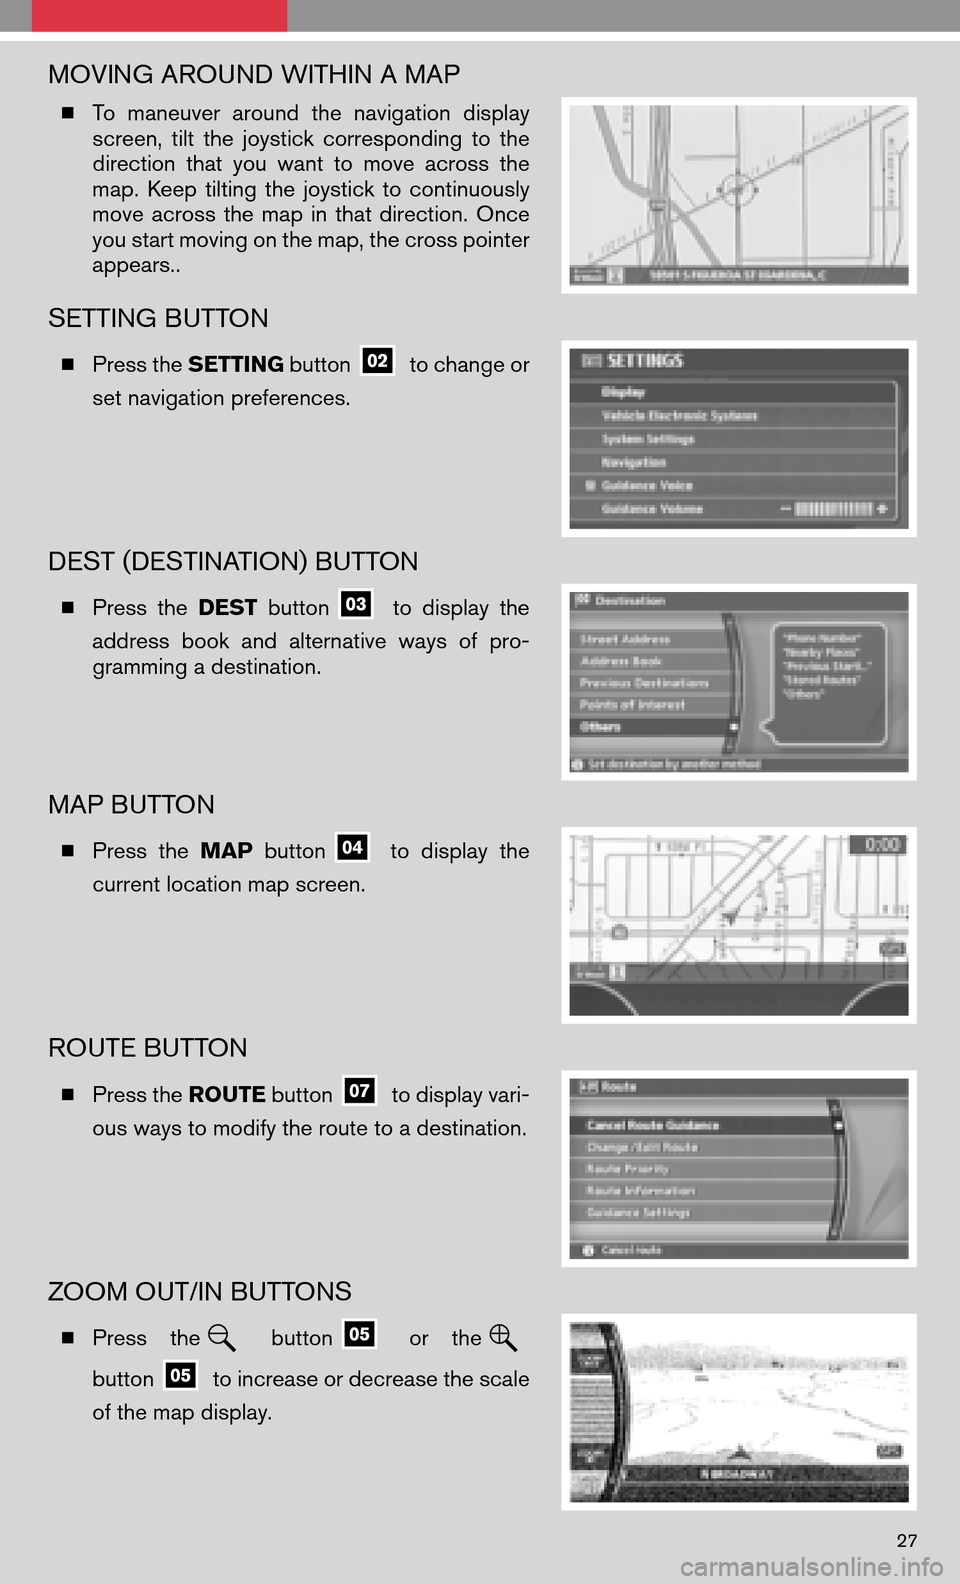
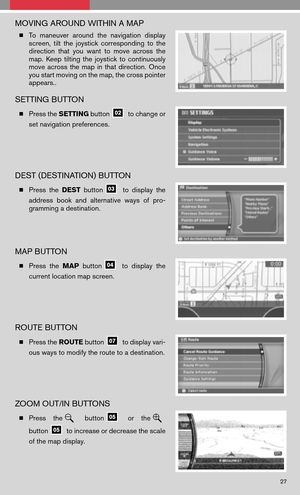
MOVING AROUND WITHIN A MAP
�To maneuver aroundthenavigation display
screen, tiltthe joystick corresponding tothe
direction thatyouwant tomove across the
map. Keep tilting thejoystick tocontinuously
move across themap inthat direction. Once
you start moving on the map, the cross pointer
appears..
SETTING BUTTON
� Press the SETTING buttonto change or
set navigation preferences.
DEST (DESTINATION) BUTTON
� Press theDEST buttontodisplay the
address bookandalternative waysofpro-
gramming a destination.
MAP BUTTON
� Press theMAP buttontodisplay the
current location map screen.
ROUTE BUTTON
� Press the ROUTEbuttonto display vari-
ous ways to modify the route to a destination.
ZOOM OUT/IN BUTTONS
� Press thebuttonorthe
buttonto increase or decrease the scale
of the map display.
27
Page 30 of 36
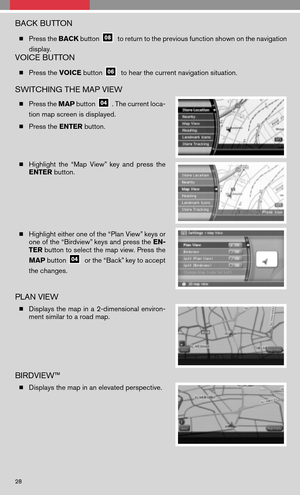
BACK BUTTON
�Press the BACKbuttonto return to the previous function shown on the navigation
display.
VOICE BUTTON
� Press the VOICEbuttonto hear the current navigation situation.
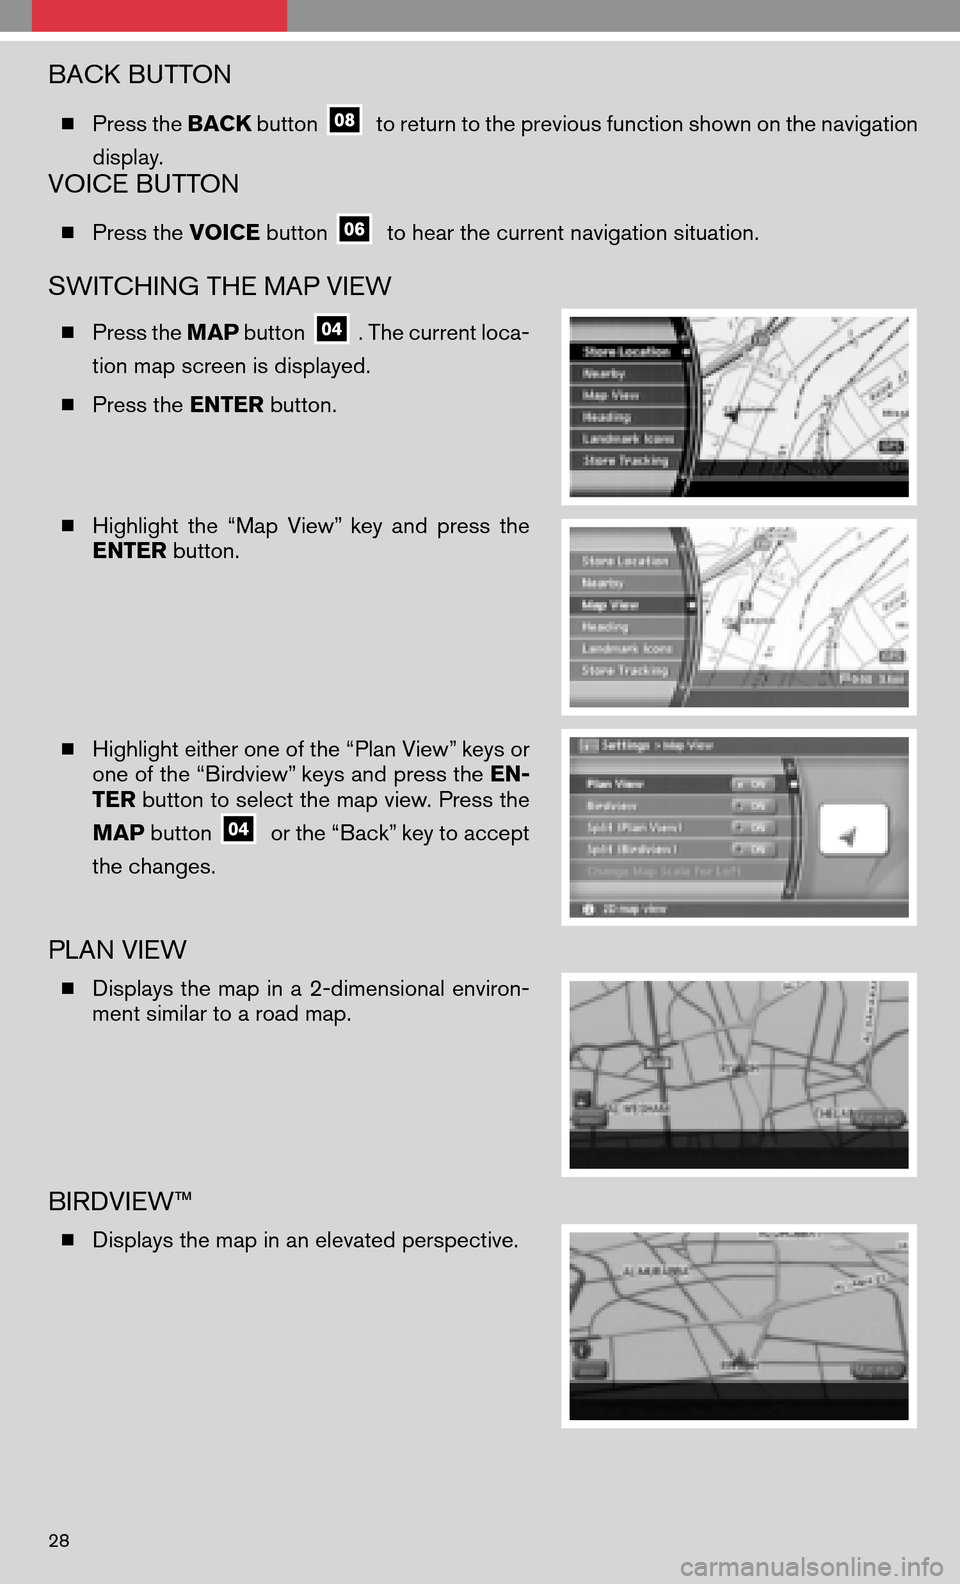
SWITCHING THE MAP VIEW
�Press the MAPbutton. The current loca-
tion map screen is displayed.
� Press the ENTERbutton.
� Highlight the“Map View” keyand press the
ENTER button.
� Highlight either one of the “Plan View” keys or
one of the “Birdview” keys and press the EN-
TER button to select the map view. Press the
MAP button
or the “Back” key to accept
the changes.
PLAN VIEW
� Displays themap ina2-dimensional environ-
ment similar to a road map.
BIRDVIEW™
� Displays the map in an elevated perspective.
28
Page 31 of 36

SELECTING A MENU SCREEN
1.To select a preferred menu key, use the joystick to highlight the corresponding key on
the screen and press the ENTERbutton.
2. Depending on the key you selected, a detailed menu screen, a character input screen
or asetting screen, etc.isdisplayed. Onthe screen displayed, makeadjustments,
input information, etc. accordingly.
3. Press the BACKbutton
to return to the previous screen without applying any
changes; insome cases pressing the BACK button
willaccept thechanges
you made.
4. Press the MAP button
toreturn tothe current location mapscreen without
applying any changes.
NOTE: Depending on the menu selected, pressing the MAPbutton
may not return you
to the current location map screen.
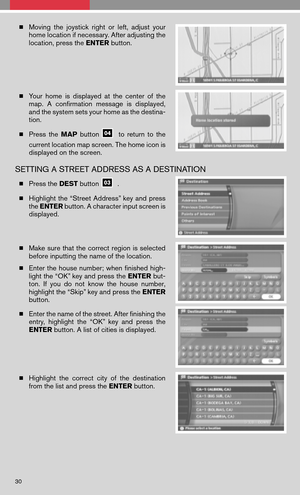
STORING YOUR HOME IN YOUR ADDRESS BOOK
� Press the DESTbutton.
� Highlight the“Address Book”keyand press
the ENTER button.
� Highlight the“Home (AddNew)” keyand
press the ENTERbutton, a confirmation mes-
sage is displayed. Highlight the “YES” key and
press the ENTERbutton.
� Highlight the“Street Address” key andpress
the ENTER button. A character input screen is
displayed.
� Enter the address of your home, highlight the
“OK” keyand press the ENTER button.The
map screen is displayed.
29
Page 32 of 36

�Moving thejoystick rightorleft, adjust your
home location if necessary. After adjusting the
location, press the ENTERbutton.
� Your home isdisplayed atthe center ofthe
map. Aconfirmation messageisdisplayed,
and the system sets your home as the destina-
tion.
� Press theMAP button
toreturn tothe
current location map screen. The home icon is
displayed on the screen.
SETTING A STREET ADDRESS AS A DESTINATION
� Press the DESTbutton.
� Highlight the“Street Address” key andpress
the ENTER button. A character input screen is
displayed.
� Make surethatthecorrect regionisselected
before inputting the name of the location.
� Enter thehouse number; whenfinished high-
light the “OK” key and press the ENTERbut-
ton. Ifyou donot know thehouse number,
highlight the “Skip” key and press the ENTER
button.
� Enter the name of the street. After finishing the
entry, highlight the“OK” keyand press the
ENTER button. A list of cities is displayed.
� Highlight thecorrect cityofthe destination
from the list and press the ENTERbutton.
30

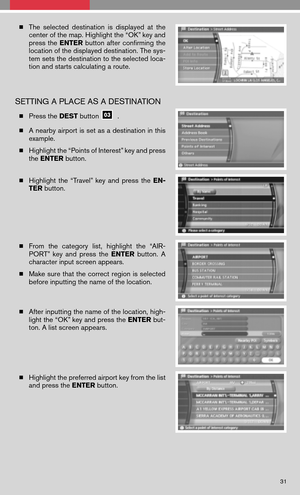


GETTING STARTED
The Navigation System begins when the ignition switch is in the ACC or ON position. To help
ensure safe driving, some functions are grayed out, or")