Page 210 of 436
Playing a DVD
DVD/CD AUX (Auxiliary):Press to cycle through
DVD, CD, or Auxiliary when listening to the radio. The
DVD/CD text label and a message showing track or
chapter number displays when a disc is in either
slot. Press again and the system automatically searches
for an auxiliary input device, such as a portable audio
player. If a portable audio player is not connected,
“No Aux Input Device” displays. If a disc is in both the
DVD slot and the CD slot the DVD/CD AUX button
cycles between the two sources and does not indicate
“No Aux Input Device”. If a front auxiliary device is
connected, the DVD/CD AUX button cycles through all
available options, such as: DVD slot, CD slot, Front
AUX, and Rear AUX (if available). See “Using the
Auxiliary Input Jack(s)” later in this section, orRear
Seat Entertainment (RSE) System on page 3-99,
“Audio/Video (A/V) Jacks” for more information.
O(Power):Press to turn the radio on or off. Turn
clockwise or counterclockwise to increase or decrease
the volume. Press and hold for more than two seconds
turns off the entire radio and Rear Seat Entertainment
(RSE) system and starts the parental control feature
which prevents the rear seat occupant from operating
the Rear Seat Audio (RSA) system or remote control.A lock symbol appears next to the clock display. The
parental control feature remains on until a subsequent
press and hold of the power button is performed
(more than two seconds), or until the driver turns
the ignition off and exits the vehicle.
f(Tune):Turn to change tracks on a CD or DVD,
to manually tune a radio station, or to change clock
or date settings, while in the clock or date setting
mode. See the information given earlier in this section
speci�c to the radio, CD, and the DVD. Also, seeSetting
the Time on page 3-65, for setting the clock and date.
©SEEK (Previous Track/Chapter):Press to return
to the start of the current track or chapter. Press again
to go to the previous track or chapter. This button
might not work when the DVD is playing the copyright
information or the previews.
SEEK
¨(Next Track/Chapter):Press this button
to go to the next track or chapter. This button might not
work when the DVD is playing the copyright information
or the previews.
sREV (Fast Reverse):Press to fast reverse the
CD or DVD, �ve times the normal speed. The radio
displays the elapsed time while in fast reverse.
To stop fast reversing, press again. This button
might not work when the DVD is playing the copyright
information or the previews.
3-82
Page 214 of 436
To use a portable audio player, connect a 3.5 mm
(1/8 inch) cable to the radio’s front auxiliary input jack.
When a device is connected, press the radio CD/AUX
button to begin playing audio from the device over
the vehicle speakers.
O(Power/Volume):Turn clockwise or
counterclockwise to increase or decrease the volume
of the portable player. Additional volume adjustments
might need to be made from the portable device if
the volume does not go loud or soft enough.
BAND:Press to listen to the radio when a portable
audio device is playing. The portable audio device
continues playing, so you might want to stop it or
power it off.
CD/AUX (CD/Auxiliary):Press to play a CD when a
portable audio device is playing. Press again and
the system begins playing audio from the connected
portable audio player. If a portable audio player is
not connected, No Input Device Found or No Aux
may display.DVD/CD AUX (CD/Auxiliary) (Radio with CD
and DVD):Press to cycle through DVD, CD, or
Auxiliary while listening to the radio. The DVD/CD
text label and a message showing track or chapter
number displays when a disc is in either slot. Press
again and the system automatically searches for
an auxiliary input device, such as a portable audio
player. If a portable audio player is not connected,
“No Aux Input Device” displays. If a disc is in both the
DVD slot and the CD slot the DVD/CD AUX button
cycles between the two sources and does not indicate
“No Aux Input Device”. If a front auxiliary device is
connected, the DVD/CD AUX button cycles through all
available options, such as: DVD slot, CD slot, Front
AUX, and Rear AUX (if available). See “Using the
Auxiliary Input Jack(s)” later in this section, orRear
Seat Entertainment (RSE) System on page 3-99,
“Audio/Video (A/V) Jacks” for more information.
3-86
Page 249 of 436
Steering in Emergencies
There are times when steering can be more effective
than braking. For example, you come over a hill and �nd
a truck stopped in your lane, or a car suddenly pulls
out from nowhere, or a child darts out from between
parked cars and stops right in front of you. You can
avoid these problems by braking — if you can stop in
time. But sometimes you cannot; there is not room.
That is the time for evasive action — steering around the
problem.
Your vehicle can perform very well in emergencies like
these. First apply the brakes. SeeBraking on
page 4-4. It is better to remove as much speed as you
can from a possible collision. Then steer around the
problem, to the left or right depending on the space
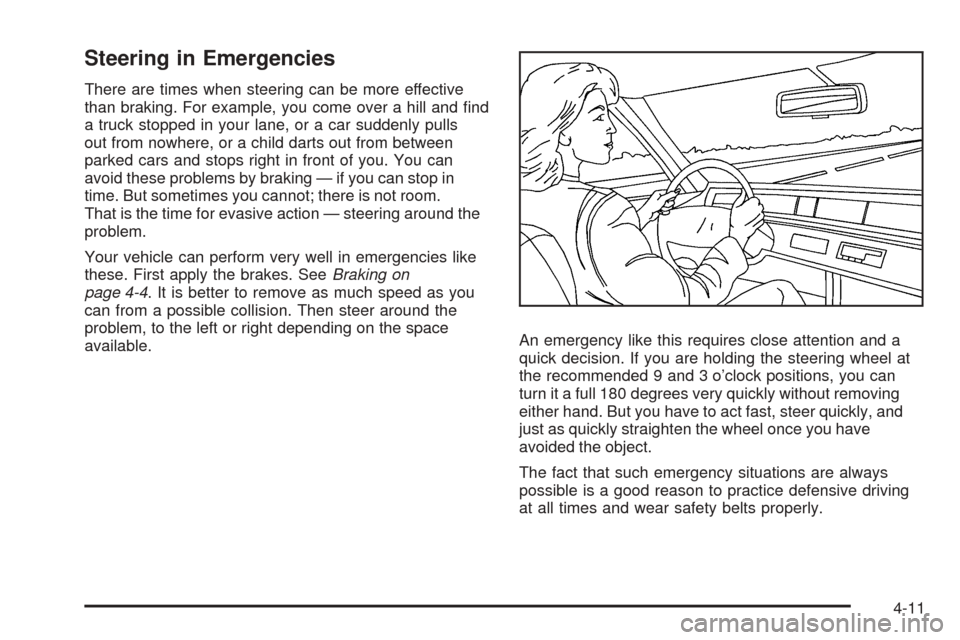
available.An emergency like this requires close attention and a
quick decision. If you are holding the steering wheel at
the recommended 9 and 3 o’clock positions, you can
turn it a full 180 degrees very quickly without removing
either hand. But you have to act fast, steer quickly, and
just as quickly straighten the wheel once you have
avoided the object.
The fact that such emergency situations are always
possible is a good reason to practice defensive driving
at all times and wear safety belts properly.
4-11
Page 286 of 436
Filling the Tank
{CAUTION:
Fuel vapor burns violently and a fuel �re can
cause bad injuries. To help avoid injuries to
you and others, read and follow all the
instructions on the pump island. Turn off your
engine when you are refueling. Do not smoke
if you are near fuel or refueling your vehicle.
Do not use cellular phones. Keep sparks,
�ames, and smoking materials away from fuel.
Do not leave the fuel pump unattended when
refueling your vehicle. This is against the law
in some places. Do not re-enter the vehicle
while pumping fuel. Keep children away from
the fuel pump; never let children pump fuel.The tethered fuel cap is located behind a hinged fuel
door on the passenger’s side of the vehicle.
To remove the fuel cap, turn it slowly counterclockwise.
The fuel cap has a spring in it; if the cap is released
too soon, it will spring back to the right.
5-8
Page 287 of 436
{CAUTION:
Fuel can spray out on you if you open the fuel
cap too quickly. If you spill fuel and then
something ignites it, you could be badly
burned. This spray can happen if your tank is
nearly full, and is more likely in hot weather.
Open the fuel cap slowly and wait for any hiss
noise to stop. Then unscrew the cap all the way.
Be careful not to spill fuel. Do not top off or over�ll the
tank and wait a few seconds after you have �nished
pumping before removing the nozzle. Clean fuel from
painted surfaces as soon as possible. SeeWashing Your
Vehicle on page 5-94.
When replacing the fuel cap, turn it clockwise until it
clicks. Make sure the cap is fully installed. The
diagnostic system can determine if the fuel cap has been
left off or improperly installed. This would allow fuel to
evaporate into the atmosphere. SeeMalfunction Indicator
Lamp on page 3-34.
{CAUTION:
If a �re starts while you are refueling, do not
remove the nozzle. Shut off the �ow of fuel by
shutting off the pump or by notifying the
station attendant. Leave the area immediately.
Notice:If you need a new fuel cap, be sure to get
the right type. Your dealer/retailer can get one
for you. If you get the wrong type, it may not �t
properly. This may cause your malfunction indicator
lamp to light and may damage your fuel tank and
emissions system. SeeMalfunction Indicator Lamp
on page 3-34.
5-9
Page 307 of 436
{CAUTION:
Adding only plain water to the cooling system
can be dangerous. Plain water, or some other
liquid such as alcohol, can boil before the
proper coolant mixture will. The vehicle’s
coolant warning system is set for the proper
coolant mixture. With plain water or the wrong
mixture, the engine could get too hot but you
would not get the overheat warning. The
engine could catch �re and you or others
could be burned. Use a 50/50 mixture of clean,
drinkable water and DEX-COOL
®coolant.
Notice:In cold weather, water can freeze and crack
the engine, radiator, heater core and other parts.
Use the recommended coolant and the proper
coolant mixture.
{CAUTION:
You can be burned if you spill coolant on hot
engine parts. Coolant contains ethylene glycol
and it will burn if the engine parts are hot
enough. Do not spill coolant on a hot engine.
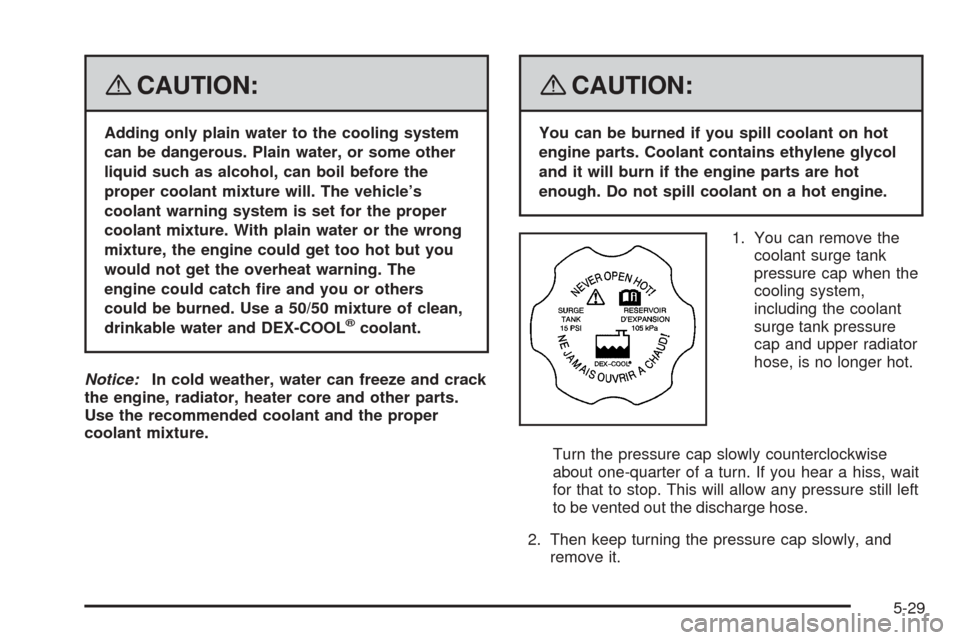
1. You can remove the
coolant surge tank
pressure cap when the
cooling system,
including the coolant
surge tank pressure
cap and upper radiator
hose, is no longer hot.
Turn the pressure cap slowly counterclockwise
about one-quarter of a turn. If you hear a hiss, wait
for that to stop. This will allow any pressure still left
to be vented out the discharge hose.
2. Then keep turning the pressure cap slowly, and
remove it.
5-29
Page 325 of 436
6. Press the clip (A) on
the electrical connector
when replacing the
low-beam or high-beam
bulb, then pull it
straight off.
Turn the bulb retaining ring (B) counterclockwise to
remove it and then pull the bulb assembly
straight out.
For all other bulbs, turn the socket counterclockwise
and pull it out from the headlamp assembly. Pull
the bulb straight out from the socket.7. Push the new bulb into the socket and reinstall the
socket into the headlamp assembly by turning it
clockwise.
For the low-beam or high-beam bulb, install the new
bulb being sure to align the notches in the bulb with
the notches in the headlamp assembly.
8. Place the retaining ring over the bulb/socket and
turn it clockwise to tighten it and secure the
bulb/socket.
9. Connect the electrical connector.
10. Reverse Steps 1 through 5 to reinstall the headlamp
assembly.
5-47
Page 327 of 436
4. Turn the bulb socket counterclockwise to disconnect
it from the taillamp assembly.
5. Pull the bulb out of the bulb socket.
6. Push the new bulb into the bulb socket.
7. Insert the bulb socket into the taillamp housing and
turn it clockwise to secure.
8. Reverse Steps 2 and 3 to reinstall the taillamp
assembly.
License Plate Lamp
To replace one of these bulbs:
1. Remove the two screws holding each of the license
plate lamps to the liftgate handle.
2. Turn and pull the license plate lamp down through
the liftgate opening.
3. Turn the bulb socket counterclockwise and pull the
bulb straight out of the socket.
4. Install the new bulb.
5. Reverse Steps 1 through 3 to reinstall the license
plate lamp.
5-49