2008 AUDI S5 change time
[x] Cancel search: change timePage 67 of 294
Downloaded from www.Manualslib.com manuals search engine Lights and vision65
Controls
Safety
Driving tips
General maintenance
Self-help
Technical data
– Lift the wiper arm away from the glass.
– Press the release button on the wiper blade
⇒page 64, fig. 66. Hold the wiper blade firmly and press
it forwards slightly .
– Slide the wiper blade upwards .
Fitting the wiper blade
– Fit the new wiper blade into the mounting on the wiper
arm . You should hear it engage in the wiper arm.
– Fold the wiper arm back down onto the glass.
WARNING
•
To prevent smearing on the glass, the wiper blades should be
cleaned regularly using a window cleaner solution. If the wiper
blades are very dirty (insects etc.), they should be cleaned using a
sponge or cloth – bad visibility can cause accidents.
•
For safety, the wiper blades should be changed once or twice a
year.Caution
The windscreen wipers must be in the service position ⇒page 64
when replacing the blades! Otherwise the wiper motor or the paint-
work on the bonnet may be damaged.Rear-view mirrorsManual anti-dazzle adjustmentNormal setting
– Push the lever at the bottom of the mirror away from you.Anti-dazzle setting
– Pull the lever at the bottom of the mirror towards you.
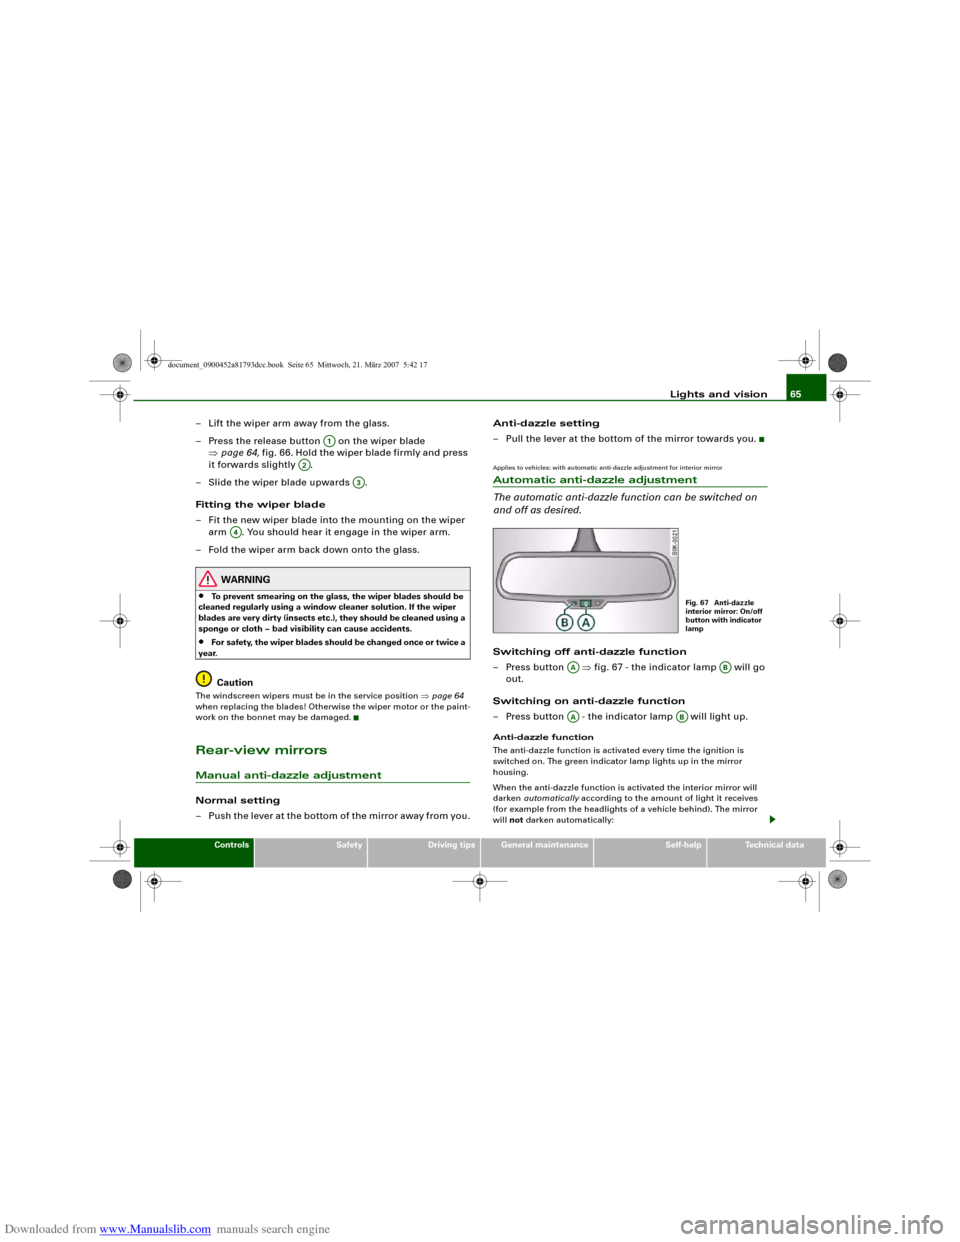
Applies to vehicles: with automatic anti-dazzle adjustment for interior mirrorAutomatic anti-dazzle adjustment
The automatic anti-dazzle function can be switched on
and off as desired.Switching off anti-dazzle function
– Press button ⇒fig. 67 - the indicator lamp will go
out.
Switching on anti-dazzle function
– Press button - the indicator lamp will light up.Anti-dazzle function
The anti-dazzle function is activated every time the ignition is
switched on. The green indicator lamp lights up in the mirror
housing.
When the anti-dazzle function is activated the interior mirror will
darken automatically according to the amount of light it receives
(for example from the headlights of a vehicle behind). The mirror
will not darken automatically:
A1
A2
A3
A4
Fig. 67 Anti-dazzle
interior mirror: On/off
button with indicator
lamp
AA
AB
AA
AB
document_0900452a81793dcc.book Seite 65 Mittwoch, 21. März 2007 5:42 17
Page 100 of 294
Downloaded from www.Manualslib.com manuals search engine Heating and cooling 98adequate cooling effect, you should not close these outlets
completely.Applies to vehicles: with deluxe automatic air conditionerEconomical operation of the air conditioner
Economical operation of the air conditioner will help to
save fuel.When the air conditioner is operating in the cooling mode it
reduces engine power and increases fuel consumption. To
ensure that the cooling mode is activated only when really
necessary, please note the following points:
– Switch off the cooling mode by pressing the AC button
(LED off) if you wish to save fuel.
– You should also switch off the cooling mode by pressing
the AC button (LED off) if you open the windows or the
tilting panorama roof* while driving.
– If the vehicle has heated up after standing in the sun,
open the windows and doors for a short time to cool the
vehicle.
For the sake of the environmentBy saving fuel you also reduce the amount of pollutants emitted
from your vehicle.
Deluxe automatic air conditioner -
basic settingsApplies to vehicles: with deluxe automatic air conditionerGeneral notes
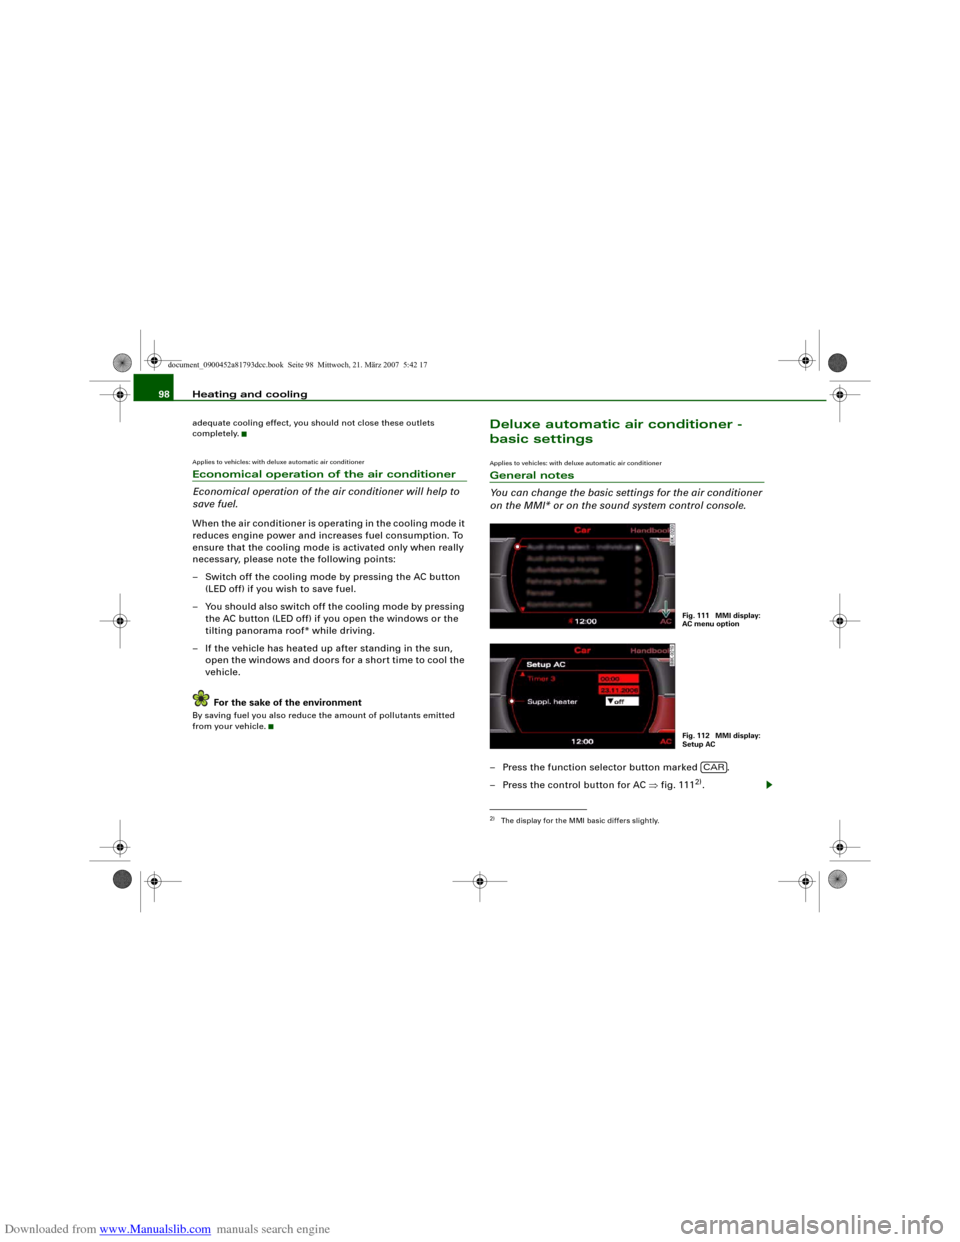
You can change the basic settings for the air conditioner
on the MMI* or on the sound system control console.– Press the function selector button marked .
– Press the control button for AC ⇒fig. 111
2).
2)The display for the MMI basic differs slightly.
Fig. 111 MMI display:
AC menu optionFig. 112 MMI display:
Setup AC
CAR
document_0900452a81793dcc.book Seite 98 Mittwoch, 21. März 2007 5:42 17
Page 101 of 294
Downloaded from www.Manualslib.com manuals search engine Heating and cooling99
Controls
Safety
Driving tips
General maintenance
Self-help
Technical data
– Select the desired air conditioner settings using the
rotary pushbutton ⇒page 98, fig. 112.The following functions are available:•
Auxiliary heating* ⇒page 108
•
Auxiliary ventilation* ⇒page 108
•
Running time* ⇒page 111
•
Timer status* ⇒page 110
•
Timer 1* ⇒page 110
•
Timer 2* ⇒page 110
•
Timer 3* ⇒page 110
Deluxe automatic air conditioner plusApplies to vehicles: with deluxe automatic air conditioner plusDescription
The air conditioner is designed to keep the passenger
compartment at the temperature you find most comfort-
able at all times of the year.The air conditioner provides heating and ventilation and also cools
and dehumidifies the air inside the vehicle.
The air conditioner is fully automatic, and will maintain the desired
temperature at a constant level. To achieve this, the temperature of
the air supplied to the interior, the blower speed (volume of air
delivery) and the air distribution are regulated automatically. The
system also allows for the effect of strong sunlight, so there is no
need for manual adjustment. For these reasons it is advisable to use
the automatic mode for the comfort of all the passengers in virtually
all conditions throughout the year ⇒page 101.
Please note:The humidity of the air is automatically reduced when the system
cools the interior of the vehicle. This helps to prevent condensation
on the windows.
If the humidity and temperature outside the vehicle are high,
condensation can drip off the evaporator in the air cooling system
and form a pool underneath the vehicle. This is normal and does not
indicate a leak.
If the outside temperature is low, the blower normally only switches
to a higher speed once the coolant has warmed up sufficiently (this
does not apply to the defrost setting).
In order to achieve maximum engine power, the air conditioner
compressor is temporarily switched off when pulling away from a
standstill with full throttle.
The compressor also switches off if the coolant temperature is
excessively high, to ensure adequate engine cooling under extreme
loads.
Pollution filter
The pollution filter (a combined particle filter and activated charcoal
filter) serves as a barrier against impurities in the outside air,
including dust and pollen, and against unpleasant smells. The air is
also filtered when the air recirculation mode is activated.
For the air conditioner to work with maximum efficiency, the pollu-
tion filter element must be replaced at the intervals specified in the
Service Schedule.
If the vehicle is driven in areas with a high level of air pollution and
the filter is no longer fully effective, it may be necessary to change
the filter element more frequently.
Key-coded settings
The currently selected air conditioner settings are automatically
stored and assigned to the remote control key.
document_0900452a81793dcc.book Seite 99 Mittwoch, 21. März 2007 5:42 17
Page 109 of 294
Downloaded from www.Manualslib.com manuals search engine Heating and cooling107
Controls
Safety
Driving tips
General maintenance
Self-help
Technical data
Deluxe automatic air conditioner plus
- basic settingsApplies to vehicles: with deluxe automatic air conditioner plusGeneral notes
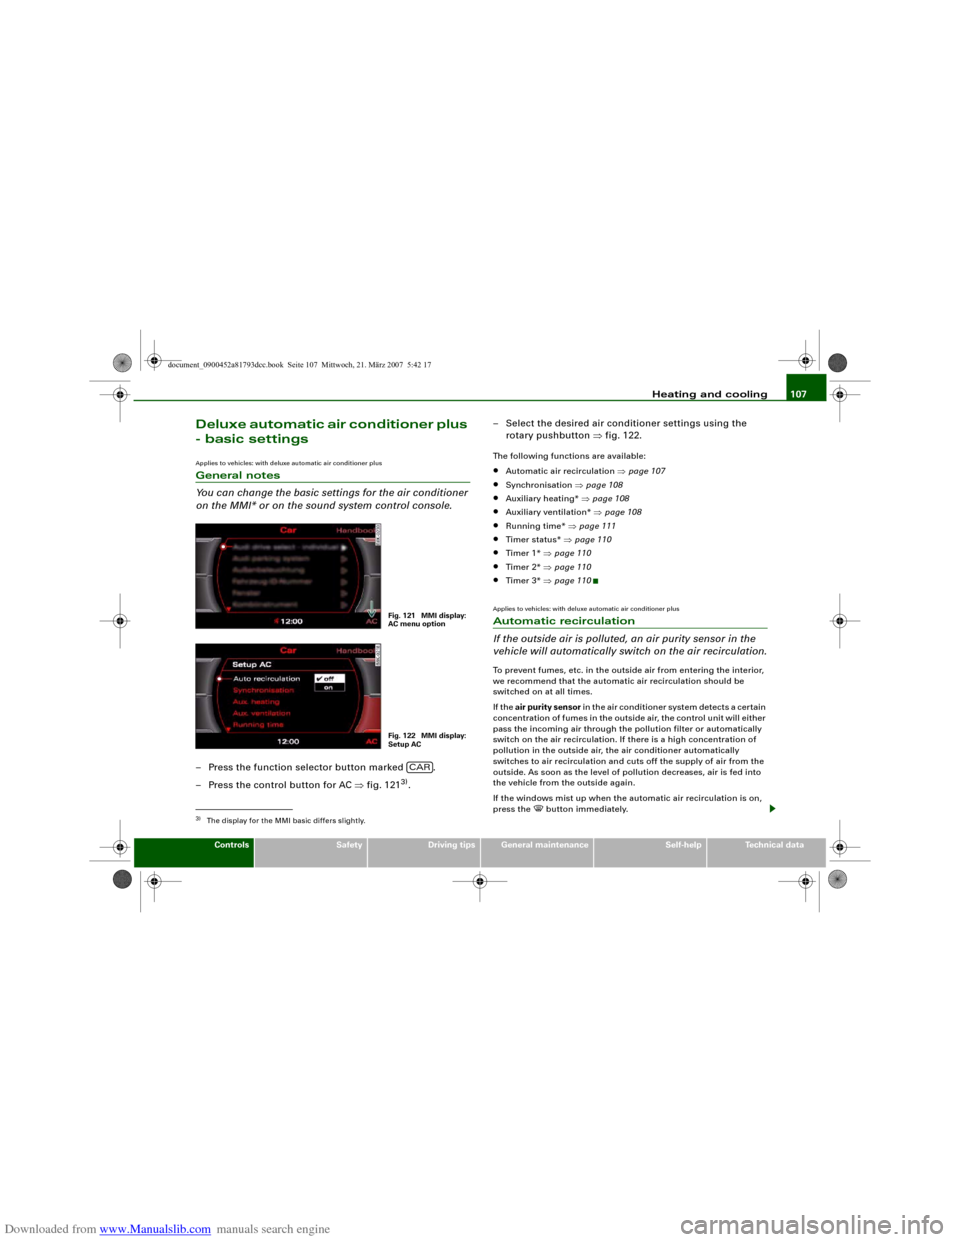
You can change the basic settings for the air conditioner
on the MMI* or on the sound system control console.– Press the function selector button marked .
– Press the control button for AC ⇒fig. 121
3).– Select the desired air conditioner settings using the
rotary pushbutton ⇒fig. 122.
The following functions are available:•
Automatic air recirculation ⇒page 107
•
Synchronisation ⇒page 108
•
Auxiliary heating* ⇒page 108
•
Auxiliary ventilation* ⇒page 108
•
Running time* ⇒page 111
•
Timer status* ⇒page 110
•
Timer 1* ⇒page 110
•
Timer 2* ⇒page 110
•
Timer 3* ⇒page 110
Applies to vehicles: with deluxe automatic air conditioner plusAutomatic recirculation
If the outside air is polluted, an air purity sensor in the
vehicle will automatically switch on the air recirculation.To prevent fumes, etc. in the outside air from entering the interior,
we recommend that the automatic air recirculation should be
switched on at all times.
If the air purity sensor in the air conditioner system detects a certain
concentration of fumes in the outside air, the control unit will either
pass the incoming air through the pollution filter or automatically
switch on the air recirculation. If there is a high concentration of
pollution in the outside air, the air conditioner automatically
switches to air recirculation and cuts off the supply of air from the
outside. As soon as the level of pollution decreases, air is fed into
the vehicle from the outside again.
If the windows mist up when the automatic air recirculation is on,
press the
button immediately.
3)The display for the MMI basic differs slightly.
Fig. 121 MMI display:
AC menu optionFig. 122 MMI display:
Setup AC
CAR
document_0900452a81793dcc.book Seite 107 Mittwoch, 21. März 2007 5:42 17
Page 110 of 294
Downloaded from www.Manualslib.com manuals search engine Heating and cooling 108The automatic air recirculation can switch itself off in certain condi-
tions. If the outside temperature is less than about +10 °C, the auto-
matic air recirculation will only operate for 30 seconds. If the air
conditioner is switched to the ECON mode, or if the outside temper-
ature is less than about -1 °C, the automatic air recirculation will
only operate for 15 seconds.Applies to vehicles: with deluxe automatic air conditioner plusSynchronisation
The air conditioner settings can be synchronised for all
passengers.When the synchronisation function is on, the driver's settings are
also applied to the front passenger or vice versa. Any subsequent
changes to the air conditioner settings (except for the seat heating*)
are also applied to the other occupant.
You can still change the setting on the “synchronised” side (this will
deactivate the synchronisation function).Auxiliary heating and auxiliary
ventilationApplies to vehicles: with auxiliary heating - under development at the time of printingDescription
The auxiliary heating and ventilation systems heat and
cool the interior independently of the engine.The auxiliary heating
works in conjunction with the air condi-
tioner system, but does not rely on heat from the engine. Instead of
this, the system burns fuel. The system's main function is to warm
up the interior of the vehicle and to defrost the windows in cold
weather.The auxiliary heating system can be used both when the vehicle is
stationary and when driving (to provide extra heat while the engine
is warming up).
The auxiliary ventilation
also operates independently of the
engine. This feature can be used to cool the interior with the blower
when the vehicle is left parked in the sun.
The system will automatically activate either the auxiliary heating or
the auxiliary ventilation mode, depending on the actual tempera-
ture measured inside the car and the temperature you have set with
the air conditioner controls. It is possible to alter the temperature
setting while the auxiliary heating/ventilation is running.
Switching on and off
There are two different ways of switching on the auxiliary
heating/ventilation system.
•
Immediate start: You can switch the auxiliary heating/ventilation
on and off at any time in the MMI Car menu ⇒page 109. You can
also switch the system on and off using the remote control
⇒page 111.
•
Switching on via timer: You can programme various start times
using the timers ⇒page 110. However you must first activate the
timer before the auxiliary heating/ventilation system will switch on
automatically.
The auxiliary heating/ventilation will switch itself off at the end of
the programmed running time. The running time can be set to 15,
30, 45 or 60 minutes ⇒page 111.
WARNING
•
The auxiliary heating must not be allowed to run when the
vehicle is in a confined space because it can give off toxic fumes.
•
To avoid any possible fire risk, never have the auxiliary heating
switched on when refuelling the vehicle.
•
Because of the high temperatures which occur when the auxil-
iary heating is running, make sure when parking the car that the
document_0900452a81793dcc.book Seite 108 Mittwoch, 21. März 2007 5:42 17
Page 112 of 294
Downloaded from www.Manualslib.com manuals search engine Heating and cooling 110Applies to vehicles: with auxiliary heating - under development at the time of printingSetting the timers
The timers need to be activated before they will switch on
the auxiliary heating/ventilation.Setting the timers
– Press the button.
– Press the control button for AC.
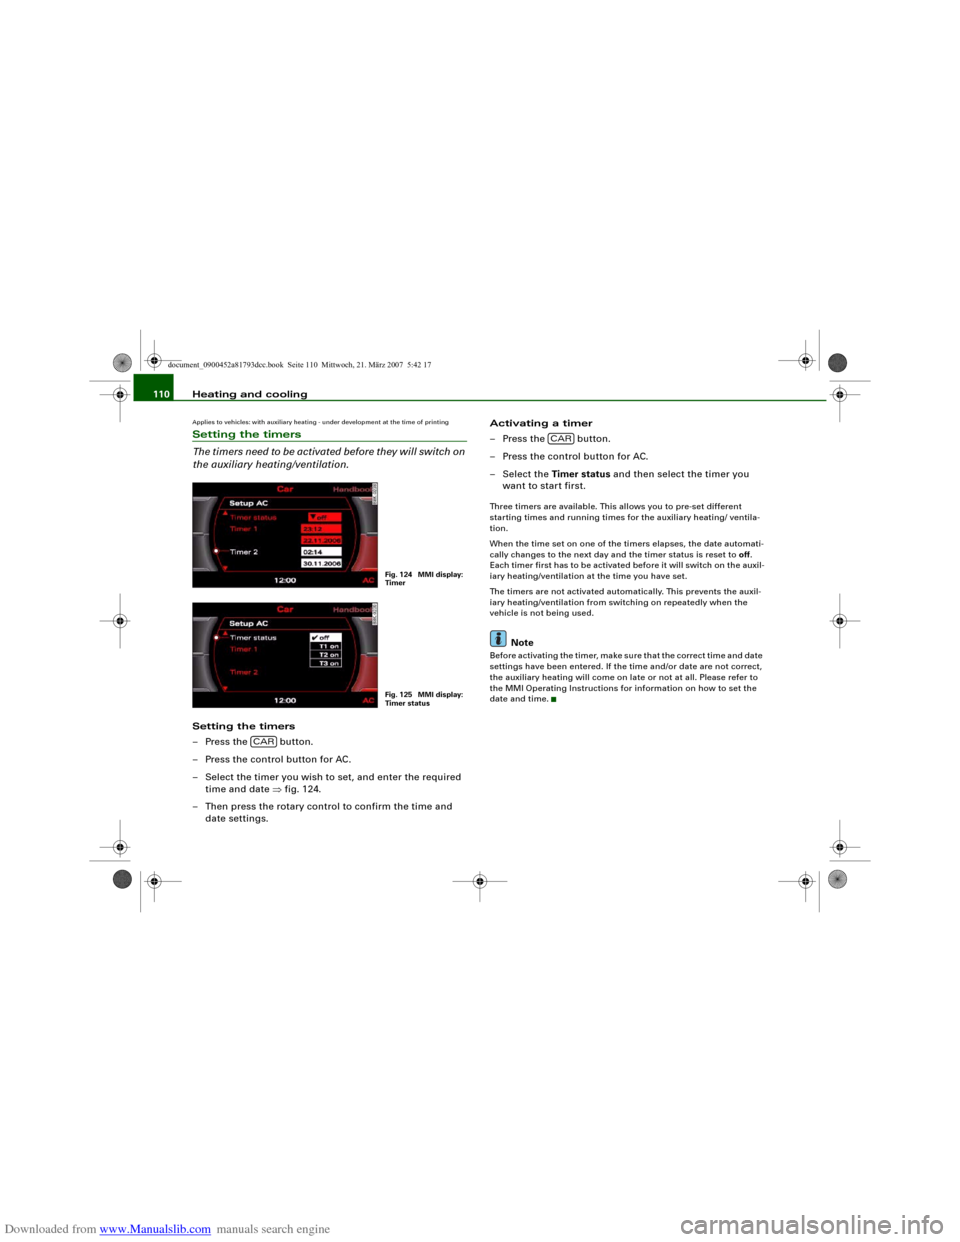
– Select the timer you wish to set, and enter the required
time and date ⇒fig. 124.
– Then press the rotary control to confirm the time and
date settings.Activating a timer
– Press the button.
– Press the control button for AC.
– Select the Timer status and then select the timer you
want to start first.
Three timers are available. This allows you to pre-set different
starting times and running times for the auxiliary heating/ ventila-
tion.
When the time set on one of the timers elapses, the date automati-
cally changes to the next day and the timer status is reset to off.
Each timer first has to be activated before it will switch on the auxil-
iary heating/ventilation at the time you have set.
The timers are not activated automatically. This prevents the auxil-
iary heating/ventilation from switching on repeatedly when the
vehicle is not being used.
Note
Before activating the timer, make sure that the correct time and date
settings have been entered. If the time and/or date are not correct,
the auxiliary heating will come on late or not at all. Please refer to
the MMI Operating Instructions for information on how to set the
date and time.
Fig. 124 MMI display:
TimerFig. 125 MMI display:
Timer status
CAR
CAR
document_0900452a81793dcc.book Seite 110 Mittwoch, 21. März 2007 5:42 17
Page 114 of 294
Downloaded from www.Manualslib.com manuals search engine Heating and cooling 112
Changing the battery
– Push back and remove the battery cover on the remote
control ⇒page 111, fig. 128.
– Change the battery. The diagram in the battery compart-
ment shows how the battery should be fitted. The new
battery must be of the same type as the old battery.
– Re-fit the battery cover.When it is switched on, the auxiliary heating or auxiliary ventilation
starts immediately and remains on for the period set in the menu.
The maximum running time is 60 minutes.
If you want to switch the system on again after the end of the
programmed running time, press the button .
Transmitter indicator lamp
The transmitter indicator lamp will flash accordingly to show
whether the command you sent via the remote control was
successful.
When you switch the system on by pressing the button the
indicator lamp will flash green for about 30 seconds to confirm that
the heating/ ventilation has been switched on. When you switch the
system off by pressing the button the indicator lamp will
flash red to confirm that the heating/ ventilation has been switched
off.
If the remote control is outside the transmitting range the indicator
lamp will flash red slowly. If there is a fault in the system (e.g. fuel
level is down to reserve), the indicator lamp will flash red rapidly. In
both cases the command will not be executed.
When the remote control battery is almost completely flat, the
transmitter indicator lamp will not light up and no commands will
be executed.Transmitting range
The range of the remote control transmitter is about 600 metres.
However, this can be greatly reduced by obstacles (buildings, etc.)
between the remote control transmitter and the vehicle. Hold the
aerial upright when using the remote control.
You should not normally use the remote control at a distance of less
than 3 metres from the vehicle. If you are closer than this, or if you
use the remote control inside the vehicle, this can cause signal over-
load.
For the sake of the environment
Please dispose of old batteries in the proper manner so that they do
not harm the environment.Seat heatingApplies to vehicles: with front seat heatingSeat heating for front seats
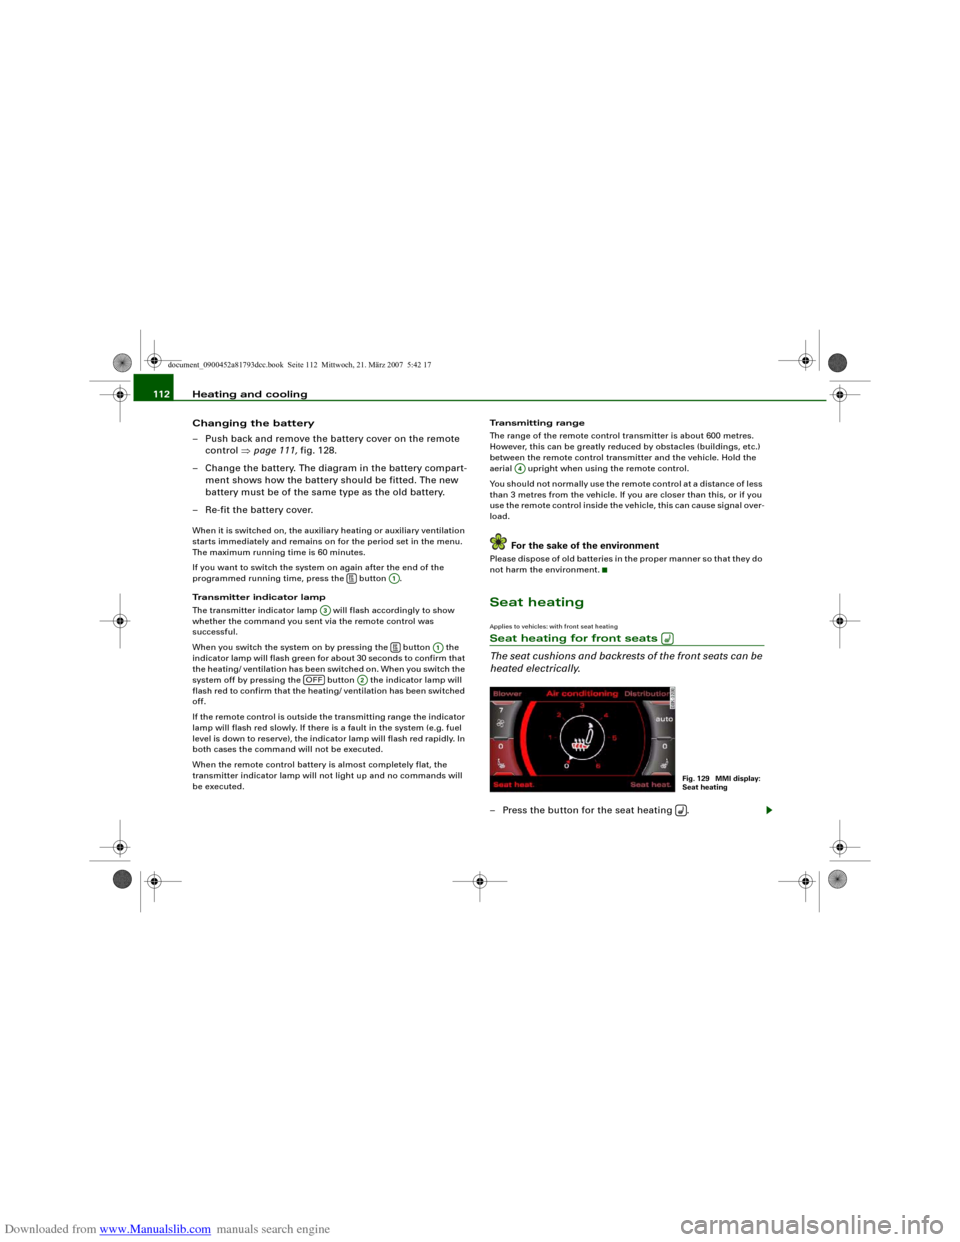
The seat cushions and backrests of the front seats can be
heated electrically.– Press the button for the seat heating .
A1
A3
A1
OFF
A2
A4
Fig. 129 MMI display:
Seat heating
document_0900452a81793dcc.book Seite 112 Mittwoch, 21. März 2007 5:42 17
Page 125 of 294
Downloaded from www.Manualslib.com manuals search engine Driving123
Controls
Safety
Driving tips
General maintenance
Self-help
Technical data lights or in stop-and-go traffic. When the Audi hold assist function
is on, you don't have to keep your foot on the brake to prevent the
vehicle from accidentally rolling away. Once it detects that the
vehicle is stopped, Audi hold assist keeps the vehicle stationary. The
green symbol
in the instrument cluster indicates that the func-
tion is activated. You can now take your foot off the brake pedal.
As soon as you drive off in the normal way, the parking brake will
automatically be released and the vehicle will start moving.
If the conditions for Audi hold assist change and the function is
switched off as a result, the parking brake will be applied automati-
cally to ensure that the vehicle is parked safely. The diode in the
button will go out when the Audi hold assist function is switched
off.
WARNING
The intelligent technology in Audi hold assist cannot defy the laws
of physics. Do not let the extra convenience provided by Audi hold
assist tempt you into taking a safety risk.•
Audi hold assist cannot keep the vehicle stationary in all condi-
tions on a gradient (e.g. if the road is slippery or icy).
•
Audi hold assist must be switched on again each time the
engine is started – Risk of accident!
•
Never get out of the vehicle when the engine is running and
Audi hold assist is switched on – Risk of accident!
•
Always ensure that the vehicle is stopped properly and safely
to avoid injury to yourself and others.Caution
Switch off the Audi hold assist function before driving the vehicle
into a car wash.
Note
•
Audi hold assist can be switched on only when the driver's door
is closed, the driver's seat belt is buckled and the engine is running.
•
Audi hold assist prevents automatic vehicles from creeping
forwards when the brake pedal is released with the car in gear.
•
When the vehicle has been stationary for an extended period,
Audi hold assist will automatically apply the parking brake. In this
case, the green symbol
in the instrument cluster display will
change to red
.
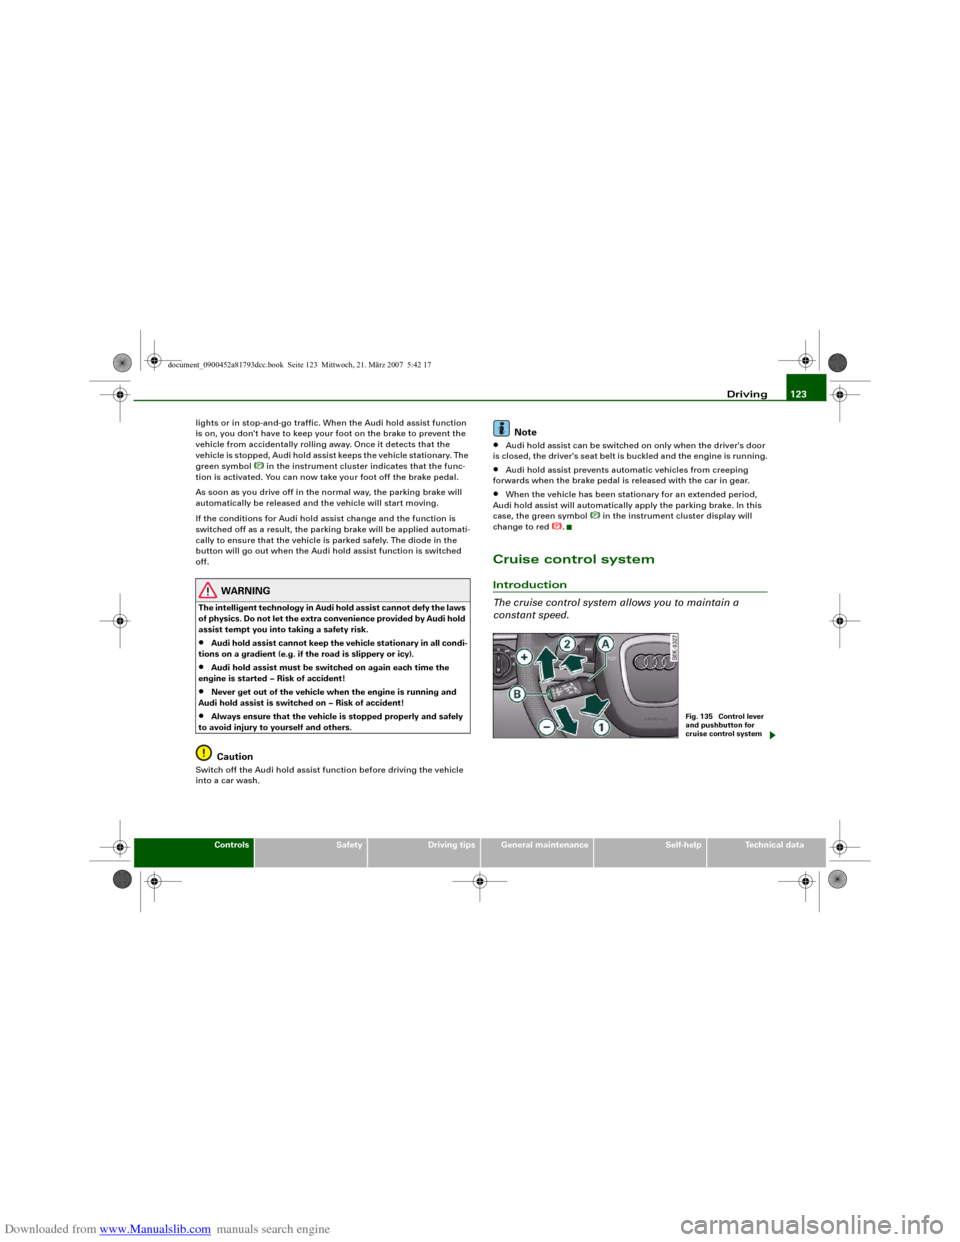
Cruise control systemIntroduction
The cruise control system allows you to maintain a
constant speed.
Fig. 135 Control lever
and pushbutton for
cruise control system
document_0900452a81793dcc.book Seite 123 Mittwoch, 21. März 2007 5:42 17