Page 178 of 458
178
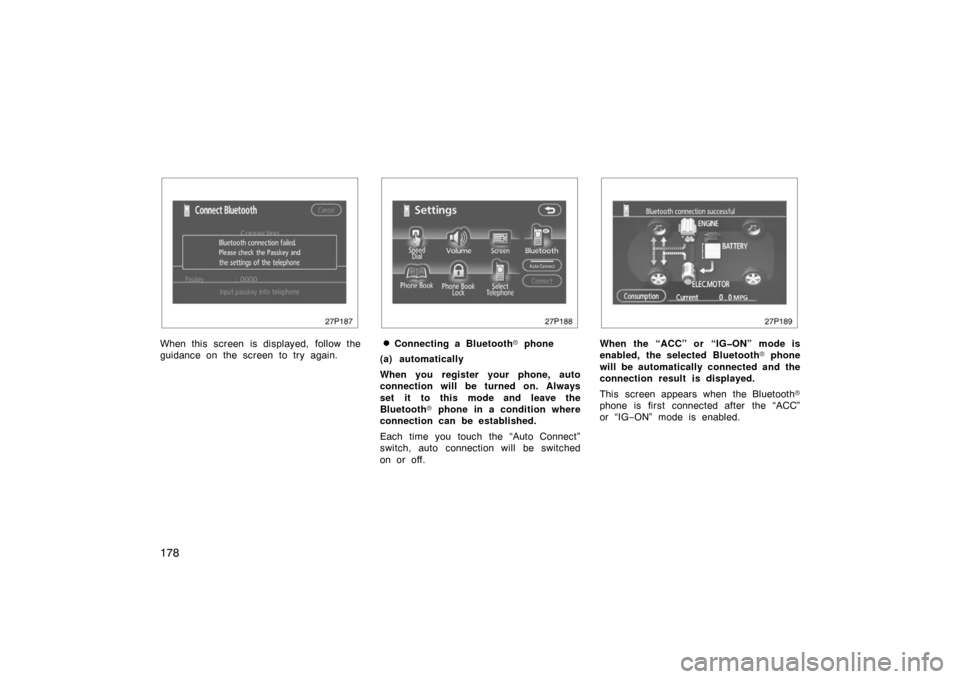
27p187
When this screen is displayed, follow the
guidance on the screen to try again.
27p188
�Connecting a Bluetooth� phone
(a) automatically
When you register your phone, auto
connection will be turned on. Always
set it to this mode and leave the
Bluetooth � phone in a condition where
connection can be established.
Each time you touch the “Auto Connect”
switch, auto connection will be switched
on or off.
27p189
When the “ACC” or “IG�ON” mode is
enabled, the selected Bluetooth � phone
will be automatically connected and the
connection result is displayed.
This screen appears when the Bluetooth �
phone is first connected after the “ACC”
or “IG −ON” mode is enabled.
Page 179 of 458
179
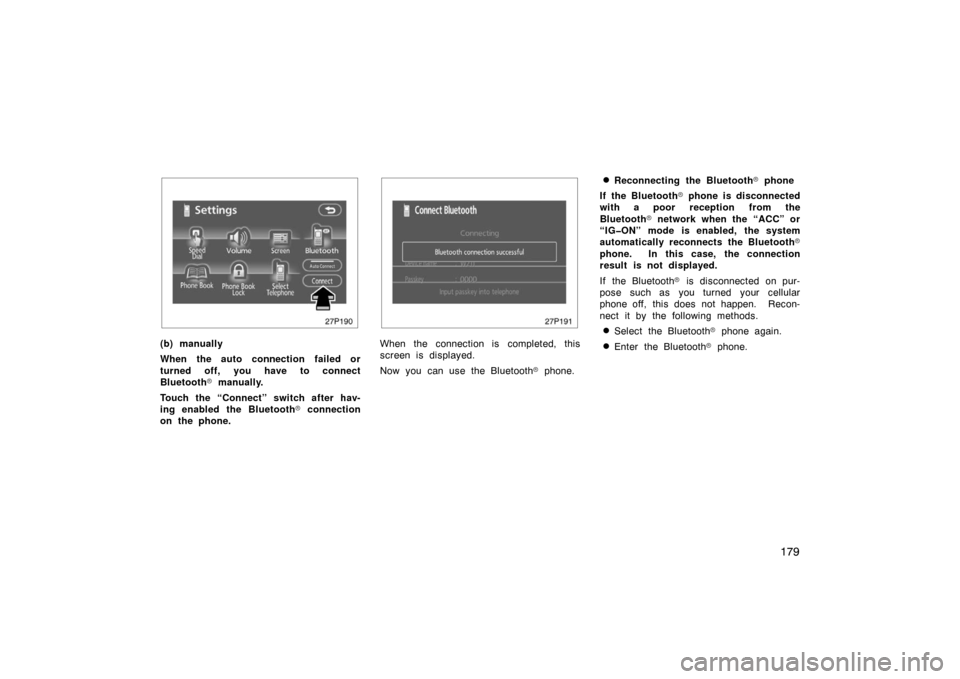
27p190
(b) manually
When the auto connection failed or
turned off, you have to connect
Bluetooth� manually.
Touch the “Connect” switch after hav-
ing enabled the Bluetooth � connection
on the phone.
27p191
When the connection is completed, this
screen is displayed.
Now you can use the Bluetooth � phone.
�Reconnecting the Bluetooth � phone
If the Bluetooth � phone is disconnected
with a poor reception from the
Bluetooth � network when the “ACC” or
“IG�ON” mode is enabled, the system
automatically reconnects the Bluetooth �
phone. In this case, the connection
result is not displayed.
If the Bluetooth � is disconnected on pur-
pose such as you turned your cellular
phone off, this does not happen. Recon-
nect it by the following methods.
�Select the Bluetooth � phone again.
�Enter the Bluetooth � phone.
Page 202 of 458
202
27p244
2. Do the detailed settings of thescreen and touch “OK”.
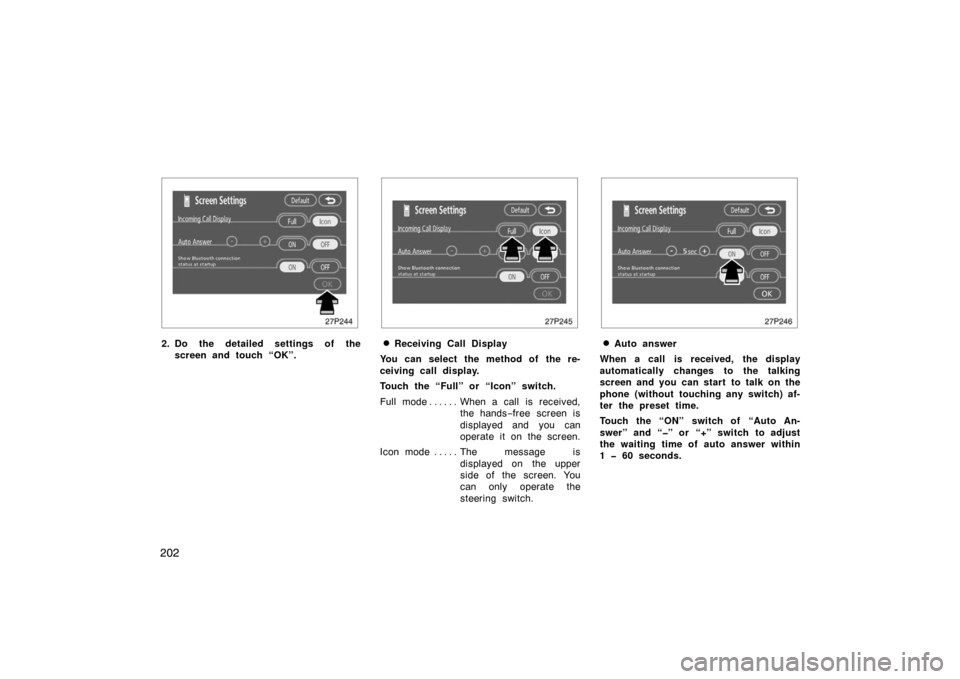
27p245
�Receiving Call Display
You can select the method of the re-
ceiving call display.
Touch the “Full” or “Icon” switch.
Full mode When a call is received, . . . . . .
the hands −free screen is
displayed and you can
operate it on the screen.
Icon mode The message is . . . . .
displayed on the upper
side of the screen. You
can only operate the
steering switch.
27p246
�Auto answer
When a call is received, the display
automatically changes to the talking
screen and you can start to talk on the
phone (without touching any switch) af-
ter the preset time.
Touch the “ON” switch of “Auto An-
swer” and “�” or “+” switch to adjust
the waiting time of auto answer within
1 � 60 seconds.
Page 239 of 458

239
Contrast and brightness adjustment
CONTRAST “+”:
Strengthens the contrast of the screen.
CONTRAST “–”:
Weakens the contrast of the screen.
BRIGHTNESS “+”: Brightens the screen.
BRIGHTNESS “–”: Darkens the screen.
The screen turns off when you touch the
“SCREEN OFF”. To turn the display
screen back on, push any bezel switch
such as “INFO”, etc. The selected screen
appears.
27p146a
Type 1 and Type 2
26P051b
Ty p e 3
Depending on the position of the head-
light switch, the screen changes to the
day mode or night mode.
To display the screen in the day mode
even with the headlight switch on, touch
“DAY MODE” on the adjustment screen for
brightness and contrast control.
However, if the km/h or MPH button is on,
mode switching cannot be done. It re-
mains in the day mode. In this case, “DAY
MODE” is not shown on the screen.
If the screen is set in the day mode with
the headlight switch turned to on, this
condition is memorized in the system even
with the hybrid system turned off.
Page 242 of 458
242
1. Multi−information display screen
(See page 248 for details.)
2. Ejecting a compact disc (See page 266 for details.)
3. Compact disc slot (See page 266 for details.)
4. Frequency tuning and file search (See page 253 and 274 for details.)
5. Scan tuning (See page 255 for details.)
6. Compact disc or AUX adapter mode button
(See page 267 for details.)
7. Radio mode button (See page 252 for details.)
8. Radio mode: Seek tuning (See page 254 for
details.)
Compact disc
mode: Direct access to a desired program
(See page 268 for
details.)
9. Turning the system on (See page 247 for details.)
Reference
�Ty p e 1
26p202c
With
Navigation
System
Page 244 of 458
244
1. Multi−information display screen
(See page 248 for details.)
2. Ejecting a compact disc (See page 266 for details.)
3. Compact disc slot (See page 266 for details.)
4. Frequency tuning and file search (See page 253 and 274 for details.)
5. Scan tuning (See page 255 for details.)
6. Compact disc or AUX adapter mode button
(See page 267 for details.)
7. Radio mode button (See page 252 for details.)
8. Radio mode: Seek tuning (See page 254 for
details.)
Compact disc
mode: Direct access to a desired program
(See page 268 for
details.)
9. Adjusting the volume (See page 247 for details.)
10. Turning the system on (See page 247 for details.)
11. Audio operation screen display button (See page 248 for details.)
�
Ty p e 2
26p201b
Page 245 of 458
245
1. Multi−information display screen
(See page 248 for details.)
2. Ejecting a compact disc (See page 271 for details.)
3. Compact disc slot (See page 271 for details.)
4. Frequency tuning (See page 253 for details.)
5. Scan tuning (See page 255 for details.)
6. Compact disc mode button (See page 271 for details.)
7. Radio mode button (See page 252 for details.)
8. Radio mode: Seek tuning (See page 254 for
details.)
Compact disc
mode: Direct access to a desired program
(See page 272 for
details.)
9. Adjusting the volume (See page 247 for details.)
10. Turning the system on (See page 247 for details.)
11. Audio operation screen display button (See page 248 for details.)
�
Ty p e 3
26p014e
Page 246 of 458
246
This section describes some of the basic
features of the Toyota audio system.
Some information may not pertain to your
system.
Your audio system works when the hybrid
system is in “ACC” or “IG−ON”.
NOTICE
To prevent the battery from being
discharged, do not leave the audio on
longer than necessary when the
hybrid system is not running.
26p195a
Ty p e 1
Type 2 and Type 3
TURNING THE SYSTEM ON AND OFF
Push “PWR” button to turn the audio sys-
tem on and off. The system turns on in
the last mode used.
Using your audio system—
—Some basics

2. Ejecting a compact disc (See page 266 for details.)
3. Compact disc slot (See page 266 for details.)
4. Frequency tuning and fi")

2. Ejecting a compact disc (See page 266 for details.)
3. Compact disc slot (See page 266 for details.)
4. Frequency tuning and fi")

2. Ejecting a compact disc (See page 271 for details.)
3. Compact disc slot (See page 271 for details.)
4. Frequency tuning (See p")
