Page 161 of 260

NVIS (NISSAN VEHICLE IMMOBILIZER SYSTEM-NATS)
BL-161
C
D
E
F
G
H
J
K
L
MA
B
BL
Revision: 2006 November2007 350Z
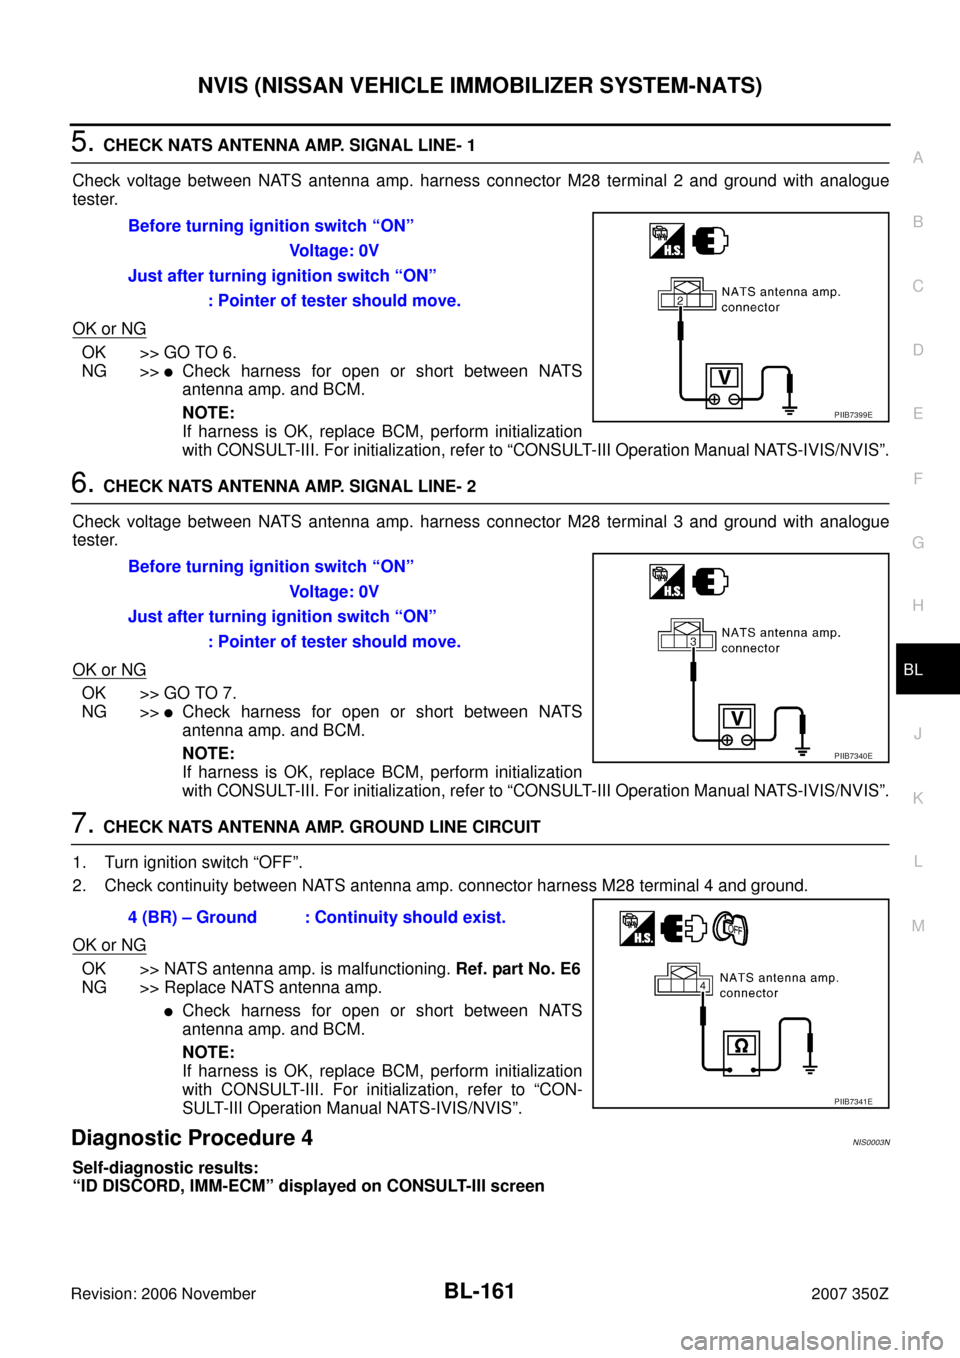
5. CHECK NATS ANTENNA AMP. SIGNAL LINE- 1
Check voltage between NATS antenna amp. harness connector M28 terminal 2 and ground with analogue
tester.
OK or NG
OK >> GO TO 6.
NG >>
�Check harness for open or short between NATS
antenna amp. and BCM.
NOTE:
If harness is OK, replace BCM, perform initialization
with CONSULT-III. For initialization, refer to “CONSULT-III Operation Manual NATS-IVIS/NVIS”.
6. CHECK NATS ANTENNA AMP. SIGNAL LINE- 2
Check voltage between NATS antenna amp. harness connector M28 terminal 3 and ground with analogue
tester.
OK or NG
OK >> GO TO 7.
NG >>
�Check harness for open or short between NATS
antenna amp. and BCM.
NOTE:
If harness is OK, replace BCM, perform initialization
with CONSULT-III. For initialization, refer to “CONSULT-III Operation Manual NATS-IVIS/NVIS”.
7. CHECK NATS ANTENNA AMP. GROUND LINE CIRCUIT
1. Turn ignition switch “OFF”.
2. Check continuity between NATS antenna amp. connector harness M28 terminal 4 and ground.
OK or NG
OK >> NATS antenna amp. is malfunctioning. Ref. part No. E6
NG >> Replace NATS antenna amp.
�Check harness for open or short between NATS
antenna amp. and BCM.
NOTE:
If harness is OK, replace BCM, perform initialization
with CONSULT-III. For initialization, refer to “CON-
SULT-III Operation Manual NATS-IVIS/NVIS”.
Diagnostic Procedure 4NIS0003N
Self-diagnostic results:
“ID DISCORD, IMM-ECM” displayed on CONSULT-III screenBefore turning ignition switch “ON”
Voltage: 0V
Just after turning ignition switch “ON”
: Pointer of tester should move.
PIIB7399E
Before turning ignition switch “ON”
Voltage: 0V
Just after turning ignition switch “ON”
: Pointer of tester should move.
PIIB7340E
4 (BR) – Ground : Continuity should exist.
PIIB7341E
Page 163 of 260

NVIS (NISSAN VEHICLE IMMOBILIZER SYSTEM-NATS)
BL-163
C
D
E
F
G
H
J
K
L
MA
B
BL
Revision: 2006 November2007 350Z
Diagnostic Procedure 5NIS0003O
“SECURITY INDICATOR LAMP DOES NOT LIGHT UP”
1. CHECK FUSE
�Check 10A fuse [No.19, located in the fuse block (J/B)]
NOTE:
Refer to BL-150, "
Component Parts and Harness Connector Location" .
OK or NG
OK >> GO TO 2.
NG >> Replace fuse.
2. CHECK SECURITY INDICATOR LAMP
1. Install 10A fuse.
2. Start engine and turn ignition switch OFF.
3. Check the security indicator lamp lights up.
OK or NG
OK >> Inspection END.
NG >> GO TO 3.
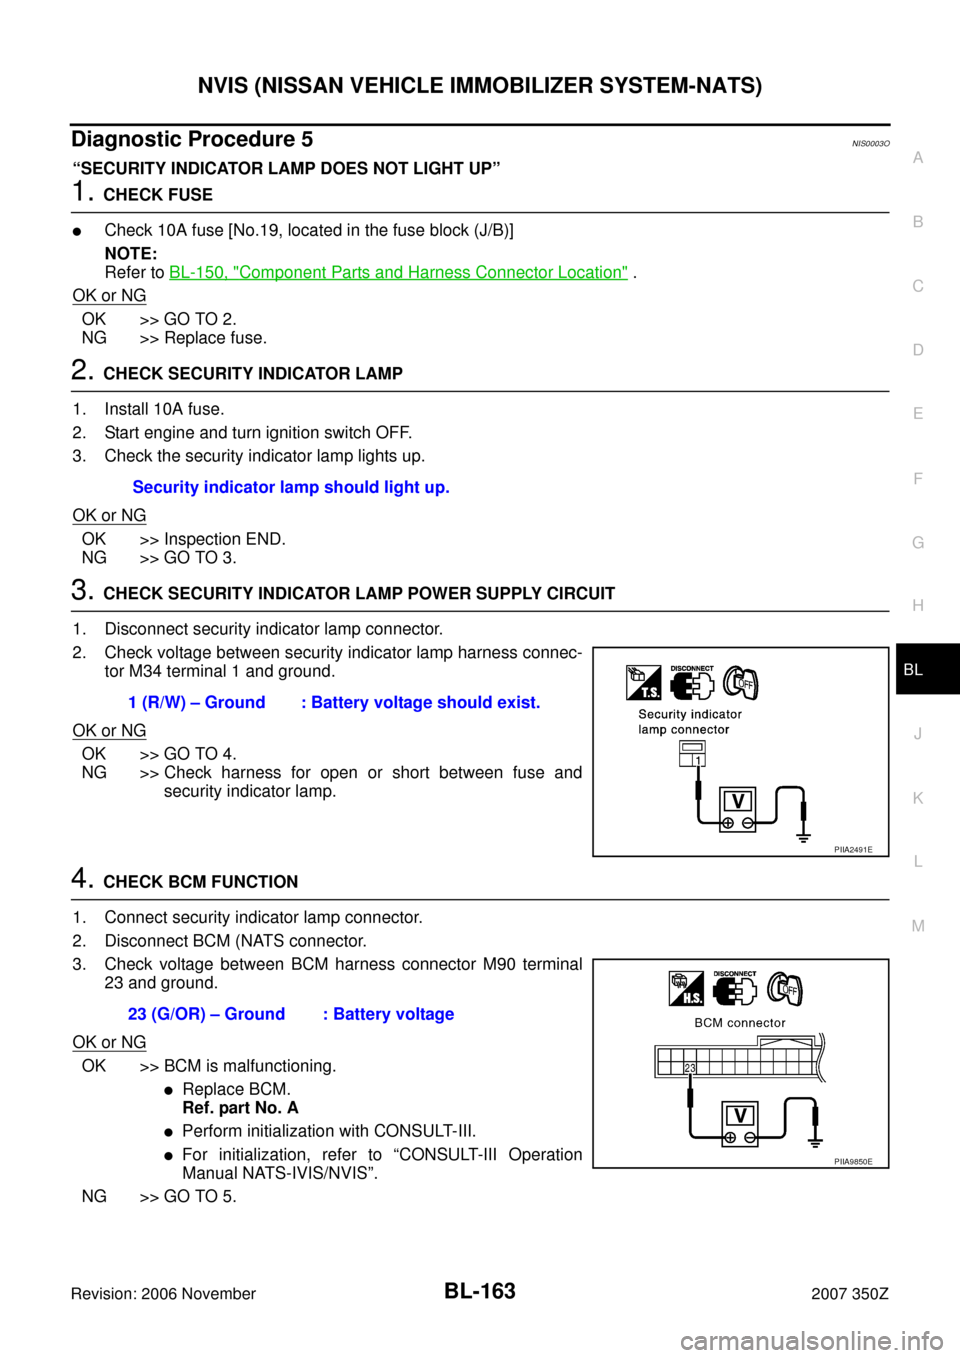
3. CHECK SECURITY INDICATOR LAMP POWER SUPPLY CIRCUIT
1. Disconnect security indicator lamp connector.
2. Check voltage between security indicator lamp harness connec-
tor M34 terminal 1 and ground.
OK or NG
OK >> GO TO 4.
NG >> Check harness for open or short between fuse and
security indicator lamp.
4. CHECK BCM FUNCTION
1. Connect security indicator lamp connector.
2. Disconnect BCM (NATS connector.
3. Check voltage between BCM harness connector M90 terminal
23 and ground.
OK or NG
OK >> BCM is malfunctioning.
�Replace BCM.
Ref. part No. A
�Perform initialization with CONSULT-III.
�For initialization, refer to “CONSULT-III Operation
Manual NATS-IVIS/NVIS”.
NG >> GO TO 5. Security indicator lamp should light up.
1 (R/W) – Ground : Battery voltage should exist.
PIIA2491E
23 (G/OR) – Ground : Battery voltage
PIIA9850E
Page 168 of 260

BL-168
INTEGRATED HOMELINK TRANSMITTER
Revision: 2006 November2007 350Z
Trouble DiagnosesNIS0003S
DIAGNOSTIC PROCEDURE
SYMPTOM: Transmitter does not activate receiver.
Before conducting the procedure given below, make sure that system receiver (garage door opener, etc.)
operates with original, hand-held transmitter. If NG, receiver or hand-held transmitter is malfunctioning, not
vehicle related.
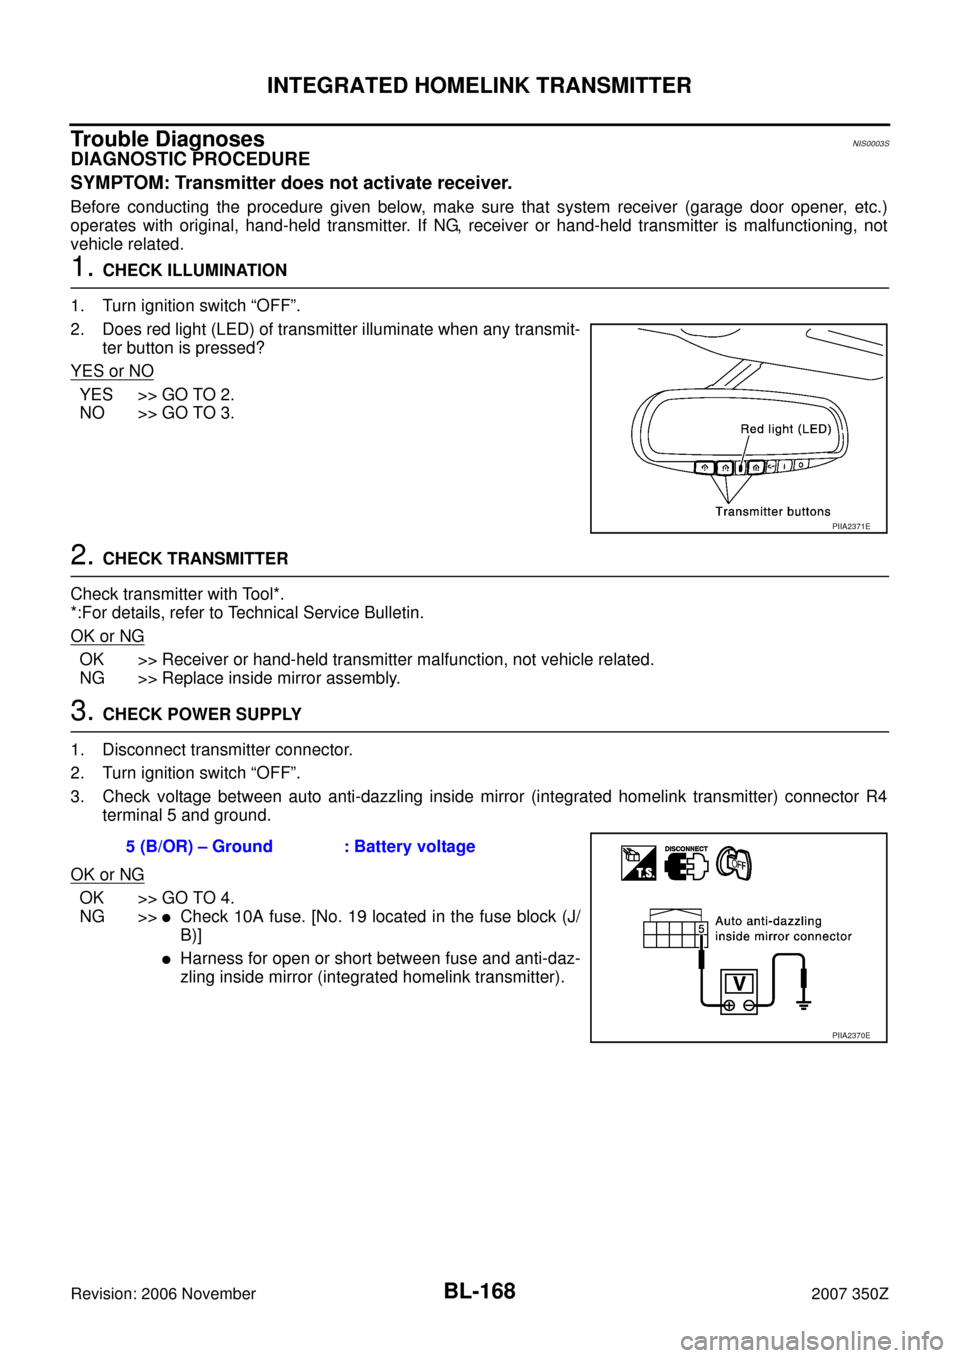
1. CHECK ILLUMINATION
1. Turn ignition switch “OFF”.
2. Does red light (LED) of transmitter illuminate when any transmit-
ter button is pressed?
YES or NO
YES >> GO TO 2.
NO >> GO TO 3.
2. CHECK TRANSMITTER
Check transmitter with Tool*.
*:For details, refer to Technical Service Bulletin.
OK or NG
OK >> Receiver or hand-held transmitter malfunction, not vehicle related.
NG >> Replace inside mirror assembly.
3. CHECK POWER SUPPLY
1. Disconnect transmitter connector.
2. Turn ignition switch “OFF”.
3. Check voltage between auto anti-dazzling inside mirror (integrated homelink transmitter) connector R4
terminal 5 and ground.
OK or NG
OK >> GO TO 4.
NG >>
�Check 10A fuse. [No. 19 located in the fuse block (J/
B)]
�Harness for open or short between fuse and anti-daz-
zling inside mirror (integrated homelink transmitter).
PIIA2371E
5 (B/OR) – Ground : Battery voltage
PIIA2370E