2007 GMC ACADIA change wheel
[x] Cancel search: change wheelPage 91 of 554

Adding Equipment to Your
Airbag-Equipped Vehicle
Q:Is there anything I might add to the
exterior of the vehicle that could keep the
airbags from working properly?
A:Yes. If you add things that change your
vehicle’s frame, bumper system, height,
front end or side sheet metal, they may keep
the airbag system from working properly.
Also, the airbag system may not work properly
if you relocate any of the airbag sensors. If
you have any questions about this, you should
contact Customer Assistance before you
modify your vehicle. The phone numbers and
addresses for Customer Assistance are in
Step Two of the Customer Satisfaction
Procedure in this manual. See Customer
Satisfaction Procedure.
If your vehicle has rollover roof-rail airbags,
seeDifferent Size Tires and Wheels on
page 452for additional important information.
Q:Because I have a disability, I have to get
my vehicle modi�ed. How can I �nd out
whether this will affect my airbag system?
A:Changing or moving any parts of the
front seats, safety belts, the airbag sensing
and diagnostic module, steering wheel,
instrument panel, roof-rail airbag modules,
ceiling headliner, and pillar garnish trim, side
impact sensors, rollover sensor module,
or airbag wiring can affect the operation of the
airbag system. If you have questions, call
Customer Assistance. The phone numbers
and addresses for Customer Assistance are in
Step Two of the Customer Satisfaction
Procedure in this manual. SeeCustomer
Satisfaction Procedure on page 518.
Your dealer/retailer and the service manual have
information about the location of the airbag
sensors, sensing and diagnostic module and
airbag wiring.
91
Page 167 of 554
Instrument Panel Overview........................ 170
Hazard Warning Flashers.......................... 172
Other Warning Devices............................. 173
Horn.......................................................... 173
Tilt and Telescopic Steering Wheel............ 173
Power Tilt Wheel and Telescopic
Steering Column.................................... 174
Turn Signal/Multifunction Lever.................. 174
Turn and Lane-Change Signals................. 175
Headlamp High/Low-Beam Changer.......... 176
Flash-to-Pass............................................ 176
Windshield Wipers..................................... 176
Windshield Washer.................................... 177
Rear Window Wiper/Washer...................... 179
Cruise Control........................................... 180
Exterior Lamps.......................................... 183
Delayed Headlamps.................................. 184
Daytime Running Lamps (DRL)/
Automatic Headlamp System.................. 185
Fog Lamps................................................ 186
Instrument Panel Brightness...................... 186
Courtesy Lamps........................................ 186Entry Lighting............................................ 187
Delayed Entry Lighting.............................. 187
Delayed Exit Lighting................................. 188
Parade Dimming........................................ 188
Reading Lamps......................................... 188
Electric Power Management...................... 188
Battery Run-Down Protection..................... 189
Head-Up Display (HUD)............................ 190
Ultrasonic Rear Parking Assist (URPA)...... 194
Accessory Power Outlet(s)........................ 197
Power Outlet 115 Volt Alternating
Current.................................................. 198
Climate Controls......................................... 199
Climate Control System............................. 199
Dual Automatic Climate Control System.... 203
Outlet Adjustment...................................... 210
Rear Air Conditioning and Heating
System.................................................. 211
Rear Air Conditioning and Heating
System and Electronic Climate
Controls................................................. 212
Section 3 Instrument Panel
167
Page 174 of 554
Power Tilt Wheel and Telescopic
Steering Column
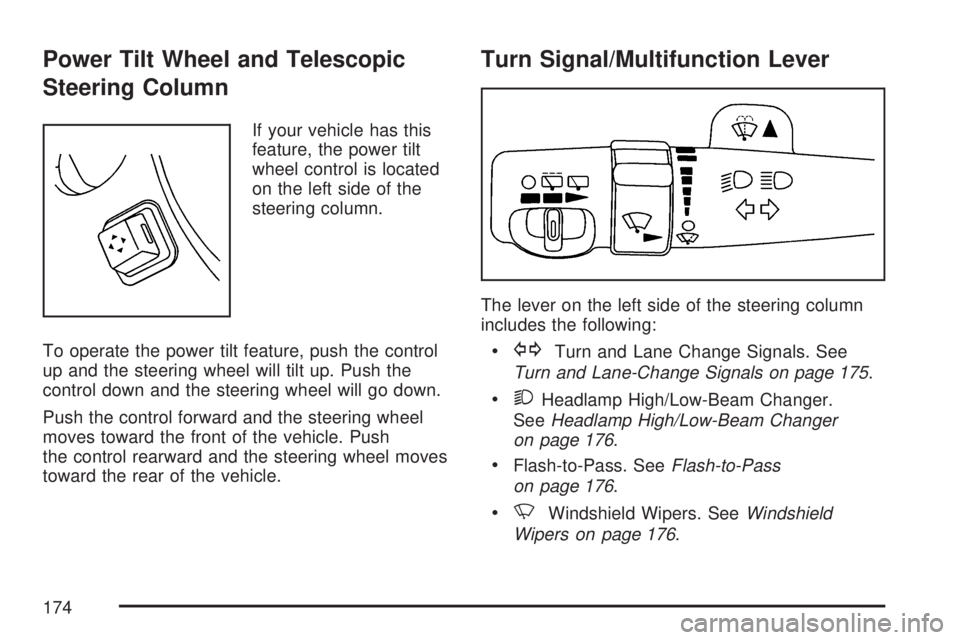
If your vehicle has this
feature, the power tilt
wheel control is located
on the left side of the
steering column.
To operate the power tilt feature, push the control
up and the steering wheel will tilt up. Push the
control down and the steering wheel will go down.
Push the control forward and the steering wheel
moves toward the front of the vehicle. Push
the control rearward and the steering wheel moves
toward the rear of the vehicle.
Turn Signal/Multifunction Lever
The lever on the left side of the steering column
includes the following:
GTurn and Lane Change Signals. See
Turn and Lane-Change Signals on page 175.
2Headlamp High/Low-Beam Changer.
SeeHeadlamp High/Low-Beam Changer
on page 176.
Flash-to-Pass. SeeFlash-to-Pass
on page 176.
NWindshield Wipers. SeeWindshield
Wipers on page 176.
174
Page 180 of 554
Cruise Control
With cruise control, you can maintain a speed
of about 25 mph (40 km/h) or more without
keeping your foot on the accelerator. This can
really help on long trips. Cruise control does not
work at speeds below about 25 mph (40 km/h).
When you apply your brakes, cruise control
is turned off.
{CAUTION:
Cruise control can be dangerous where
you cannot drive safely at a steady speed.
So, do not use your cruise control on
winding roads or in heavy traffic.
Cruise control can be dangerous on
slippery roads. On such roads, fast
changes in tire traction can cause
excessive wheel slip, and you could
lose control. Do not use cruise control
on slippery roads.The cruise control
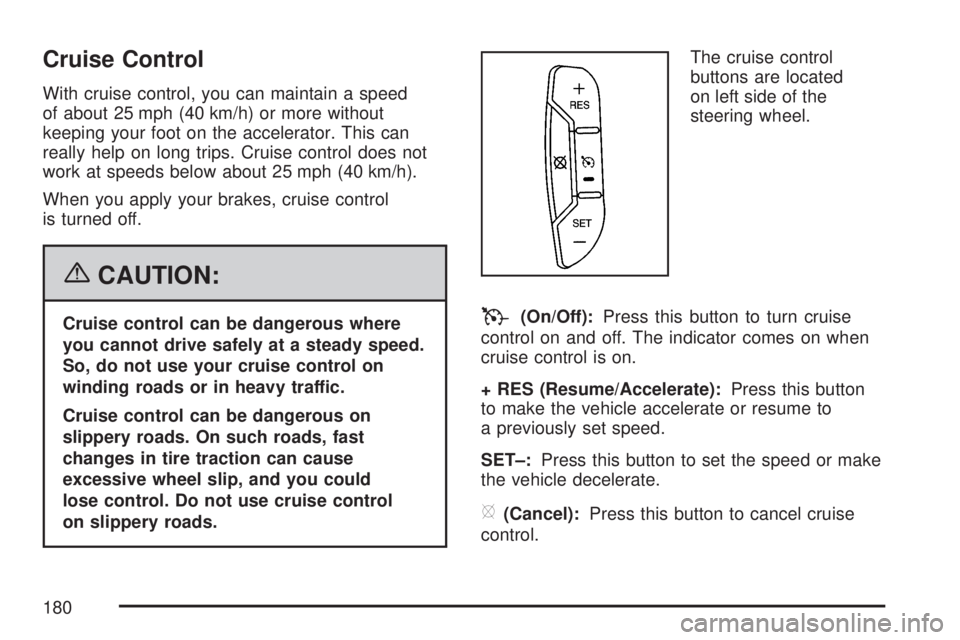
buttons are located
on left side of the
steering wheel.T(On/Off):Press this button to turn cruise
control on and off. The indicator comes on when
cruise control is on.
+ RES (Resume/Accelerate):Press this button
to make the vehicle accelerate or resume to
a previously set speed.
SET–:Press this button to set the speed or make
the vehicle decelerate.
[(Cancel):Press this button to cancel cruise
control.
180
Page 210 of 554

Rear Window Defogger
The rear window defogger uses a warming grid to
remove fog from the rear window.
<(Rear Window Defogger):Press this button
to turn the rear window defogger on or off. The
rear window defogger stays on for about
10 minutes after the button is pressed, before
turning off. The defogger can also be turned off
by pressing the button again or by turning off
the engine. Do not drive the vehicle until all the
windows are clear.
If your vehicle has heated outside rearview
mirrors, the mirrors will heat to help clear fog or
frost from the surface of the mirror when the
rear window defog button is pressed.
Notice:Do not use a razor blade or sharp
object to clear the inside rear window. Do not
adhere anything to the defogger grid lines
in the rear glass. These actions may damage
the rear defogger. Repairs would not be
covered by your warranty.
Outlet Adjustment
Use the slider switch in the center of the outlet,
to change the direction of the air �ow. Use
the thumbwheel near the outlet to control the
amount of air �ow or to shut off the air�ow
completely.
Keep all outlets open whenever possible for best
system performance.
Operation Tips
Clear away any ice, snow, or leaves from the
air inlets at the base of the windshield that
can block the �ow of air into the vehicle.
Use of non-GM approved hood de�ectors can
adversely affect the performance of the
system.
Keep the path under all seats clear of objects
to help circulate the air inside the vehicle
more effectively.
If fogging reoccurs while in vent or bi-level
modes with mild temperature throughout
the vehicle, turn on the air conditioner
to reduce windshield fogging.
210
Page 244 of 554
DIC Warnings and Messages
Messages are displayed on the DIC to notify the
driver that the status of the vehicle has changed
and that some action may be needed by the driver
to correct the condition. Multiple messages may
appear one after another.
Some messages may not require immediate
action, but you can press any of the DIC buttons
on the instrument panel or the trip odometer
reset stem on the instrument panel cluster
to acknowledge that you received the messages
and to clear them from the display.
Some messages cannot be cleared from the DIC
display because they are more urgent. These
messages require action before they can be
cleared. You should take any messages that
appear on the display seriously and remember that
clearing the messages will only make the
messages disappear, not correct the problem.
The following are the possible messages that can
be displayed and some information about them.
ALL WHEEL DRIVE OFF
If your vehicle has the All-Wheel Drive (AWD)
system, this message displays when there
is a compact spare tire on the vehicle, when
the Anti-lock Brake System (ABS) warning light
comes on, or when the rear differential �uid
is overheating. This message turns off when the
differential �uid cools.
The AWD system is disabled until the compact
spare tire is replaced by a full-size tire. If the
warning message is still on after putting on the
full-size tire, you need to reset the warning
message. To reset the warning message, turn
the ignition off and then back on again after
30 seconds. If the message stays on, see your
dealer/retailer right away. SeeAll-Wheel Drive
(AWD) System on page 339for more information.
AUTOMATIC LIGHT CONTROL OFF
This message displays when the automatic
headlamps are turned off. This message clears
itself after 10 seconds.
244
Page 336 of 554
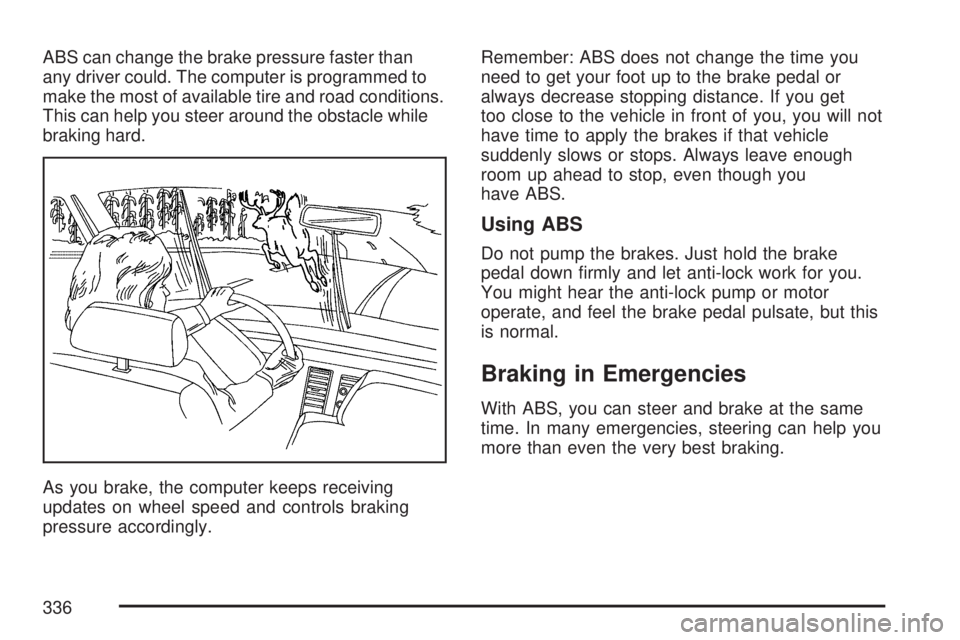
ABS can change the brake pressure faster than
any driver could. The computer is programmed to
make the most of available tire and road conditions.
This can help you steer around the obstacle while
braking hard.
As you brake, the computer keeps receiving
updates on wheel speed and controls braking
pressure accordingly.Remember: ABS does not change the time you
need to get your foot up to the brake pedal or
always decrease stopping distance. If you get
too close to the vehicle in front of you, you will not
have time to apply the brakes if that vehicle
suddenly slows or stops. Always leave enough
room up ahead to stop, even though you
have ABS.
Using ABS
Do not pump the brakes. Just hold the brake
pedal down �rmly and let anti-lock work for you.
You might hear the anti-lock pump or motor
operate, and feel the brake pedal pulsate, but this
is normal.
Braking in Emergencies
With ABS, you can steer and brake at the same
time. In many emergencies, steering can help you
more than even the very best braking.
336
Page 340 of 554
Steering
Power Steering
If you lose power steering assist because the
engine stops or the system is not functioning,
you can steer but it will take much more effort.
Steering Tips
It is important to take curves at a reasonable
speed.
A lot of the “driver lost control” accidents
mentioned on the news happen on curves.
Here is why:
Experienced driver or beginner, each of us is
subject to the same laws of physics when driving
on curves. The traction of the tires against the
road surface makes it possible for the vehicle to
change its path when you turn the front wheels.
If there is no traction, inertia will keep the
vehicle going in the same direction. If you have
ever tried to steer a vehicle on wet ice, you
will understand this.The traction you can get in a curve depends on
the condition of the tires and the road surface,
the angle at which the curve is banked, and your
speed. While you are in a curve, speed is the
one factor you can control.
Suppose you are steering through a sharp curve.
Then you suddenly accelerate. Both control
systems — steering and acceleration — have to
do their work where the tires meet the road.
Adding the sudden acceleration can demand
too much of those places. You can lose control.
SeeStabiliTrak
®System on page 337.
What should you do if this ever happens? Ease up
on the accelerator pedal, steer the vehicle the
way you want it to go, and slow down.
Speed limit signs near curves warn that you should
adjust your speed. Of course, the posted speeds
are based on good weather and road conditions.
Under less favorable conditions you will want to go
slower.
If you need to reduce your speed as you approach
a curve, do it before you enter the curve, while
the front wheels are straight ahead.
340