Page 320 of 554

Battery Replacement
To change the remote control batteries, do the
following:
1. Remove the battery compartment door
located on the bottom of the remote control.
2. Replace the two AA batteries in the
compartment. Make sure that they are
installed correctly, using the diagram on the
inside of the battery compartment.
3. Close the battery door securely.
If the remote control is to be stored for a long
period of time, remove the batteries and keep them
in a cool, dry place.
Problem Recommended Action
No power. The ignition might not be
turned on or in accessory.
The picture does not �ll
the screen. There are
black borders on the
top and bottom or on
both sides or it looks
stretched out.Check the display mode
settings in the setup menu
by pressing the display
menu button on the
remote control.
In auxiliary mode, the
picture moves or scrolls.Check the auxiliary input
connections at both
devices.
The remote control
does not work.Check to make sure there
is no obstruction between
the remote control and
the transmitter window.
Check the batteries to
make sure they are not
dead or installed
incorrectly.
After stopping the player,
I push Play but
sometimes the DVD
starts where I left off and
sometimes at the
beginning.If the stop button was
pressed one time, the
DVD player resumes
playing where the DVD
was stopped. If the stop
button was pressed two
times the DVD player
begins to play from the
beginning of the DVD.
320
Page 359 of 554
You can run the engine to keep warm, but be
careful.
{CAUTION:
Snow can trap exhaust gases under your
vehicle. This can cause deadly CO (carbon
monoxide) gas to get inside. CO could
overcome you and kill you. You cannot see
it or smell it, so you might not know it is
in your vehicle. Clear away snow from
around the base of your vehicle, especially
any that is blocking the exhaust pipe.
And check around again from time to time
to be sure snow does not collect there.
Open a window just a little on the side of
the vehicle that is away from the wind.
This will help keep CO out.
Run the engine only as long as you must.
This saves fuel. When you run the engine, make it
go a little faster than just idle. That is, push the
accelerator slightly. This uses less fuel for the heat
that you get and it keeps the battery charged.
359
Page 427 of 554

{CAUTION:
Fans or other moving engine parts can
injure you badly. Keep your hands away
from moving parts once the engine is
running.
5. Check that the jumper cables do not have
loose or missing insulation. If they do, you
could get a shock. The vehicles could
be damaged too.
Before you connect the cables, here are some
basic things you should know. Positive (+)
will go to positive (+) or to a remote
positive (+) terminal if the vehicle has one.
Negative (−) will go to a heavy, unpainted
metal engine part or to a remote negative (−)
terminal if the vehicle has one.
Do not connect positive (+) to negative (−)or
you will get a short that would damage
the battery and maybe other parts too. And do
not connect the negative (−) cable to the
negative (−) terminal on the dead battery
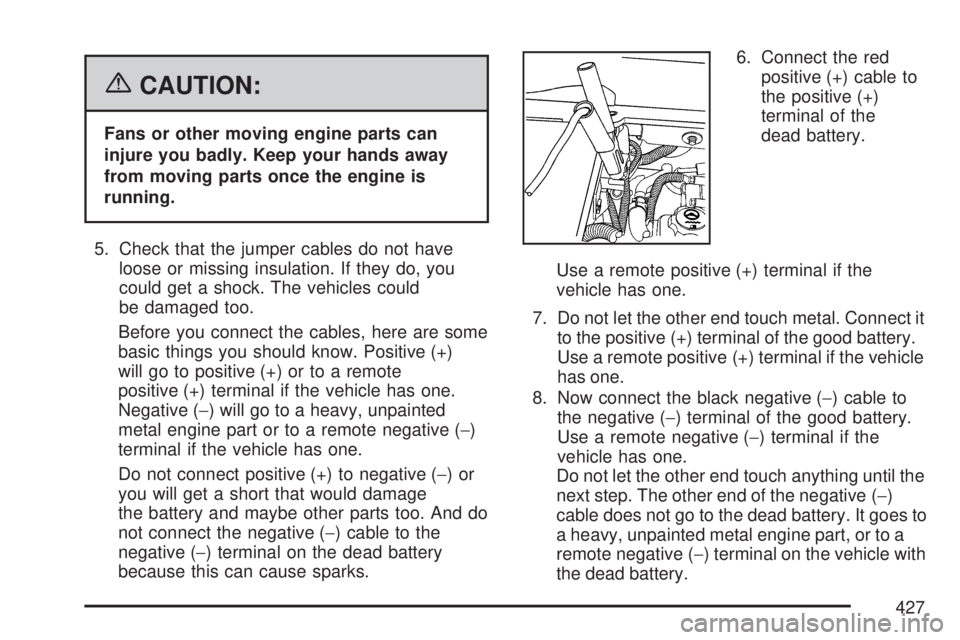
because this can cause sparks.6. Connect the red
positive (+) cable to
the positive (+)
terminal of the
dead battery.
Use a remote positive (+) terminal if the
vehicle has one.
7. Do not let the other end touch metal. Connect it
to the positive (+) terminal of the good battery.
Use a remote positive (+) terminal if the vehicle
has one.
8. Now connect the black negative (−) cable to
the negative (−) terminal of the good battery.
Use a remote negative (−) terminal if the
vehicle has one.
Do not let the other end touch anything until the
next step. The other end of the negative (−)
cable does not go to the dead battery. It goes to
a heavy, unpainted metal engine part, or to a
remote negative (−) terminal on the vehicle with
the dead battery.
427
Page 428 of 554
9. Connect the other
end of the
negative (−) cable at
least 18 inches
(45 cm) away from
the dead battery,
but not near engine
parts that move.
The electrical connection is just as good
there, and the chance of sparks getting back
to the battery is much less.
Your vehicle has a remote negative (−)
terminal for this purpose.10. Now start the vehicle with the good battery
and run the engine for a while.
11. Try to start the vehicle that had the dead
battery. If it will not start after a few tries,
it probably needs service.
Notice:If the jumper cables are connected or
removed in the wrong order, electrical
shorting may occur and damage the vehicle.
The repairs would not be covered by your
warranty. Always connect and remove
the jumper cables in the correct order, making
sure that the cables do not touch each other
or other metal.
428
Page 429 of 554
A. Heavy, Unpainted Metal Engine Part or
Remote Negative (−) Terminal
B. Good Battery or Remote Positive (+) and
Remote Negative (−) Terminals
C. Dead Battery or Remote Positive (+) TerminalTo disconnect the jumper cables from both
vehicles, do the following:
1. Disconnect the black negative (−) cable from
the vehicle that had the dead battery.
2. Disconnect the black negative (−) cable from
the vehicle with the good battery.
3. Disconnect the red positive (+) cable from the
vehicle with the good battery.
4. Disconnect the red positive (+) cable from the
other vehicle.
Jumper Cable Removal
429