2007 CHEVROLET CORVETTE display
[x] Cancel search: displayPage 98 of 488
To use the system, shift from PARK (P) position
to SPORT MODE (S) while stopped and with the
engine running, or from DRIVE (D) with the vehicle
moving. When accelerating your vehicle from a stop
in snowy and icy conditions, you may want to shift
to second (2) or third (3) gear. A higher gear allows
you to gain more traction on slippery surfaces. If the
traction control is active, upshifts are delayed to
increase your control of the vehicle. SeeTraction
Control System (TCS) on page 281.
While the Manual Paddle Shift gear selection
system is active, the transmission will automatically
downshift through the gears as the vehicle slows.
The transmission will select second gear as the
vehicle stops. From a stop, the vehicle will start
from and hold second (2) gear unless the driver
manually paddle shifts into a different gear or
selects DRIVE (D). The driver can select �rst (1)
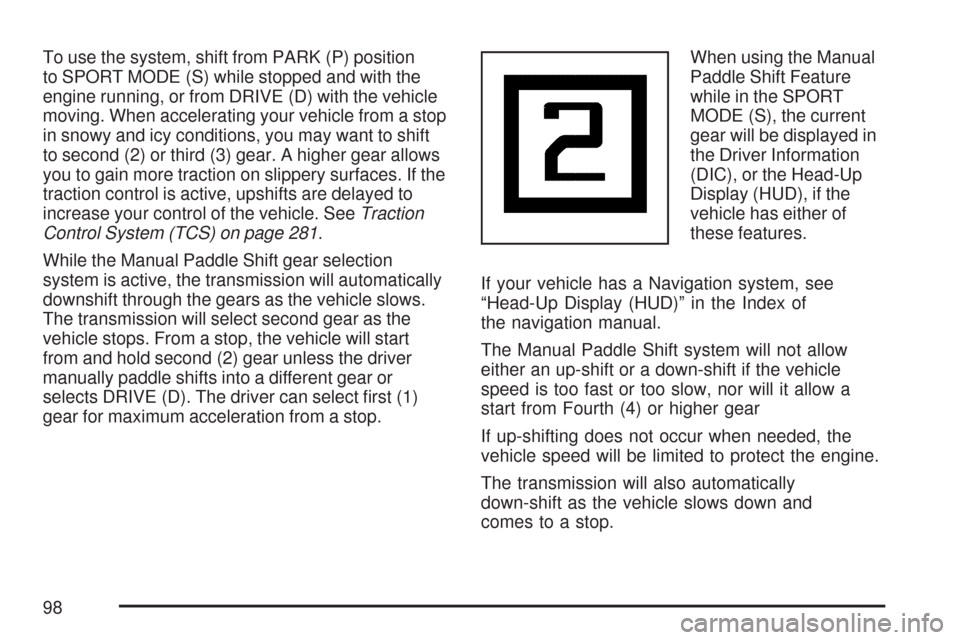
gear for maximum acceleration from a stop.When using the Manual
Paddle Shift Feature
while in the SPORT
MODE (S), the current
gear will be displayed in
the Driver Information
(DIC), or the Head-Up
Display (HUD), if the
vehicle has either of
these features.
If your vehicle has a Navigation system, see
“Head-Up Display (HUD)” in the Index of
the navigation manual.
The Manual Paddle Shift system will not allow
either an up-shift or a down-shift if the vehicle
speed is too fast or too slow, nor will it allow a
start from Fourth (4) or higher gear
If up-shifting does not occur when needed, the
vehicle speed will be limited to protect the engine.
The transmission will also automatically
down-shift as the vehicle slows down and
comes to a stop.
98
Page 99 of 488
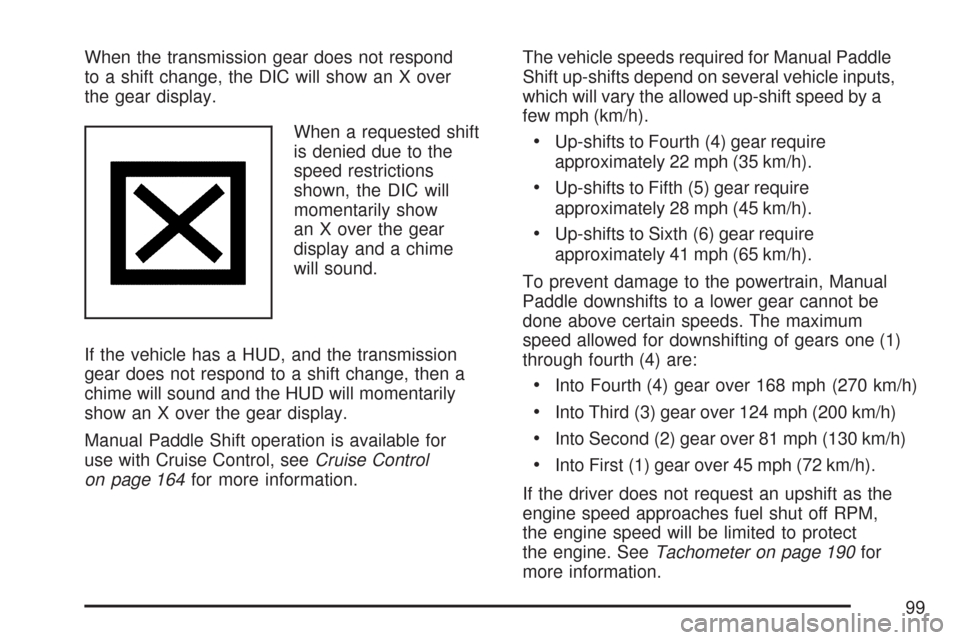
When the transmission gear does not respond
to a shift change, the DIC will show an X over
the gear display.
When a requested shift
is denied due to the
speed restrictions
shown, the DIC will
momentarily show
an X over the gear
display and a chime
will sound.
If the vehicle has a HUD, and the transmission
gear does not respond to a shift change, then a
chime will sound and the HUD will momentarily
show an X over the gear display.
Manual Paddle Shift operation is available for
use with Cruise Control, seeCruise Control
on page 164for more information.The vehicle speeds required for Manual Paddle
Shift up-shifts depend on several vehicle inputs,
which will vary the allowed up-shift speed by a
few mph (km/h).
Up-shifts to Fourth (4) gear require
approximately 22 mph (35 km/h).
Up-shifts to Fifth (5) gear require
approximately 28 mph (45 km/h).
Up-shifts to Sixth (6) gear require
approximately 41 mph (65 km/h).
To prevent damage to the powertrain, Manual
Paddle downshifts to a lower gear cannot be
done above certain speeds. The maximum
speed allowed for downshifting of gears one (1)
through fourth (4) are:
Into Fourth (4) gear over 168 mph (270 km/h)
Into Third (3) gear over 124 mph (200 km/h)
Into Second (2) gear over 81 mph (130 km/h)
Into First (1) gear over 45 mph (72 km/h).
If the driver does not request an upshift as the
engine speed approaches fuel shut off RPM,
the engine speed will be limited to protect
the engine. SeeTachometer on page 190for
more information.
99
Page 109 of 488
Compass Operation
The mirror has an eight-point compass display in
the bottom of the mirror face.
When the ignition and the compass feature are
on, the compass will show two character boxes for
approximately two seconds. After two seconds,
the mirror will display the current compass
heading. For example, NE is displayed for
north-east.
Compass Calibration
If after two seconds the display does not show a
compass heading, there may be a strong magnetic
�eld interfering with the compass. Such interference
may be caused by a magnetic antenna mount, note
pad holder or similar object. If the letter C appears
in the compass window, the compass needs
calibration.The mirror compass can be calibrated by driving
the vehicle in circles at 5 mph (8 km/h) or less until
the display reads a direction.
The compass can be placed in calibration
mode by pressing and holding the left map light
button until a C appears on the compass display.
Compass Variance
Compass variance is the difference between
earth’s magnetic north and true geographic
north. If the mirror is not adjusted for compass
variance, your compass could give false readings.
The mirror is set in zone eight upon leaving the
factory. It will be necessary to adjust the compass
to compensate for compass variance if you live
outside zone eight. Under certain circumstances,
such as a long distance, cross-country trip, it
will be necessary to adjust the compass variance.
109
Page 110 of 488
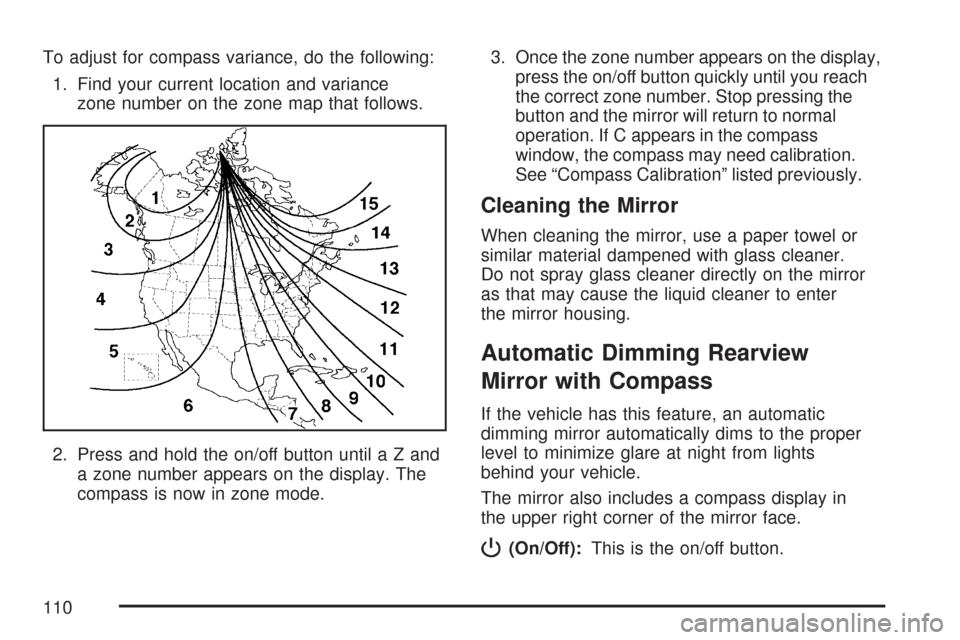
To adjust for compass variance, do the following:
1. Find your current location and variance
zone number on the zone map that follows.
2. Press and hold the on/off button untilaZand
a zone number appears on the display. The
compass is now in zone mode.3. Once the zone number appears on the display,
press the on/off button quickly until you reach
the correct zone number. Stop pressing the
button and the mirror will return to normal
operation. If C appears in the compass
window, the compass may need calibration.
See “Compass Calibration” listed previously.
Cleaning the Mirror
When cleaning the mirror, use a paper towel or
similar material dampened with glass cleaner.
Do not spray glass cleaner directly on the mirror
as that may cause the liquid cleaner to enter
the mirror housing.
Automatic Dimming Rearview
Mirror with Compass
If the vehicle has this feature, an automatic
dimming mirror automatically dims to the proper
level to minimize glare at night from lights
behind your vehicle.
The mirror also includes a compass display in
the upper right corner of the mirror face.
P(On/Off):This is the on/off button.
110
Page 111 of 488
Automatic Dimming Mirror Operation
The automatic dimming mirror function is turned on
each time the ignition is started. A light near the
on/off button will come on to indicate the automatic
dimming is on.
Press the on/off button for about six seconds to
manually turn the automatic dimming function
on or off.
Compass Display
Press the on/off button, located to the far left,
brie�y to turn the compass display on or off.
If the display reads CAL, the compass needs to
be calibrated. For more information, see “Compass
Calibration” later in this section.
To adjust between Fahrenheit and Celsius:
1. Press and hold the on/off button for
approximately four seconds until either
a �ashing °F, or °C appears.2. Press the button again to change the display
to the desired unit of measurement. After
approximately four seconds of inactivity,
the new unit will be locked in and the
compass/temperature display will return.
If an abnormal temperature reading is displayed
for an extended period of time, please consult your
dealer. Under certain circumstances, a delay in
updating the temperature is normal.
Compass Variance
Compass variance is the difference between
earth’s magnetic north and true geographic north.
If not adjusted to account for compass variance,
the mirror’s compass could give false readings.
The mirror is set in zone eight upon leaving
the factory. It will be necessary to adjust the
compass to compensate for compass variance
if you live outside of zone eight. Under certain
circumstances, as during a long distance
cross-country trip, it will also be necessary
to adjust for compass variance.
111
Page 112 of 488
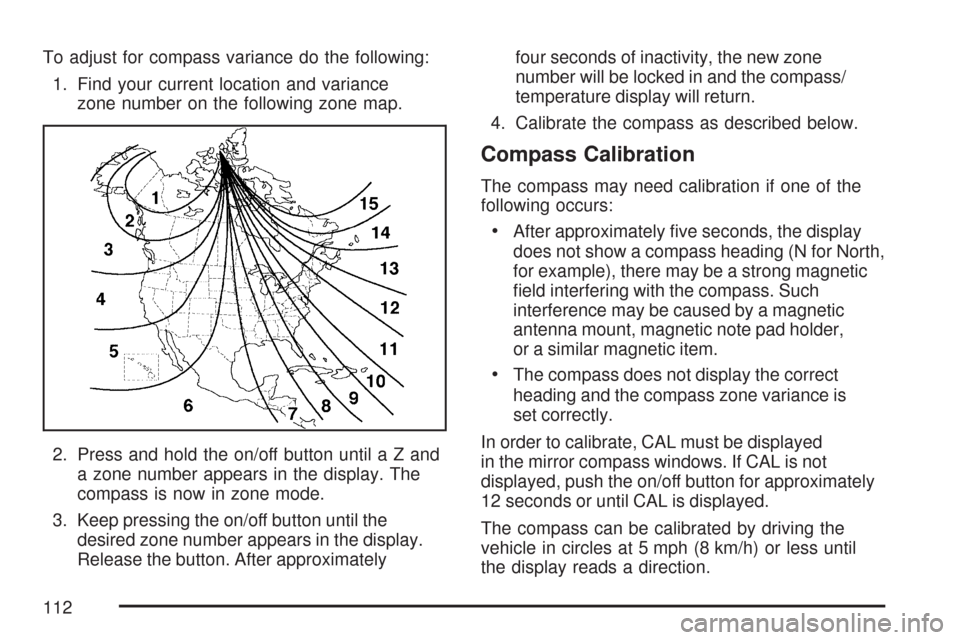
To adjust for compass variance do the following:
1. Find your current location and variance
zone number on the following zone map.
2. Press and hold the on/off button untilaZand
a zone number appears in the display. The
compass is now in zone mode.
3. Keep pressing the on/off button until the
desired zone number appears in the display.
Release the button. After approximatelyfour seconds of inactivity, the new zone
number will be locked in and the compass/
temperature display will return.
4. Calibrate the compass as described below.
Compass Calibration
The compass may need calibration if one of the
following occurs:
After approximately �ve seconds, the display
does not show a compass heading (N for North,
for example), there may be a strong magnetic
�eld interfering with the compass. Such
interference may be caused by a magnetic
antenna mount, magnetic note pad holder,
or a similar magnetic item.
The compass does not display the correct
heading and the compass zone variance is
set correctly.
In order to calibrate, CAL must be displayed
in the mirror compass windows. If CAL is not
displayed, push the on/off button for approximately
12 seconds or until CAL is displayed.
The compass can be calibrated by driving the
vehicle in circles at 5 mph (8 km/h) or less until
the display reads a direction.
112
Page 131 of 488
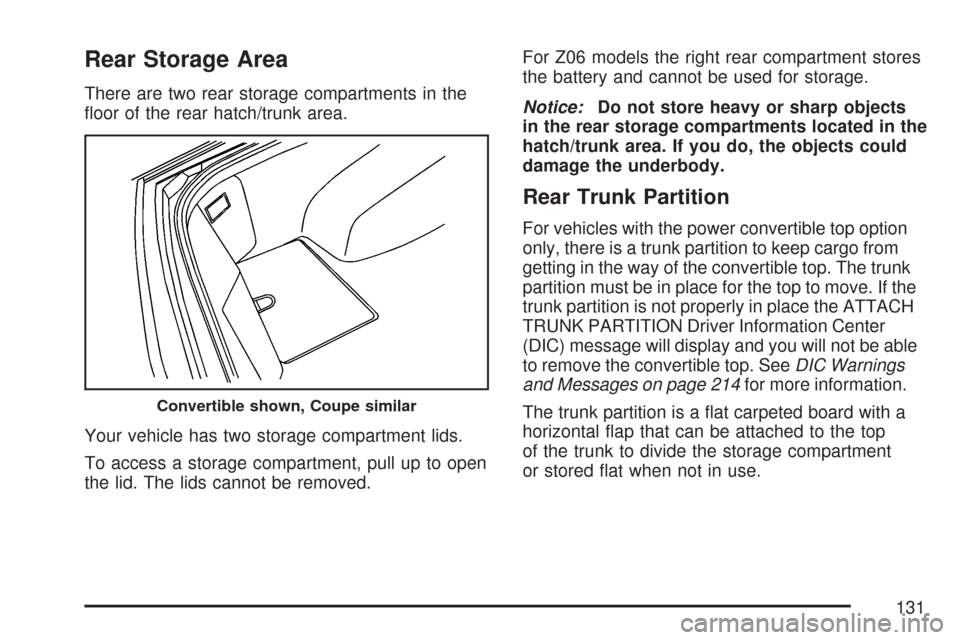
Rear Storage Area
There are two rear storage compartments in the
�oor of the rear hatch/trunk area.
Your vehicle has two storage compartment lids.
To access a storage compartment, pull up to open
the lid. The lids cannot be removed.For Z06 models the right rear compartment stores
the battery and cannot be used for storage.
Notice:Do not store heavy or sharp objects
in the rear storage compartments located in the
hatch/trunk area. If you do, the objects could
damage the underbody.
Rear Trunk Partition
For vehicles with the power convertible top option
only, there is a trunk partition to keep cargo from
getting in the way of the convertible top. The trunk
partition must be in place for the top to move. If the
trunk partition is not properly in place the ATTACH
TRUNK PARTITION Driver Information Center
(DIC) message will display and you will not be able
to remove the convertible top. SeeDIC Warnings
and Messages on page 214for more information.
The trunk partition is a �at carpeted board with a
horizontal �ap that can be attached to the top
of the trunk to divide the storage compartment
or stored �at when not in use.
Convertible shown, Coupe similar
131
Page 148 of 488
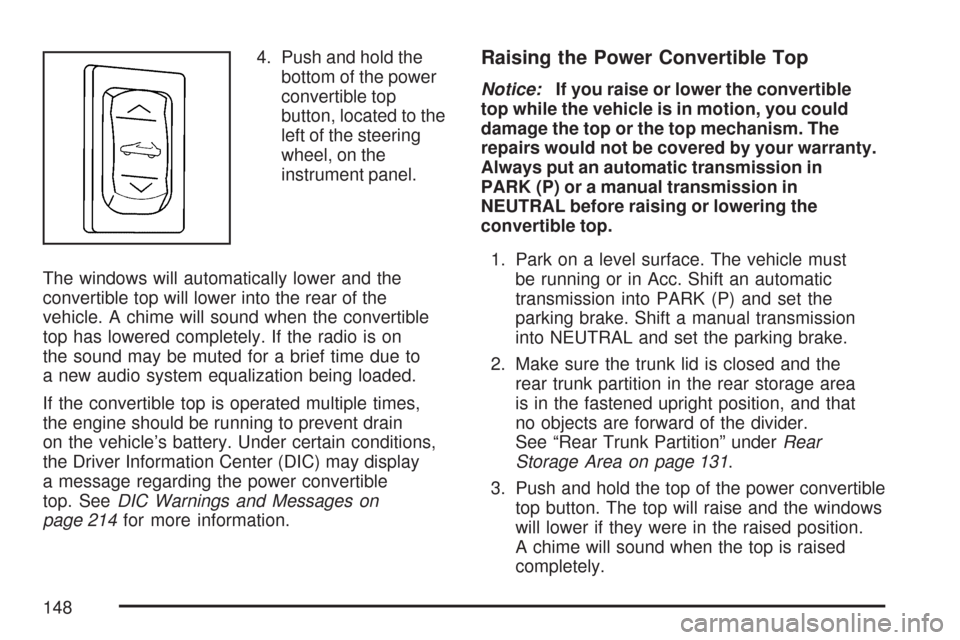
4. Push and hold the
bottom of the power
convertible top
button, located to the
left of the steering
wheel, on the
instrument panel.
The windows will automatically lower and the
convertible top will lower into the rear of the
vehicle. A chime will sound when the convertible
top has lowered completely. If the radio is on
the sound may be muted for a brief time due to
a new audio system equalization being loaded.
If the convertible top is operated multiple times,
the engine should be running to prevent drain
on the vehicle’s battery. Under certain conditions,
the Driver Information Center (DIC) may display
a message regarding the power convertible
top. SeeDIC Warnings and Messages on
page 214for more information.Raising the Power Convertible Top
Notice:If you raise or lower the convertible
top while the vehicle is in motion, you could
damage the top or the top mechanism. The
repairs would not be covered by your warranty.
Always put an automatic transmission in
PARK (P) or a manual transmission in
NEUTRAL before raising or lowering the
convertible top.
1. Park on a level surface. The vehicle must
be running or in Acc. Shift an automatic
transmission into PARK (P) and set the
parking brake. Shift a manual transmission
into NEUTRAL and set the parking brake.
2. Make sure the trunk lid is closed and the
rear trunk partition in the rear storage area
is in the fastened upright position, and that
no objects are forward of the divider.
See “Rear Trunk Partition” underRear
Storage Area on page 131.
3. Push and hold the top of the power convertible
top button. The top will raise and the windows
will lower if they were in the raised position.
A chime will sound when the top is raised
completely.
148