2007 CHEVROLET AVEO reset
[x] Cancel search: resetPage 188 of 436
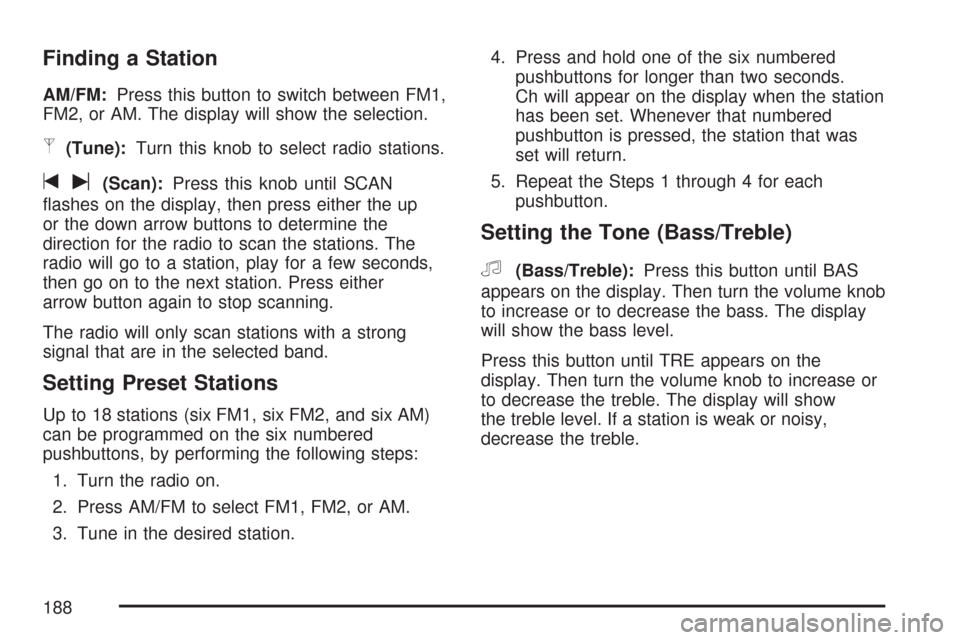
Finding a Station
AM/FM:Press this button to switch between FM1,
FM2, or AM. The display will show the selection.
p(Tune):Turn this knob to select radio stations.
tu(Scan):Press this knob until SCAN
flashes on the display, then press either the up
or the down arrow buttons to determine the
direction for the radio to scan the stations. The
radio will go to a station, play for a few seconds,
then go on to the next station. Press either
arrow button again to stop scanning.
The radio will only scan stations with a strong
signal that are in the selected band.
Setting Preset Stations
Up to 18 stations (six FM1, six FM2, and six AM)
can be programmed on the six numbered
pushbuttons, by performing the following steps:
1. Turn the radio on.
2. Press AM/FM to select FM1, FM2, or AM.
3. Tune in the desired station.4. Press and hold one of the six numbered
pushbuttons for longer than two seconds.
Ch will appear on the display when the station
has been set. Whenever that numbered
pushbutton is pressed, the station that was
set will return.
5. Repeat the Steps 1 through 4 for each
pushbutton.
Setting the Tone (Bass/Treble)
f
(Bass/Treble):Press this button until BAS
appears on the display. Then turn the volume knob
to increase or to decrease the bass. The display
will show the bass level.
Press this button until TRE appears on the
display. Then turn the volume knob to increase or
to decrease the treble. The display will show
the treble level. If a station is weak or noisy,
decrease the treble.
188
Page 190 of 436
The previous volume setting is maintained
whenever the radio is turned on. The volume can
be adjusted by using the volume knob.
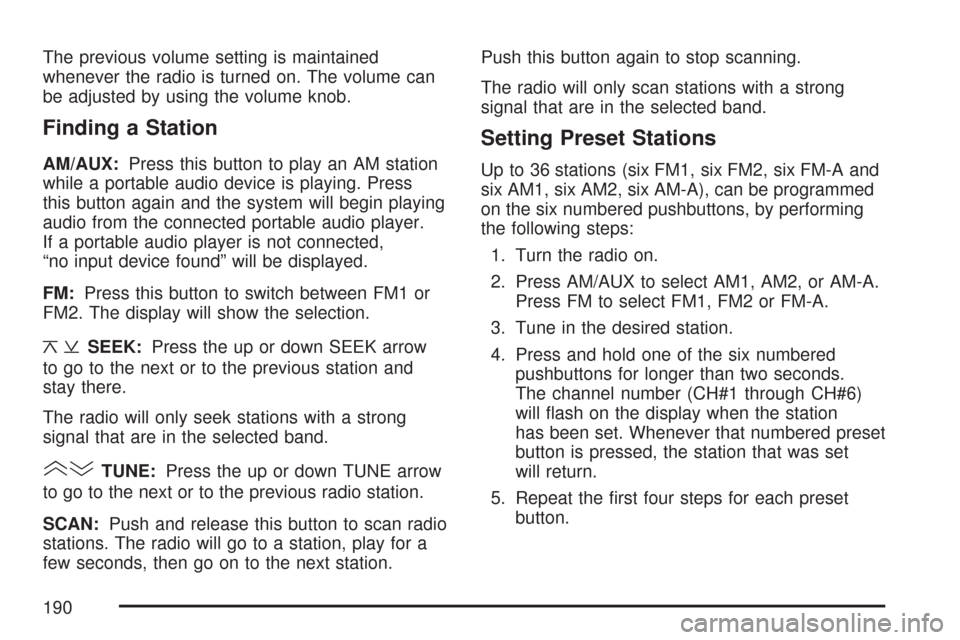
Finding a Station
AM/AUX:Press this button to play an AM station
while a portable audio device is playing. Press
this button again and the system will begin playing
audio from the connected portable audio player.
If a portable audio player is not connected,
“no input device found” will be displayed.
FM:Press this button to switch between FM1 or
FM2. The display will show the selection.
¦¥SEEK:Press the up or down SEEK arrow
to go to the next or to the previous station and
stay there.
The radio will only seek stations with a strong
signal that are in the selected band.
()TUNE:Press the up or down TUNE arrow
to go to the next or to the previous radio station.
SCAN:Push and release this button to scan radio
stations. The radio will go to a station, play for a
few seconds, then go on to the next station.Push this button again to stop scanning.
The radio will only scan stations with a strong
signal that are in the selected band.
Setting Preset Stations
Up to 36 stations (six FM1, six FM2, six FM-A and
six AM1, six AM2, six AM-A), can be programmed
on the six numbered pushbuttons, by performing
the following steps:
1. Turn the radio on.
2. Press AM/AUX to select AM1, AM2, or AM-A.
Press FM to select FM1, FM2 or FM-A.
3. Tune in the desired station.
4. Press and hold one of the six numbered
pushbuttons for longer than two seconds.
The channel number (CH#1 through CH#6)
will flash on the display when the station
has been set. Whenever that numbered preset
button is pressed, the station that was set
will return.
5. Repeat the first four steps for each preset
button.
190
Page 191 of 436
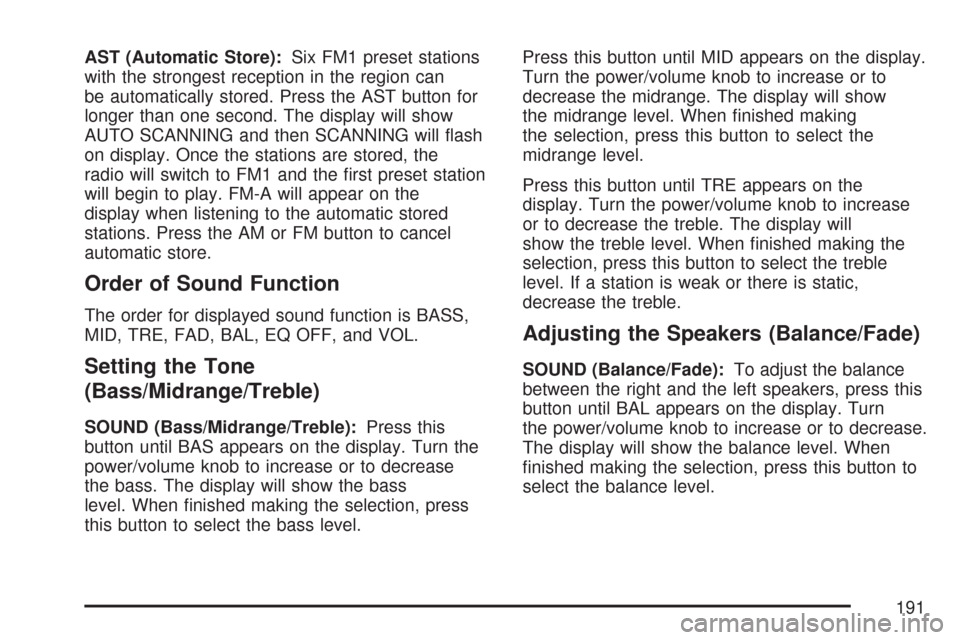
AST (Automatic Store):Six FM1 preset stations
with the strongest reception in the region can
be automatically stored. Press the AST button for
longer than one second. The display will show
AUTO SCANNING and then SCANNING will flash
on display. Once the stations are stored, the
radio will switch to FM1 and the first preset station
will begin to play. FM-A will appear on the
display when listening to the automatic stored
stations. Press the AM or FM button to cancel
automatic store.
Order of Sound Function
The order for displayed sound function is BASS,
MID, TRE, FAD, BAL, EQ OFF, and VOL.
Setting the Tone
(Bass/Midrange/Treble)
SOUND (Bass/Midrange/Treble):Press this
button until BAS appears on the display. Turn the
power/volume knob to increase or to decrease
the bass. The display will show the bass
level. When finished making the selection, press
this button to select the bass level.Press this button until MID appears on the display.
Turn the power/volume knob to increase or to
decrease the midrange. The display will show
the midrange level. When finished making
the selection, press this button to select the
midrange level.
Press this button until TRE appears on the
display. Turn the power/volume knob to increase
or to decrease the treble. The display will
show the treble level. When finished making the
selection, press this button to select the treble
level. If a station is weak or there is static,
decrease the treble.
Adjusting the Speakers (Balance/Fade)
SOUND (Balance/Fade):To adjust the balance
between the right and the left speakers, press this
button until BAL appears on the display. Turn
the power/volume knob to increase or to decrease.
The display will show the balance level. When
finished making the selection, press this button to
select the balance level.
191
Page 194 of 436
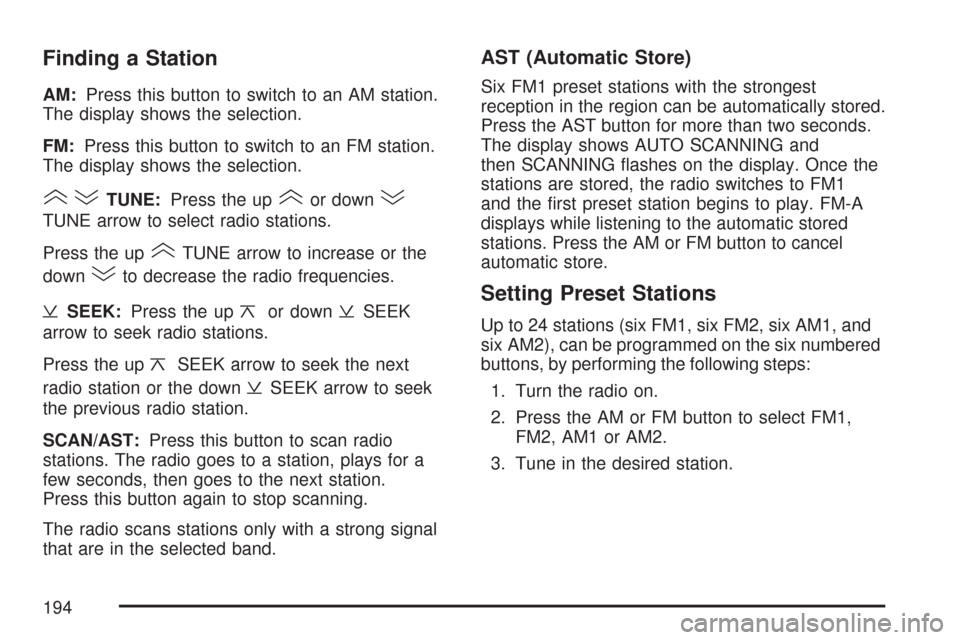
Finding a Station
AM:Press this button to switch to an AM station.
The display shows the selection.
FM:Press this button to switch to an FM station.
The display shows the selection.
()TUNE:Press the up(or down)
TUNE arrow to select radio stations.
Press the up
(TUNE arrow to increase or the
down
)to decrease the radio frequencies.
¥SEEK:Press the up¦or down¥SEEK
arrow to seek radio stations.
Press the up
¦SEEK arrow to seek the next
radio station or the down
¥SEEK arrow to seek
the previous radio station.
SCAN/AST:Press this button to scan radio
stations. The radio goes to a station, plays for a
few seconds, then goes to the next station.
Press this button again to stop scanning.
The radio scans stations only with a strong signal
that are in the selected band.
AST (Automatic Store)
Six FM1 preset stations with the strongest
reception in the region can be automatically stored.
Press the AST button for more than two seconds.
The display shows AUTO SCANNING and
then SCANNING flashes on the display. Once the
stations are stored, the radio switches to FM1
and the first preset station begins to play. FM-A
displays while listening to the automatic stored
stations. Press the AM or FM button to cancel
automatic store.
Setting Preset Stations
Up to 24 stations (six FM1, six FM2, six AM1, and
six AM2), can be programmed on the six numbered
buttons, by performing the following steps:
1. Turn the radio on.
2. Press the AM or FM button to select FM1,
FM2, AM1 or AM2.
3. Tune in the desired station.
194
Page 195 of 436
4. Press and hold one of the six numbered
buttons for more than two seconds. The preset
button number one through six flashes on the
display when the station has been set. When
that numbered preset button is pressed, that
preset station returns.
5. Repeat the Steps 1 through 4 for each preset
button.
Order of Sound Function
The order for displayed sound function is BASS,
TRE, BAL, FADE, EQ OFF, and VOL (Bass,
Treble, Fade, Balance, Equalization Off,
and Volume).
Setting the Tone (Bass/Treble)
SOUND (Bass/Treble):Press this button until
BAS (bass) displays. Turn the
Oknob to increase
or to decrease the bass. The display shows the
bass level. After making the selection, press
this button to set the bass level selection.Press this button until TRE (treble) displays. Turn
the
Oknob to increase or to decrease the
treble. The display shows the treble level. After
making the selection, press this button to set
the treble level selection. If a station is weak or
has static, decrease the treble.
Adjusting the Speakers (Balance/Fade)
SOUND (Balance/Fade):To adjust the balance
between the right and the left speakers, press
this button until BAL (balance) displays. Turn
the
Oknob to increase or to decrease. The
display shows the balance level. After making
the selection, press this button to set the
balance level.
To adjust the fade between the front and the rear
speakers, press this button until FAD (fade)
displays. Turn the
Oknob to increase or to
decrease the fade between the front and the rear
speakers. The display shows the fade level.
After making the selection, press this button to set
the fade level.
195
Page 201 of 436
AST (Automatic Store)
Six FM1 preset stations with the strongest
reception in the region can be automatically stored.
Press the AST button for more than one second.
The display shows AUTO SCANNING and
then SCANNING flashes on the display. Once the
stations are stored, the radio switches to FM1
and the first preset station begins to play. FM-A
displays while listening to the automatic stored
stations. Press the AM or FM button to cancel
automatic store.
Setting Preset Stations
Up to 36 stations (six FM1, six FM2, six FM-A,
six AM1, six AM2, and six AM-A), can be
programmed on the six numbered buttons, by
performing the following steps:
1. Turn the radio on.
2. Press the AM or FM button to select FM1,
FM2, FM-A, AM1, AM2, or AM-A.
3. Tune in the desired station.
4. Press and hold one of the six numbered
pushbuttons for more than two seconds.The channel number (CH#1 through CH#6)
flashes on the display when the station
has been set. When that numbered preset
button is pressed, that preset station returns.
5. Repeat the Steps 1 through 4 for each preset
button.
Order of Sound Function
The order for displayed sound function is BASS,
TRE, FAD, BAL, EQ OFF, and VOL (Bass, Treble,
Fade, Balance, Equalization Off, and Volume).
Setting the Tone
(Bass/Midrange/Treble)
SOUND (Bass/Midrange/Treble):Press this
button until BAS (bass) displays. Turn the
Oknob
to increase or to decrease the bass. The display
shows the bass level. After making the selection,
press this button to select the bass level.
Press this button until MID (midrange) displays.
Turn the
Oknob to increase or to decrease
the midrange. The display shows the midrange
level. After making the selection, press this button
to select the midrange level.
201
Page 215 of 436
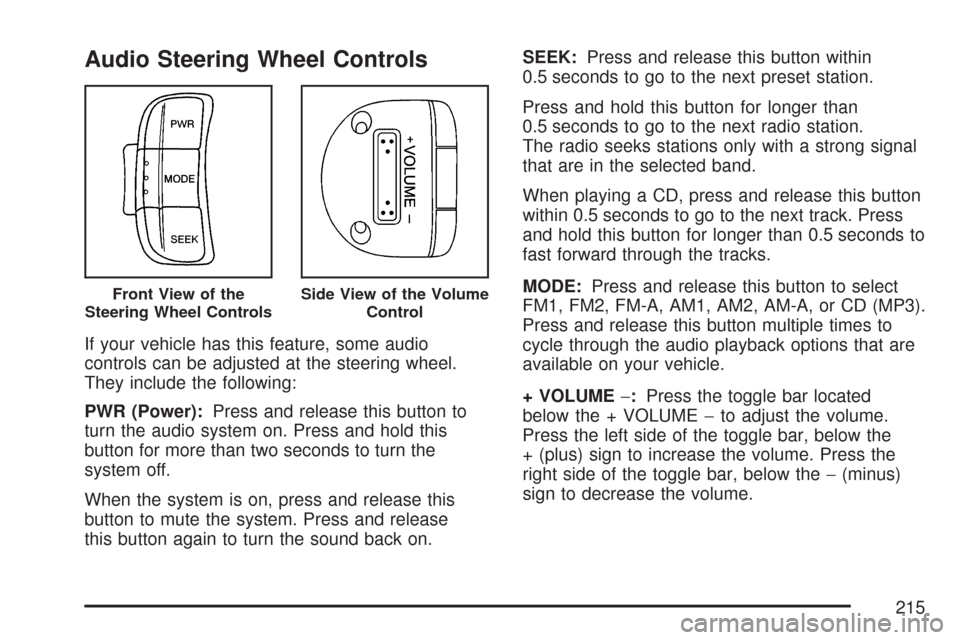
Audio Steering Wheel Controls
If your vehicle has this feature, some audio
controls can be adjusted at the steering wheel.
They include the following:
PWR (Power):Press and release this button to
turn the audio system on. Press and hold this
button for more than two seconds to turn the
system off.
When the system is on, press and release this
button to mute the system. Press and release
this button again to turn the sound back on.SEEK:Press and release this button within
0.5 seconds to go to the next preset station.
Press and hold this button for longer than
0.5 seconds to go to the next radio station.
The radio seeks stations only with a strong signal
that are in the selected band.
When playing a CD, press and release this button
within 0.5 seconds to go to the next track. Press
and hold this button for longer than 0.5 seconds to
fast forward through the tracks.
MODE:Press and release this button to select
FM1, FM2, FM-A, AM1, AM2, AM-A, or CD (MP3).
Press and release this button multiple times to
cycle through the audio playback options that are
available on your vehicle.
+ VOLUME−:Press the toggle bar located
below the + VOLUME−to adjust the volume.
Press the left side of the toggle bar, below the
+ (plus) sign to increase the volume. Press the
right side of the toggle bar, below the−(minus)
sign to decrease the volume.
Front View of the
Steering Wheel ControlsSide View of the Volume
Control
215
Page 309 of 436
Headlamp Aiming
Headlamp aim has been preset at the factory and
should need no further adjustment.
However, if your vehicle is damaged in an accident,
the headlamp aim may be affected. Aim adjustment
to the low-beam headlamps may be necessary if it
is difficult to see the lane markers (for horizontal
aim), or if oncoming drivers flash their high-beam
headlamps at you (for vertical aim).
If you believe your headlamps need to be
re-aimed, it is recommend that you take the vehicle
to your dealer for service.
Bulb Replacement
For the proper type of replacement bulbs, see
Replacement Bulbs on page 317.
For any bulb changing procedure not listed in this
section, contact your dealer.
Halogen Bulbs
{CAUTION:
Halogen bulbs have pressurized gas
inside and can burst if you drop or
scratch the bulb. You or others could be
injured. Be sure to read and follow the
instructions on the bulb package.
309