2007 CHEVROLET AVEO CD changer
[x] Cancel search: CD changerPage 129 of 436
Instrument Panel Overview........................ 132
Hazard Warning Flashers.......................... 135
Other Warning Devices............................. 136
Horn.......................................................... 136
Tilt Wheel.................................................. 136
Turn Signal/Multifunction Lever.................. 137
Turn and Lane-Change Signals................. 138
Headlamp High/Low-Beam Changer.......... 138
Flash-to-Pass............................................ 139
Windshield Wipers..................................... 139
Windshield Washer.................................... 140
Rear Window Wiper/Washer (Hatchback) ... 141
Cruise Control........................................... 141
Exterior Lamps.......................................... 144
Headlamps on Reminder........................... 145
Daytime Running Lamps (DRL)................. 145
Fog Lamps................................................ 146
Instrument Panel Brightness...................... 146
Dome Lamp.............................................. 147
Inadvertent Power Battery Saver............... 147
Accessory Power Outlet(s)........................ 147
Ashtray(s) and Cigarette Lighter................ 148
Clock......................................................... 149Climate Controls......................................... 150
Climate Control System............................. 150
Outlet Adjustment...................................... 154
Passenger Compartment Air Filter............. 154
Warning Lights, Gages, and Indicators..... 156
Instrument Panel Cluster........................... 156
Speedometer and Odometer...................... 159
Trip Odometer........................................... 159
Tachometer............................................... 159
Safety Belt Reminder Light........................ 160
Safety Belt Reminder Tone....................... 160
Airbag Readiness Light............................. 160
Passenger Airbag Status Indicator
(Sedan).................................................. 161
Charging System Light.............................. 163
Brake System Warning Light..................... 163
Anti-Lock Brake System Warning Light...... 164
Hold Mode Light........................................ 165
Engine Coolant Temperature Gage............ 165
Malfunction Indicator Lamp........................ 166
Oil Pressure Light..................................... 169
Fog Lamp Light......................................... 170
Section 3 Instrument Panel
129
Page 137 of 436
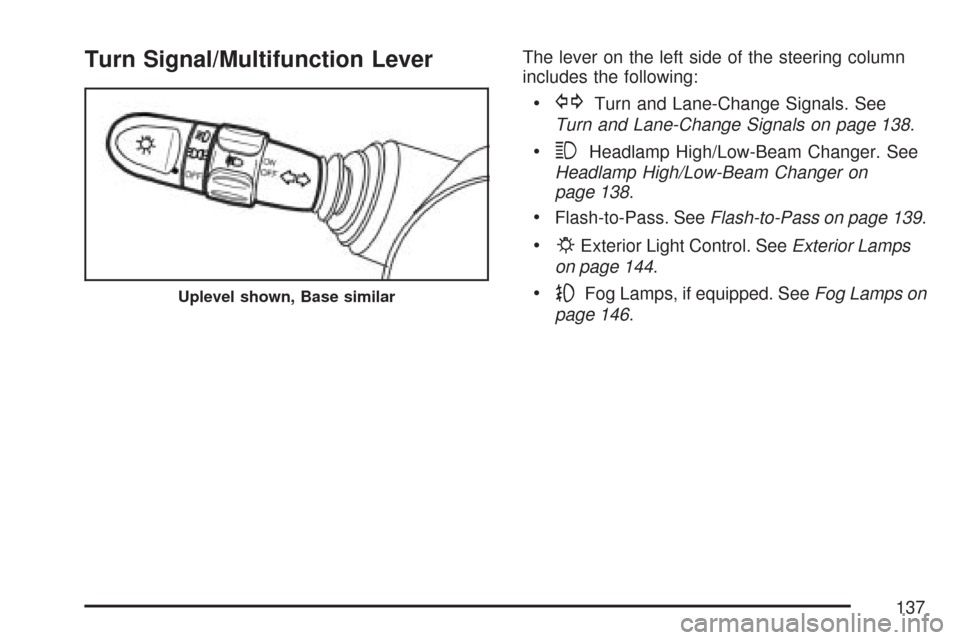
Turn Signal/Multifunction LeverThe lever on the left side of the steering column
includes the following:
•GTurn and Lane-Change Signals. See
Turn and Lane-Change Signals on page 138.
•3Headlamp High/Low-Beam Changer. See
Headlamp High/Low-Beam Changer on
page 138.
•Flash-to-Pass. SeeFlash-to-Pass on page 139.
•PExterior Light Control. SeeExterior Lamps
on page 144.
•-Fog Lamps, if equipped. SeeFog Lamps on
page 146.Uplevel shown, Base similar
137
Page 138 of 436
Turn and Lane-Change Signals
The turn signal has two upward (for right) and
two downward (for left) positions. These positions
allow you to signal a turn or a lane change.
To signal a turn, move the lever all the way up or
down. When the turn is finished, the lever will
return automatically.
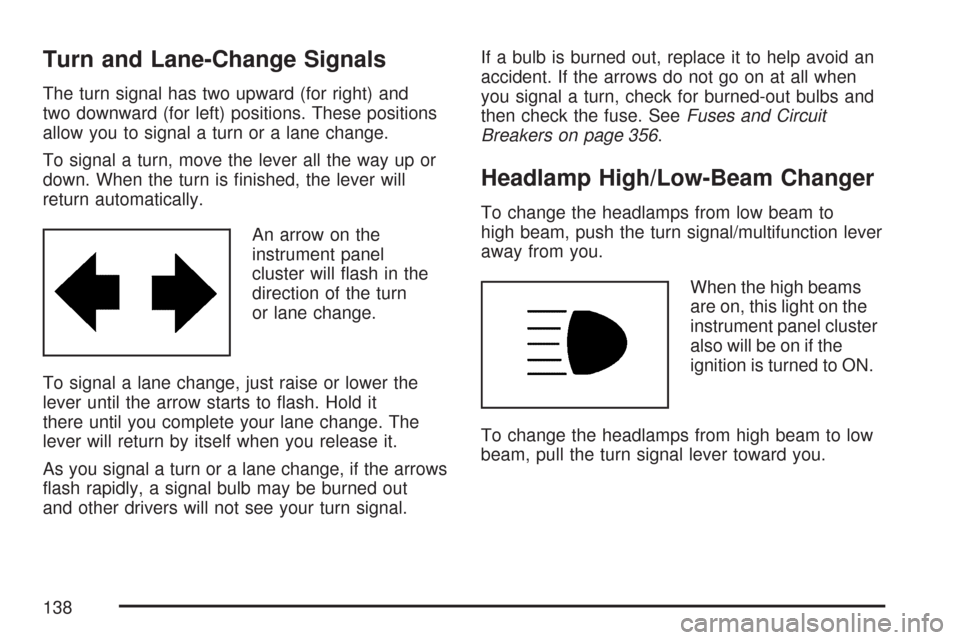
An arrow on the
instrument panel
cluster will flash in the
direction of the turn
or lane change.
To signal a lane change, just raise or lower the
lever until the arrow starts to flash. Hold it
there until you complete your lane change. The
lever will return by itself when you release it.
As you signal a turn or a lane change, if the arrows
flash rapidly, a signal bulb may be burned out
and other drivers will not see your turn signal.If a bulb is burned out, replace it to help avoid an
accident. If the arrows do not go on at all when
you signal a turn, check for burned-out bulbs and
then check the fuse. SeeFuses and Circuit
Breakers on page 356.
Headlamp High/Low-Beam Changer
To change the headlamps from low beam to
high beam, push the turn signal/multifunction lever
away from you.
When the high beams
are on, this light on the
instrument panel cluster
also will be on if the
ignition is turned to ON.
To change the headlamps from high beam to low
beam, pull the turn signal lever toward you.
138
Page 171 of 436

Cruise Control Light
If your vehicle has
cruise control, this light
comes on whenever
you set your cruise
control.
The light will go out when the cruise control is
turned off. SeeCruise Control on page 141
for more information.
Highbeam On Light
This light comes on
whenever the highbeam
headlamps are on.
SeeHeadlamp High/Low-Beam Changer on
page 138for additional information.
Daytime Running Lamps (DRL)
Indicator Light
This light will come on
when the Daytime
Running Lamps (DRL)
are on.
A flashing DRL light indicates a possible burned
out headlamp, or that the vehicle may need service
to repair a defective DRL relay. See your dealer.
SeeDaytime Running Lamps (DRL) on
page 145for more information.
171
Page 192 of 436
To adjust the fade between the front and the rear
speakers, press this button until FAD appears
on the display. Turn the power/volume knob
to increase or to decrease the fade between the
front and the rear speakers. The display will
show the fade level. When finished making the
selection, press this button to select the fade level.
Setting the EQ (Equalization)
SOUND (Equalization):Press this button until
EQ OFF appears on the display to select
customized equalization settings designed for
classic, dance, rock, jazz, pop, voice, and techno.
Turn the power/volume knob until the desired
equalization setting appears on the display. When
finished making the selection, press the SOUND
button to select the equalization setting.
To cancel an equalization setting, press the
SOUND button until EQ OFF appears on the
display, turn the power/volume knob until OFF
appears on the display, then press the SOUND
button again to select the equalization setting.
Order of Sound Function
The order for displayed sound function is EQ OFF,
CLASSIC, DANCE, ROCK, JAZZ, POP, VOICE,
TECHNO, and EQ OFF.
Using the Auxiliary Input Jack
AUX IN (Auxiliary Input):Your radio system has
an auxiliary input jack located on the lower right
side of the faceplate. This is not an audio
output; do not plug the headphone set into the
front auxiliary input jack. You can however,
connect an external audio device such as an iPod,
laptop computer, MP3 player, CD changer, or
XM™ receiver, etc. to the auxiliary input jack for
use as another source for audio listening.
The auxiliary input jack will also accept cell phone
connectors. Plug the cell phone connector into
the auxiliary input jack to hear the other side of a
cell phone’s conversation through the vehicle
sound system.
192
Page 199 of 436
Using the Auxiliary Input Jack
The radio system has an auxiliary input jack
located on the lower right side of the faceplate.
This is not an audio output. Do not plug the
headphone set into the front auxiliary input jack.
An external audio device such as an iPod,
laptop computer, MP3 player, CD changer, or
cassette tape player, etc. can be connected to the
auxiliary input jack for use as another source
for audio listening.
The auxiliary input jack also accepts cell phone
connectors. Plug the cell phone connector into the
auxiliary input jack to hear a person speaking
on a cell phone during conversation through the
vehicle sound system.
Drivers are encouraged to set up any auxiliary
device while the vehicle is in PARK (P). See
Defensive Driving on page 220for more
information on driver distraction.To use a portable audio player, connect a 3.5 mm
(1/8 inch) cable to the radio’s front auxiliary
input jack. While a device is connected, turn the
portable audio player on and press the radio
CD/AUX button to hear audio from the device over
the vehicle speakers.
CD/AUX (CD/Auxiliary):Press this button once
to play a CD while a portable audio device is
playing. Press this button a second time for the
system to begin playing audio from the connected
portable audio player. Once in this mode,
“Auxinput” appears on the display. If the auxiliary
jack does not detect the presence of an output
jack, the auxiliary mode does not display.
O(Power/Volume):Turn theOknob clockwise
or counterclockwise to increase or decrease the
volume of the portable player. Additional
adjustments on a portable device might be needed
to get the desired volume.
199
Page 206 of 436
If the CD is not playing correctly, for any other
reason, try a known good CD.
If any error occurs repeatedly or if an error cannot
be corrected, contact your dealer/retailer. If the
radio displays an error message, write it down and
provide it to your dealer/retailer when reporting
the problem.
Using the Auxiliary Input Jack
AUX IN (Auxiliary Input):The radio system has
an auxiliary input jack located on the lower
right side of the faceplate. This is not an audio
output. Do not plug the headphone set into
the front auxiliary input jack. An external audio
device such as an iPod, laptop computer,
MP3 player, CD changer, or XM™ receiver, etc.
can be connected to the auxiliary input jack for use
as another source for audio listening.
The auxiliary input jack also accepts cell phone
connectors. Plug the cell phone connector into the
auxiliary input jack to hear a person speck on a
cell phone during a conversation through the
vehicle sound system.Drivers are encouraged to set up any auxiliary
device while the vehicle is in PARK (P). See
Defensive Driving on page 220for more
information on driver distraction.
To use a portable audio player, connect a 3.5 mm
(1/8 inch) cable to the radio’s front auxiliary
input jack. While a device is connected, turn the
portable audio player on and press the radio
CD/AUX button to hear audio from the device over
the vehicle speakers.
O(Power/Volume):Turn theOknob clockwise
or counterclockwise to increase or decrease the
volume of the portable player. Additional
adjustments on a portable device might be needed
to get the desired volume.
CD/AUX (CD/Auxiliary):Press this button once
to play a CD while a portable audio device is
playing. Press this button a second time for the
system to begin playing audio from the connected
portable audio player. Once in this mode,
“Auxinput” displays. If the auxiliary jack does not
detect the presence of an output jack, the auxiliary
mode does not display.
206
Page 428 of 436

Fuel (cont.)
Filling Your Tank...................................... 269
Fuels in Foreign Countries....................... 268
Gage....................................................... 172
Gasoline Octane...................................... 266
Gasoline Specifications............................ 266
Low Warning Light................................... 173
System Inspection.................................... 395
Fuses
Engine Compartment Fuse Block............. 361
Fuses and Circuit Breakers...................... 356
Instrument Panel Fuse Block................... 357
Windshield Wiper..................................... 355
G
Gage
Engine Coolant Temperature.................... 165
Fuel......................................................... 172
Speedometer........................................... 159
Tachometer.............................................. 159
Gasoline
Octane..................................................... 266
Specifications........................................... 266
Glove Box................................................... 127
GM Mobility Reimbursement Program.......... 407
H
Hazard Warning Flashers............................ 135
Head Restraints............................................ 12
Headlamp
Aiming..................................................... 309
Headlamp Wiring......................................... 355
Headlamps.........................................310, 311
Bulb Replacement.................................... 309
Daytime Running Lamps.......................... 145
Exterior Lamps......................................... 144
Flash-to-Pass........................................... 138
Front Turn Signal and
Parking Lamps.............................312, 313
Halogen Bulbs......................................... 309
High/Low Beam Changer ......................... 138
On Reminder........................................... 145
Turn Signal Lamps................................... 314
Heater......................................................... 150
Height Adjuster, Driver Seat............................ 9
Highbeam On Light..................................... 171
Highway Hypnosis....................................... 241
Hill and Mountain Roads............................. 241
Hold Mode Light.................................165, 180
Hood
Checking Things Under............................ 273
Release................................................... 274
428