Page 85 of 126
Install three screws1.Replacing parking-light
bulb
If it is not standing firmly,
the motorcycle could topple
in the course of the operations
described below.
Always make sure that the
motorcycle is stable and firmly
supported.
Make sure the ground is level
and firm and place the motor-
cycle on its stand.
Remove the headlight ( 81) Remove rubber cap
1.
Pull bulb socket 2out of the
headlight housing. Press bulb
3into fitting 4and
remove by turning it counter-
clockwise.
Replace the defective bulb.
Bulb for parking light
W5W / 12 V / 5 W
883zMaintenance
Page 86 of 126
Press bulb3into socket 4and
turn it clockwise to install.
Insert bulb holder 2into the
headlight housing. Position the rubber cap
1on
the headlight housing and push
it into place.
Install the headlight ( 82)
Replacing turn indicator
bulbs, front and rear
If it is not standing firmly,
the motorcycle could topple
in the course of the operations
described below.
Always make sure that the
motorcycle is stable and firmly
supported. Make sure the ground is level
and firm and place the motor-
cycle on its stand.
Remove screw
1.
884zMaintenance
Page 88 of 126
LED rear lightThe rear light has to be replaced
if more than three of the LEDs
in the array fail. Under these cir-
cumstances consult a specialist
workshop, preferably an author-
ised BMW Motorrad dealer.Replacing number-plate
light bulbs
If it is not standing firmly,
the motorcycle could topple
in the course of the operations
described below.
Always make sure that the
motorcycle is stable and firmly
supported.
Make sure the ground is level
and firm and place the motor-
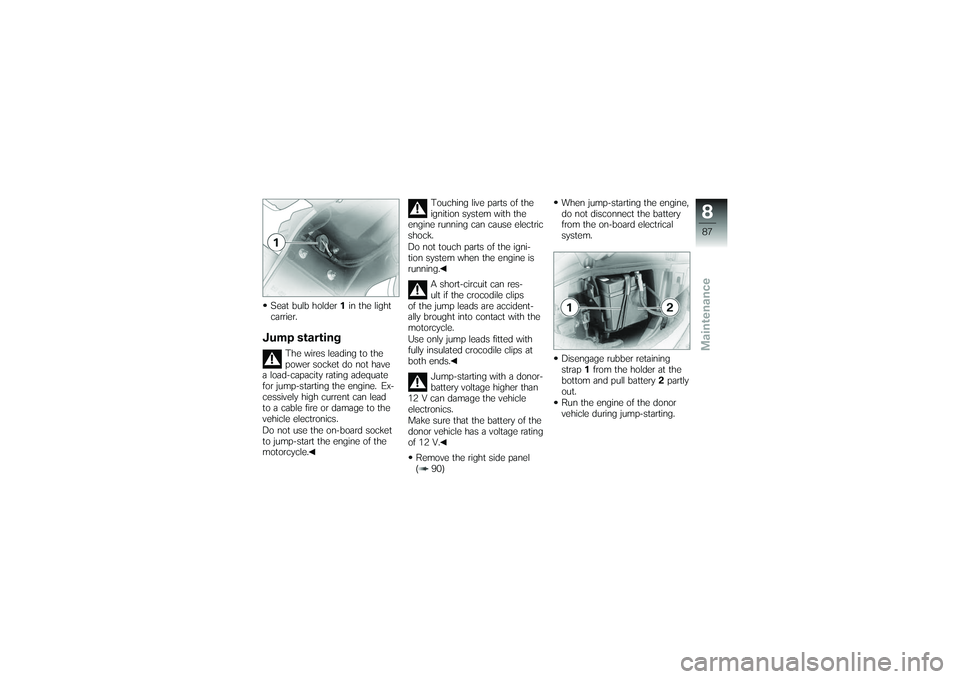
cycle on its stand. Pull bulb holder
1out of the
light carrier.
Pull bulb 2out of socket 3.
Replace the defective bulb. Bulb for number-plate
light
W5W / 12 V / 5 W
Insert bulb 2into socket 3.
886zMaintenance
Page 89 of 126

Seat bulb holder1in the light
carrier.Jump starting
The wires leading to the
power socket do not have
a load-capacity rating adequate
for jump-starting the engine. Ex-
cessively high current can lead
to a cable fire or damage to the
vehicle electronics.
Do not use the on-board socket
to jump-start the engine of the
motorcycle. Touching live parts of the
ignition system with the
engine running can cause electric
shock.
Do not touch parts of the igni-
tion system when the engine is
running.
A short-circuit can res-
ult if the crocodile clips
of the jump leads are accident-
ally brought into contact with the
motorcycle.
Use only jump leads fitted with
fully insulated crocodile clips at
both ends.
Jump-starting with a donor-
battery voltage higher than
12 V can damage the vehicle
electronics.
Make sure that the battery of the
donor vehicle has a voltage rating
of 12 V.
Remove the right side panel
( 90) When jump-starting the engine,
do not disconnect the battery
from the on-board electrical
system.
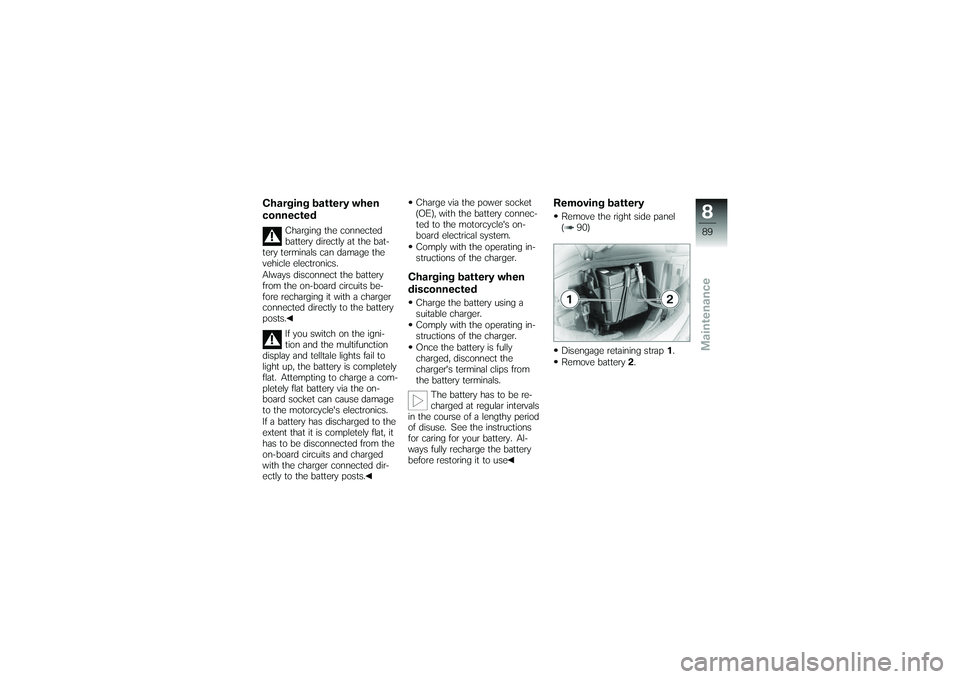
Disengage rubber retaining
strap
1from the holder at the
bottom and pull battery 2partly
out.
Run the engine of the donor
vehicle during jump-starting.
887zMaintenance
Page 91 of 126

Charging battery when
connected
Charging the connected
battery directly at the bat-
tery terminals can damage the
vehicle electronics.
Always disconnect the battery
from the on-board circuits be-
fore recharging it with a charger
connected directly to the battery
posts.
If you switch on the igni-
tion and the multifunction
display and telltale lights fail to
light up, the battery is completely
flat. Attempting to charge a com-
pletely flat battery via the on-
board socket can cause damage
to the motorcycle's electronics.
If a battery has discharged to the
extent that it is completely flat, it
has to be disconnected from the
on-board circuits and charged
with the charger connected dir-
ectly to the battery posts. Charge via the power socket
(OE), with the battery connec-
ted to the motorcycle's on-
board electrical system.
Comply with the operating in-
structions of the charger.
Charging battery when
disconnectedCharge the battery using a
suitable charger.
Comply with the operating in-
structions of the charger.
Once the battery is fully
charged, disconnect the
charger's terminal clips from
the battery terminals.
The battery has to be re-
charged at regular intervals
in the course of a lengthy period
of disuse. See the instructions
for caring for your battery. Al-
ways fully recharge the battery
before restoring it to use
Removing batteryRemove the right side panel
( 90)
Disengage retaining strap 1.
Remove battery 2.
889zMaintenance
Page 96 of 126

Care productsBMW Motorrad recommends
that you use the cleaning and
care products you can obtain
from your authorised BMW Mo-
torrad dealer. The substances in
BMW Care Products have been
tested in laboratories and in prac-
tice; they provide optimised care
and protection for the materials
used in your vehicle.The use of unsuitable
cleaning and care products
can damage vehicle components.
Do not use solvents such as cel-
lulose thinners, cold cleaners,
fuel or the like, and do not use
cleaning products that contain
alcohol.Washing motorcycleBMW Motorrad recommends
that you use BMW insect re-
mover to soften and wash off
insects and stubborn dirt on painted parts prior to washing
the motorcycle.
To prevent stains, do not wash
the motorcycle immediately after
it has been exposed to strong
sunlight and do not wash it in the
sun.
Make sure that the motorcycle
is washed frequently, especially
during the winter months.
To remove road salt, clean the
motorcycle with cold water im-
mediately after every trip.
After the motorcycle has
been washed, ridden
through water or ridden in
the rain, the brake discs and
pads might be wet and the
brakes might not take effect
immediately.
Apply the brakes in good time
until the brakes have dried out.
Warm water intensifies the
effect of salt. Use only cold water to wash off
road salt.
The high pressure of steam
cleaners can damage seals,
the hydraulic brake system, the
electrical system, and the seat.
Do not use a steam jet or high-
pressure cleaning equipment.
Cleaning easily
damaged componentsPlasticsClean plastic parts with water
and BMW plastic care emulsion.
This includes in particular:
Windscreen and slipstream de-
flectors
Headlight lens made of plastic
Glass cover of the instrument
cluster
Black, unpainted parts
If plastic parts are cleaned
using unsuitable cleaning
994zCare
Page 108 of 126
Battery
Battery, manufacturer and designationETZ 10 S
Battery type AGM (Absorptive Glass Mat) battery
Battery rated voltage 12 V
Battery rated capacity 10 Ah
Spark plugs
Spark plugs, manufacturer and designation NGK DR8 EB
Electrode gap of spark plug 0.6...0.7 mm, When new
max 0.9 mm, Wear limit
Lighting
Bulb for low-beam and high-beam headlight H4 / 12 V / 55...60 W
Bulb for parking light W5W / 12 V / 5 W
Bulbs for flashing turn indicators, front RY10W / 12 V / 10 W
Bulbs for flashing turn indicators, rear RY10W / 12 V / 10 W
Bulb for number-plate light W5W / 12 V / 5 W
10106zTechnical data
Page 121 of 126

A
Abbreviations and symbols, 6
ABSEngineering details, 50
Fuses, 13, 79
Self-diagnosis, 44
Switching off and on, 15, 33
Warnings, 23
Accessories Notes, 54
Power socket, 54
Auxiliary stand, 76
B
Battery Charging, 89
Maintenance instructions, 88
Removing and installing, 89
Technical data, 106
Voltmeter, 20, 30
BMW Motorrad service, 110
BMW Motorrad Service Card, 110 Brake fluid
Checking level, 63
Reservoir, front, 13
Reservoir, rear, 13
Brake pads Running in, 45
Test, 62
Brakes Notes, 45
Technical data, 104
Test, 61
Bulbs Notes on replacement, 80
Replacing low-beam headlight
bulb, 81
Replacing number-plate light
bulbs, 86
Replacing rear light, 86
Replacing side-light bulb, 83
Replacing turn indicator
bulb, 84
Technical data, 106
C
Care, 93 Chain
Adjusting tension, 69
Checking tension, 68
Checking wear, 69
Lubricating, 68
Checklist, 42
Clock, 20 Adjusting, 17, 29
Clutch Adjusting play, 67
Checking play, 67
Technical data, 102
Confirmation of maintenance work, 112
Coolant Checking level, 65
Fore-and-aft tilt indicator, 11
Topping up, 65
Coolant temperature Warning, 22
D
Damping Adjusting, 11, 35
Dimensions, 107
12119zIndex