2007 BMW MOTORRAD G 650 XCOUNTRY clutch
[x] Cancel search: clutchPage 4 of 126
Table of ContentsYou can also consult the index at
the end of this Rider's Manual if
you want to find a particular topic
or item of information.
1 General instructions . . . . . 5
Overview ...................... 6
Abbreviations and symbols . . . . 6
Equipment . . . . . . .............. 6
Technical data . . .............. 7
Currency . ..................... 7
2 General views . . . . . . . . . . . . . 9
General view, left side . . . . . . . . 11
General view, right side . . . . . . 13
Underneath the seat ......... 14
Handlebar fitting, left ......... 15
Handlebar fitting, right . . . . . . . . 16
Instrument cluster . . . ......... 17
3 Status indicators . . . . . . . 19
Status indicators ............. 20
Standard warnings . . ......... 20
ABS warnings
OE
............. 23 4 Operation . . . . . . . . . . . . . . . . 27
Ignition switch and steering
lock . . . . . .
.................... 28
Multifunction display ......... 28
Lights . . . . .................... 31
Turn indicators . . ............. 32
Emergency off switch (kill
switch) . . . .................... 32
BMW Motorrad ABS
OE
...... 33
Mirrors . . . .................... 33
Spring preload . . ............. 34
Damping . .................... 35
Tyres . . . . . .................... 36
Headlight . .................... 36
Seat . . . . . . .................... 37
5 Riding . . . . . . . . . . . . . . . . . . . . 39
Safety instructions . . ......... 40
Checklist . .................... 42
Starting . . . .................... 42
Running in . . . . . . ............. 44
Brakes . . . .................... 45
Parking your motorcycle . . . . . 47
Refuelling .................... 48 6 Engineering details . . . . . 49
Brake system with BMW Mo-
torrad ABS
OE
................ 50
7 Accessories . . . . . . . . . . . . . 53
General instructions . ......... 54
Power socketOE.............. 54
Luggage . .................... 55
8 Maintenance . . . . . . . . . . . . 57
Notes ........................ 58
Toolkit ........................ 58
Engine oil .................... 59
Brake system . . . ............. 61
Brake pads . . . . . . ............. 62
Brake fluid .................... 63
Coolant . . . .................... 65
Clutch . . . . .................... 67
Tyres . . . . . .................... 68
Rims . ........................ 68
Chain . . . . . .................... 68
Wheels . . . .................... 70
BMW Motorrad auxiliary
stand . . . . . .................... 76
Page 5 of 126
BMW Motorrad front-wheel
stand ......................... 77
Fuses ........................ 79
Bulbs . ........................ 80
Jump starting . . . ............. 87
Battery . . . . . . ................. 88
9 Care . . . . . . ................ 93
Care products . . . ............. 94
Washing motorcycle . . . . ...... 94
Cleaning easily damaged
components . ................. 94
Paint care . . . ................. 95
Protective wax coating . ...... 96
Laying up motorcycle . . ...... 96
Restoring motorcycle to
use........................... 96
10 Technical data . . . . . . . . 97
Troubleshooting chart . . ...... 98
Threaded fasteners . . . . ...... 99
Engine . . . . . . ............... 100
Fuel . . ...................... 101
Engine oil . . . ............... 101
Clutch ...................... 102
Transmission ............... 102
Rear-wheel drive ........... 103 Running gear
............... 103
Brakes . . . . . . ............... 104
Wheels and tyres ........... 104
Electrics . . . . . ............... 105
Frame ...................... 107
Dimensions . ............... 107
Weights . . . . . ............... 108
Riding specifications . . . .... 108
11 Service . . . . . . . . . . . . . . . . 109
BMW Motorrad service . .... 110
BMW Motorrad service
quality ...................... 110
BMW Motorrad Service
Card: on-the-spot break-
down assistance ........... 110
BMW Motorrad service net-
work . . ...................... 111
Maintenance work . . . . . . .... 111
Confirmation of mainten-
ance work . . . ............... 112
Confirmation of service . .... 117
Page 44 of 126
ChecklistUse the following checklist to
check important functions, set-
tings and wear limits before you
ride off.Brakes
Brake-fluid levels, front and rear
Clutch
Clutch fluid level
Shock absorber setting and
spring preload
Tyre-tread depth and tyre
pressures
Cases correctly installed and
luggage secured
At regular intervals: Engine oil level (every refuelling
stop)
Brake-pad wear (every third
refuelling stop)
Tension and lubrication of the
drive chain
StartingSide standYou cannot start the motorcycle
with the side stand extended and
a gear engaged. The engine will
switch itself off if you start it with
the gearbox in neutral and then
engage a gear before retracting
the side stand.GearboxYou can start the engine when
the gearbox is in neutral or if you
pull the clutch with a gear en-
gaged.
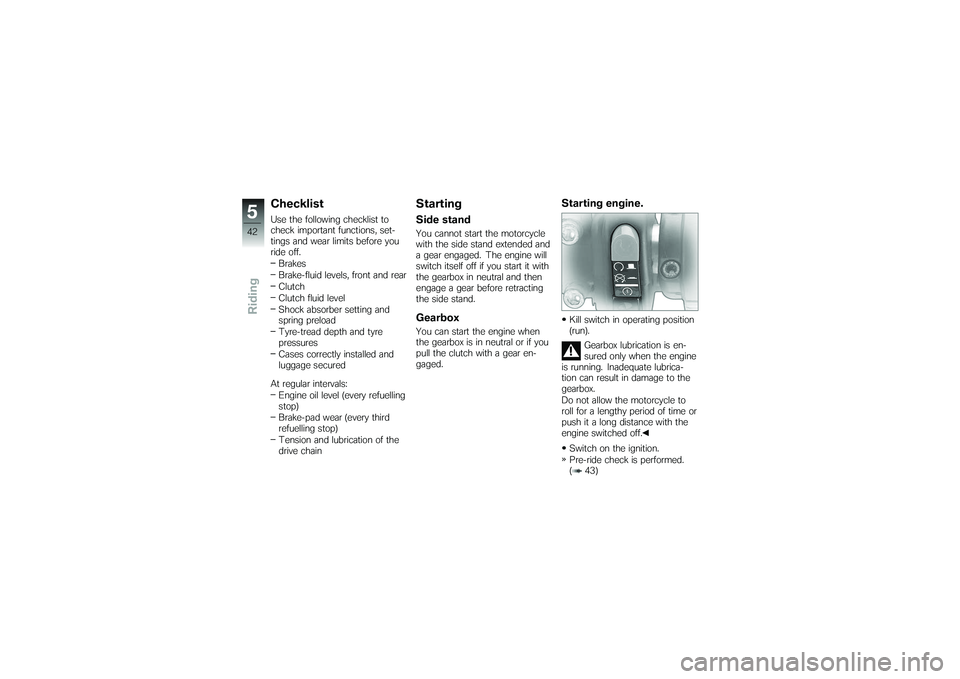
Starting engine.Kill switch in operating position
(run).
Gearbox lubrication is en-
sured only when the engine
is running. Inadequate lubrica-
tion can result in damage to the
gearbox.
Do not allow the motorcycle to
roll for a lengthy period of time or
push it a long distance with the
engine switched off.
Switch on the ignition.
Pre-ride check is performed.
( 43)
542zRiding
Page 45 of 126
with OE BMW Motorrad ABS:Switch on the ignition.
Pre-ride check is performed.
( 43)
ABS self-diagnosis is
performed. ( 44)
Wait until the warning light for
the coolant temperature stops
flashing.
The idle actuator is posi-
tioned after you switch on
the ignition. The coolant-tem-
perature warning light flashes
if the idle actuator has not cor-
rectly positioned before the pre-
ride check completes. In order
to avoid subsequent problems,
wait for this process to complete
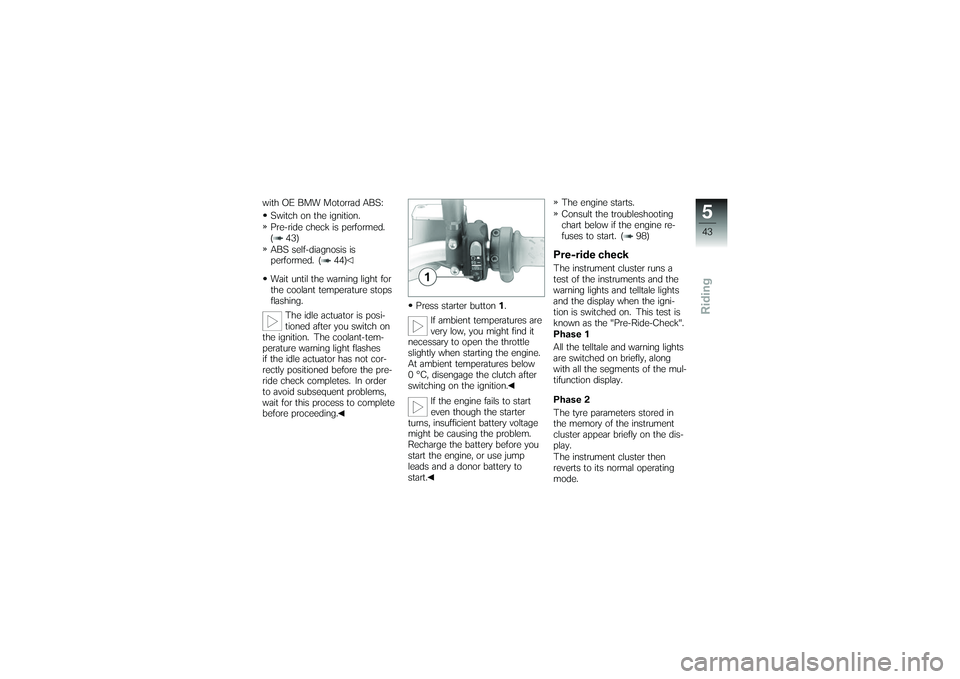
before proceeding. Press starter button
1.
If ambient temperatures are
very low, you might find it
necessary to open the throttle
slightly when starting the engine.
At ambient temperatures below
0 °C, disengage the clutch after
switching on the ignition.
If the engine fails to start
even though the starter
turns, insufficient battery voltage
might be causing the problem.
Recharge the battery before you
start the engine, or use jump
leads and a donor battery to
start. The engine starts.
Consult the troubleshooting
chart below if the engine re-
fuses to start. ( 98)
Pre-ride checkThe instrument cluster runs a
test of the instruments and the
warning lights and telltale lights
and the display when the igni-
tion is switched on. This test is
known as the "Pre-Ride-Check".
Phase 1
All the telltale and warning lights
are switched on briefly, along
with all the segments of the mul-
tifunction display.
Phase 2
The tyre parameters stored in
the memory of the instrument
cluster appear briefly on the dis-
play.
The instrument cluster then
reverts to its normal operating
mode.
543zRiding
Page 47 of 126
Keep to the specified engine
speeds for running in.During the running-in phase,
do not exceed the speed limits
specified for the various gears.
Maximum speeds during
running-in period
max 35 km/h (1st gear)
max 55 km/h (2nd gear)
max 75 km/h (3rd gear)
max 95 km/h (4th gear)
max 110 km/h (5th gear)
No full-load acceleration.
Avoid low engine speeds at full
load.
Do not omit the first inspection
after 500 - 1200 km.Brake padsNew brake pads must "bed
down" and therefore do not
achieve their optimum friction
levels during the first 500 km. You can compensate for
this initial reduction in braking
efficiency by exerting greater
pressure on the levers.
New brake pads can ex-
tend stopping distance by a
significant margin.
Apply the brakes in good time.
TyresNew tyres have a smooth sur-
face. This must be roughened by
riding in a restrained manner at
various heel angles until the tyres
are run in. This running in pro-
cedure is essential if the tyres are
to achieve maximum grip.
Tyres do not have their full
grip when new and there
is a risk of accidents at extreme
angles of heel.
Avoid extreme angles of heel.
BrakesHow can stopping
distance be minimised?Each time the brakes are applied,
a load distribution shift takes
place with the load shifting for-
ward from the rear to the front
wheel. The sharper the motor-
cycle decelerates, the more load
is shifted to the front wheel. The
higher the wheel load, the more
braking force can be transmitted
without the wheel locking.
To optimise stopping distance,
apply the front brakes rapidly and
keep on increasing the force you
apply to the brake lever. This
makes the best possible use
of the dynamic increase in load
at the front wheel. Remember
to pull the clutch at the same
time. In the "panic braking situ-
ations" that are trained so fre-
quently braking force is applied
as rapidly as possible and with
545zRiding
Page 59 of 126
Maintenance
Maintenance
Notes................................ 58
Toolkit . . . ............................ 58
Engine oil ............................ 59
Brake system . ....................... 61
Brake pads . . . ....................... 62
Brake fluid ........................... 63
Coolant . . ............................ 65
Clutch . . . ............................ 67
Tyres ................................ 68
Rims ................................. 68
Chain ................................ 68
Wheels . . ............................ 70
BMW Motorrad auxiliary stand ....... 76
BMW Motorrad front-wheel
stand ................................ 77 Fuses . . .
............................. 79
Bulbs . . . ............................. 80
Jump starting . ....................... 87
Battery . . ............................. 88
857zMaintenance
Page 69 of 126
Install screw1.
Install the seat ( 38)
ClutchChecking clutch-lever
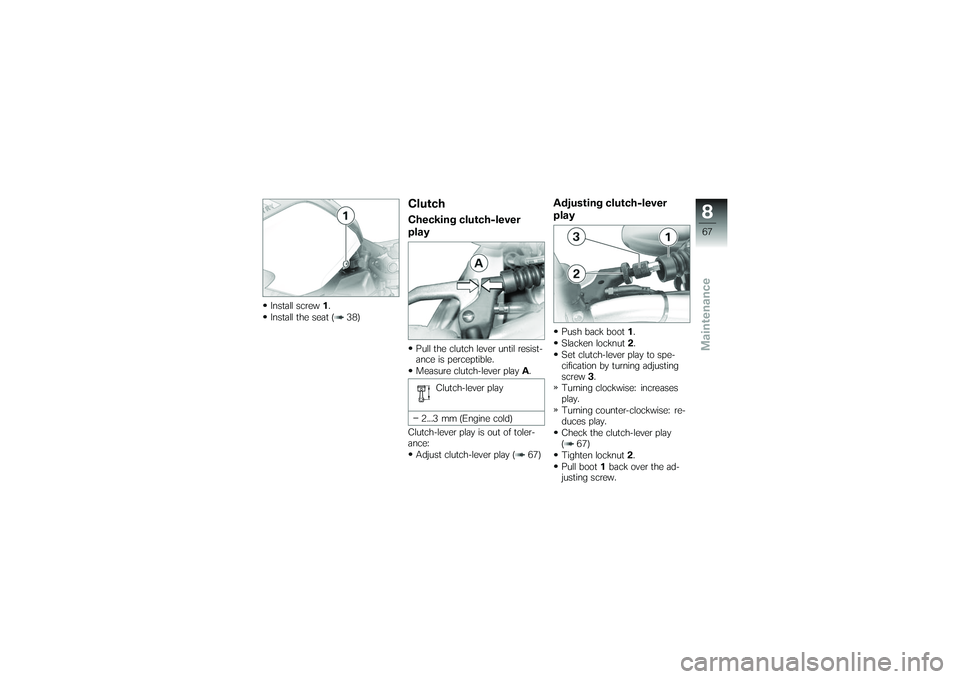
playPull the clutch lever until resist-
ance is perceptible.
Measure clutch-lever play A.
Clutch-lever play
2...3 mm (Engine cold)
Clutch-lever play is out of toler-
ance: Adjust clutch-lever play ( 67)
Adjusting clutch-lever
playPush back boot 1.
Slacken locknut 2.
Set clutch-lever play to spe-
cification by turning adjusting
screw 3.
Turning clockwise: increases
play.
Turning counter-clockwise: re-
duces play.
Check the clutch-lever play
( 67)
Tighten locknut 2.
Pull boot 1back over the ad-
justing screw.
867zMaintenance
Page 98 of 126
Protective wax coatingBMW Motorrad recommends
applying only BMW car wax or
products containing carnauba
wax or synthetic wax.
It is time to rewax the paint-
work when water "puddles" on
the surface, instead of forming
beads.Laying up motorcycleClean the motorcycle.
Remove the battery.
Spray the brake and clutch
lever pivots, the side stand
pivots and the centre stand
pivots (if the motorcycle is fit-
ted with a centre stand) with a
suitable lubricant.
Coat bright metal and chrome-
plated parts with an acid-free
grease (e.g. Vaseline).
Stand the motorcycle in a dry
room in such a way that there
is no load on either wheel.Before laying the vehicle
up out of use, have the en-
gine oil and the oil filter element
changed by a specialist work-
shop, preferably an authorised
BMW Motorrad dealer. Com-
bine work for laying up/restoring
to use with a BMW service or
inspection.
Restoring motorcycle
to useRemove the protective wax
coating.
Clean the motorcycle.
Install a charged battery.
Before starting: work through
the checklist.
996zCare