Page 581 of 1556

Downloaded from www.Manualslib.com manuals search engine Brake Control System and Diagnosis: 4A-10
• Check to make sure that flexible hose doesn’t contact
any part of suspension, both in extreme right and
extreme left turn conditions. If it does at any point,
remove and correct. Fill and maintain brake fluid level
in reservoir.
• Bleed brake system. Refer to “Air Bleeding of Brake
System”.
• Perform brake test and check installed part for fluid
leakage.
Rear Brake Hose / Pipe Removal and
Installation
S6RW0D4106008
CAUTION!
Do not allow brake fluid to get on painted
surfaces. Painted surfaces will be damaged
by brake fluid, flush it with water immediately
if any fluid is spilled.
Removal
1) Raise and support vehicle properly. Remove tire and
wheel.
2) Clean dirt and foreign material from both flexible
hose end and pipe end fittings.
3) Drain brake fluid in reservoir.
4) Remove brake flexible hose or pipe.
Installation
Reverse brake flexible hose removal procedure, noting
the following.
• Install clamps and tighten nuts referring to “Rear
Brake Hose / Pipe Construction”.
• Fill and maintain brake fluid level in reservoir.
• Bleed brake system. Refer to “Air Bleeding of Brake
System”.
• Perform brake test and check each installed part for
fluid leakage.
• When installing hose, make sure that it has no twist or
kink.
Brake Hose and Pipe InspectionS6RW0D4106009
Hose
The brake hose assembly should be checked for road
hazard damage, for cracks and chafing of outer cover,
for leaks and blisters. A light and mirror may be needed
for an adequate inspection. If any above conditions are
observed on brake hose, it is necessary to replace it.
Pipe
Inspect the pipe for damage, cracks, dents and
corrosion. If any defect is found, replace it.
2. Location mark
3. Outside of vehicle
4. Inside of vehicle
I7RW01410007-02
I5RW0A410007-01
Page 1391 of 1556

Downloaded from www.Manualslib.com manuals search engine Glass / Windows / Mirrors: 9E-6
Windshield Removal and InstallationS6RW0D9506002
Preparation
The windshield is installed by using a special type of
adhesive (that is, one component urethane adhesive
used with primer). For the windshield replacement, it is
important to use an adhesive which provides sufficient
adhesion strength and follow the proper procedure.
CAUTION!
• Described is the glass replacement by
using 3 types of primers and 1 type of
adhesive made by YOKOHAMA (one
component urethane adhesive to be used
with primer in combination). When using
primer and adhesive made by other
manufacturers, be sure to refer to handling
instructions supplied with them.
Negligence in following such procedure or
misuse of the adhesive in any way hinders
its inherent adhesive property. Therefore,
before the work, make sure to read
carefully the instruction and description
given by the maker of the adhesive to be
used and be sure to follow the procedure
and observe each precaution throughout
the work.
• Should coated surface be scratched or
otherwise damaged, be sure to repair
damaged part, or corrosion may start from
there.
Use the specific adhesive which has the following
property.
Glass adhesive shearing strength
40 kg/cm2 (569 lb/in2) or moreAdhesive materials and tools required for removal and
installation.
• One component urethane adhesive and primers used
in combination (For one sheet of windshield).
– Adhesive (470 g (15.7 oz.))
– Primer for glass (30 g (1.0 oz.))
– Primer for body (30 g (1.0 oz.))
– Primer for molding (30 g (1.0 oz.))
• Eyeleteer
•Piano string
• Windshield knife
• Brush for primer application (2 pcs)
•Knife
• Rubber sucker grip
• Sealant gun (for filling adhesive)
• Putty spatula (for correcting adhered parts)
Removal
1) Clean both inside and outside of glass and around it.
2) Remove wiper arms and cowl top garnish.
3) Using tape, cover body surface around glass to
prevent any damage.
4) Remove rear view mirror, sun visor and front pillar
trims (right & left).
5) If necessary, remove instrument panel. Refer to
“Instrument Panel Removal and Installation in
Section 9C”.
6) If necessary, remove head lining. Refer to “Head
Lining Removal and Installation in Section 9H”.
7) Remove (or cut) windshield molding.
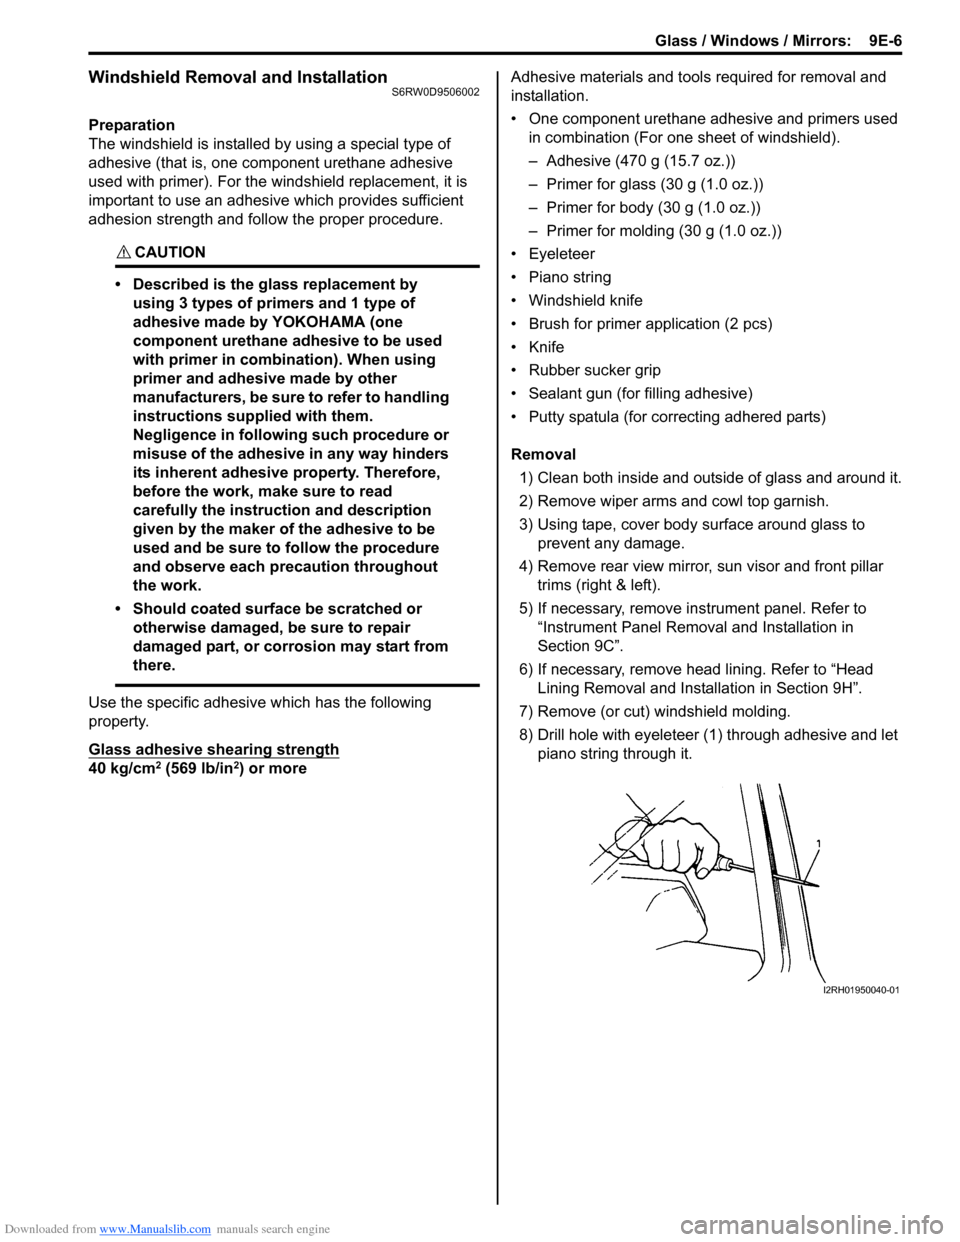
8) Drill hole with eyeleteer (1) through adhesive and let
piano string through it.
I2RH01950040-01
Page 1411 of 1556
Downloaded from www.Manualslib.com manuals search engine Glass / Windows / Mirrors: 9E-26
Door Mirror Heater Inspection (If Equipped)S6RW0D9506027
1) Remove door trim referring to step 1) to 3) of “Front
Door Glass Removal and Installation”.
2) Disconnect door mirror connector (1).
3) Check for continuity between terminals “a” and “b”.
If no continuity, replace outside mirror.
Door Mirror Heater Switch Inspection (If
Equipped)
S6RW0D9506028
Door mirror heater is operated by rear end door window
defogger switch. Check rear end door window defogger
switch referring to “Rear End Door Window Defogger
Switch Inspection”.
Special Tools and Equipment
Recommended Service MaterialS6RW0D9508001
NOTE
Required service material is also described in the following.
“Front Door Window Components”
“Rear Door Window Components”
a
b1I7RW01950008-01
Material SUZUKI recommended product or Specification Note
Grease SUZUKI Super Grease A P/No.: 99000–25011�) / �)
Page 1478 of 1556

Downloaded from www.Manualslib.com manuals search engine 10B-5 Body Electrical Control System:
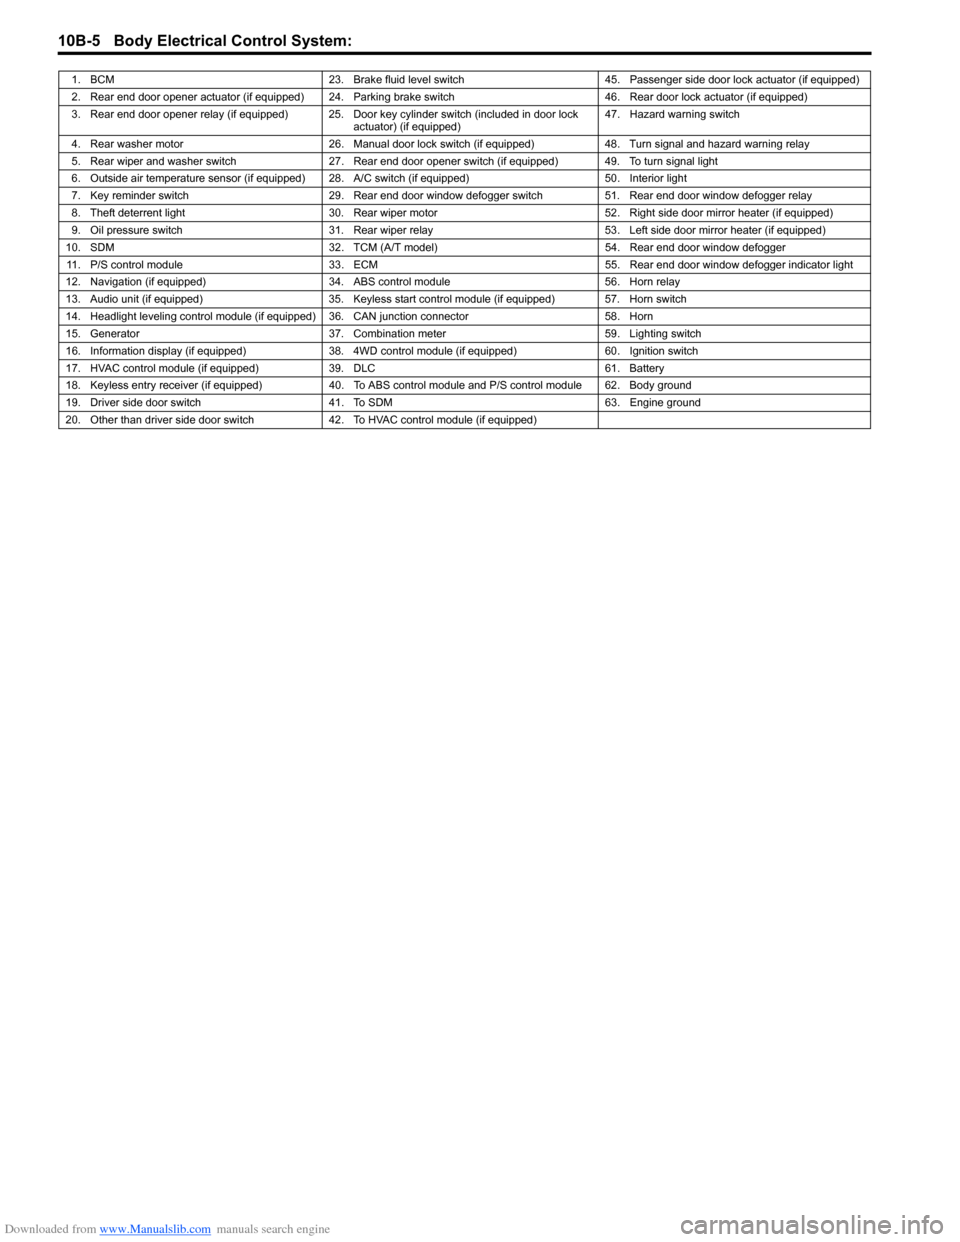
1. BCM 23. Brake fluid level switch 45. Passenger side door lock actuator (if equipped)
2. Rear end door opener actuator (if equipped) 24. Parking brake switch 46. Rear door lock actuator (if equipped)
3. Rear end door opener relay (if equipped) 25. Door key cylinder switch (included in door lock
actuator) (if equipped)47. Hazard warning switch
4. Rear washer motor 26. Manual door lock switch (if equipped) 48. Turn signal and hazard warning relay
5. Rear wiper and washer switch 27. Rear end door opener switch (if equipped) 49. To turn signal light
6. Outside air temperature sensor (if equipped) 28. A/C switch (if equipped) 50. Interior light
7. Key reminder switch 29. Rear end door window defogger switch 51. Rear end door window defogger relay
8. Theft deterrent light 30. Rear wiper motor 52. Right side door mirror heater (if equipped)
9. Oil pressure switch 31. Rear wiper relay 53. Left side door mirror heater (if equipped)
10. SDM 32. TCM (A/T model) 54. Rear end door window defogger
11. P/S control module 33. ECM 55. Rear end door window defogger indicator light
12. Navigation (if equipped) 34. ABS control module 56. Horn relay
13. Audio unit (if equipped) 35. Keyless start control module (if equipped) 57. Horn switch
14. Headlight leveling control module (if equipped) 36. CAN junction connector 58. Horn
15. Generator 37. Combination meter 59. Lighting switch
16. Information display (if equipped) 38. 4WD control module (if equipped) 60. Ignition switch
17. HVAC control module (if equipped) 39. DLC 61. Battery
18. Keyless entry receiver (if equipped) 40. To ABS control module and P/S control module 62. Body ground
19. Driver side door switch 41. To SDM 63. Engine ground
20. Other than driver side door switch 42. To HVAC control module (if equipped)