2006 INFINITI M35 turn signal bulb
[x] Cancel search: turn signal bulbPage 4492 of 5621
HEADLAMP (FOR USA) - XENON TYPE -
LT-65
C
D
E
F
G
H
I
J
L
MA
B
LT
Revision: 2006 January2006 M35/M45
Headlamp High Beam Does Not Illuminate (One Side)NKS003OX
1. CHECK BULB
Check bulb of lamp which does not illuminate.
OK or NG
OK >> GO TO 2.
NG >> Replace headlamp bulb.
2. CHECK HEADLAMP INPUT SIGNAL
With CONSULT-II
1. Turn ignition switch OFF.
2. Disconnect front combination lamp RH or LH connector.
3. Select “IPDM E/R” on CONSULT-II. Select “ACTIVE TEST” on “SELECT DIAG MODE” screen.
4. Select “LAMPS” on “SELECT TEST ITEM” screen.
5. Touch “HI” screen.
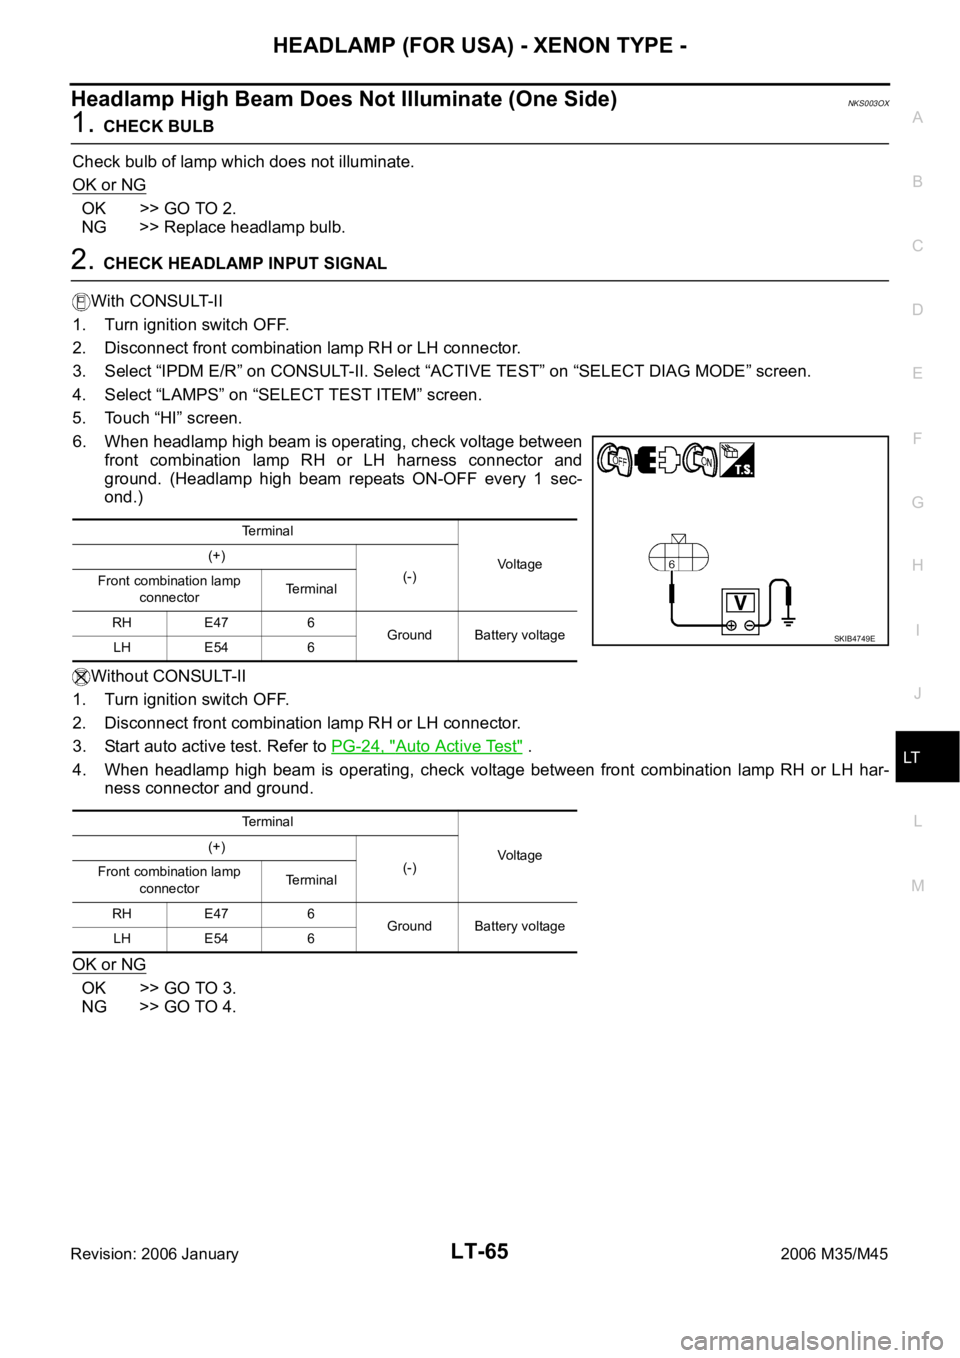
6. When headlamp high beam is operating, check voltage between
front combination lamp RH or LH harness connector and
ground. (Headlamp high beam repeats ON-OFF every 1 sec-
ond.)
Without CONSULT-II
1. Turn ignition switch OFF.
2. Disconnect front combination lamp RH or LH connector.
3. Start auto active test. Refer to PG-24, "
Auto Active Test" .
4. When headlamp high beam is operating, check voltage between front combination lamp RH or LH har-
ness connector and ground.
OK or NG
OK >> GO TO 3.
NG >> GO TO 4.
Terminal
Vo l ta g e (+)
(-)
Front combination lamp
connectorTerminal
RH E47 6
Ground Battery voltage
LH E54 6
Terminal
Vo l ta g e (+)
(-)
Front combination lamp
connectorTerminal
RH E47 6
Ground Battery voltage
LH E54 6
SKIB4749E
Page 4495 of 5621
LT-68
HEADLAMP (FOR USA) - XENON TYPE -
Revision: 2006 January2006 M35/M45
4. CHECK HEADLAMP INPUT SIGNAL
With CONSULT-II
1. Turn ignition switch OFF.
2. Disconnect front combination lamp RH and LH connector.
3. Select “IPDM E/R” on CONSULT-II. Select “ACTIVE TEST” on “SELECT DIAG MODE” screen.
4. Select “LAMPS” on “SELECT TEST ITEM” screen.
5. Touch “LO” screen.
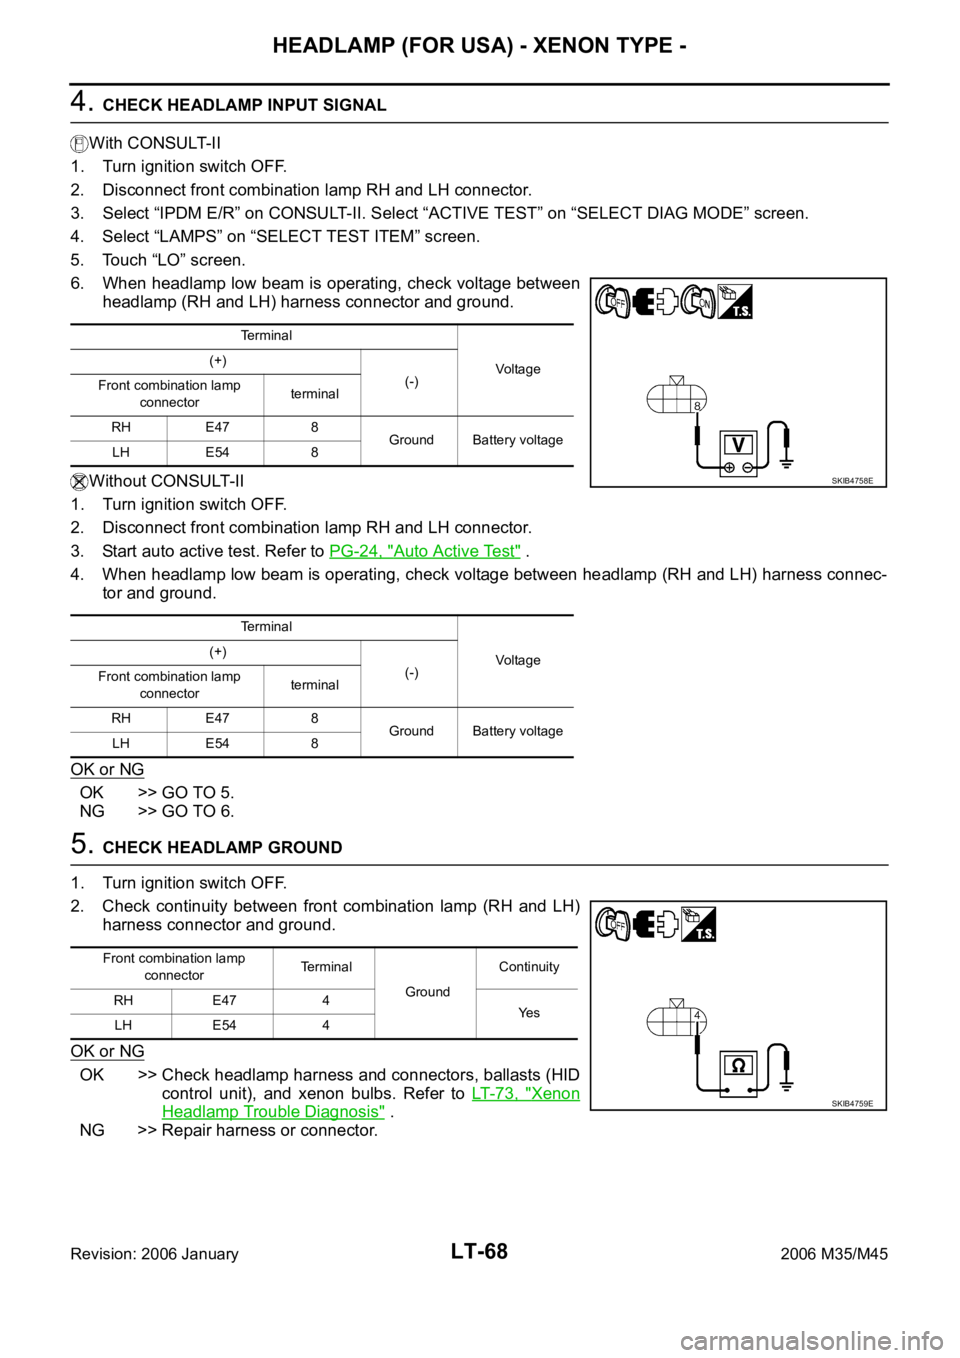
6. When headlamp low beam is operating, check voltage between
headlamp (RH and LH) harness connector and ground.
Without CONSULT-II
1. Turn ignition switch OFF.
2. Disconnect front combination lamp RH and LH connector.
3. Start auto active test. Refer to PG-24, "
Auto Active Test" .
4. When headlamp low beam is operating, check voltage between headlamp (RH and LH) harness connec-
tor and ground.
OK or NG
OK >> GO TO 5.
NG >> GO TO 6.
5. CHECK HEADLAMP GROUND
1. Turn ignition switch OFF.
2. Check continuity between front combination lamp (RH and LH)
harness connector and ground.
OK or NG
OK >> Check headlamp harness and connectors, ballasts (HID
control unit), and xenon bulbs. Refer to LT- 7 3 , "
Xenon
Headlamp Trouble Diagnosis" .
NG >> Repair harness or connector.
Terminal
Voltag e (+)
(-)
Front combination lamp
connectorterminal
RH E47 8
Ground Battery voltage
LH E54 8
Terminal
Voltag e (+)
(-)
Front combination lamp
connectorterminal
RH E47 8
Ground Battery voltage
LH E54 8
SKIB4758E
Front combination lamp
connectorTerminal
GroundContinuity
RH E47 4
Ye s
LH E54 4
SKIB4759E
Page 4497 of 5621
LT-70
HEADLAMP (FOR USA) - XENON TYPE -
Revision: 2006 January2006 M35/M45
Headlamp Low Beam Does Not Illuminate (One Side)NKS003P0
1. CHECK BULB
Check ballast (HID control unit) and xenon bulb of lamp which does not illuminate. Refer to LT- 7 3 , "
Xenon
Headlamp Trouble Diagnosis" .
OK or NG
OK >> GO TO 2.
NG >> Repair malfunctioning part.
2. CHECK HEADLAMP INPUT SIGNAL
With CONSULT-II
1. Turn ignition switch OFF.
2. Disconnect front combination lamp RH or LH connector.
3. Select “IPDM E/R” on CONSULT-II. Select “ACTIVE TEST” on “SELECT DIAG MODE” screen.
4. Select “LAMPS” on “SELECT TEST ITEM” screen.
5. Touch “LO” screen.
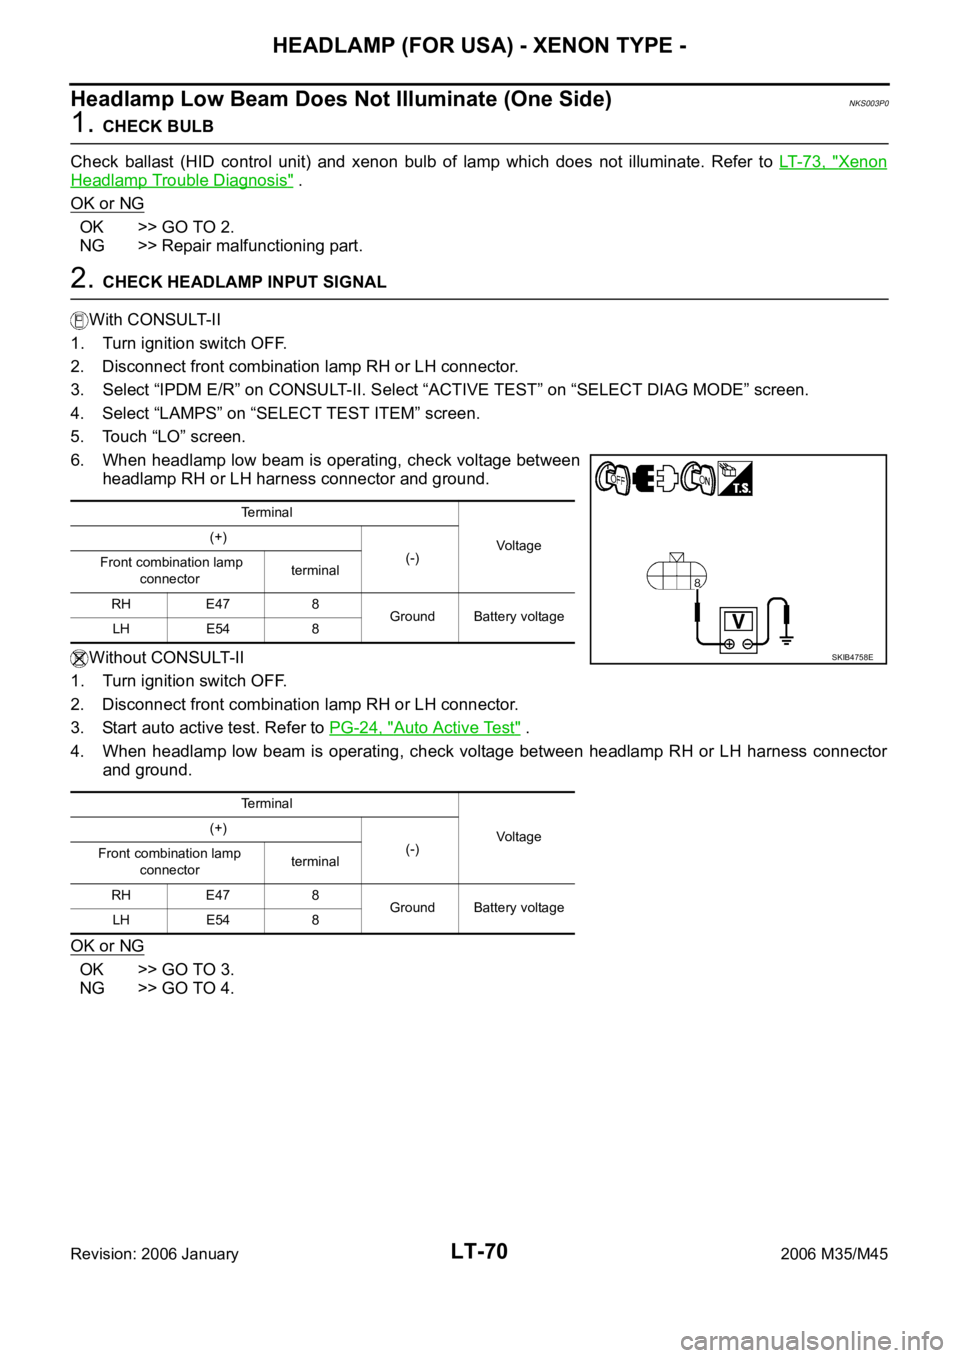
6. When headlamp low beam is operating, check voltage between
headlamp RH or LH harness connector and ground.
Without CONSULT-II
1. Turn ignition switch OFF.
2. Disconnect front combination lamp RH or LH connector.
3. Start auto active test. Refer to PG-24, "
Auto Active Test" .
4. When headlamp low beam is operating, check voltage between headlamp RH or LH harness connector
and ground.
OK or NG
OK >> GO TO 3.
NG >> GO TO 4.
Terminal
Voltage (+)
(-)
Front combination lamp
connectorterminal
RH E47 8
Ground Battery voltage
LH E54 8
Terminal
Voltage (+)
(-)
Front combination lamp
connectorterminal
RH E47 8
Ground Battery voltage
LH E54 8
SKIB4758E
Page 4503 of 5621
LT-76
HEADLAMP (FOR USA) - XENON TYPE -
Revision: 2006 January2006 M35/M45
HEADLAMP (OUTER) LOW BEAM
1. Turn lighting switch OFF.
2. Disconnect negative battery cable or remove circuit fuse.
3. Remove fender protector (front). Refer toEI-20, "
Removal and Installation" .
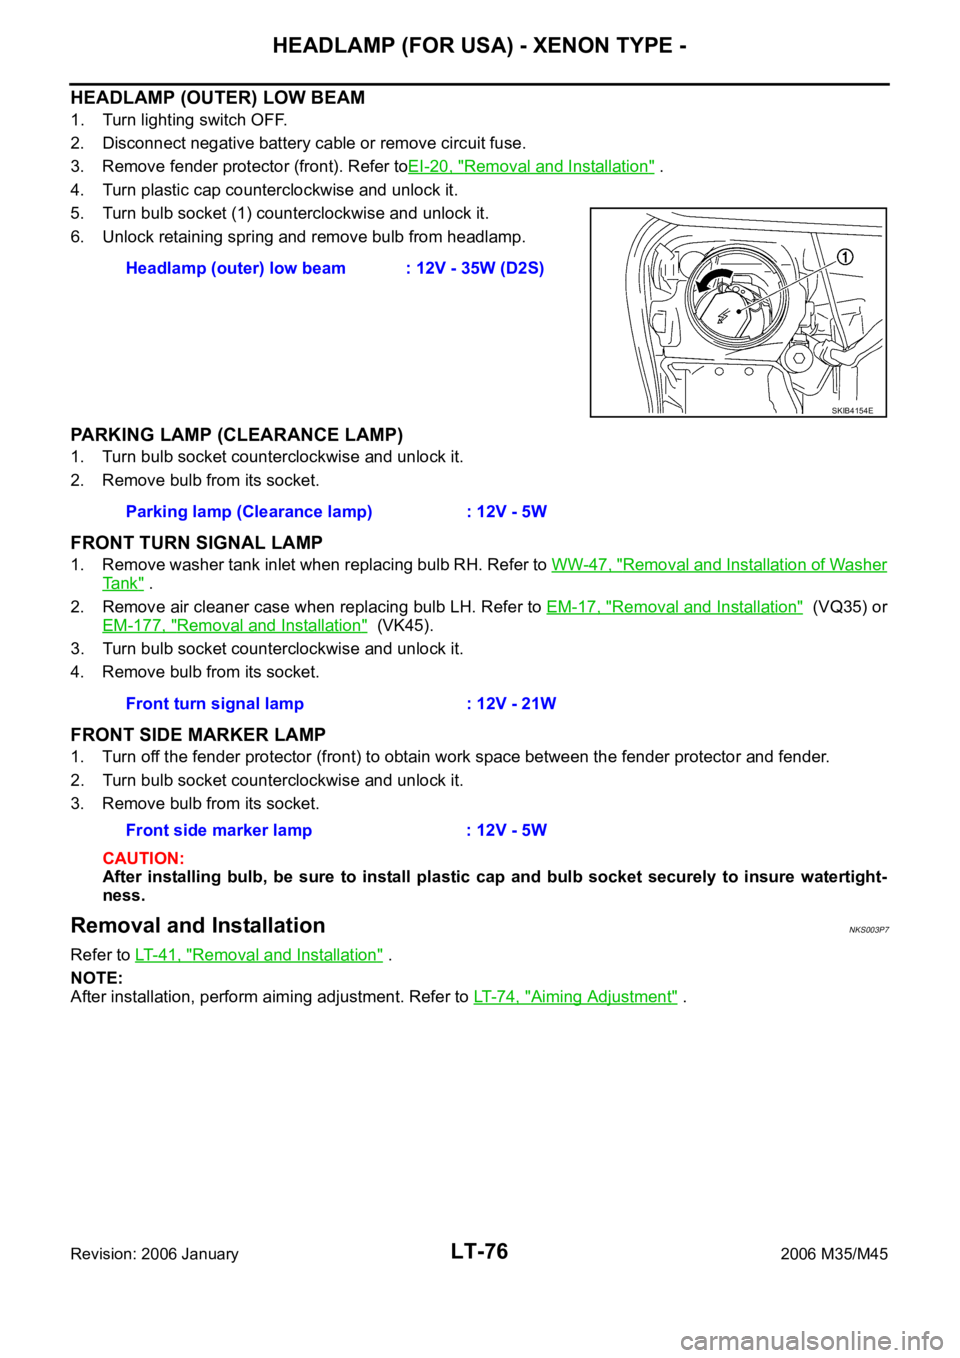
4. Turn plastic cap counterclockwise and unlock it.
5. Turn bulb socket (1) counterclockwise and unlock it.
6. Unlock retaining spring and remove bulb from headlamp.
PARKING LAMP (CLEARANCE LAMP)
1. Turn bulb socket counterclockwise and unlock it.
2. Remove bulb from its socket.
FRONT TURN SIGNAL LAMP
1. Remove washer tank inlet when replacing bulb RH. Refer to WW-47, "Removal and Installation of Washer
Ta n k" .
2. Remove air cleaner case when replacing bulb LH. Refer to EM-17, "
Removal and Installation" (VQ35) or
EM-177, "
Removal and Installation" (VK45).
3. Turn bulb socket counterclockwise and unlock it.
4. Remove bulb from its socket.
FRONT SIDE MARKER LAMP
1. Turn off the fender protector (front) to obtain work space between the fender protector and fender.
2. Turn bulb socket counterclockwise and unlock it.
3. Remove bulb from its socket.
CAUTION:
After installing bulb, be sure to install plastic cap and bulb socket securely to insure watertight-
ness.
Removal and InstallationNKS003P7
Refer to LT-41, "Removal and Installation" .
NOTE:
After installation, perform aiming adjustment. Refer to LT- 7 4 , "
Aiming Adjustment" . Headlamp (outer) low beam : 12V - 35W (D2S)
SKIB4154E
Parking lamp (Clearance lamp) : 12V - 5W
Front turn signal lamp : 12V - 21W
Front side marker lamp : 12V - 5W
Page 4504 of 5621
HEADLAMP (FOR USA) - XENON TYPE -
LT-77
C
D
E
F
G
H
I
J
L
MA
B
LT
Revision: 2006 January2006 M35/M45
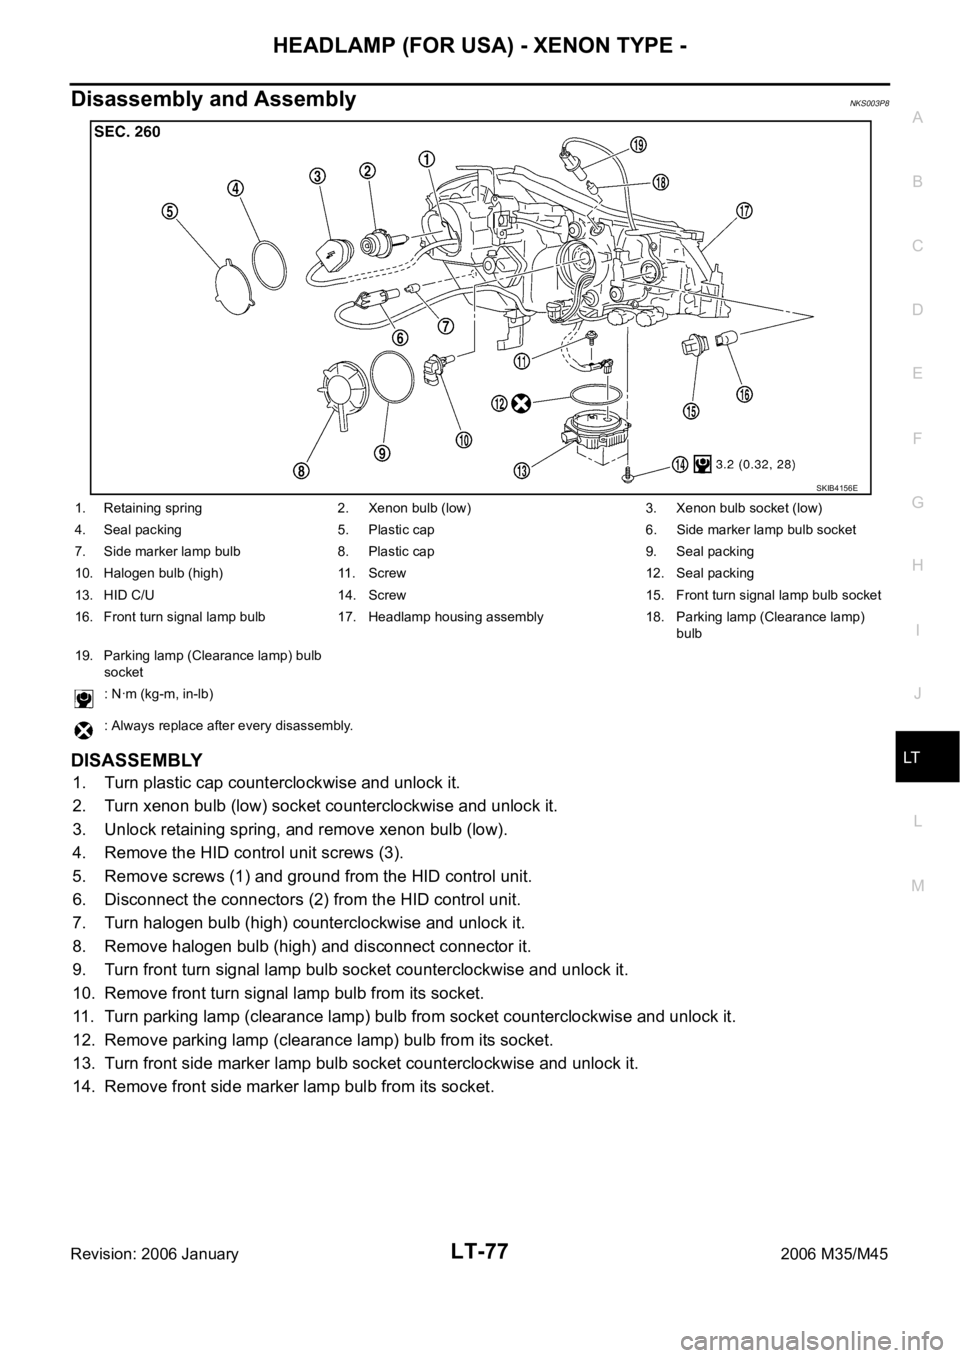
Disassembly and Assembly NKS003P8
DISASSEMBLY
1. Turn plastic cap counterclockwise and unlock it.
2. Turn xenon bulb (low) socket counterclockwise and unlock it.
3. Unlock retaining spring, and remove xenon bulb (low).
4. Remove the HID control unit screws (3).
5. Remove screws (1) and ground from the HID control unit.
6. Disconnect the connectors (2) from the HID control unit.
7. Turn halogen bulb (high) counterclockwise and unlock it.
8. Remove halogen bulb (high) and disconnect connector it.
9. Turn front turn signal lamp bulb socket counterclockwise and unlock it.
10. Remove front turn signal lamp bulb from its socket.
11. Turn parking lamp (clearance lamp) bulb from socket counterclockwise and unlock it.
12. Remove parking lamp (clearance lamp) bulb from its socket.
13. Turn front side marker lamp bulb socket counterclockwise and unlock it.
14. Remove front side marker lamp bulb from its socket.
SKIB4156E
1. Retaining spring 2. Xenon bulb (low) 3. Xenon bulb socket (low)
4. Seal packing 5. Plastic cap 6. Side marker lamp bulb socket
7. Side marker lamp bulb 8. Plastic cap 9. Seal packing
10. Halogen bulb (high) 11. Screw 12. Seal packing
13. HID C/U 14. Screw 15. Front turn signal lamp bulb socket
16. Front turn signal lamp bulb 17. Headlamp housing assembly 18. Parking lamp (Clearance lamp)
bulb
19. Parking lamp (Clearance lamp) bulb
socket
: Nꞏm (kg-m, in-lb)
: Always replace after every disassembly.
Page 4532 of 5621
HEADLAMP (FOR CANADA) - DAYTIME LIGHT SYSTEM -
LT-105
C
D
E
F
G
H
I
J
L
MA
B
LT
Revision: 2006 January2006 M35/M45
8. CHECK CIRCUIT BETWEEN IPDM E/R AND FRONT COMBINATION LAMP
1. Turn ignition switch OFF.
2. Disconnect IPDM E/R connector.
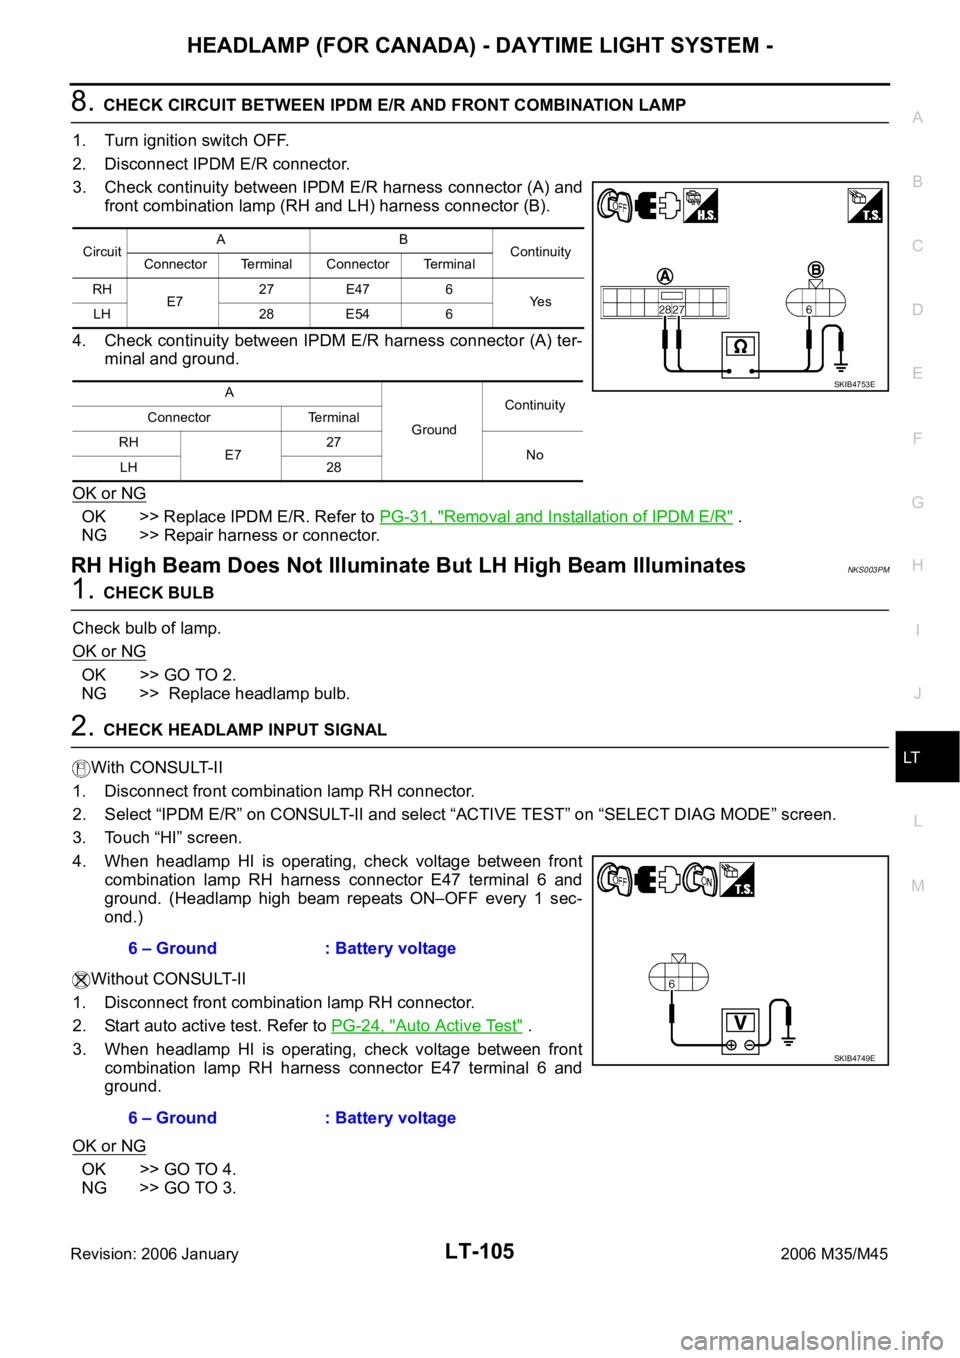
3. Check continuity between IPDM E/R harness connector (A) and
front combination lamp (RH and LH) harness connector (B).
4. Check continuity between IPDM E/R harness connector (A) ter-
minal and ground.
OK or NG
OK >> Replace IPDM E/R. Refer to PG-31, "Removal and Installation of IPDM E/R" .
NG >> Repair harness or connector.
RH High Beam Does Not Illuminate But LH High Beam IlluminatesNKS003PM
1. CHECK BULB
Check bulb of lamp.
OK or NG
OK >> GO TO 2.
NG >> Replace headlamp bulb.
2. CHECK HEADLAMP INPUT SIGNAL
With CONSULT-II
1. Disconnect front combination lamp RH connector.
2. Select “IPDM E/R” on CONSULT-II and select “ACTIVE TEST” on “SELECT DIAG MODE” screen.
3. Touch “HI” screen.
4. When headlamp HI is operating, check voltage between front
combination lamp RH harness connector E47 terminal 6 and
ground. (Headlamp high beam repeats ON–OFF every 1 sec-
ond.)
Without CONSULT-II
1. Disconnect front combination lamp RH connector.
2. Start auto active test. Refer to PG-24, "
Auto Active Test" .
3. When headlamp HI is operating, check voltage between front
combination lamp RH harness connector E47 terminal 6 and
ground.
OK or NG
OK >> GO TO 4.
NG >> GO TO 3.
CircuitAB
Continuity
Connector Terminal Connector Terminal
RH
E727 E47 6
Ye s
LH 28 E54 6
A
GroundContinuity
Connector Terminal
RH
E727
No
LH 28
SKIB4753E
6 – Ground : Battery voltage
6 – Ground : Battery voltage
SKIB4749E
Page 4537 of 5621
LT-110
HEADLAMP (FOR CANADA) - DAYTIME LIGHT SYSTEM -
Revision: 2006 January2006 M35/M45
4. CHECK HEADLAMP INPUT SIGNAL
With CONSULT-II
1. Turn ignition switch OFF.
2. Disconnect front combination lamp RH and LH connector.
3. Select “IPDM E/R” on CONSULT-II. Select “ACTIVE TEST” on “SELECT DIAG MODE” screen.
4. Select “LAMPS” on “SELECT TEST ITEM” screen.
5. Touch “LO” screen.
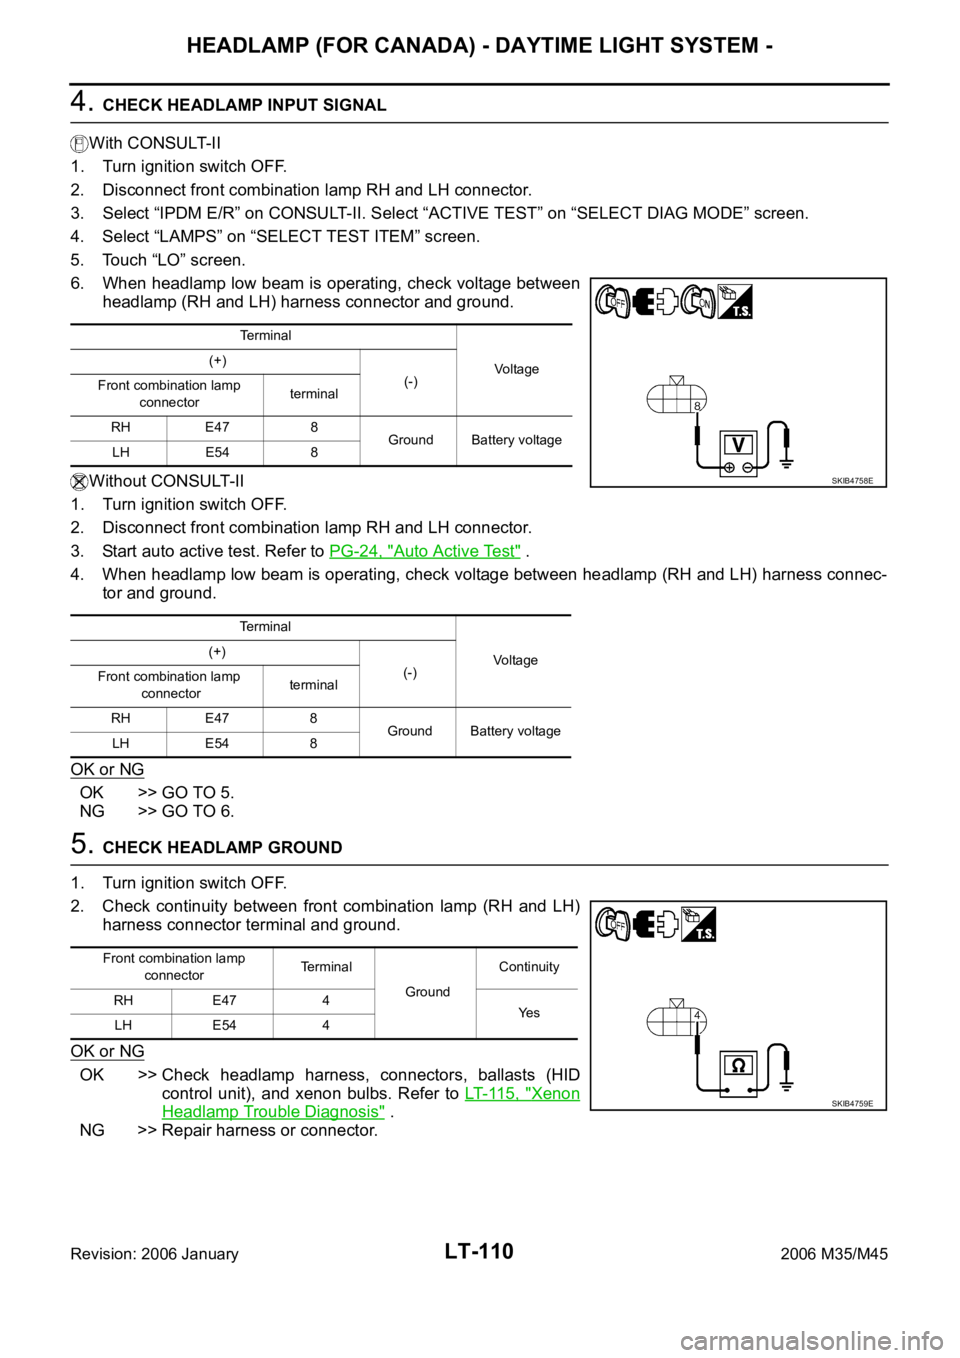
6. When headlamp low beam is operating, check voltage between
headlamp (RH and LH) harness connector and ground.
Without CONSULT-II
1. Turn ignition switch OFF.
2. Disconnect front combination lamp RH and LH connector.
3. Start auto active test. Refer to PG-24, "
Auto Active Test" .
4. When headlamp low beam is operating, check voltage between headlamp (RH and LH) harness connec-
tor and ground.
OK or NG
OK >> GO TO 5.
NG >> GO TO 6.
5. CHECK HEADLAMP GROUND
1. Turn ignition switch OFF.
2. Check continuity between front combination lamp (RH and LH)
harness connector terminal and ground.
OK or NG
OK >> Check headlamp harness, connectors, ballasts (HID
control unit), and xenon bulbs. Refer to LT- 11 5 , "
Xenon
Headlamp Trouble Diagnosis" .
NG >> Repair harness or connector.
Terminal
Vo l ta g e (+)
(-)
Front combination lamp
connectorterminal
RH E47 8
Ground Battery voltage
LH E54 8
Terminal
Voltage (+)
(-)
Front combination lamp
connectorterminal
RH E47 8
Ground Battery voltage
LH E54 8
SKIB4758E
Front combination lamp
connectorTerminal
GroundContinuity
RH E47 4
Ye s
LH E54 4
SKIB4759E
Page 4539 of 5621
LT-112
HEADLAMP (FOR CANADA) - DAYTIME LIGHT SYSTEM -
Revision: 2006 January2006 M35/M45
Headlamp Low Beam Does Not Illuminate (One Side)NKS003PP
1. CHECK BULB
Check ballast (HID control unit) and xenon bulb of lamp which does not illuminate. Refer to LT- 11 5 , "
Xenon
Headlamp Trouble Diagnosis" .
OK or NG
OK >> GO TO 2.
NG >> Repair malfunctioning part.
2. CHECK HEADLAMP INPUT SIGNAL
With CONSULT-II
1. Turn ignition switch OFF.
2. Disconnect front combination lamp RH or LH connector.
3. Select “IPDM E/R” on CONSULT-II. Select “ACTIVE TEST” on “SELECT DIAG MODE” screen.
4. Select “LAMPS” on “SELECT TEST ITEM” screen.
5. Touch “LO” screen.
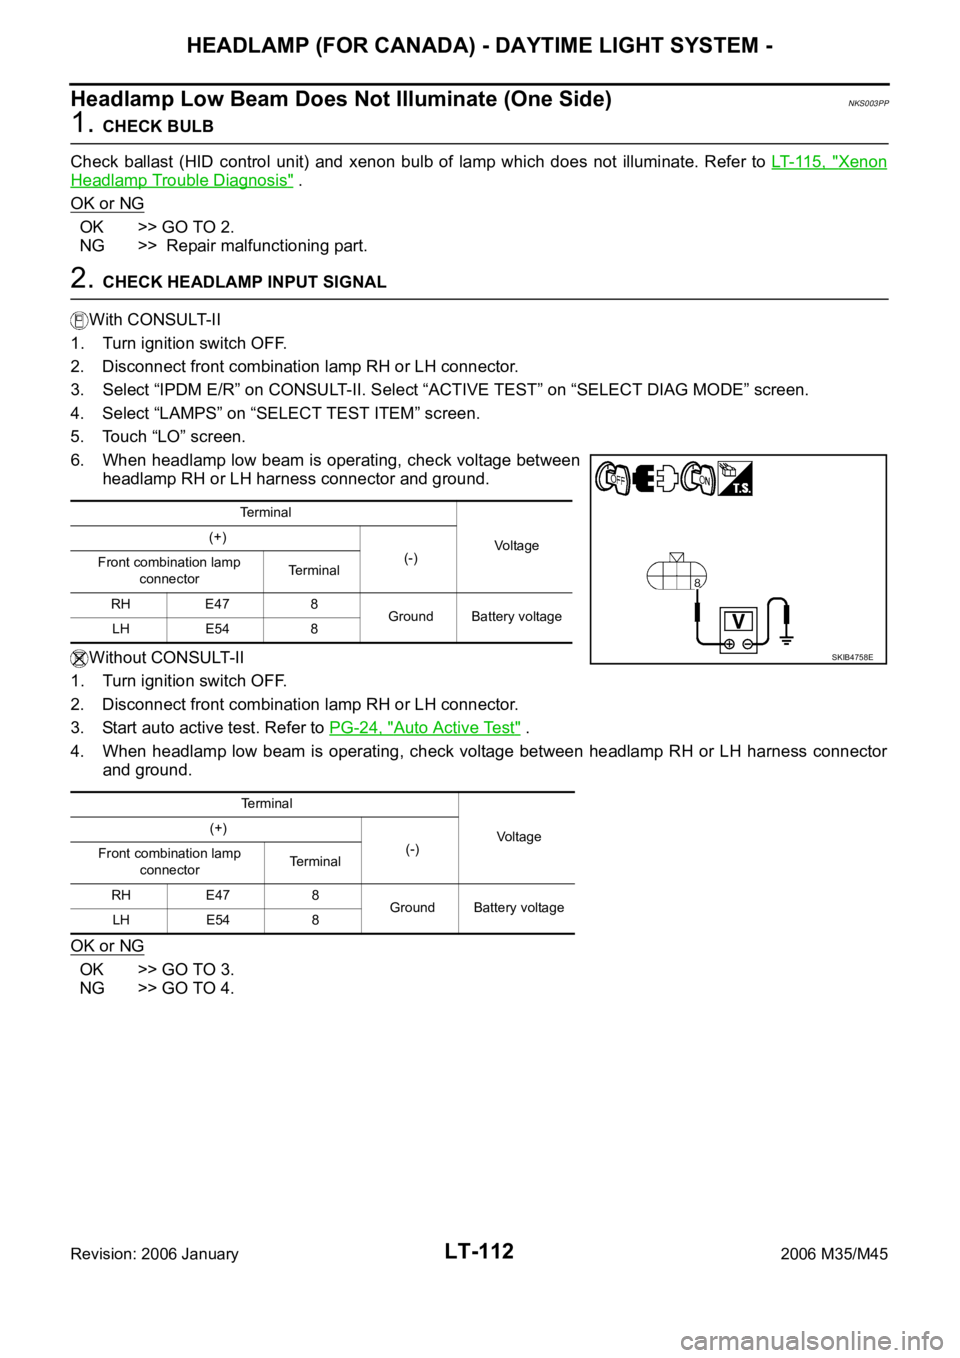
6. When headlamp low beam is operating, check voltage between
headlamp RH or LH harness connector and ground.
Without CONSULT-II
1. Turn ignition switch OFF.
2. Disconnect front combination lamp RH or LH connector.
3. Start auto active test. Refer to PG-24, "
Auto Active Test" .
4. When headlamp low beam is operating, check voltage between headlamp RH or LH harness connector
and ground.
OK or NG
OK >> GO TO 3.
NG >> GO TO 4.
Terminal
Vo l ta g e (+)
(-)
Front combination lamp
connectorTerminal
RH E47 8
Ground Battery voltage
LH E54 8
Terminal
Voltage (+)
(-)
Front combination lamp
connectorTerminal
RH E47 8
Ground Battery voltage
LH E54 8
SKIB4758E