Page 5034 of 5621

SUNROOF
RF-21
C
D
E
F
G
H
J
K
L
MA
B
RF
Revision: 2006 January2006 M35/M45
Sunroof Switch CheckNIS00240
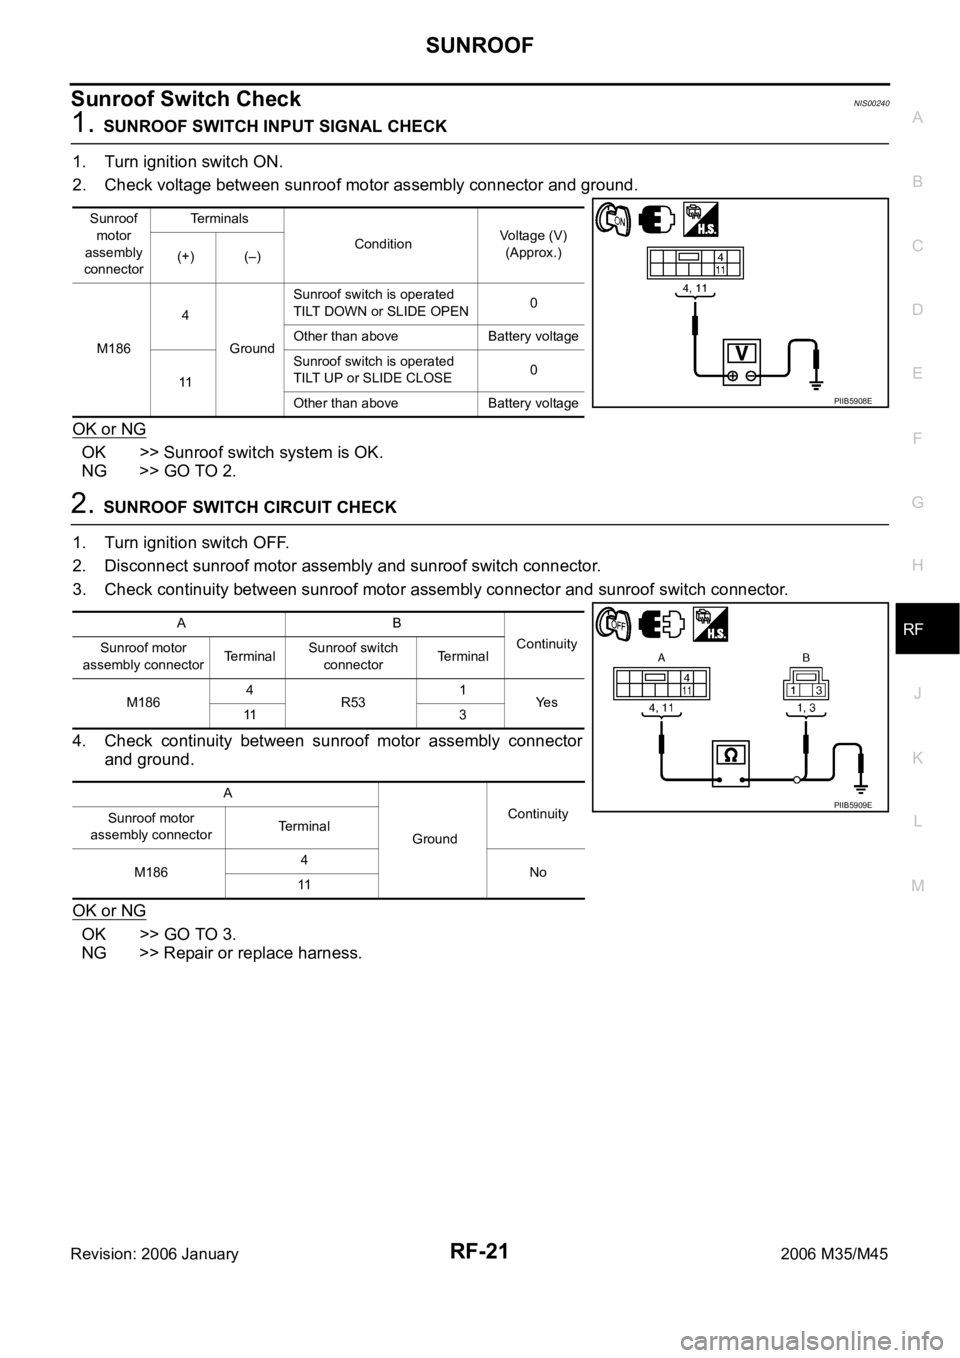
1. SUNROOF SWITCH INPUT SIGNAL CHECK
1. Turn ignition switch ON.
2. Check voltage between sunroof motor assembly connector and ground.
OK or NG
OK >> Sunroof switch system is OK.
NG >> GO TO 2.
2. SUNROOF SWITCH CIRCUIT CHECK
1. Turn ignition switch OFF.
2. Disconnect sunroof motor assembly and sunroof switch connector.
3. Check continuity between sunroof motor assembly connector and sunroof switch connector.
4. Check continuity between sunroof motor assembly connector
and ground.
OK or NG
OK >> GO TO 3.
NG >> Repair or replace harness.
Sunroof
motor
assembly
connectorTerminals
ConditionVoltage (V)
(Approx.)
(+) (–)
M1864
GroundSunroof switch is operated
TILT DOWN or SLIDE OPEN0
Other than above Battery voltage
11Sunroof switch is operated
TILT UP or SLIDE CLOSE0
Other than above Battery voltage
PIIB5908E
AB
Continuity
Sunroof motor
assembly connectorTerminalSunroof switch
connectorTerminal
M1864
R531
Ye s
11 3
A
GroundContinuity
Sunroof motor
assembly connectorTerminal
M1864
No
11
PIIB5909E
Page 5035 of 5621
RF-22
SUNROOF
Revision: 2006 January2006 M35/M45
3. SUNROOF SWITCH GROUND CIRCUIT CHECK
Check continuity between sunroof switch connector and ground.
OK or NG
OK >> GO TO 4.
NG >> Repair or replace harness.
4. SUNROOF SWITCH GROUND CIRCUIT CHECK
Check continuity between sunroof motor connector and sunroof switch connector.
OK or NG
OK >> GO TO 5.
NG >> Repair or replace harness.
5. SUNROOF SWITCH CHECK
Check continuity between sunroof switch terminals.
OK or NG
OK >> Replace sunroof motor assembly.
NG >> Replace sunroof switch.
Sunroof switch
connectorTerminal
GroundContinuity
R53 2 Yes
PIIB5910E
AB
Continuity
Sunroof switch
connectorTerminalSunroof motor
assembly connectorTerminal
R53 2 M186 9 Yes
PIIB5911E
Terminals Condition Continuity
1
2Sunroof switch is operated
TILT DOWN or SLIDE OPENYe s
Other than above No
3Sunroof switch is operated
TILT UP or SLIDE CLOSEYe s
Other than above No
PIIB5907E
Page 5036 of 5621

SUNROOF
RF-23
C
D
E
F
G
H
J
K
L
MA
B
RF
Revision: 2006 January2006 M35/M45
Door Switch Check NIS00241
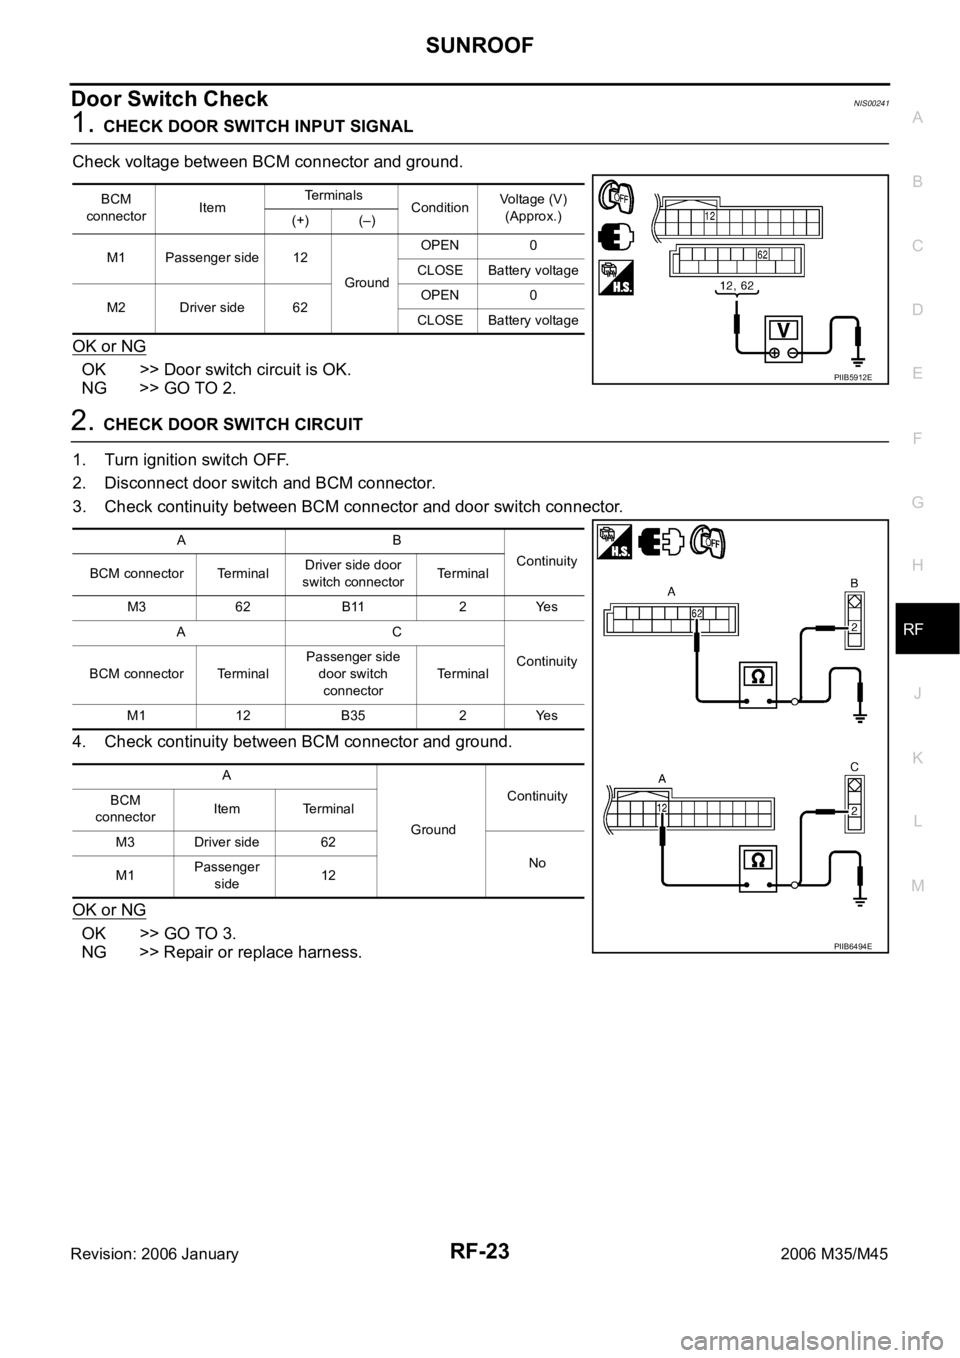
1. CHECK DOOR SWITCH INPUT SIGNAL
Check voltage between BCM connector and ground.
OK or NG
OK >> Door switch circuit is OK.
NG >> GO TO 2.
2. CHECK DOOR SWITCH CIRCUIT
1. Turn ignition switch OFF.
2. Disconnect door switch and BCM connector.
3. Check continuity between BCM connector and door switch connector.
4. Check continuity between BCM connector and ground.
OK or NG
OK >> GO TO 3.
NG >> Repair or replace harness.
BCM
connectorItemTe r m i n a l s
ConditionVoltage (V)
(Approx.)
(+) (–)
M1 Passenger side 12
GroundOPEN 0
CLOSE Battery voltage
M2 Driver side 62OPEN 0
CLOSE Battery voltage
PIIB5912E
AB
Continuity
BCM connector TerminalDriver side door
switch connectorTerminal
M3 62 B11 2 Yes
AC
Continuity
BCM connector TerminalPassenger side
door switch
connectorTerminal
M1 12 B35 2 Yes
A
GroundContinuity
BCM
connectorItem Terminal
M3 Driver side 62
No
M1Passenger
side12
PIIB6494E
Page 5037 of 5621
RF-24
SUNROOF
Revision: 2006 January2006 M35/M45
3. CHECK DOOR SWITCH
Check continuity between door switches and ground part of door switch.
OK or NG
OK >> GO TO 4.
NG >> Replace malfunction door switch.
4. CHECK BCM OUTPUT SIGNAL
1. Connect BCM connector.
2. Check voltage between BCM connector and ground.
OK or NG
OK >> Check the condition of the harness and the connector.
NG >> Replace BCM.
Terminal Door switch Continuity
2Ground part of
door switchPushed No
Released Yes
PIIB5914E
Te r m i n a l s
Voltage (V)
(Approx.) (+)
(-)
BCM
connectorItem Terminal
M3 Driver side 62
Ground Battery voltage
M1 Passenger side 12
PIIB5915E
Page 5083 of 5621
RSU-2
PRECAUTIONS
Revision: 2006 January2006 M35/M45
PRECAUTIONSPFP:00001
PrecautionsNES000J2
When installing rubber bushings, final tightening must be carried out under unladen conditions with tires
on ground. Oil will shorten the life of rubber bushings. Be sure to wipe off any spilled oil.
–Unladen conditions mean that fuel, engine coolant and lubricant are full. Spare tire, jack, hand tools and
mats are in designated positions.
After servicing suspension parts, be sure to check wheel alignment.
Self-lock nuts are not reusable. Always use new ones when installing. Since new self-lock nuts are pre-
oiled, tighten as they are.
Page 5091 of 5621

RSU-10
SHOCK ABSORBER
Revision: 2006 January2006 M35/M45
SHOCK ABSORBERPFP:56210
Removal and InstallationNES000JA
REMOVAL
1. Remove tires from vehicle with a power tool.
2. Set a jack under rear lower link to relieve the coil spring tension.
3. Remove shock absorber lower end bolt with a power tool.
4. Gradually lower the jack to remove it from rear lower link.
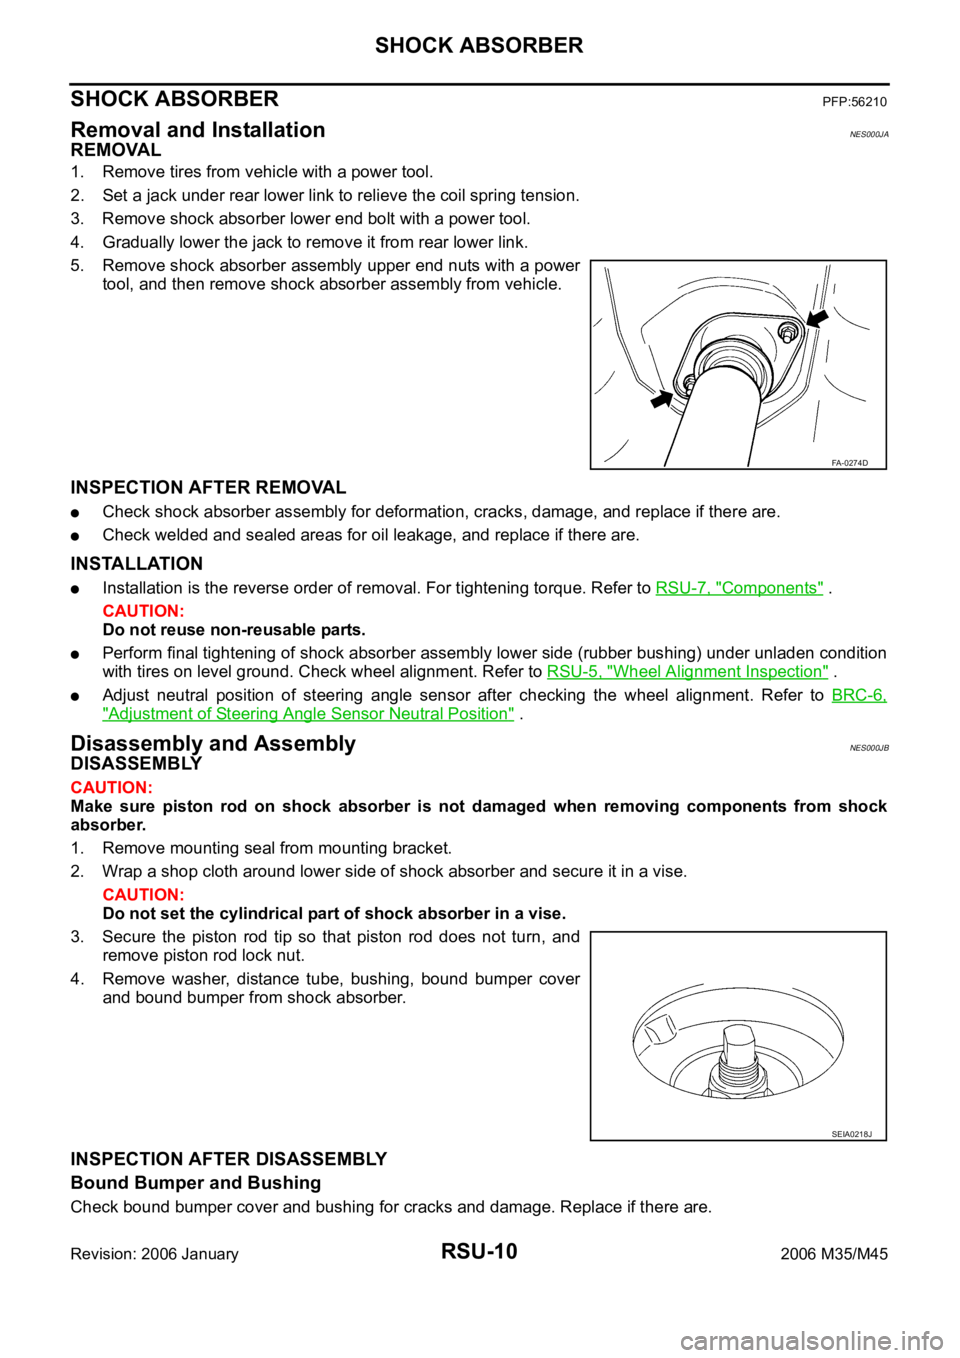
5. Remove shock absorber assembly upper end nuts with a power
tool, and then remove shock absorber assembly from vehicle.
INSPECTION AFTER REMOVAL
Check shock absorber assembly for deformation, cracks, damage, and replace if there are.
Check welded and sealed areas for oil leakage, and replace if there are.
INSTALLATION
Installation is the reverse order of removal. For tightening torque. Refer to RSU-7, "Components" .
CAUTION:
Do not reuse non-reusable parts.
Perform final tightening of shock absorber assembly lower side (rubber bushing) under unladen condition
with tires on level ground. Check wheel alignment. Refer to RSU-5, "
Wheel Alignment Inspection" .
Adjust neutral position of steering angle sensor after checking the wheel alignment. Refer to BRC-6,
"Adjustment of Steering Angle Sensor Neutral Position" .
Disassembly and AssemblyNES000JB
DISASSEMBLY
CAUTION:
Make sure piston rod on shock absorber is not damaged when removing components from shock
absorber.
1. Remove mounting seal from mounting bracket.
2. Wrap a shop cloth around lower side of shock absorber and secure it in a vise.
CAUTION:
Do not set the cylindrical part of shock absorber in a vise.
3. Secure the piston rod tip so that piston rod does not turn, and
remove piston rod lock nut.
4. Remove washer, distance tube, bushing, bound bumper cover
and bound bumper from shock absorber.
INSPECTION AFTER DISASSEMBLY
Bound Bumper and Bushing
Check bound bumper cover and bushing for cracks and damage. Replace if there are.
FA-0274D
SEIA0218J
Page 5094 of 5621
SUSPENSION ARM
RSU-13
C
D
F
G
H
I
J
K
L
MA
B
RSU
Revision: 2006 January2006 M35/M45
If it is outside the specified range, replace suspension arm assembly.
INSTALLATION
Installation is the reverse order of removal. For tightening torque. Refer to RSU-7, "Components" .
CAUTION:
Do not reuse non-reusable parts.
Perform the final tightening of rear suspension member installation position (rubber bushing) under
unladen condition with tires on level ground. Refer to RSU-5, "
Wheel Alignment Inspection" .
Adjust neutral position of steering angle sensor after checking the wheel alignment. Refer to BRC-6,
"Adjustment of Steering Angle Sensor Neutral Position" .
Page 5095 of 5621

RSU-14
RADIUS ROD
Revision: 2006 January2006 M35/M45
RADIUS RODPFP:55110
Removal and InstallationNES000JD
REMOVAL
1. Remove tire with a power tool.
2. Remove brake caliper with a power tool. Hang it in a place where it will not interfere with work. Refer to
BR-29, "
REAR DISC BRAKE" .
CAUTION:
Do not depressing brake pedal while brake caliper is removed.
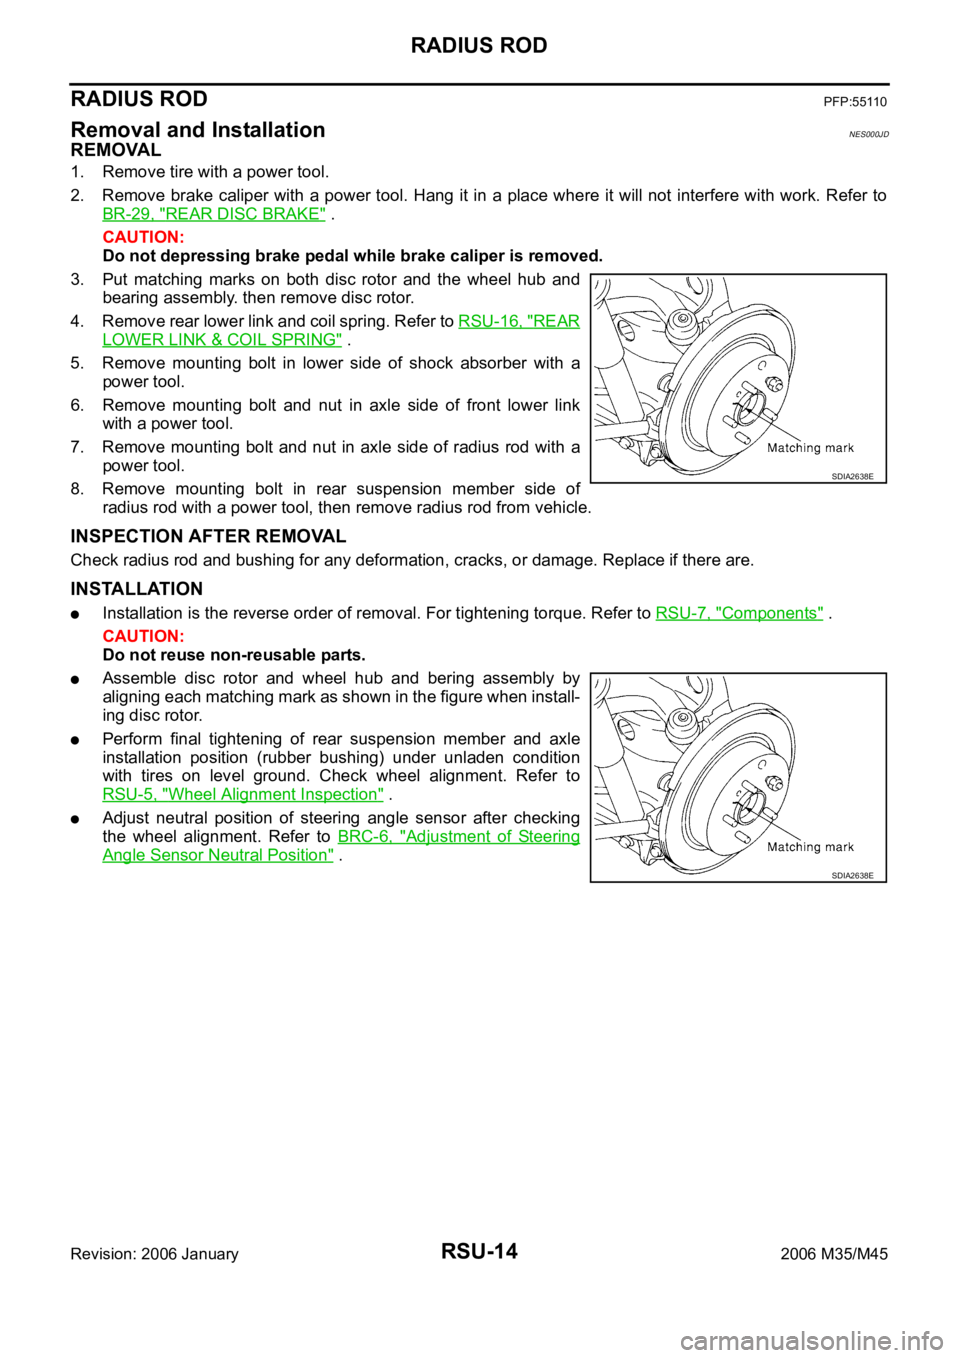
3. Put matching marks on both disc rotor and the wheel hub and
bearing assembly. then remove disc rotor.
4. Remove rear lower link and coil spring. Refer to RSU-16, "
REAR
LOWER LINK & COIL SPRING" .
5. Remove mounting bolt in lower side of shock absorber with a
power tool.
6. Remove mounting bolt and nut in axle side of front lower link
with a power tool.
7. Remove mounting bolt and nut in axle side of radius rod with a
power tool.
8. Remove mounting bolt in rear suspension member side of
radius rod with a power tool, then remove radius rod from vehicle.
INSPECTION AFTER REMOVAL
Check radius rod and bushing for any deformation, cracks, or damage. Replace if there are.
INSTALLATION
Installation is the reverse order of removal. For tightening torque. Refer to RSU-7, "Components" .
CAUTION:
Do not reuse non-reusable parts.
Assemble disc rotor and wheel hub and bering assembly by
aligning each matching mark as shown in the figure when install-
ing disc rotor.
Perform final tightening of rear suspension member and axle
installation position (rubber bushing) under unladen condition
with tires on level ground. Check wheel alignment. Refer to
RSU-5, "
Wheel Alignment Inspection" .
Adjust neutral position of steering angle sensor after checking
the wheel alignment. Refer to BRC-6, "
Adjustment of Steering
Angle Sensor Neutral Position" .
SDIA2638E
SDIA2638E