2006 Hyundai Terracan lock
[x] Cancel search: lockPage 358 of 539
1CONTROLS AND EQUIPMENT
50
!
!
!
B260P02Y-EAT
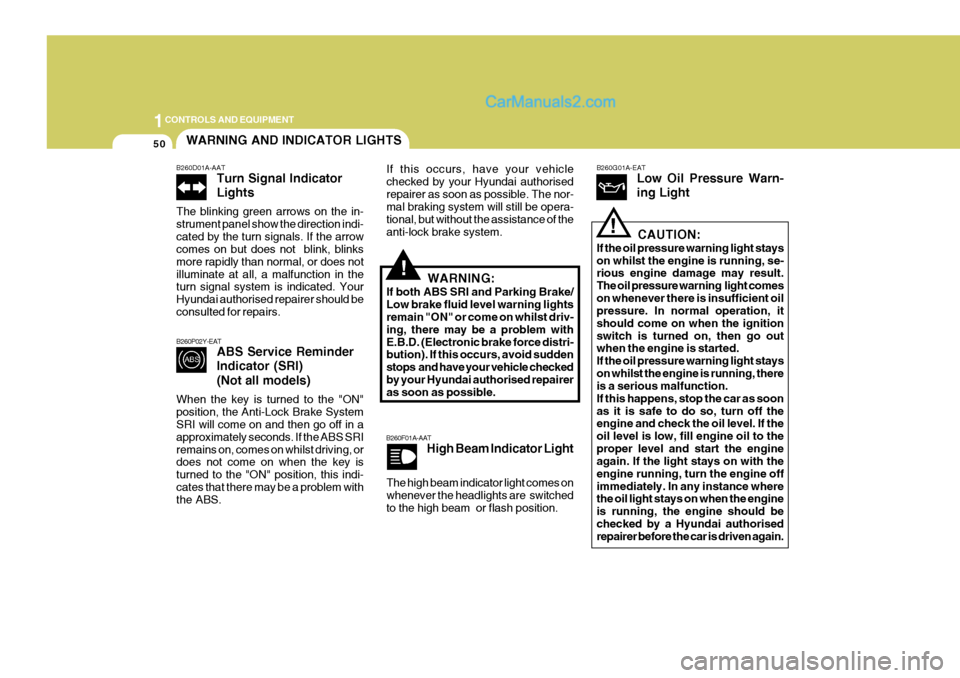
ABS Service Reminder Indicator (SRI) (Not all models)
When the key is turned to the "ON" position, the Anti-Lock Brake System SRI will come on and then go off in a approximately seconds. If the ABS SRIremains on, comes on whilst driving, or does not come on when the key is turned to the "ON" position, this indi-cates that there may be a problem with the ABS. If this occurs, have your vehicle checked by your Hyundai authorisedrepairer as soon as possible. The nor- mal braking system will still be opera- tional, but without the assistance of theanti-lock brake system.
B260F01A-AAT High Beam Indicator Light B260G01A-EAT
Low Oil Pressure Warn- ing Light
CAUTION:
If the oil pressure warning light stays on whilst the engine is running, se- rious engine damage may result. The oil pressure warning light comeson whenever there is insufficient oil pressure. In normal operation, it should come on when the ignitionswitch is turned on, then go out when the engine is started. If the oil pressure warning light stayson whilst the engine is running, there is a serious malfunction. If this happens, stop the car as soonas it is safe to do so, turn off the engine and check the oil level. If the oil level is low, fill engine oil to theproper level and start the engine again. If the light stays on with the engine running, turn the engine offimmediately. In any instance where the oil light stays on when the engine is running, the engine should bechecked by a Hyundai authorised repairer before the car is driven again.
WARNING AND INDICATOR LIGHTS
B260D01A-AAT Turn Signal Indicator Lights
The blinking green arrows on the in- strument panel show the direction indi-cated by the turn signals. If the arrow comes on but does not blink, blinks more rapidly than normal, or does notilluminate at all, a malfunction in the turn signal system is indicated. Your Hyundai authorised repairer should beconsulted for repairs.
The high beam indicator light comes on whenever the headlights are switched to the high beam or flash position. WARNING:
If both ABS SRI and Parking Brake/ Low brake fluid level warning lights remain "ON" or come on whilst driv- ing, there may be a problem withE.B.D. (Electronic brake force distri- bution). If this occurs, avoid sudden stops and have your vehicle checkedby your Hyundai authorised repairer as soon as possible.
Page 362 of 539
1CONTROLS AND EQUIPMENT
54
!
B260U01HP-EAT
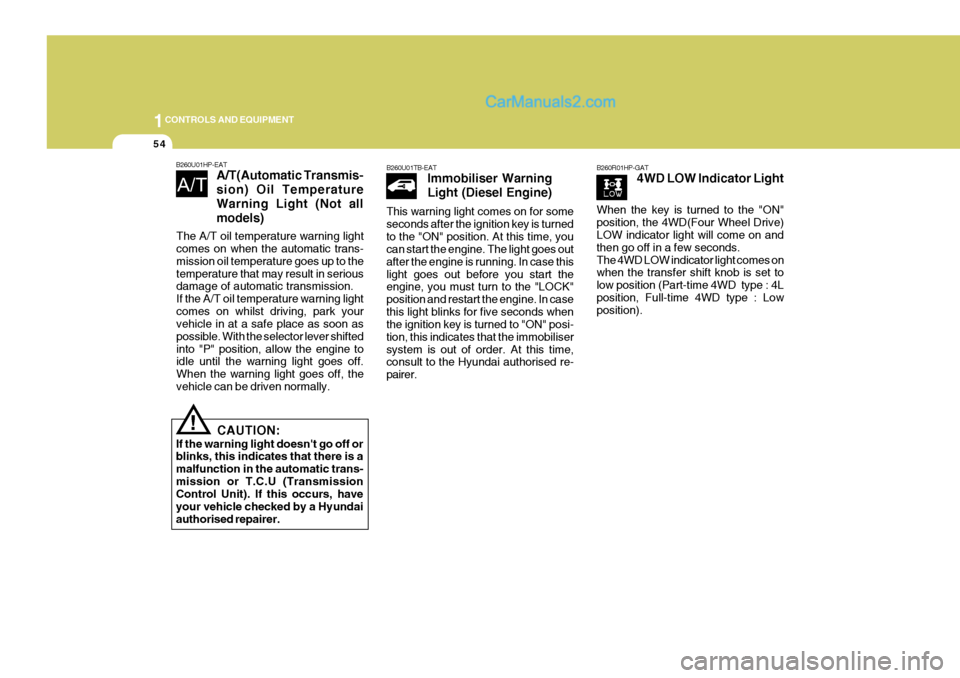
A/T(Automatic Transmis- sion) Oil TemperatureWarning Light (Not allmodels)
CAUTION:
If the warning light doesn't go off or blinks, this indicates that there is a malfunction in the automatic trans-mission or T.C.U (Transmission Control Unit). If this occurs, have your vehicle checked by a Hyundaiauthorised repairer.
B260U01TB-EAT Immobiliser Warning Light (Diesel Engine)
This warning light comes on for some seconds after the ignition key is turnedto the "ON" position. At this time, you can start the engine. The light goes out after the engine is running. In case thislight goes out before you start the engine, you must turn to the "LOCK" position and restart the engine. In casethis light blinks for five seconds when the ignition key is turned to "ON" posi- tion, this indicates that the immobilisersystem is out of order. At this time, consult to the Hyundai authorised re- pairer.B260R01HP-GAT 4WD LOW Indicator Light
The A/T oil temperature warning light comes on when the automatic trans- mission oil temperature goes up to thetemperature that may result in serious damage of automatic transmission. If the A/T oil temperature warning lightcomes on whilst driving, park your vehicle in at a safe place as soon as possible. With the selector lever shiftedinto "P" position, allow the engine to idle until the warning light goes off. When the warning light goes off, thevehicle can be driven normally. When the key is turned to the "ON"position, the 4WD(Four Wheel Drive) LOW indicator light will come on and then go off in a few seconds.The 4WD LOW indicator light comes on when the transfer shift knob is set to low position (Part-time 4WD type : 4Lposition, Full-time 4WD type : Low position).
Page 364 of 539
1CONTROLS AND EQUIPMENT
56
!
B265B01HP-GAT
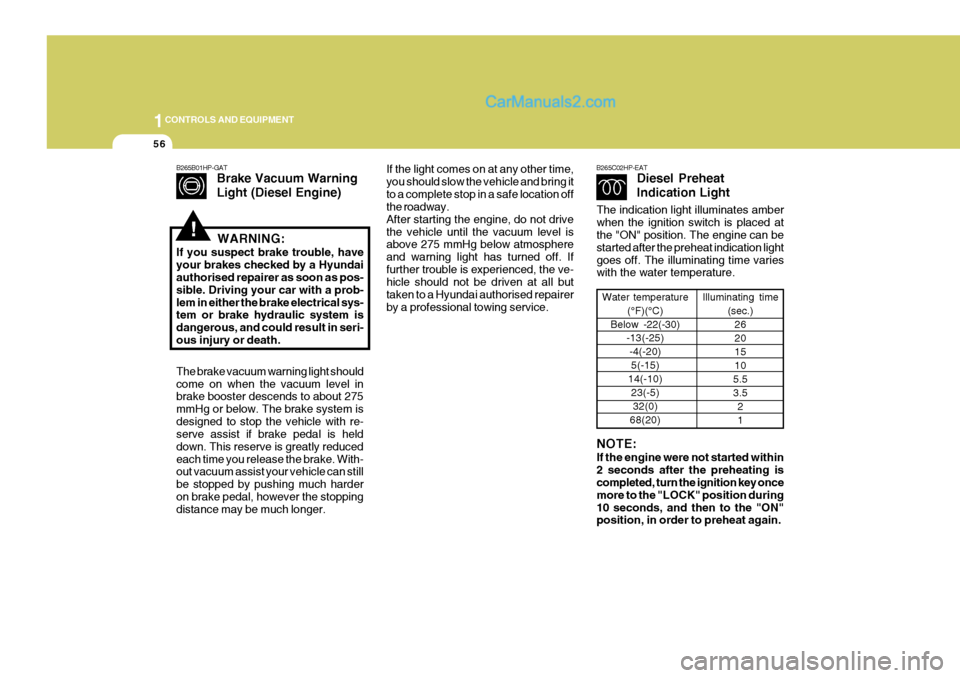
Brake Vacuum Warning Light (Diesel Engine)
The brake vacuum warning light should come on when the vacuum level in brake booster descends to about 275 mmHg or below. The brake system isdesigned to stop the vehicle with re- serve assist if brake pedal is held down. This reserve is greatly reducedeach time you release the brake. With- out vacuum assist your vehicle can still be stopped by pushing much harderon brake pedal, however the stopping distance may be much longer. WARNING:
If you suspect brake trouble, have your brakes checked by a Hyundai authorised repairer as soon as pos- sible. Driving your car with a prob-lem in either the brake electrical sys- tem or brake hydraulic system is dangerous, and could result in seri-ous injury or death.If the light comes on at any other time, you should slow the vehicle and bring itto a complete stop in a safe location off the roadway. After starting the engine, do not drivethe vehicle until the vacuum level is above 275 mmHg below atmosphere and warning light has turned off. Iffurther trouble is experienced, the ve- hicle should not be driven at all but taken to a Hyundai authorised repairerby a professional towing service. B265C02HP-EAT
Diesel Preheat Indication Light
Water temperature
(°F)(°C)
Below -22(-30) -13(-25)
-4(-20)5(-15)
14(-10) 23(-5)32(0)
68(20) Illuminating time
(sec.)26 201510
5.53.5 21
NOTE: If the engine were not started within 2 seconds after the preheating is completed, turn the ignition key once more to the "LOCK" position during10 seconds, and then to the "ON" position, in order to preheat again.
The indication light illuminates amber when the ignition switch is placed at the "ON" position. The engine can be started after the preheat indication lightgoes off. The illuminating time varies with the water temperature.
Page 374 of 539
1CONTROLS AND EQUIPMENT
66DIGITAL CLOCK
4.MODE - Push "MODE" button to
display a 12- or 24-hour clock. When the 12-hour clock is in use, the letters AM or PM appear with the time.
5. - The time is displayed on the LCD by pushing in on the switchand is turned off by pushing in on theswitch again.
! CAUTION:
The inside of the front/rear windscreen should never be cleanedwith a hard or sharp implement since damage to the heating element may occur. The glass should only becleaned with a soft cloth or chamois leather with the use only of a mild detergent or proprietary glass cleanerwhere necessary. Only horizontal movement of the cloth should be made when clean-ing the glass and care should be exercised to ensure that the heat- ing elements are not damaged byrings or jewellery whilst the glass is being cleaned. NOTE: The engine must be running for the front/rear window defroster to oper- ate. B400A01HP-EAT There are five control buttons for the digital clock. Their functions are: 1.
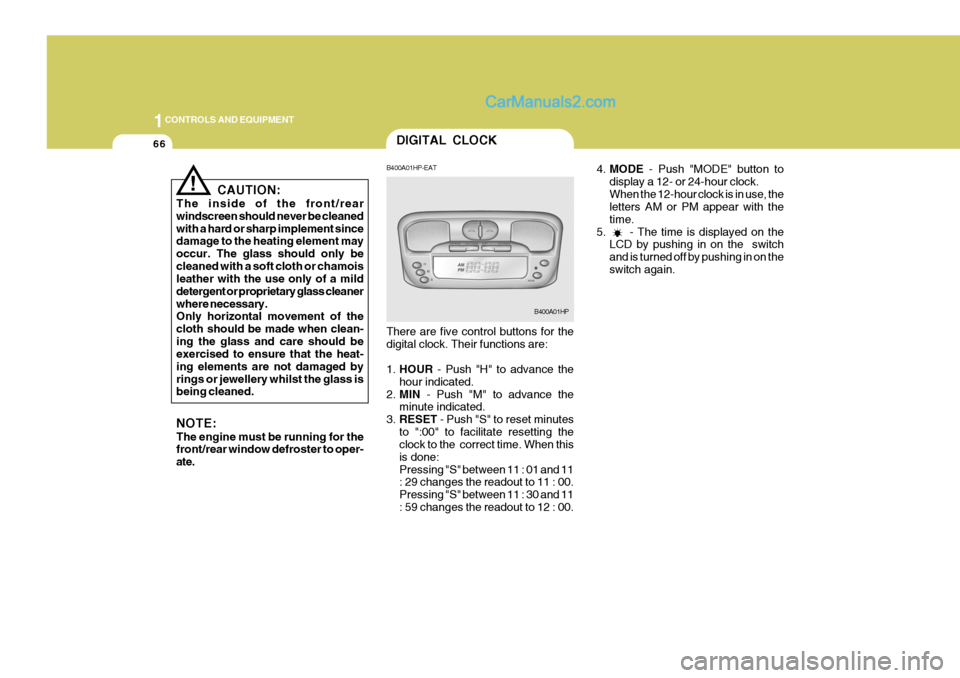
HOUR - Push "H" to advance the
hour indicated.
2. MIN - Push "M" to advance the
minute indicated.
3. RESET - Push "S" to reset minutes
to ":00" to facilitate resetting the clock to the correct time. When this is done:Pressing "S" between 11 : 01 and 11 : 29 changes the readout to 11 : 00. Pressing "S" between 11 : 30 and 11: 59 changes the readout to 12 : 00.
B400A01HP
Page 377 of 539
1
CONTROLS AND EQUIPMENT
69
!
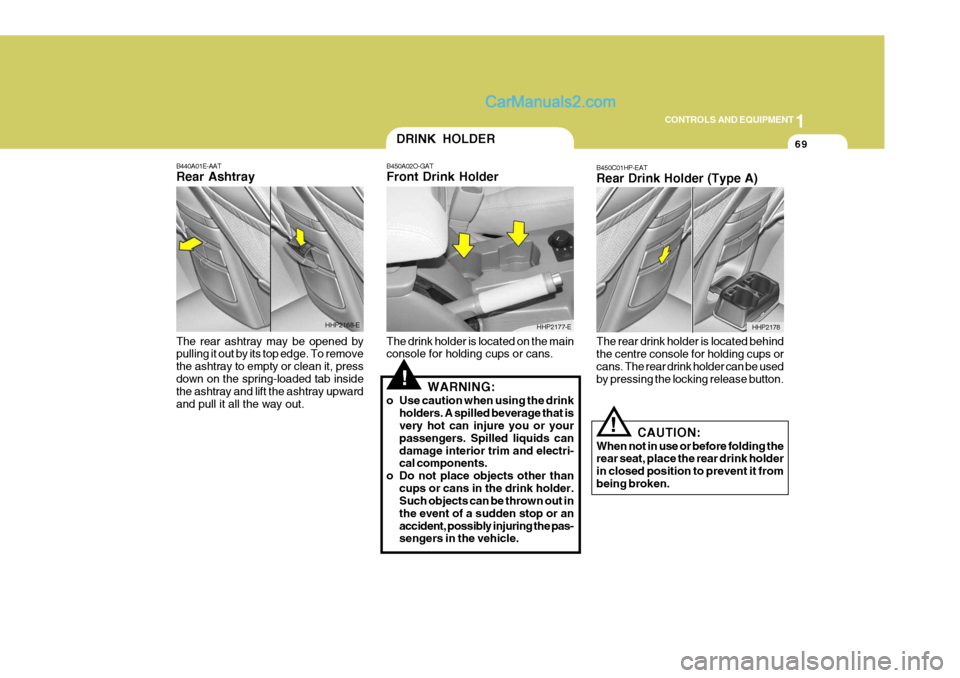
B440A01E-AAT Rear Ashtray The rear ashtray may be opened by pulling it out by its top edge. To remove the ashtray to empty or clean it, pressdown on the spring-loaded tab inside the ashtray and lift the ashtray upward and pull it all the way out. The drink holder is located on the main console for holding cups or cans.
WARNING:
o Use caution when using the drink holders. A spilled beverage that isvery hot can injure you or your passengers. Spilled liquids candamage interior trim and electri- cal components.
o Do not place objects other than
cups or cans in the drink holder.Such objects can be thrown out in the event of a sudden stop or anaccident, possibly injuring the pas- sengers in the vehicle.
HHP2168-E
DRINK HOLDER
B450A02O-GAT Front Drink Holder
HHP2177-E
B450C01HP-EAT Rear Drink Holder (Type A) The rear drink holder is located behind the centre console for holding cups or cans. The rear drink holder can be usedby pressing the locking release button. HHP2178
CAUTION:
When not in use or before folding the rear seat, place the rear drink holder in closed position to prevent it frombeing broken.!
Page 380 of 539
1CONTROLS AND EQUIPMENT
72
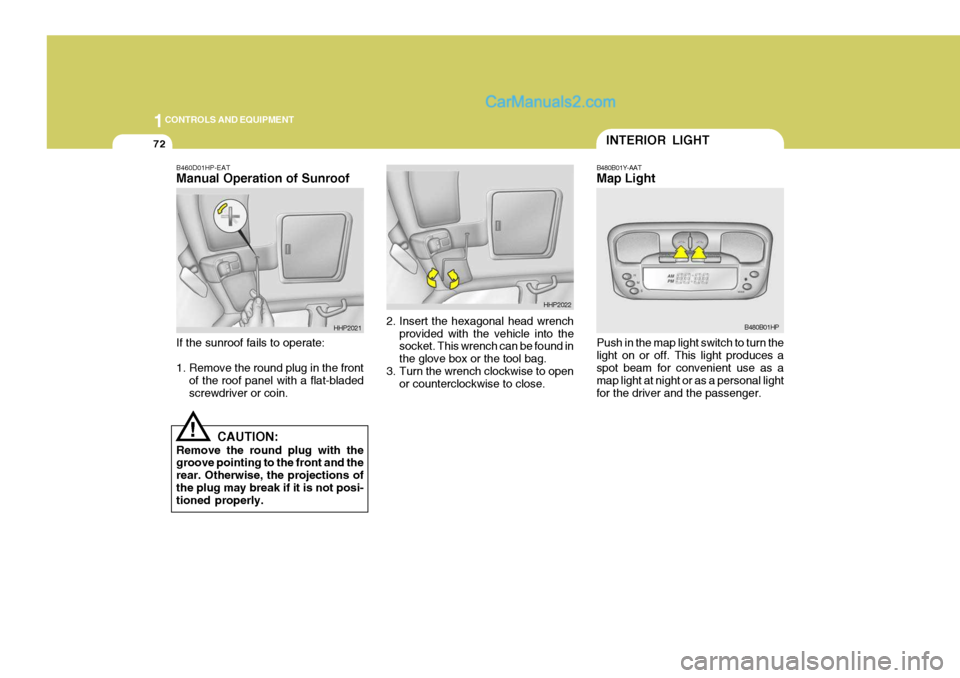
Push in the map light switch to turn the light on or off. This light produces a spot beam for convenient use as a map light at night or as a personal lightfor the driver and the passenger.INTERIOR LIGHT
B480B01Y-AAT Map Light
B480B01HP
!
B460D01HP-EAT Manual Operation of Sunroof If the sunroof fails to operate:
1. Remove the round plug in the front
of the roof panel with a flat-bladed screwdriver or coin. 2. Insert the hexagonal head wrench
provided with the vehicle into the socket. This wrench can be found in the glove box or the tool bag.
3. Turn the wrench clockwise to open
or counterclockwise to close.
CAUTION:
Remove the round plug with the groove pointing to the front and the rear. Otherwise, the projections ofthe plug may break if it is not posi- tioned properly.
HHP2021
HHP2022
Page 383 of 539
1
CONTROLS AND EQUIPMENT
75
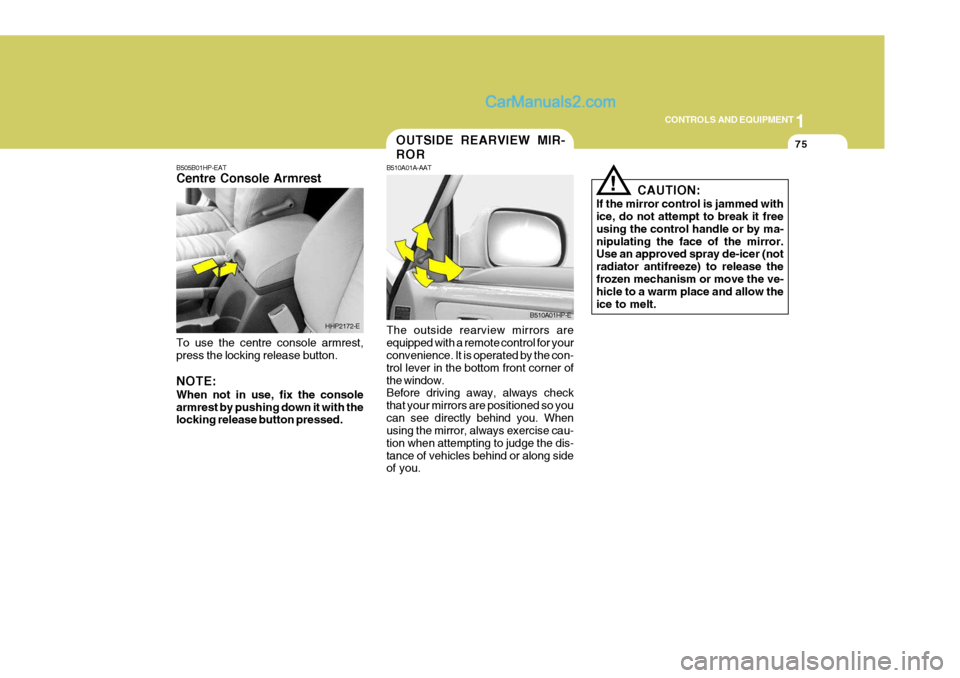
The outside rearview mirrors are equipped with a remote control for your convenience. It is operated by the con- trol lever in the bottom front corner ofthe window. Before driving away, always check that your mirrors are positioned so youcan see directly behind you. When using the mirror, always exercise cau- tion when attempting to judge the dis-tance of vehicles behind or along side of you.
B505B01HP-EAT Centre Console Armrest To use the centre console armrest, press the locking release button. NOTE: When not in use, fix the console armrest by pushing down it with the locking release button pressed. HHP2172-E
B510A01HP-E
OUTSIDE REARVIEW MIR- ROR
B510A01A-AAT
! CAUTION:
If the mirror control is jammed with ice, do not attempt to break it free using the control handle or by ma-nipulating the face of the mirror. Use an approved spray de-icer (not radiator antifreeze) to release thefrozen mechanism or move the ve- hicle to a warm place and allow the ice to melt.
Page 387 of 539
1
CONTROLS AND EQUIPMENT
79
o The tailgate door can be locked or unlocked with a key.
o The tailgate door is opened by pulling the outside handle up, raising the tailgate door manually.
o To close, lower the tailgate door, then press down on it until it isclosed. To be sure the tailgate dooris fully closed, always try to pull it up again without using the outside handle.
!
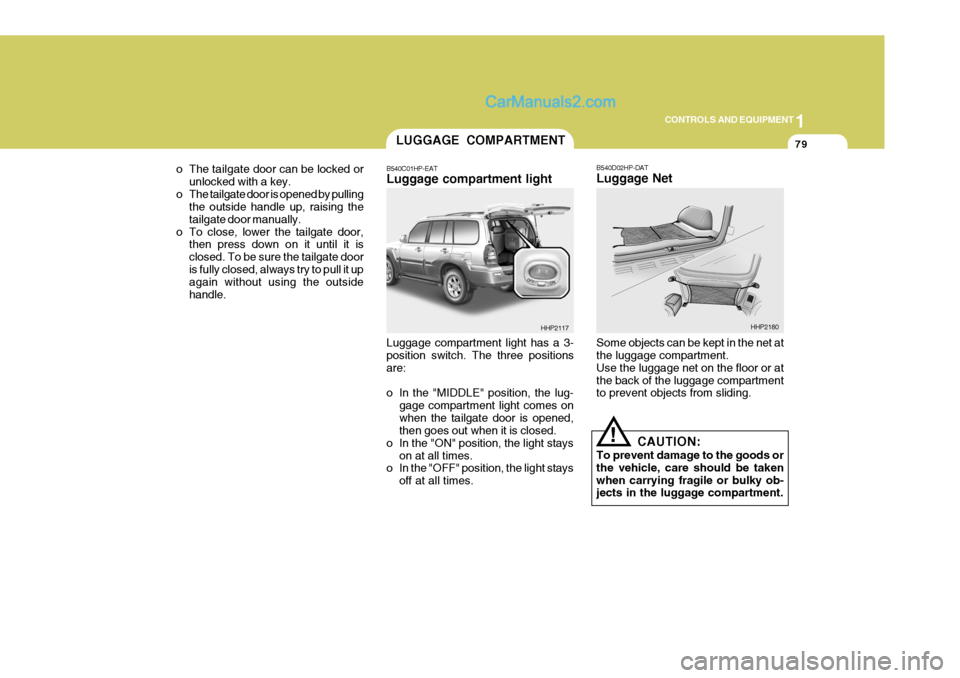
Luggage compartment light has a 3- position switch. The three positions are:
o In the "MIDDLE" position, the lug-
gage compartment light comes on when the tailgate door is opened, then goes out when it is closed.
o In the "ON" position, the light stays on at all times.
o In the "OFF" position, the light stays
off at all times. B540D02HP-DAT Luggage Net Some objects can be kept in the net at the luggage compartment. Use the luggage net on the floor or atthe back of the luggage compartment to prevent objects from sliding.
CAUTION:
To prevent damage to the goods or the vehicle, care should be takenwhen carrying fragile or bulky ob- jects in the luggage compartment.
LUGGAGE COMPARTMENT
B540C01HP-EAT Luggage compartment light
HHP2117HHP2180