Page 20 of 163
Headlight1High-beam headlights
2 Low-beam headlight
3 Parking light
218zGeneral views
Page 22 of 163
Multifunction display1Clock ( 42), Panel for
RDC status indicators
OE
( 44), Panel for oil-level
information
OE
( 47)
2 Panel for warnings
( 21)
3 Panel for the on-board
computer's status indic-
ators
OE
( 44)
4 Gear indicator ( 20)
5 Coolant temperature
readout ( 21)
6 Panel for ESA status in-
dicatorsOE
( 59) 7
Odometer reading
( 41)
8 Fuel gauge ( 20)
Warning and telltale
lights1Telltale light, left turn in-
dicator
2 Telltale light, high-beam
headlight
3 Warning light, general
4 Telltale light, neutral
5 ABS warning light
6 Telltale light, right turn
indicator
ABS warning lightThe way in which the ABS
warning light indicates status
can differ in some countries.
Possible national variant.Function indicatorsFuel capacity
The horizontal bars be-
low the fuel-pump sym-
bol indicate the remaining
quantity of fuel.
Gear
Shows which gear is en-
gaged.
If no gear is engaged, the
gear indicator shows N and
the 'neutral' telltale light also
lights up.
320zStatus indicators
Page 29 of 163

Rear light bulb defectiveGeneral warning light
lights up yellow.
The
LAMPR!
warning ap-
pears on the display.
A defective bulb places
your safety at risk be-
cause it is easier for other
users to oversee you and
your motorcycle.
Replace defective bulbs as
soon as possible; always
carry a complete set of spare
bulbs if possible.
Rear light or brake light bulb
defective.
Replacing brake light and
rear light bulb ( 113)
Front light bulb defective
The
LAMPF!
warning ap-
pears on the display. A defective bulb places
your safety at risk be-
cause it is easier for other
users to oversee you and
your motorcycle.
Replace defective bulbs as
soon as possible; always
carry a complete set of spare
bulbs if possible.
Low-beam headlight, high-
beam headlight, side-light or
turn-indicator bulb defective.
Replacing low-beam head-
light bulb ( 109)
Replacing high-beam head-
light bulb ( 111)
Replacing parking-light bulb
( 113)
Replacing front turn indicat-
or bulbs ( 115)
Replacing rear turn indicator
bulbs ( 117) Bulbs defective
General warning light
lights up yellow.
The
LAMPS!
warning ap-
pears on the display.
A defective bulb places
your safety at risk be-
cause it is easier for other
users to oversee you and
your motorcycle.
Replace defective bulbs as
soon as possible; always
carry a complete set of spare
bulbs if possible.
A combination of the bulb de-
fects described above has
occurred.
See the fault descriptions
above.
Ice warning Ice warning symbol ap-
pears on the display.
327zStatus indicators
Page 52 of 163

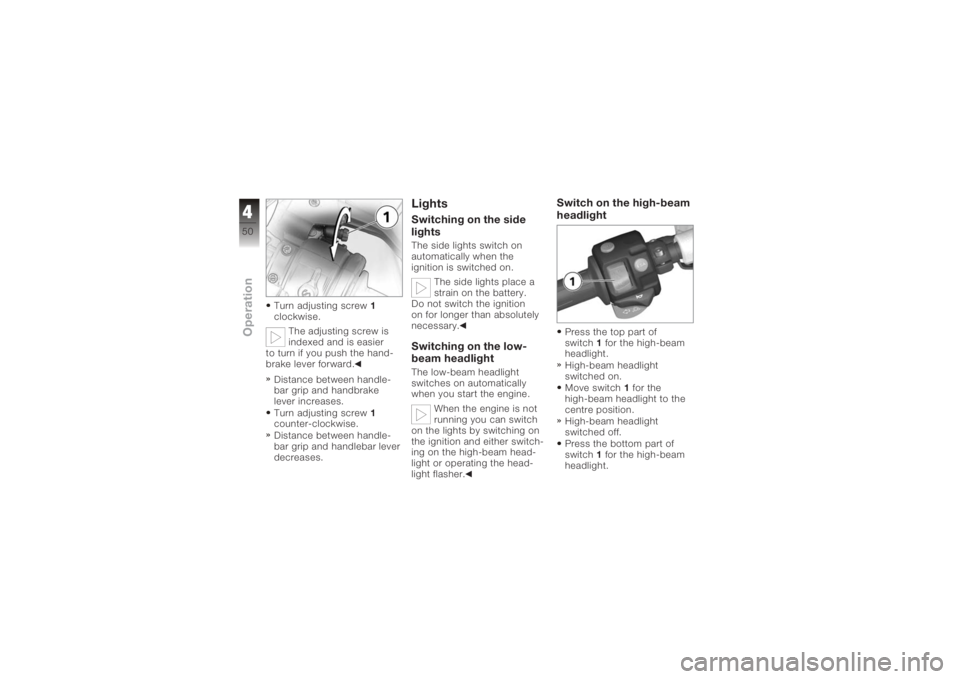
Turn adjusting screw1
clockwise.
The adjusting screw is
indexed and is easier
to turn if you push the hand-
brake lever forward.
Distance between handle-
bar grip and handbrake
lever increases.
Turn adjusting screw 1
counter-clockwise.
Distance between handle-
bar grip and handlebar lever
decreases.
LightsSwitching on the side
lightsThe side lights switch on
automatically when the
ignition is switched on.
The side lights place a
strain on the battery.
Do not switch the ignition
on for longer than absolutely
necessary.Switching on the low-
beam headlightThe low-beam headlight
switches on automatically
when you start the engine.
When the engine is not
running you can switch
on the lights by switching on
the ignition and either switch-
ing on the high-beam head-
light or operating the head-
light flasher.
Switch on the high-beam
headlightPress the top part of
switch 1for the high-beam
headlight.
High-beam headlight
switched on.
Move switch 1for the
high-beam headlight to the
centre position.
High-beam headlight
switched off.
Press the bottom part of
switch 1for the high-beam
headlight.
450zOperation
Page 53 of 163

The high-beam headlight
is switched on until you re-
lease the button (headlight
flasher).Switching on parking
lightsSwitch off the ignition.You can switch on the
parking lights only imme-
diately after switching off the
ignition.
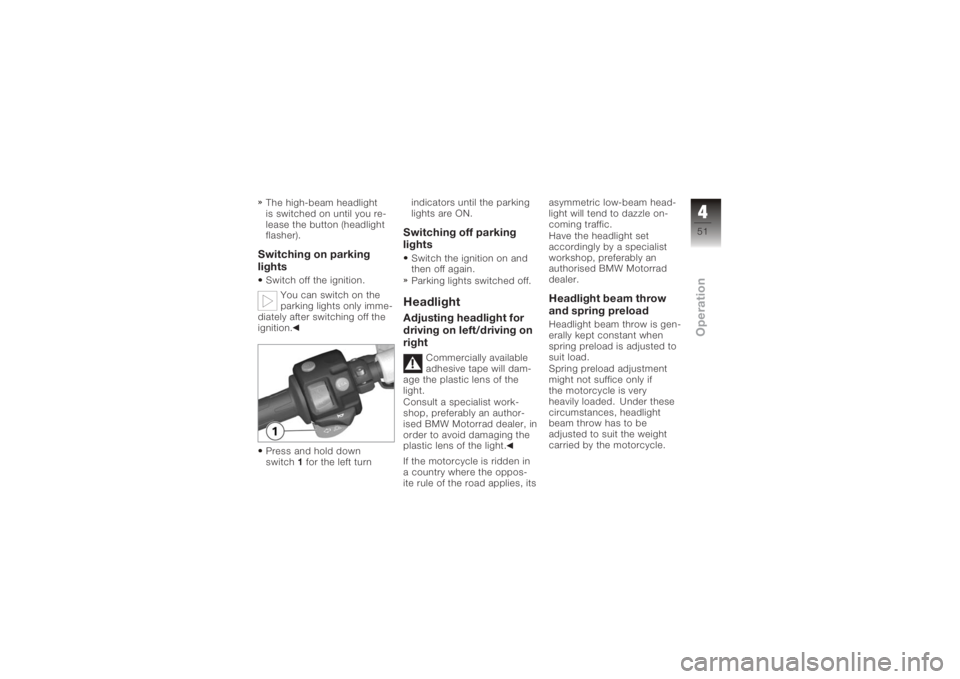
Press and hold down
switch 1for the left turn indicators until the parking
lights are ON.
Switching off parking
lightsSwitch the ignition on and
then off again.
Parking lights switched off.HeadlightAdjusting headlight for
driving on left/driving on
right
Commercially available
adhesive tape will dam-
age the plastic lens of the
light.
Consult a specialist work-
shop, preferably an author-
ised BMW Motorrad dealer, in
order to avoid damaging the
plastic lens of the light.
If the motorcycle is ridden in
a country where the oppos-
ite rule of the road applies, its asymmetric low-beam head-
light will tend to dazzle on-
coming traffic.
Have the headlight set
accordingly by a specialist
workshop, preferably an
authorised BMW Motorrad
dealer.
Headlight beam throw
and spring preloadHeadlight beam throw is gen-
erally kept constant when
spring preload is adjusted to
suit load.
Spring preload adjustment
might not suffice only if
the motorcycle is very
heavily loaded. Under these
circumstances, headlight
beam throw has to be
adjusted to suit the weight
carried by the motorcycle.
451zOperation
Page 111 of 163

this substitute rear light, the
indicators in the display tell
you that a bulb defect has oc-
curred.A defective bulb places
your safety at risk be-
cause it is easier for other
users to oversee you and
your motorcycle.
Replace defective bulbs as
soon as possible; always
carry a complete set of spare
bulbs if possible.
The bulb is pressurised
and can cause injury if
damaged.
Wear protective goggles
and gloves when changing
bulbs.
The types of bulb fitted
to your motorcycle are
listed in the section entitled
"Technical data". Do not touch the glass
of new bulbs with your
fingers. Use a clean, dry cloth
to hold the bulbs when hand-
ling them. Dirt deposits, in
particular oil and grease, in-
terfere with heat radiation
from the bulb. This leads to
overheating and shortens the
bulb's operating life.
Replacing low-beam
headlight bulb
If it is not standing firmly,
the motorcycle could
topple in the course of the
operations described below.
Always make sure that the
motorcycle is stable and
firmly supported.
Turn the handlebars
to the left to facilitate
access. Make sure the ground is
level and firm and place the
motorcycle on its stand.
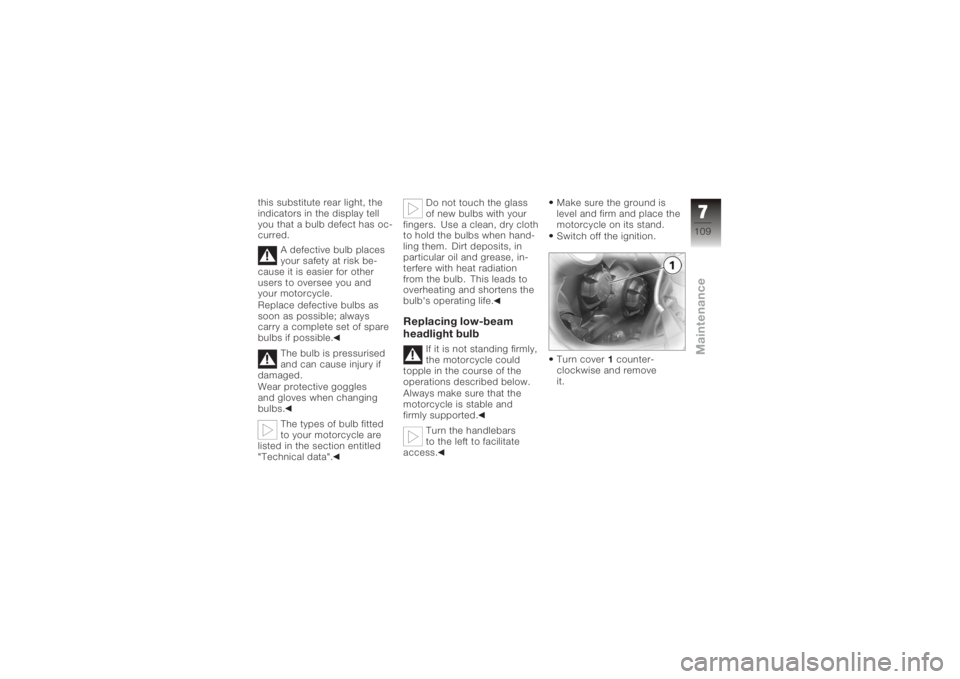
Switch off the ignition.
Turn cover
1counter-
clockwise and remove
it.
7109zMaintenance
Page 112 of 163
Disconnect plug2.
Release spring clip 3at left
and right and swing it up. Remove bulb
4.
Replace the defective bulb.
Low-beam headlight
bulb
H7/12V/55W Install bulb
4; make sure
that tab 5is pointing up.
Engage spring retainer 3on
left and right.
7110zMaintenance
Page 113 of 163
Connect plug2.
Turn cover 1clockwise to
install.
Replacing high-beam
headlight bulb
If it is not standing firmly,
the motorcycle could
topple in the course of the
operations described below.
Always make sure that the
motorcycle is stable and
firmly supported.
Turn the handlebars
to the left to facilitate
access.
Make sure the ground is
level and firm and place the
motorcycle on its stand.
Switch off the ignition. Turn cover
1counter-
clockwise and remove
it.
Disconnect plug 2.
7111zMaintenance