Page 45 of 163
Repeatedly press INFO but-
ton1until the total distance
covered reading appears on
the display. with OE On-board computer:
Repeatedly press INFO but-
ton 1until the clock appears
on the display. Press and hold down the
INFO button until the read-
ing changes.
Hours reading
2starts to
flash.
Press the INFO button.
The hour increments by one
each time you press the
button.
Press and hold down the
INFO button until the read-
ing changes.
Minutes reading 3starts to
flash.
Press the INFO button.
443zOperation
Page 46 of 163
The minute increments by
one each time you press the
button.
Press and hold down the
INFO button until the read-
ing changes.
The reading stops flashing.
The time is now set.Tyre pressure control
RDC
OE
Viewing tyre-pressure
readingsSwitch on the ignition.Repeatedly press INFO but-
ton
1until the tyre pres-
sures appear in the display.
The tyre-pressure readings
alternate with the clock. The
front tyre pressure is on the
left; the reading on the right is the rear tyre pressure. If your
motorcycle is fitted with an
on-board computer, the tyre
pressures are displayed as an
additional set of readings by
the on-board computer.
On-board computer
OE
Selecting readingsSwitch on the ignition.
Press INFO button
1once
at each step.
444zOperation
Page 62 of 163

COMF
Comfortable damping
characteristic
NORM
Normal damping
characteristic
SPORT
Sporty damping
characteristic
The setting shown on the
display is automatically
accepted as the damping
characteristic if you allow
a certain length of time
to pass without pressing
button 1. During the setting
procedure, the display
flashes.
Adjust spring preloadStart the engine.
You cannot adjust spring
preload while the motor-
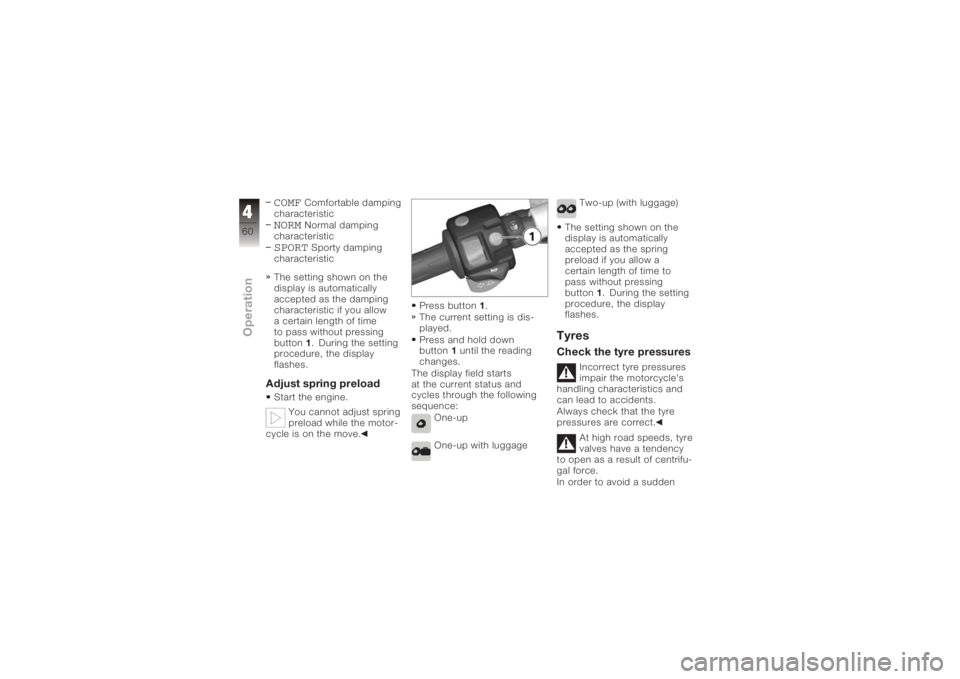
cycle is on the move. Press button
1.
The current setting is dis-
played.
Press and hold down
button 1until the reading
changes.
The display field starts
at the current status and
cycles through the following
sequence:
One-up
One-up with luggage Two-up (with luggage)
The setting shown on the
display is automatically
accepted as the spring
preload if you allow a
certain length of time to
pass without pressing
button 1. During the setting
procedure, the display
flashes.
TyresCheck the tyre pressures
Incorrect tyre pressures
impair the motorcycle's
handling characteristics and
can lead to accidents.
Always check that the tyre
pressures are correct.
At high road speeds, tyre
valves have a tendency
to open as a result of centrifu-
gal force.
In order to avoid a sudden
460zOperation
Page 99 of 163

ably an authorised BMW
Motorrad dealer.The clutch system is
filled with a special hy-
draulic fluid that does not
have to be changed.TyresCheck the tyre tread
depth
Your motorcycle's hand-
ling and grip can be im-
paired even before the tyres
wear to the minimum tyre
tread depth permitted by law.
Have the tyres changed in
good time before they wear
to the minimum permissible
tread depth.
Make sure the ground is
level and firm and place the
motorcycle on its stand. Measure the tyre tread
depth in the main tread
grooves with wear marks.
Tyres have wear indic-
ators integrated into the
main tread grooves. The tyre
is worn out when the tyre
tread has worn down to the
level of the marks. The loca-
tions of the marks are indic-
ated on the edge of the tyre,
e.g. by the letters TI, TWI or
by an arrow.
If the tyre tread is worn to
minimum:
Replace tyre or tyres, as ap-
plicable.
RimsChecking rimsMake sure the ground is
level and firm and place the
motorcycle on its stand. Visually inspect the rims for
defects.
Have damaged rims
checked and, if necessary,
replaced by a specialist
workshop, preferably an
authorised BMW Motorrad
dealer.
WheelsApproved wheels and
tyresFor each size of tyre BMW
Motorrad tests certain makes,
and approves those that it
certifies as roadworthy. If
BMW Motorrad has not ap-
proved the wheels and tyres,
it cannot assess their suitab-
ility or provide any guarantee
of road safety.
Use only wheels and tyres ap-
proved by BMW Motorrad for
your type of motorcycle.
797zMaintenance
Page 130 of 163

Paint careWashing the motorcycle
regularly will help counteract
the long-term effects of
substances that damage
the paint, especially if your
motorcycle is ridden in areas
with high air pollution or
natural sources of dirt, for
example tree resin or pollen.
Remove particularly
aggressive substances
immediately, however, as
otherwise the paint can
be affected or become
discoloured. Substances
of this nature include spilt
fuel, oil, grease, brake fluid
and bird droppings. We
recommend BMW vehicle
polish or BMW paint cleaner
for this purpose.
Marks on the paintwork are
particularly easy to see after
the motorcycle has been
washed. Remove stains ofthis kind immediately, using
cleaning-grade benzene or
petroleum spirit on a clean
cloth or ball of cotton wool.
We recommend that specks
of tar be removed with BMW
tar remover. Remember to
wax the parts treated in this
way.
Protective wax
coatingFor the protective wax coating
of paint, we recommend that
you use only BMW vehicle
wax or agents that contain
carnauba wax or synthetic
waxes.
It is time to rewax the paint-
work when water "puddles"
on the surface, instead of
forming beads.
Laying up the
motorcycleClean the motorcycle.
Remove the battery.
Spray the brake and clutch
lever pivots and the main
and side stand pivots with a
suitable lubricant.
Coat bright metal and
chrome-plated parts with
an acid-free grease (e.g.
Vaseline).
Stand the motorcycle in a
dry room in such a way that
there is no load on either
wheel.
Before laying the vehicle
up out of use, have the
engine oil and the oil filter ele-
ment changed by a special-
ist workshop, preferably an
authorised BMW Motorrad
dealer. Combine work for lay-
ing up/restoring to use with a
BMW service or inspection.
8128zCare