Page 5 of 163
Parking your
motorcycle . . . ........... 69
Refuelling . . . . . .......... 71
Tyre pressure control
RDC
OE
.................. 72
Brake system, general . . . 73
Brake system with BMW
Motorrad Integral ABS . . . 74
6 Accessories .......... 79
General instructions . . . . . 80
Power socket . .......... 80
Luggage . . . . . . .......... 81
CaseOA
................. 81
Breakdown assistance
kit
OA
.................... 85
7 Maintenance . . . . . . . . . 87
General instructions . . . . . 88
Toolkit . ................. 88
Engine oil . . . . . .......... 89
Brake system, general . . . 91
Brake pads . . . . .......... 92
Brake fluid . . . . .......... 94
Clutch . ................. 96
Tyres . . ................. 97
Rims . . . ................. 97 Wheels .
................. 97
Front-wheel stand . ..... 105
Rear-wheel stand . . ..... 107
Bulbs . . ................ 108
Jump start . . . . ......... 118
Battery . ................ 119
8 Care . ................ 125
Care products . ......... 126
Washing motorcycle . . . . 126
Cleaning easily damaged
components . . . ......... 127
Paint care . . . . . ......... 128
Protective wax
coating ................ 128
Laying up the
motorcycle . . . . ......... 128
Restoring motorcycle to
use .................... 129
9 Technical data . . ..... 131
Troubleshooting
chart . . . ................ 132
Threaded fasteners ..... 133
Engine . ................ 134
Riding specifications . . . . 137
Clutch . ................ 137 Transmission . .
......... 137
Final drive . . . . . ......... 139
Running gear . . ......... 139
Brakes . ................ 140
Wheels and tyres . . ..... 140
Electrics . . . . . . ......... 141
Frame . . ................ 143
Dimensions . . . ......... 143
Weights ................ 144
10 Service . . . . ......... 145
BMW Motorrad
service . ................ 146
BMW Motorrad service
quality . ................ 146
BMW Motorrad Service
Card - On-the-spot
breakdown
assistance . . . . ......... 147
BMW Motorrad service
network ................ 147
Maintenance work . ..... 147
Maintenance
schedules . . . . . ......... 148
Confirmation of
maintenance work . ..... 149
Page 24 of 163
Warnings, overview
Mode of presentation Meaning
Lights up yellowThe
EWS!
warn-
ing appears on
the display. Electronic immobiliser active ( 24)
Lights up yellow The
FUEL!
warning flashes. Fuel down to reserve ( 24)
Lights up red Temperature reading flashesCoolant temperature too high
( 24)
Lights up yellow Appears on the displayEngine electronics ( 25)
Flashes red Appears on the displayInsufficient engine oil pressure
( 25)
Shows accom-
panied by theCHECK OILwarning Engine-oil level too low ( 26)
Lights up red Appears on the displayInsufficient battery charge current
( 26)
Lights up yellow The
LAMPR!
warning appears
on the display. Rear light bulb defective ( 27)
322zStatus indicators
Page 56 of 163
Lift the seat at the rear.The seat can be dam-
aged at the edges if it is
placed on a rough surface.
Lay the seat upholstered side
down on a smooth, clean sur-
face, such as the fuel tank.
Release the key and pull the
seat back out of its holder.
Installing the seat
If too much pressure is
applied in the forward
direction, there is a danger
that the motorcycle will be
pushed off its stand.
Always make sure that the
motorcycle is stable and
firmly supported.
Push the seat forward into
holders 1. Push down firmly on the
seat, applying pressure to
the point above the latch.
The seat engages with an
audible click.
454zOperation
Page 65 of 163
Riding
Safety instructions . . . . . . . . . . . . . 64
Checklist . . . . . . . . . . . . . . . . . . . . . . 66
Starting . . . . . . . . . . . . . . . . . . . . . . . 66
Running in . . . . . . . . . . . . . . . . . . . . 68
Parking your motorcycle . . . . . . . 69
Refuelling . . . . . . . . . . . . . . . . . . . . . 71
Tyre pressure control RDC
OE
.. 72
Brake system, general . . . . . . . . . 73
Brake system with BMW
Motorrad Integral ABS . . . . . . . . . 74
563zRiding
Page 68 of 163
ponents are not designed to
withstand. Damage caused in
this way is not covered by the
warranty.
Do not tamper with the
control unit of the electronic
engine-management
system.ChecklistUse the following checklist
to check important functions,
settings and wear limits be-
fore you ride off.Brakes
Brake-fluid levels, front and
rear
Clutch
Clutch fluid level
Shock absorber setting and
spring preload
Tyre-tread depth and tyre
pressures Cases correctly installed
and luggage secured
At regular intervals: Engine oil level (every refuel-
ling stop)
Brake-pad wear (every third
refuelling stop)
StartingSide standYou cannot start the motor-
cycle with the side stand ex-
tended and a gear engaged.
The engine will switch itself off
if you start it with the gearbox
in neutral and then engage a
gear before retracting the side
stand.GearboxYou can start the engine
when the gearbox is in neutral
or if you pull the clutch with
a gear engaged. Do not pull
the clutch until after you have switched on the ignition, as
otherwise the engine will
refuse to start. When the
gearbox is in neutral, the
green neutral telltale light is
on and the gear indicator
in the multifunction display
shows N.
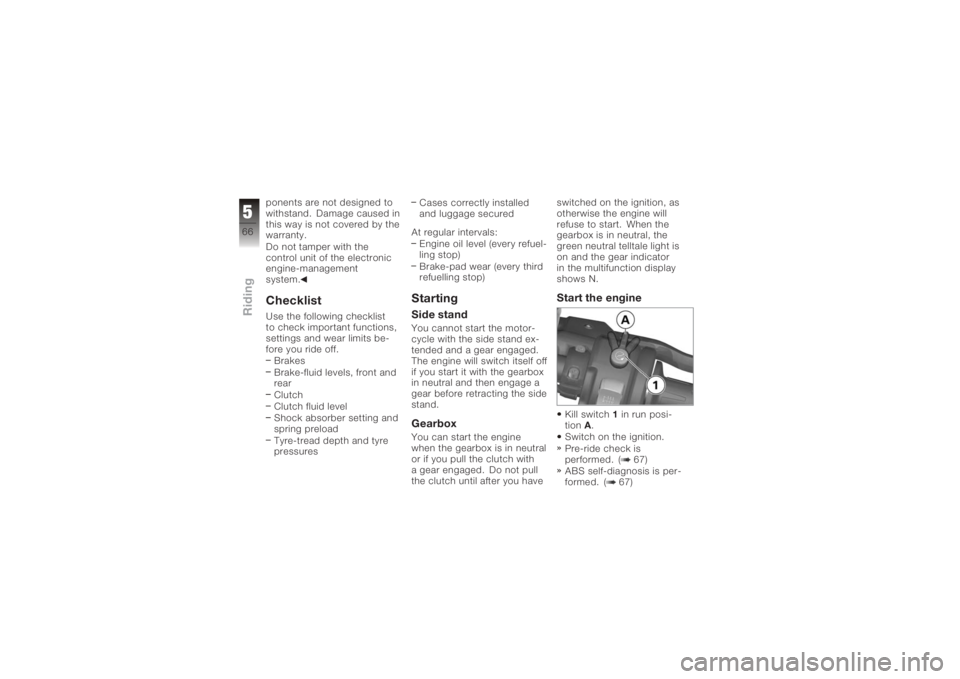
Start the engineKill switch
1in run posi-
tion A.
Switch on the ignition.
Pre-ride check is
performed. ( 67)
ABS self-diagnosis is per-
formed. ( 67)
566zRiding
Page 74 of 163
Recommended fuel
grade
95 ROZ/RON (Premium
unleaded (fuel grade,
usable with power- and
consumption-related
restrictions)) Usable fuel capacity
19 l Reserve fuel
4l
Press the filler cap down
firmly to close.
Remove the key and close
the protective cap.
Tyre pressure control
RDC
OE
FunctionA sensor integrated into each
tyre measures the air tem-
perature and the air pressure
inside the tyre and transmits
this information to the control
unit.
Each sensor has a
centrifugal-force tripswitch
that does not enable
transmission of the measured
values until the motorcycle
has accelerated to about
30 km/h. The display shows--
for each tyre until the
tyre-pressure signal is
received for the first time. The
sensors continue to transmit
the measured-value signals
for approximately 15 minutes
after the motorcycle comes to
a stop. The control unit can
administrate four sensors, so
two different sets of wheels
with RDC sensors can be
alternated on the motorcycle.
An error message is issued
if wheels without sensors
are fitted to a motorcycle
equipped with an RDC control
unit.
Temperature
compensationThe tyre-pressure readings
shown by the multifunction
display are temperature-
compensated; the reference
tyre temperature for these
readings is always 20 °C.
The air lines available to
the public in petrol stations
and motorway service areas
almost invariably show
temperature-dependent
tyre pressures, so in most
instances these gauge
572zRiding
Page 128 of 163
Care productsWe recommend that you
use the cleaning and care
products you can obtain
from your authorised BMW
Motorrad dealer. The
substances in BMW Care
Products have been tested in
laboratories and in practice;
they provide optimised
care and protection for the
materials used in your vehicle.The use of unsuitable
cleaning and care
products can damage vehicle
components.
Do not use solvents such as
cellulose thinners, cold clean-
ers, fuel or the like, and do
not use cleaning products
that contain alcohol.
Washing motorcycleWe recommend that you
use BMW insect remover to
soften and wash off insects
and resilient dirt on painted
parts prior to washing the
motorcycle.
To prevent stains, do
not wash the motorcycle
immediately after it has been
exposed to strong sunlight
and do not wash it in the sun.
Make sure that the motor-
cycle is washed frequently,
especially during the winter
months.
To remove road salt, clean
the motorcycle with cold wa-
ter immediately after every
trip.
After the motorcycle has
been washed, ridden
through water or ridden in
the rain, the brake discs and
pads might be wet and the brakes might not take effect
immediately.
Apply the brakes in good time
until the brakes have dried
out.
Warm water intensifies
the effect of salt.
Use only cold water to wash
off road salt.
The high pressure of
steam cleaners can
damage seals, the hydraulic
brake system, the electrical
system, and the seat.
Do not use a steam jet or
high-pressure cleaning
equipment.
8126zCare
Page 129 of 163
Cleaning easily
damaged componentsPlasticsClean plastic parts with water
and BMW plastic care emul-
sion. This includes in particu-
lar:Windscreen
Headlight lens made of
plastic
Glass cover of the instru-
ment cluster
Black, unpainted parts
If plastic parts are
cleaned using unsuitable
cleaning agents, the surfaces
can be damaged.
Do not use cleaning agents
that contain alcohol, solvents
or abrasives to clean plastic
parts.
Even fly-remover pads or
cleaning pads with hard surfaces can produce
scratches.
Soften stubborn dirt and
insects by covering the
affected areas with a wet
cloth.
WindscreenClean off dirt and insects with
a soft sponge and plenty of
water.
Fuel and chemical
solvents attack the
material of the windscreen;
the windscreen becomes
opaque or dull.
Do not use cleaning agents.ChromeUse plenty of water and BMW
shampoo to clean chrome,
particularly if it has been
exposed to road salt. Use
chrome polish for additional
treatment.
RadiatorClean the radiator regularly to
prevent overheating of the en-
gine due to inadequate cool-
ing.
For example, use a garden
hose with low water pressure.
Cooling fins can be bent
easily.
Take care not to bend the fins
when cleaning the radiator.RubberTreat rubber components with
water or BMW rubber-care
products.
Using silicone sprays for
the care of rubber seals
can cause damage.
Do not use silicone sprays
or other care products that
contain silicon.
8127zCare