Page 59 of 163
loaded and reduce spring
preload accordingly when the
motorcycle is lightly loaded.Adjusting spring preload
for rear wheel
Your motorcycle's hand-
ling will suffer if you do
not match the spring-preload
and damping-characteristic
settings.
Adjust the damping
characteristic to suit spring
preload.
Adjusting spring preload
while the motorcycle is
being ridden can lead to acci-
dents.
Do not attempt to adjust
spring preload unless the
motorcycle is at a standstill.
Make sure the ground is
level and firm and place the
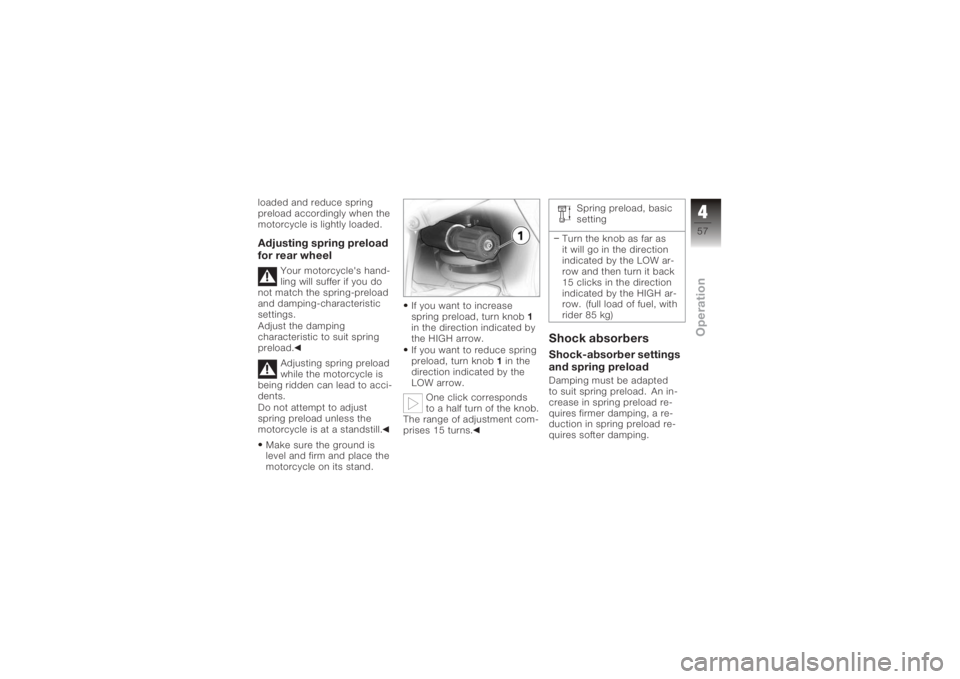
motorcycle on its stand. If you want to increase
spring preload, turn knob
1
in the direction indicated by
the HIGH arrow.
If you want to reduce spring
preload, turn knob 1in the
direction indicated by the
LOW arrow.
One click corresponds
to a half turn of the knob.
The range of adjustment com-
prises 15 turns. Spring preload, basic
setting
Turn the knob as far as
it will go in the direction
indicated by the LOW ar-
row and then turn it back
15 clicks in the direction
indicated by the HIGH ar-
row. (full load of fuel, with
rider 85 kg)
Shock absorbersShock-absorber settings
and spring preloadDamping must be adapted
to suit spring preload. An in-
crease in spring preload re-
quires firmer damping, a re-
duction in spring preload re-
quires softer damping.
457zOperation
Page 68 of 163
ponents are not designed to
withstand. Damage caused in
this way is not covered by the
warranty.
Do not tamper with the
control unit of the electronic
engine-management
system.ChecklistUse the following checklist
to check important functions,
settings and wear limits be-
fore you ride off.Brakes
Brake-fluid levels, front and
rear
Clutch
Clutch fluid level
Shock absorber setting and
spring preload
Tyre-tread depth and tyre
pressures Cases correctly installed
and luggage secured
At regular intervals: Engine oil level (every refuel-
ling stop)
Brake-pad wear (every third
refuelling stop)
StartingSide standYou cannot start the motor-
cycle with the side stand ex-
tended and a gear engaged.
The engine will switch itself off
if you start it with the gearbox
in neutral and then engage a
gear before retracting the side
stand.GearboxYou can start the engine
when the gearbox is in neutral
or if you pull the clutch with
a gear engaged. Do not pull
the clutch until after you have switched on the ignition, as
otherwise the engine will
refuse to start. When the
gearbox is in neutral, the
green neutral telltale light is
on and the gear indicator
in the multifunction display
shows N.
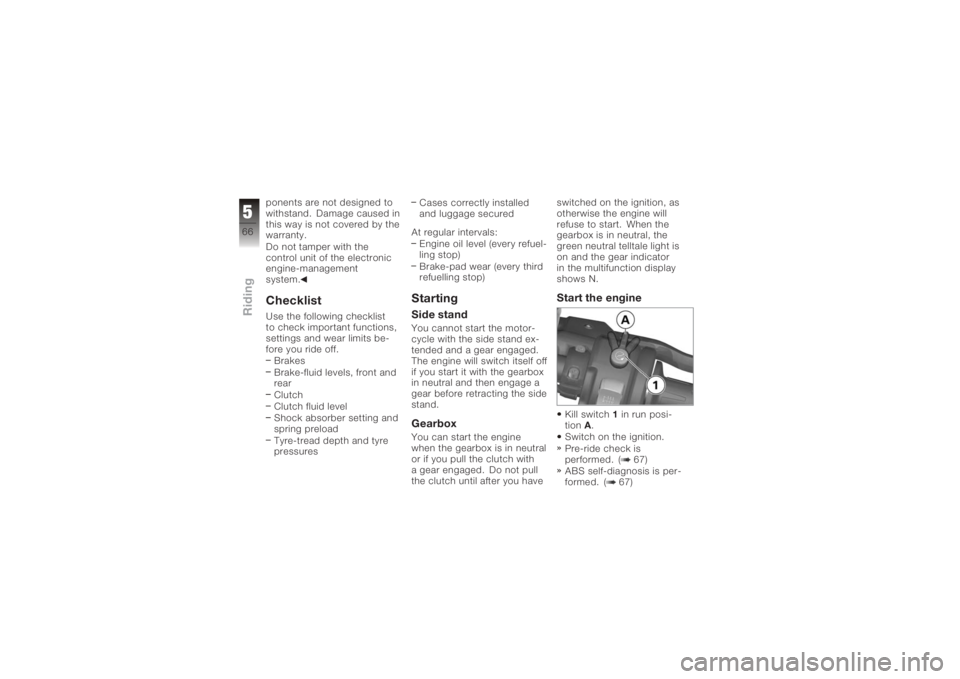
Start the engineKill switch
1in run posi-
tion A.
Switch on the ignition.
Pre-ride check is
performed. ( 67)
ABS self-diagnosis is per-
formed. ( 67)
566zRiding
Page 69 of 163
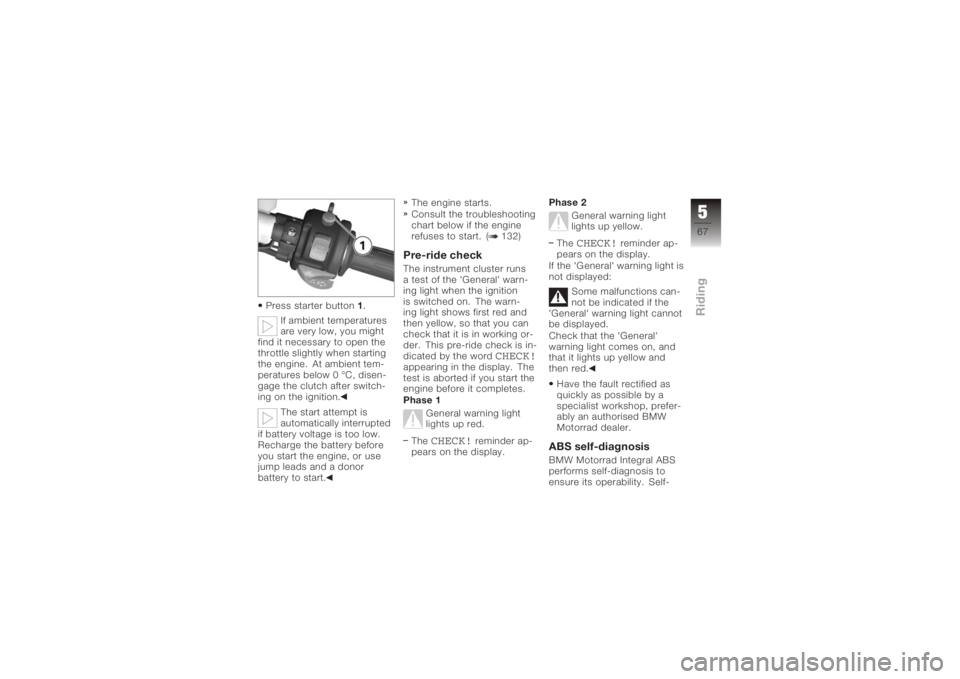
Press starter button1.
If ambient temperatures
are very low, you might
find it necessary to open the
throttle slightly when starting
the engine. At ambient tem-
peratures below 0 °C, disen-
gage the clutch after switch-
ing on the ignition.
The start attempt is
automatically interrupted
if battery voltage is too low.
Recharge the battery before
you start the engine, or use
jump leads and a donor
battery to start. The engine starts.
Consult the troubleshooting
chart below if the engine
refuses to start. ( 132)
Pre-ride checkThe instrument cluster runs
a test of the 'General' warn-
ing light when the ignition
is switched on. The warn-
ing light shows first red and
then yellow, so that you can
check that it is in working or-
der. This pre-ride check is in-
dicated by the word
CHECK!
appearing in the display. The
test is aborted if you start the
engine before it completes.
Phase 1
General warning light
lights up red.
The
CHECK!
reminder ap-
pears on the display. Phase 2
General warning light
lights up yellow.
The
CHECK!
reminder ap-
pears on the display.
If the 'General' warning light is
not displayed:
Some malfunctions can-
not be indicated if the
'General' warning light cannot
be displayed.
Check that the 'General'
warning light comes on, and
that it lights up yellow and
then red.
Have the fault rectified as
quickly as possible by a
specialist workshop, prefer-
ably an authorised BMW
Motorrad dealer.
ABS self-diagnosisBMW Motorrad Integral ABS
performs self-diagnosis to
ensure its operability. Self-
567zRiding
Page 70 of 163
diagnosis is performed auto-
matically when you switch
on the ignition. The motor-
cycle has to move forward at
a speed above 5 km/h for the
wheel sensors to be tested.
Phase 1Test of the diagnosis-
compatible system
components with the
motorcycle at a standstill. ABS warning light
flashes.
Possible national variant
of the ABS warning light.
Phase 2 Test of the wheel sensors
as the motorcycle pulls
away from rest. ABS warning light
flashes. Possible national variant
of the ABS warning light.
ABS self-diagnosis
completed The ABS warning light goes
out.
If an indicator showing an
ABS fault appears when ABS
self-diagnosis completes: You can continue to ride.
Bear in mind that neither
the ABS function nor the
integral braking function is
available.
Have the fault rectified as
quickly as possible by a
specialist workshop, prefer-
ably an authorised BMW
Motorrad dealer.
Running inThe first 1000 kmWhile running in the mo-
torcycle, vary the throttle
opening and engine-speed
range frequently.
Try to do most of your rid-
ing during this initial period
on twisting, fairly hilly roads,
avoiding high-speed main
roads and highways if pos-
sible.
Exceeding the specified
engine speeds while run-
ning in will lead to increased
engine wear.
Keep to the specified engine
speeds for running in.
Do not exceed the rpm lim-
its recommended for run-
ning in.
568zRiding
Page 101 of 163
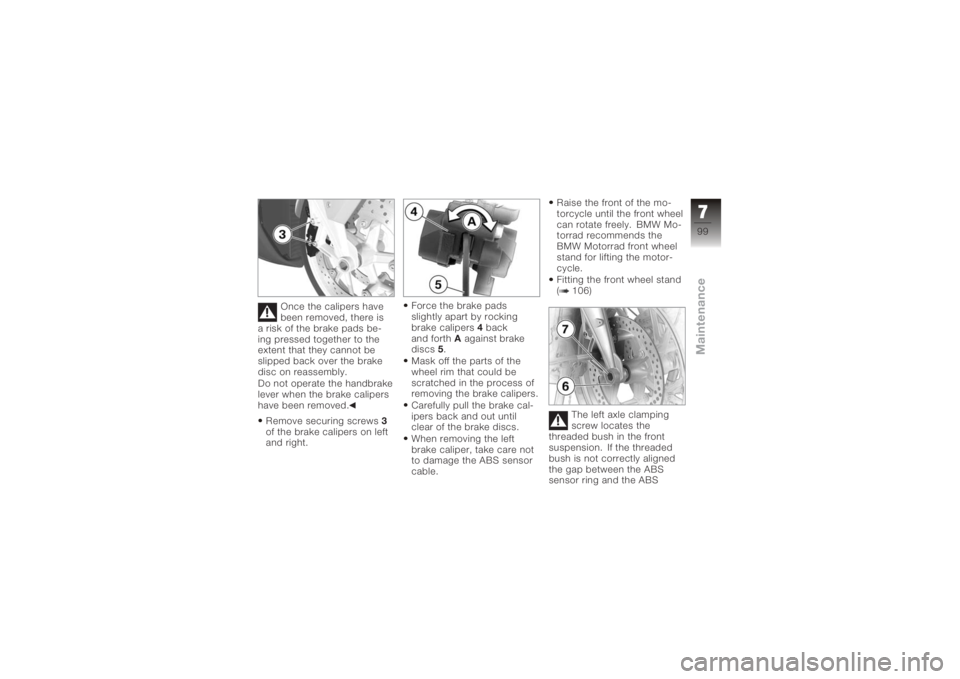
Once the calipers have
been removed, there is
a risk of the brake pads be-
ing pressed together to the
extent that they cannot be
slipped back over the brake
disc on reassembly.
Do not operate the handbrake
lever when the brake calipers
have been removed.
Remove securing screws 3
of the brake calipers on left
and right. Force the brake pads
slightly apart by rocking
brake calipers
4back
and forth Aagainst brake
discs 5.
Mask off the parts of the
wheel rim that could be
scratched in the process of
removing the brake calipers.
Carefully pull the brake cal-
ipers back and out until
clear of the brake discs.
When removing the left
brake caliper, take care not
to damage the ABS sensor
cable. Raise the front of the mo-
torcycle until the front wheel
can rotate freely. BMW Mo-
torrad recommends the
BMW Motorrad front wheel
stand for lifting the motor-
cycle.
Fitting the front wheel stand
( 106)
The left axle clamping
screw locates the
threaded bush in the front
suspension. If the threaded
bush is not correctly aligned
the gap between the ABS
sensor ring and the ABS
799zMaintenance
Page 110 of 163
Push the rear wheel stand
from the left into the rear
axle.
Install the retaining disc
from the right; to do so,
press the unlock button.
Place your left hand on the
left grab handle of the mo-
torcycle4, and your right
hand on the lever of the rear
wheel stand 5. Lift the motorcycle upright,
simultaneously pressing the
lever down until the stand
supports the motorcycle in
the upright position.
Press the lever down to the
ground.
BulbsGeneral instructionsThe 'bulb defect' symbol ap-
pears in the display if a bulb
is defective. If the brake or
rear light fails, the symbol is
accompanied by the general
warning light, which lights up
yellow. If the rear light fails
the second filament of the
brake light shines at reduced
brightness to double as a rear
light. Even though you have
7108zMaintenance
Page 111 of 163
this substitute rear light, the
indicators in the display tell
you that a bulb defect has oc-
curred.A defective bulb places
your safety at risk be-
cause it is easier for other
users to oversee you and
your motorcycle.
Replace defective bulbs as
soon as possible; always
carry a complete set of spare
bulbs if possible.
The bulb is pressurised
and can cause injury if
damaged.
Wear protective goggles
and gloves when changing
bulbs.
The types of bulb fitted
to your motorcycle are
listed in the section entitled
"Technical data". Do not touch the glass
of new bulbs with your
fingers. Use a clean, dry cloth
to hold the bulbs when hand-
ling them. Dirt deposits, in
particular oil and grease, in-
terfere with heat radiation
from the bulb. This leads to
overheating and shortens the
bulb's operating life.
Replacing low-beam
headlight bulb
If it is not standing firmly,
the motorcycle could
topple in the course of the
operations described below.
Always make sure that the
motorcycle is stable and
firmly supported.
Turn the handlebars
to the left to facilitate
access. Make sure the ground is
level and firm and place the
motorcycle on its stand.
Switch off the ignition.
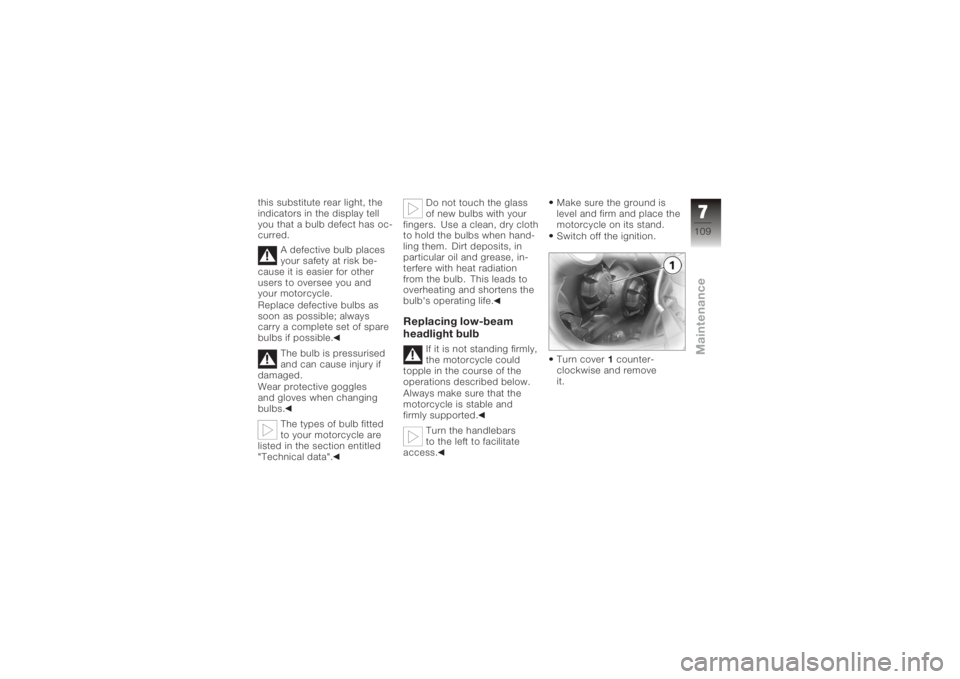
Turn cover
1counter-
clockwise and remove
it.
7109zMaintenance
Page 112 of 163
Disconnect plug2.
Release spring clip 3at left
and right and swing it up. Remove bulb
4.
Replace the defective bulb.
Low-beam headlight
bulb
H7/12V/55W Install bulb
4; make sure
that tab 5is pointing up.
Engage spring retainer 3on
left and right.
7110zMaintenance