Page 4 of 163

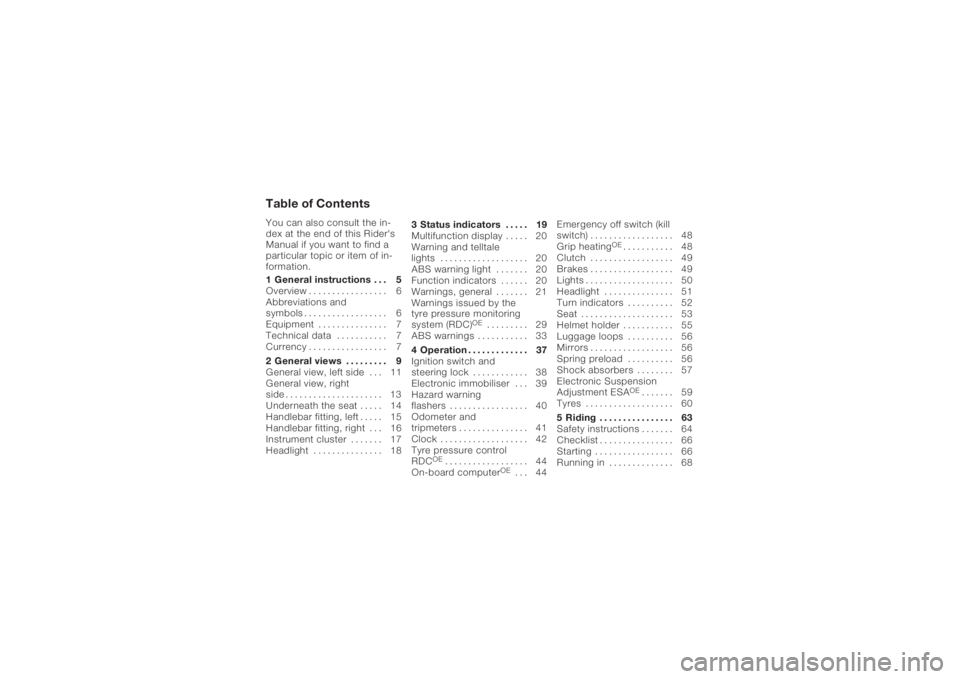
Table of ContentsYou can also consult the in-
dex at the end of this Rider's
Manual if you want to find a
particular topic or item of in-
formation.
1 General instructions . . . 5
Overview . ................ 6
Abbreviations and
symbols . . . ............... 6
Equipment ............... 7
Technical data ........... 7
Currency . . ............... 7
2 General views . . . . . .... 9
General view, left side . . . 11
General view, right
side ..................... 13
Underneath the seat . . . . . 14
Handlebar fitting, left . . . . . 15
Handlebar fitting, right . . . 16
Instrument cluster . . . . . . . 17
Headlight . .............. 18 3 Status indicators . . . . . 19
Multifunction display . . . . . 20
Warning and telltale
lights . . . . .
.............. 20
ABS warning light . . . . . . . 20
Function indicators . . . . . . 20
Warnings, general . . . . . . . 21
Warnings issued by the
tyre pressure monitoring
system (RDC)
OE
......... 29
ABS warnings . .......... 33
4 Operation . . . .......... 37
Ignition switch and
steering lock . . .......... 38
Electronic immobiliser . . . 39
Hazard warning
flashers . . . .............. 40
Odometer and
tripmeters . .............. 41
Clock . . . . . .............. 42
Tyre pressure control
RDC
OE
.................. 44
On-board computer
OE
... 44 Emergency off switch (kill
switch) . . . .
.............. 48
Grip heating
OE
........... 48
Clutch . . . . .............. 49
Brakes . . . . .............. 49
Lights . . . . . .............. 50
Headlight . .............. 51
Turn indicators .......... 52
Seat . . . . . . .............. 53
Helmet holder . .......... 55
Luggage loops .......... 56
Mirrors . . . . .............. 56
Spring preload .......... 56
Shock absorbers . . . . . . . . 57
Electronic Suspension
Adjustment ESAOE
....... 59
Tyres . . . . . .............. 60
5 Riding . . .............. 63
Safety instructions . . . . . . . 64
Checklist . . .............. 66
Starting . . . .............. 66
Running in .............. 68
Page 39 of 163

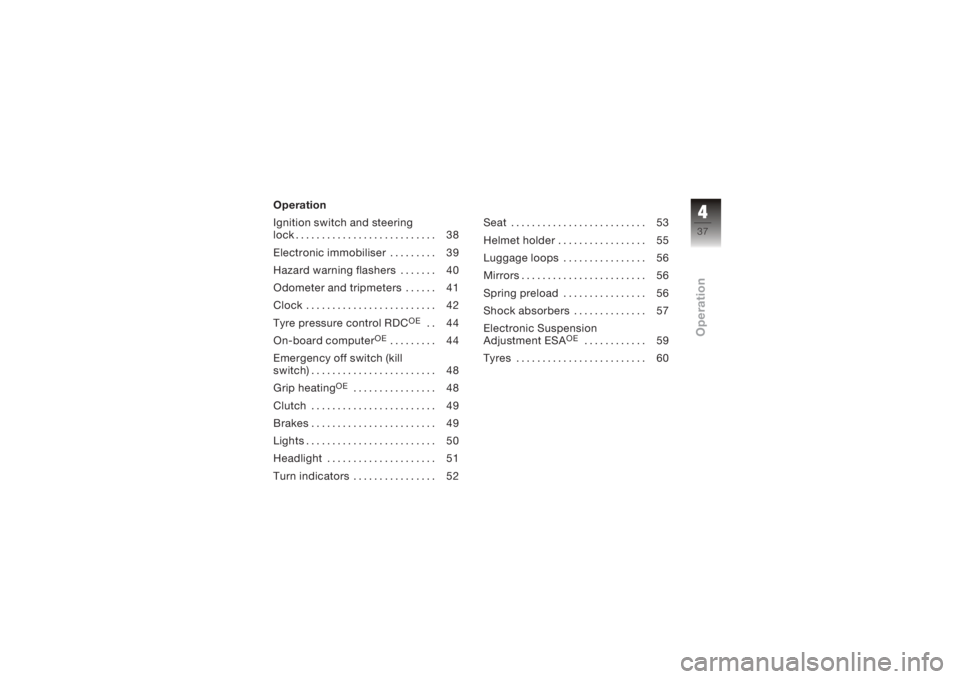
Operation
Ignition switch and steering
lock . . . . . . . . . . . . . . . . . . . . . . . . . . . 38
Electronic immobiliser . . . . . . . . . 39
Hazard warning flashers . . . . . . . 40
Odometer and tripmeters . . . . . . 41
Clock . . . . . . . . . . . . . . . . . . . . . . . . . 42
Tyre pressure control RDC
OE
.. 44
On-board computer
OE
......... 44
Emergency off switch (kill
switch) . . . . . . . . . . . . . . . . . . . . . . . . 48
Grip heating
OE
................ 48
Clutch . . . . . . . . . . . . . . . . . . . . . . . . 49
Brakes . . . . . . . . . . . . . . . . . . . . . . . . 49
Lights . . . . . . . . . . . . . . . . . . . . . . . . . 50
Headlight . . . . . . . . . . . . . . . . . . . . . 51
Turn indicators . . . . . . . . . . . . . . . . 52 Seat . . . . . . . . . . . . . . . . . . . . . . . . . . 53
Helmet holder . . . . . . . . . . . . . . . . . 55
Luggage loops . . . . . . . . . . . . . . . . 56
Mirrors . . . . . . . . . . . . . . . . . . . . . . . . 56
Spring preload . . . . . . . . . . . . . . . . 56
Shock absorbers . . . . . . . . . . . . . . 57
Electronic Suspension
Adjustment ESA
OE
............ 59
Tyres . . . . . . . . . . . . . . . . . . . . . . . . . 60
437zOperation
Page 58 of 163
Luggage loopsLuggage loops
underneath seatLoops1on the underside
of the seat are for attach-
ing luggage straps. You can
use them and eyelets 2in the
grab handles to strap luggage
on the rear seat.Using luggage loopsMake sure the ground is
level and firm and place the
motorcycle on its stand.
Removing the seat ( 53) Turn the seat upside down.
Pull loops
1out of hold-
ers 3.
You can hook luggage
straps into the loops.
MirrorsAdjusting mirrorsMove the mirror to the de-
sired position by pressing
lightly at the appropriate
point close to the rim.Spring preloadSpring preload and
weightIt is essential to set spring
preload to suit the load
carried by the motorcycle.
Increase spring preload when
the motorcycle is heavily
456zOperation
Page 118 of 163
Pull the bulb housing out
of the mirror housing at the
threaded-fastener side.
Remove the bulb holder2
from the bulb housing by
turning it counter-clockwise. Remove bulb
3from the
bulb holder.
Replace the defective bulb
Front flashing turn in-
dicator bulbs
W16W / 12 V / 16 W
Install bulb 3in bulb sock-
et 2.
Turn the bulb socket clock-
wise to install it in the bulb
housing. Seat the bulb housing in the
mirror shell.
Install screw
1.
7116zMaintenance
Page 145 of 163
FrameFrame typeLight alloy weldment with bolt-on tubular
steel rear frame
Type plate location Frame cross-tube, rear
VIN location Frame side section, front rightDimensionsLength of motorcycle2182 mm
Width of motorcycle 905 mm, Across mirrors
Height of motorcycle 1211 mm, At DIN unladen weight
Seat height, front 820 mm, Without rider
with OE Front seat, low: 790 mm, Without rider
9143zTechnical data