Page 8 of 163

OverviewChapter 2 of this Rider's
Manual will provide you with
an initial overview of your
motorcycle. All maintenance
and servicing work on the
motorcycle is documented in
Chapter 10. This record of
the maintenance work you
have had performed on your
motorcycle is a precondition
for generous treatment of
goodwill claims.
When the time comes to sell
your BMW, please remem-
ber to hand over this Rider's
Manual; it is an important part
of the motorcycle.Abbreviations and
symbols
Indicates warnings that
you must comply with for
reasons of your safety and the
safety of others, and to pro- tect your motorcycle against
damage.
Specific instructions on
how to operate, control,
adjust or look after items of
equipment on the motorcycle.
Indicates the end of an
item of information.
Instruction.
Result of an activity.
Reference to a page
with more detailed in-
formation.
Indicates the end of
a passage relating to
specific accessories or
items of equipment.
Tightening torque. Item of technical data.
OE Optional extra Your motorcycle was
assembled complete
with all the BMW
optional extras you
ordered.
OA Optional accessory You can obtain option-
al accessories through
your authorised BMW
Motorrad dealer; op-
tional accessories
have to be retrofitted
to the motorcycle.
EWS Electronic immobiliser
(Elektronische Weg-
fahrsicherung).
16zGeneral instructions
Page 90 of 163

General instructionsThe 'Maintenance' chapter
describes work involving the
replacement of wear parts
that can be performed with
minimum effort.
Special tightening torques are
listed as applicable.
If you are interested in inform-
ation on more extensive work,
we recommend the repair
manual on CD-ROM which
applies to your particular mo-
torcycle. You can obtain a
copy from your authorised
BMW Motorrad dealer.
Some of the work calls for
special tools and a thorough
knowledge of motorcycles.
If you are in doubt consult a
specialist workshop, prefer-
ably your authorised BMW
Motorrad dealer.
ToolkitStandard on-board
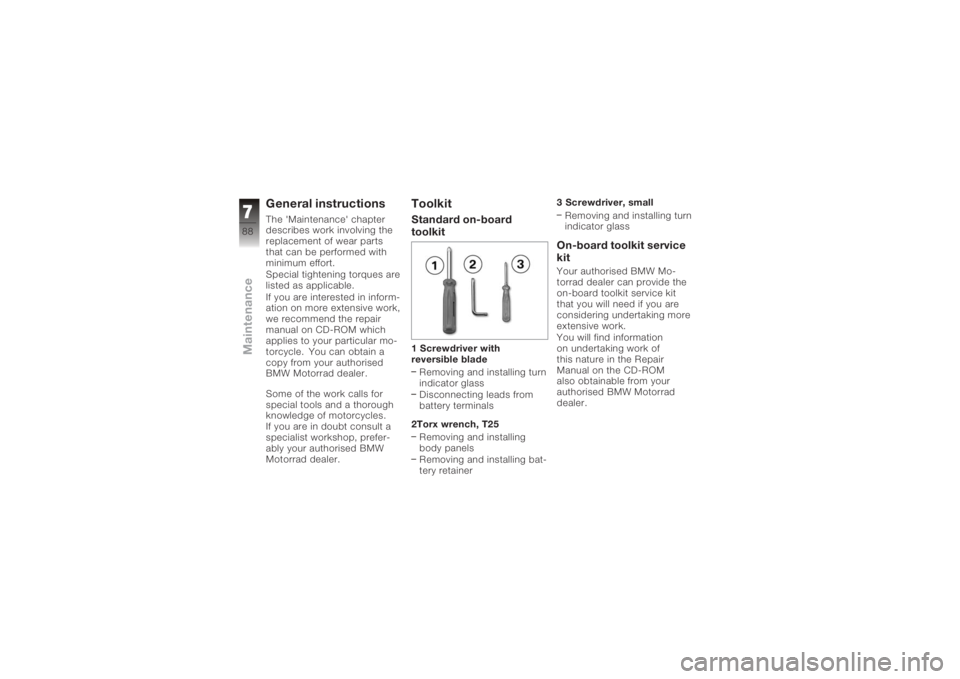
toolkit1 Screwdriver with
reversible bladeRemoving and installing turn
indicator glass
Disconnecting leads from
battery terminals
2Torx wrench, T25 Removing and installing
body panels
Removing and installing bat-
tery retainer 3 Screwdriver, small
Removing and installing turn
indicator glass
On-board toolkit service
kitYour authorised BMW Mo-
torrad dealer can provide the
on-board toolkit service kit
that you will need if you are
considering undertaking more
extensive work.
You will find information
on undertaking work of
this nature in the Repair
Manual on the CD-ROM
also obtainable from your
authorised BMW Motorrad
dealer.
788zMaintenance
Page 102 of 163

sensor will not be correct and
this can cause the ABS to
malfunction or allow the ABS
sensor to be damaged.
In order to ensure that the
threaded bush remains cor-
rectly aligned, do not slacken
or remove the left axle camp-
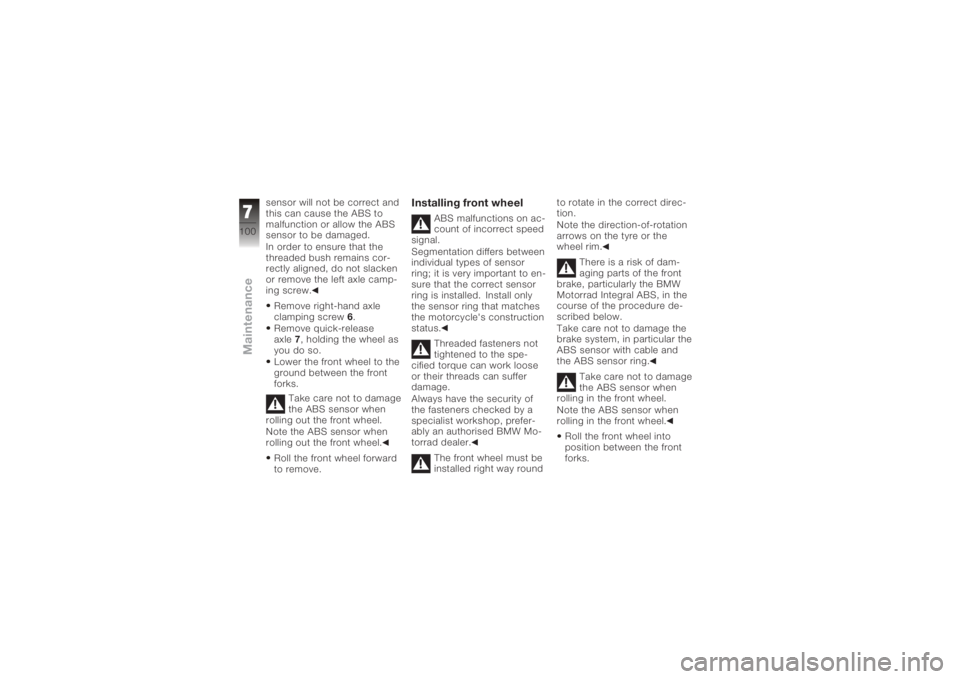
ing screw.Remove right-hand axle
clamping screw 6.
Remove quick-release
axle 7, holding the wheel as
you do so.
Lower the front wheel to the
ground between the front
forks.
Take care not to damage
the ABS sensor when
rolling out the front wheel.
Note the ABS sensor when
rolling out the front wheel.
Roll the front wheel forward
to remove.
Installing front wheel
ABS malfunctions on ac-
count of incorrect speed
signal.
Segmentation differs between
individual types of sensor
ring; it is very important to en-
sure that the correct sensor
ring is installed. Install only
the sensor ring that matches
the motorcycle's construction
status.
Threaded fasteners not
tightened to the spe-
cified torque can work loose
or their threads can suffer
damage.
Always have the security of
the fasteners checked by a
specialist workshop, prefer-
ably an authorised BMW Mo-
torrad dealer.
The front wheel must be
installed right way round to rotate in the correct direc-
tion.
Note the direction-of-rotation
arrows on the tyre or the
wheel rim.
There is a risk of dam-
aging parts of the front
brake, particularly the BMW
Motorrad Integral ABS, in the
course of the procedure de-
scribed below.
Take care not to damage the
brake system, in particular the
ABS sensor with cable and
the ABS sensor ring.
Take care not to damage
the ABS sensor when
rolling in the front wheel.
Note the ABS sensor when
rolling in the front wheel.
Roll the front wheel into
position between the front
forks.
7100zMaintenance
Page 103 of 163
Raise the front wheel, insert
quick-release axle7and
tighten to specified torque.
Quick-release axle in
threaded bush
50 Nm
Tighten right axle clamp-
ing screw 6to the specified
tightening torque.
Clamping screw for
quick-release axle in
wheel carrier
19 Nm Remove the front wheel
stand.
Ease the brake calipers on
to the brake discs.
The cable of the ABS
sensor could chafe
through if it comes into
contact with the brake disc.
Make sure that the ABS
sensor cable is routed
correctly.
Carefully route the ABS
sensor cable. Make sure
that the ABS sensor cable
is clipped into holders 8. Install securing screws
3on
left and right and tighten to
specified tightening torque.
Front brake caliper to
wheel carrier
30 Nm
Remove the adhesive tape
from the wheel rim.
7101zMaintenance
Page 105 of 163
Remove screw4for the
bracket of the end silencer
from the rear footrest.
Turn the end silencer out.
Engage first gear. Remove studs
5from the
rear wheel, holding the
wheel as you do so.
If you are using the BMW
Motorrad rear-wheel stand:
remove the retaining disc.
Lower the rear wheel to the
ground.
Roll the rear wheel out to-
ward the rear.
If you are using the BMW
Motorrad rear-wheel stand:
reinstall the retaining disc.
Installing rear wheel
Threaded fasteners not
tightened to the spe-
cified torque can work loose
or their threads can suffer
damage.
Always have the security of
the fasteners checked by a
specialist workshop, prefer-
ably an authorised BMW Mo-
torrad dealer.
If you are using the BMW
Motorrad rear-wheel stand:
remove the retaining disc.
Roll the rear wheel into po-
sition in the rear-wheel ad-
apter.
Seat the rear wheel on the
rear-wheel adapter.
If you are using the BMW
Motorrad rear-wheel stand:
reinstall the retaining disc.
7103zMaintenance
Page 106 of 163
Install wheel studs5and
tighten to the specified
torque in diagonally
opposite sequence.
Rear wheel to wheel
flange
Tightening sequence:
Tighten in diagonally op-
posite sequence
60 Nm
Tightening sequence:
Tighten in diagonally op-
posite sequence
60 Nm Turn the end silencer to its
initial position.
Install screw
4for the
bracket of the end silencer
in the rear footrest, but do
not tighten it at this point. Align clamp
3on the end
silencer with mark A(arrow)
on oxygen sensor B.
Tighten clamp 3on the end
silencer to the specified
tightening torque.
Silencer to manifold
35 Nm
7104zMaintenance
Page 107 of 163

If the gap between the
rear wheel and the end
silencer is too small, the rear
wheel can overheat.
The clearance between the
rear wheel and the end silen-
cer must be at least 10 mm.
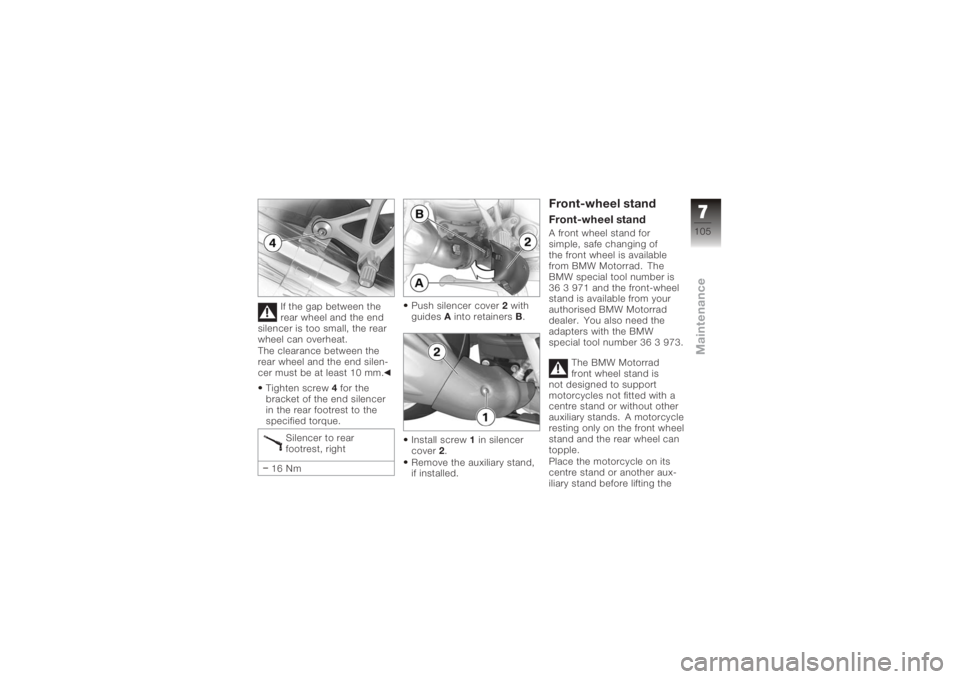
Tighten screw 4for the
bracket of the end silencer
in the rear footrest to the
specified torque.
Silencer to rear
footrest, right
16 Nm Push silencer cover
2with
guides Ainto retainers B.
Install screw 1in silencer
cover 2.
Remove the auxiliary stand,
if installed.
Front-wheel standFront-wheel standA front wheel stand for
simple, safe changing of
the front wheel is available
from BMW Motorrad. The
BMW special tool number is
36 3 971 and the front-wheel
stand is available from your
authorised BMW Motorrad
dealer. You also need the
adapters with the BMW
special tool number 36 3 973.
The BMW Motorrad
front wheel stand is
not designed to support
motorcycles not fitted with a
centre stand or without other
auxiliary stands. A motorcycle
resting only on the front wheel
stand and the rear wheel can
topple.
Place the motorcycle on its
centre stand or another aux-
iliary stand before lifting the
7105zMaintenance
Page 137 of 163
Nominal output123 kW, - At engine speed: 10250 min
-1
with OE Reduced power output, 74 kW: 74 kW, - At engine speed: 7000 min
-1
with OE Reduced power output, 79 kW: 79 kW, - At engine speed: 8750 min
-1
Max. torque130 Nm, - At engine speed: 8250 min
-1
with OE Reduced power output, 74 kW: 110 Nm, At: 5250 min
-1
with OE Reduced power output, 79 kW: 103 Nm, At: 4500 min
-1
Maximum permissible engine speed11000 min
-1
Idle speed1150
±50
min
-1
Fuel
Recommended fuel grade 98 ROZ/RON, Premium plus unleaded
95 ROZ/RON, Premium unleaded (fuel grade,
usable with power- and consumption-related
restrictions)
Fuel tank capacity 19 l, Usable 4 l, Including reserve of
9135zTechnical data