2006 BMW MOTORRAD K 1200 S display
[x] Cancel search: displayPage 62 of 163
COMF
Comfortable damping
characteristic
NORM
Normal damping
characteristic
SPORT
Sporty damping
characteristic
The setting shown on the
display is automatically
accepted as the damping
characteristic if you allow
a certain length of time
to pass without pressing
button 1. During the setting
procedure, the display
flashes.
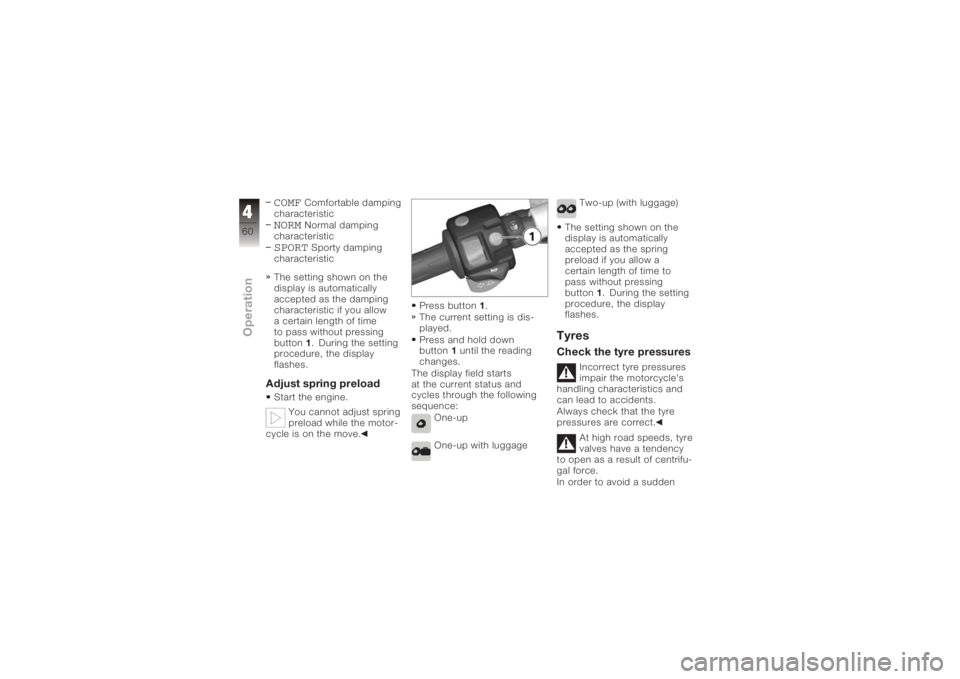
Adjust spring preloadStart the engine.
You cannot adjust spring
preload while the motor-
cycle is on the move. Press button
1.
The current setting is dis-
played.
Press and hold down
button 1until the reading
changes.
The display field starts
at the current status and
cycles through the following
sequence:
One-up
One-up with luggage Two-up (with luggage)
The setting shown on the
display is automatically
accepted as the spring
preload if you allow a
certain length of time to
pass without pressing
button 1. During the setting
procedure, the display
flashes.
TyresCheck the tyre pressures
Incorrect tyre pressures
impair the motorcycle's
handling characteristics and
can lead to accidents.
Always check that the tyre
pressures are correct.
At high road speeds, tyre
valves have a tendency
to open as a result of centrifu-
gal force.
In order to avoid a sudden
460zOperation
Page 68 of 163
ponents are not designed to
withstand. Damage caused in
this way is not covered by the
warranty.
Do not tamper with the
control unit of the electronic
engine-management
system.ChecklistUse the following checklist
to check important functions,
settings and wear limits be-
fore you ride off.Brakes
Brake-fluid levels, front and
rear
Clutch
Clutch fluid level
Shock absorber setting and
spring preload
Tyre-tread depth and tyre
pressures Cases correctly installed
and luggage secured
At regular intervals: Engine oil level (every refuel-
ling stop)
Brake-pad wear (every third
refuelling stop)
StartingSide standYou cannot start the motor-
cycle with the side stand ex-
tended and a gear engaged.
The engine will switch itself off
if you start it with the gearbox
in neutral and then engage a
gear before retracting the side
stand.GearboxYou can start the engine
when the gearbox is in neutral
or if you pull the clutch with
a gear engaged. Do not pull
the clutch until after you have switched on the ignition, as
otherwise the engine will
refuse to start. When the
gearbox is in neutral, the
green neutral telltale light is
on and the gear indicator
in the multifunction display
shows N.
Start the engineKill switch
1in run posi-
tion A.
Switch on the ignition.
Pre-ride check is
performed. ( 67)
ABS self-diagnosis is per-
formed. ( 67)
566zRiding
Page 69 of 163
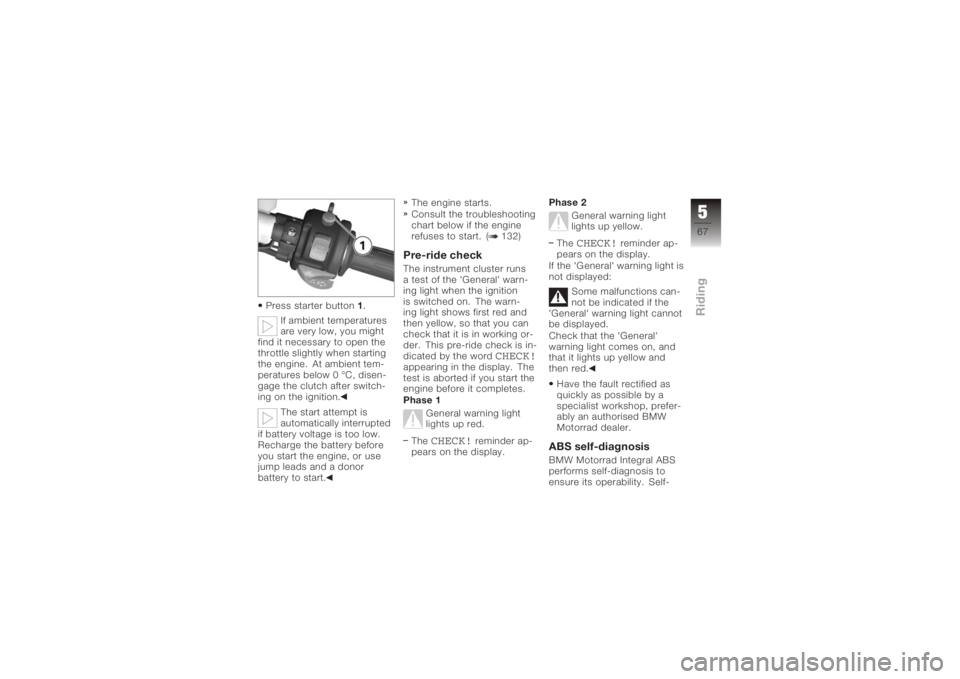
Press starter button1.
If ambient temperatures
are very low, you might
find it necessary to open the
throttle slightly when starting
the engine. At ambient tem-
peratures below 0 °C, disen-
gage the clutch after switch-
ing on the ignition.
The start attempt is
automatically interrupted
if battery voltage is too low.
Recharge the battery before
you start the engine, or use
jump leads and a donor
battery to start. The engine starts.
Consult the troubleshooting
chart below if the engine
refuses to start. ( 132)
Pre-ride checkThe instrument cluster runs
a test of the 'General' warn-
ing light when the ignition
is switched on. The warn-
ing light shows first red and
then yellow, so that you can
check that it is in working or-
der. This pre-ride check is in-
dicated by the word
CHECK!
appearing in the display. The
test is aborted if you start the
engine before it completes.
Phase 1
General warning light
lights up red.
The
CHECK!
reminder ap-
pears on the display. Phase 2
General warning light
lights up yellow.
The
CHECK!
reminder ap-
pears on the display.
If the 'General' warning light is
not displayed:
Some malfunctions can-
not be indicated if the
'General' warning light cannot
be displayed.
Check that the 'General'
warning light comes on, and
that it lights up yellow and
then red.
Have the fault rectified as
quickly as possible by a
specialist workshop, prefer-
ably an authorised BMW
Motorrad dealer.
ABS self-diagnosisBMW Motorrad Integral ABS
performs self-diagnosis to
ensure its operability. Self-
567zRiding
Page 74 of 163
Recommended fuel
grade
95 ROZ/RON (Premium
unleaded (fuel grade,
usable with power- and
consumption-related
restrictions)) Usable fuel capacity
19 l Reserve fuel
4l
Press the filler cap down
firmly to close.
Remove the key and close
the protective cap.
Tyre pressure control
RDC
OE
FunctionA sensor integrated into each
tyre measures the air tem-
perature and the air pressure
inside the tyre and transmits
this information to the control
unit.
Each sensor has a
centrifugal-force tripswitch
that does not enable
transmission of the measured
values until the motorcycle
has accelerated to about
30 km/h. The display shows--
for each tyre until the
tyre-pressure signal is
received for the first time. The
sensors continue to transmit
the measured-value signals
for approximately 15 minutes
after the motorcycle comes to
a stop. The control unit can
administrate four sensors, so
two different sets of wheels
with RDC sensors can be
alternated on the motorcycle.
An error message is issued
if wheels without sensors
are fitted to a motorcycle
equipped with an RDC control
unit.
Temperature
compensationThe tyre-pressure readings
shown by the multifunction
display are temperature-
compensated; the reference
tyre temperature for these
readings is always 20 °C.
The air lines available to
the public in petrol stations
and motorway service areas
almost invariably show
temperature-dependent
tyre pressures, so in most
instances these gauge
572zRiding
Page 75 of 163
readings will not tally with
the readings shown by the
multifunction display.Tyre-pressure rangesThe RDC control unit differ-
entiates between three air-
pressure ranges, all of which
are parameterised for the mo-
torcycle:Air pressure within permit-
ted tolerance.
Air pressure close to limit of
permitted tolerance.
Air pressure outside permit-
ted tolerance.Brake system, generalDescending mountain
passes
There is a danger of the
brakes fading if you use
only the rear brakes when
descending mountain passes.
Under extreme conditions, the brakes could overheat and
suffer severe damage.
Use both front and rear
brakes, and make use of the
engine's braking effect as
well.
Wet brakes
After the motorcycle has
been washed, ridden
through water or ridden in
the rain, the brake discs and
pads might be wet and the
brakes might not take effect
immediately.
Apply the brakes in good time
until the brakes have dried
out.
Salt on brakes
The brakes may fail to
take effect immediately
if the motorcycle was ridden
on salt-covered roads and the
brakes were not applied for
some time. Apply the brakes in good
time until the salt layer on the
brake discs and brake pads
has been removed.
Oil or grease on brakes
Oil and grease on the
brake discs and pads
considerably diminish braking
efficiency.
Especially after repair and
maintenance work, make
sure that the brake discs and
brake pads are free of oil and
grease.
Dirt or mud on brakes
When riding on loose
surfaces or muddy
roads, the brakes may fail
to take effect immediately
because of dirt or moisture on
the discs or brake pads.
Apply brakes in good time
until the brakes have been
cleaned.
573zRiding
Page 110 of 163
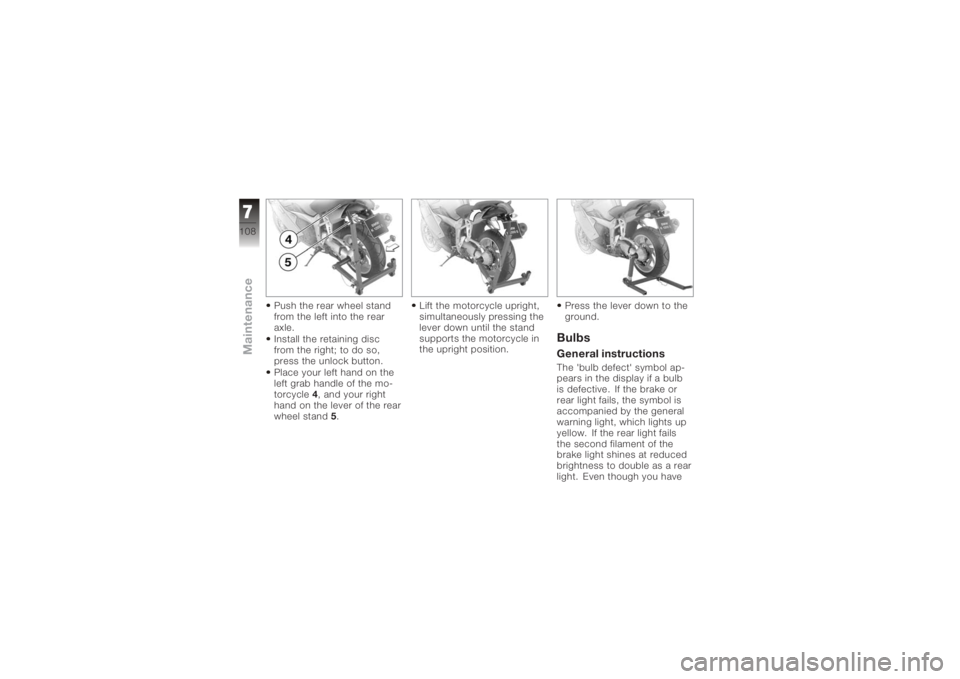
Push the rear wheel stand
from the left into the rear
axle.
Install the retaining disc
from the right; to do so,
press the unlock button.
Place your left hand on the
left grab handle of the mo-
torcycle4, and your right
hand on the lever of the rear
wheel stand 5. Lift the motorcycle upright,
simultaneously pressing the
lever down until the stand
supports the motorcycle in
the upright position.
Press the lever down to the
ground.
BulbsGeneral instructionsThe 'bulb defect' symbol ap-
pears in the display if a bulb
is defective. If the brake or
rear light fails, the symbol is
accompanied by the general
warning light, which lights up
yellow. If the rear light fails
the second filament of the
brake light shines at reduced
brightness to double as a rear
light. Even though you have
7108zMaintenance
Page 111 of 163
this substitute rear light, the
indicators in the display tell
you that a bulb defect has oc-
curred.A defective bulb places
your safety at risk be-
cause it is easier for other
users to oversee you and
your motorcycle.
Replace defective bulbs as
soon as possible; always
carry a complete set of spare
bulbs if possible.
The bulb is pressurised
and can cause injury if
damaged.
Wear protective goggles
and gloves when changing
bulbs.
The types of bulb fitted
to your motorcycle are
listed in the section entitled
"Technical data". Do not touch the glass
of new bulbs with your
fingers. Use a clean, dry cloth
to hold the bulbs when hand-
ling them. Dirt deposits, in
particular oil and grease, in-
terfere with heat radiation
from the bulb. This leads to
overheating and shortens the
bulb's operating life.
Replacing low-beam
headlight bulb
If it is not standing firmly,
the motorcycle could
topple in the course of the
operations described below.
Always make sure that the
motorcycle is stable and
firmly supported.
Turn the handlebars
to the left to facilitate
access. Make sure the ground is
level and firm and place the
motorcycle on its stand.
Switch off the ignition.
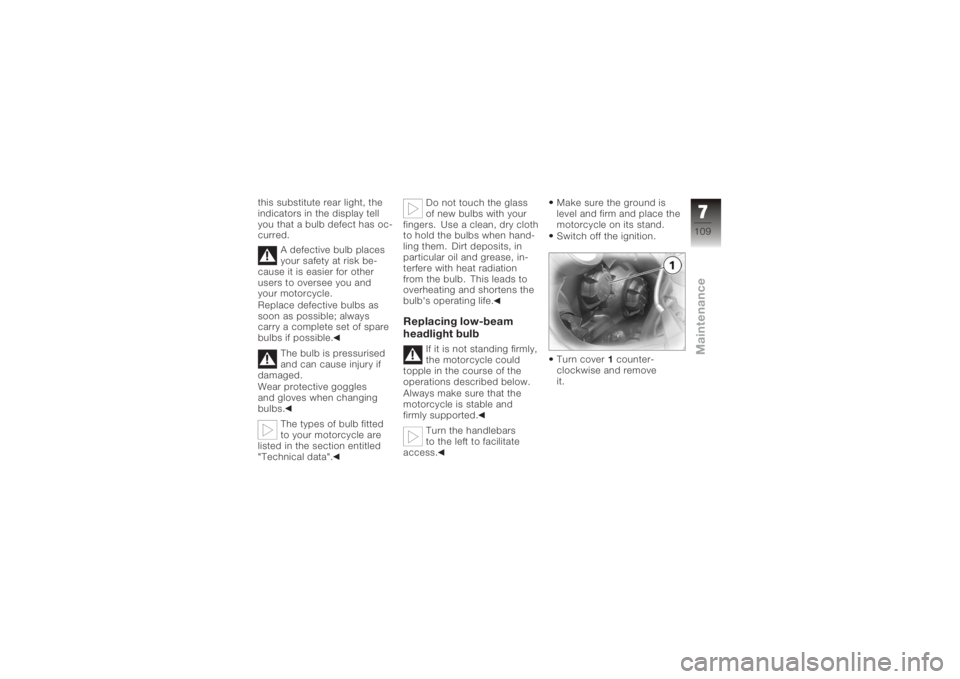
Turn cover
1counter-
clockwise and remove
it.
7109zMaintenance
Page 122 of 163
battery charged during long
periods of disuse, without
having to disconnect the bat-
tery from the motorcycle's
on-board systems. You can
obtain additional information
from your authorised BMW
Motorrad dealer.Charging battery when
connected
Charging the connec-
ted battery directly at the
battery terminals can damage
the vehicle electronics.
Always disconnect the battery
from the on-board circuits be-
fore recharging it with a char-
ger connected directly to the
battery posts.
If you switch on the ig-
nition and the multifunc-
tion display and telltale lights
fail to light up, the battery is
completely flat. Attempting to
charge a completely flat bat- tery via the on-board socket
can cause damage to the mo-
torcycle's electronics.
If a battery has discharged to
the extent that it is completely
flat, it has to be disconnec-
ted from the on-board circuits
and charged with the char-
ger connected directly to the
battery posts.
Only chargers suitable
for this mode of charging
can be used to recharge the
battery via the on-board sock-
et. Unsuitable chargers could
cause damage to the motor-
cycle's on-board electrics.
Use BMW chargers with
the part numbers 71 60
7 688 864 (220 V) or, as
applicable, 71 60 7 688 865
(110 V). If you are in doubt,
disconnect the battery from
the on-board systems and
connect the charger directly
to the battery. Charge via the power sock-
et, with the battery connec-
ted to the motorcycle's on-
board electrical system.
The motorcycle's
on-board electronics
know when the battery is
fully charged. The on-board
socket is switched off when
this happens.
Comply with the operating
instructions of the charger. If you are unable to
charge the battery
through the power socket,
you may be using a charger
that is not compatible with
your motorcycle's electronics.
If this happens, disconnect
the battery from the on-board
systems and connect the
charger directly to the
battery.
7120zMaintenance