2006 BMW 325XI TOURING display
[x] Cancel search: displayPage 53 of 160

Reference
At a glance
Controls
Driving tips
Mobility
51
ventional cruise control systems which you may
be accustomed to, you are strongly urged to
read all of the pages relating to this system
before use. Pay special attention to the System
limitations section beginning on page54.
Braking sensation
The system's automatic brake operation results
in a braking sensation that is slightly different
from what you feel when you brake the vehicle
yourself in a similar situation. Possible noises
during automatic deceleration are normal.
Manual transmission
You can shift gears while cruise control is acti-
vated. An indicator lamp notifies you that you
should shift gears when you drive for an
extended period at very high or very low engine
speeds, or the system is deactivated.
Range of applications
The minimum desired speed is 20 mph or
30 km/h, and the maximum desired speed is
110 mph or 180 km/h.
As with conventional cruise control sys-
tems, active cruise control in no way
diminishes or substitutes for the driver’s own
personal responsibility, alertness and aware-
ness in adjusting speed, braking or otherwise
controlling the vehicle. The driver should
decide when to use the system on the basis of
road, traffic, visibility, and weather conditions.
Active cruise control is intended for use on
highway-type roadways where traffic is moving
relatively smoothly. Do not use this system in
city driving; heavy traffic such as during rush
hour; on curvy, winding roads, slippery roads or
roads with sharp curves such as highway off-
ramps; during inclement weather such as snow,
strong rain or fog; or when entering inter-
changes, service/parking areas or toll booths.
It is also important to regulate your vehicle's
speed and distance setting within applicable
legal limits. Always be ready to take action or
apply the brakes if necessary, especially when
the system is actively following a vehicle in front
of you. Otherwise, driving conditions could result which violate the law or pose a risk of
accident.<
One lever for all functions
1Store and increase desired speed
2Store and decrease desired speed
3Deactivate system, refer to page53
4Resume stored desired speed and dis-
tance, refer to page53
5Select distance to vehicle driving ahead,
refer to page52
Maintaining current speed
Briefly press the lever, arrow 1, or briefly pull it,
arrow 2, at a driving speed of more than approx.
20 mph or 30 km/h.
The car's current speed is stored and main-
tained. It is displayed in the speedometer and
briefly in the instrument cluster.
On uphill gradients, it may prove impossible to
maintain the set speed if current engine power
output is insufficient. If the engine braking
effect is insufficient on downhill slopes, the sys-
tem will brake the vehicle slightly.
Page 54 of 160

Driving
52
Adjusting desired speed
Adjust your desired speed to the traffic
conditions and remain ready to brake at
all times, otherwise there is a risk of accident.
Great differences in speed to the vehicle ahead,
e.g. when quickly approaching a truck or when
another vehicle swerves into your lane, cannot
be compensated for by the system.<
Increasing in increments
Repeatedly tap the lever to the resistance point
or beyond, arrow1, until the desired speed is
reached.
>Each time the lever is tapped to the resis-
tance point, the desired speed is increased
by approx. 1 mph or 1 km/h.
>Each time the lever is tapped beyond the
resistance point, the desired speed is
increased by up to 5 mph or 10 km/h until
the maximum speed of 110 mph or
180 km/h is achieved.
The speed then displayed is stored and
achieved on a clear road.
Increasing continuously
Repeatedly press the lever to the resistance
point or beyond, arrow1, until the desired
speed is reached.
The speed then displayed is stored and
reached as soon as the road ahead of you is
clear.
Decreasing in increments
Repeatedly pull the lever to the resistance point
or beyond, arrow 2, until the desired speed is
reached.
>Each time the lever is pulled to the resis-
tance point, the desired speed is decreased
by approx. 1 mph or 1 km/h.
>Each time the lever is pulled beyond the
resistance point, the desired speed is
reduc ed by up to 5 mph o r 10 km/h until the
minimum speed of 20 mph or 30 km/h is
achieved.
The speed then displayed is stored and
achieved on a clear road.
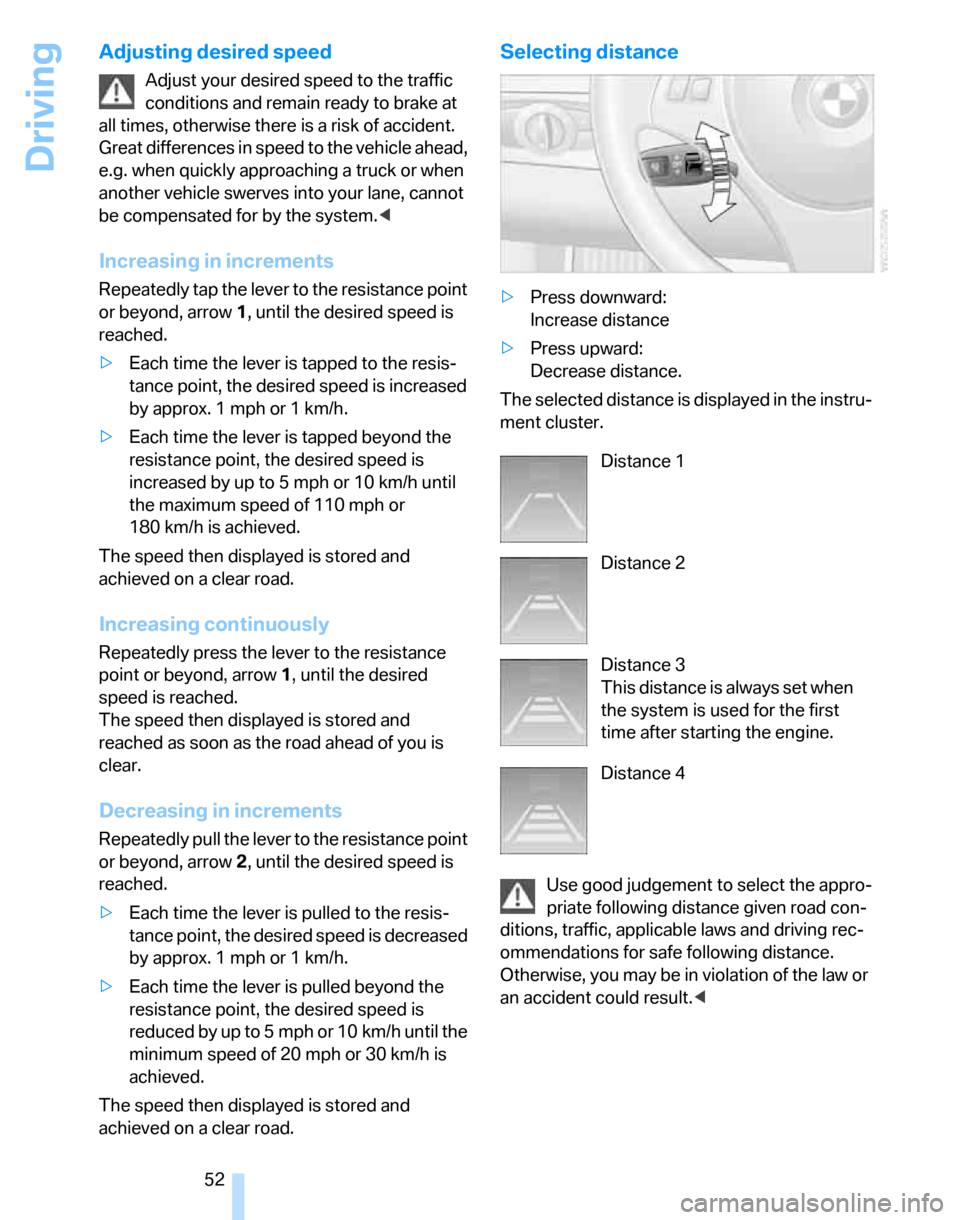
Selecting distance
>Press downward:
Increase distance
>Press upward:
Decrease distance.
The selected distance is displayed in the instru-
ment cluster.
Use good judgement to select the appro-
priate following distance given road con-
ditions, traffic, applicable laws and driving rec-
ommendations for safe following distance.
Otherwise, you may be in violation of the law or
an accident could result.<
Distance 1
Distance 2
Distance 3
This distance is always set when
the system is used for the first
time after starting the engine.
Distance 4
Page 55 of 160

Reference
At a glance
Controls
Driving tips
Mobility
53
Deactivating cruise control
Press the lever upward or downward, arrow3.
The displays in the speedometer disappear.
In addition, the system is automatically deacti-
vated:
>When you brake the vehicle
>When the speed is reduced to below
20 mph or 30 km/h due to a traffic situation
>When you switch gears very slowly or shift
to idle in cars with manual transmission
>When you select the automatic transmis-
sion's neutral position N
>When you activate the Dynamic Traction
Control DTC
>When you deactivate the Dynamic Stability
Control DSC
>When DSC or ABS is intervening
>When the system does not recognize any
objects for a longer period of time, e.g. on
infrequently traveled roads without a shoul-
der or guard rails, or if the radar sensor is
covered with dirt, refer to page54
>When you apply the handbrake
When the system is deactivated, you
must brake the vehicle yourself and/or
maneuver as necessary, otherwise there is a
risk of accident.<
Warning lamp
The warning lamp comes on when
active cruise control has been auto-
matically deactivated due to a driving
speed below 20 mph or 30 km/h, an application
of the handbrake or a DSC intervention.
Resuming stored desired speed and
distance
Briefly press the button, arrow 4.
The stored speed and distance are regained
and maintained.
In the following instances, the stored speed is
deleted and can no longer be resumed:
>When driving stability control systems are
intervening
>In cars with manual transmission: when you
shift gears very slowly or shift to idle posi-
tion
>In cars with automatic transmission: when
you engage selector lever position N
>When the ignition is switched off
Displays in the instrument cluster
1Stored desired speed
2Shows yellow: vehicle detected ahead
Flashes in red: system cannot maintain dis-
tance; driver must brake the vehicle
Flashes in yellow: driving stability control
systems are intervening; cruise control is
deactivated
3Selected distance to vehicle ahead
The indicator lights up as soon as the sys-
tem is activated.
4Selected desired speed is temporarily dis-
played
If --- mph or --- km/h temporarily appears
in the instrument cluster display, it is pos-
sible that the system prerequisites for operation
Page 59 of 160

Reference
At a glance
Controls
Driving tips
Mobility
57
Everything under control
Odometer, outside
temperature display, clock
1Resetting trip odometer
2Outside temperature display and clock
3Odometer and trip odometer
Units of measure
To select the respective units of measure, miles
or km for the odometer as well as 7 or 6 for
the outside temperature, refer to page60.
Outside temperature display, clock
Setting the time, refer to page62.
Outside temperature warning
When the displayed temperature sinks to
approx. +377/+36, a signal sounds and a
warning lamp lights up. There is an increased
risk of black ice.
Black ice can also form at temperatures
above +377/+36. You should there-
fore drive carefully on bridges and shaded
roads, for example, otherwise there is an
increased risk of an accident.<
Odometer and trip odometer
Resetting trip odometer:
With the ignition switched on, press button1 in
the instrument cluster.
When the vehicle is parked
If you still want to view the time, outside tem-
perature and odometer reading briefly after the
remote control has been removed from the igni-
tion lock:
Press button 1 in the instrument cluster.
Tachometer
Never force the engine speed up into the red
warning field, see arrow. In this range, the fuel
supply is interrupted to protect the engine.
Coolant temperature
A warning lamp will come on if the coolant, and
therefore the engine, becomes too hot.
Check coolant level, refer to page115.
Page 60 of 160

Everything under control
58
Energy Control
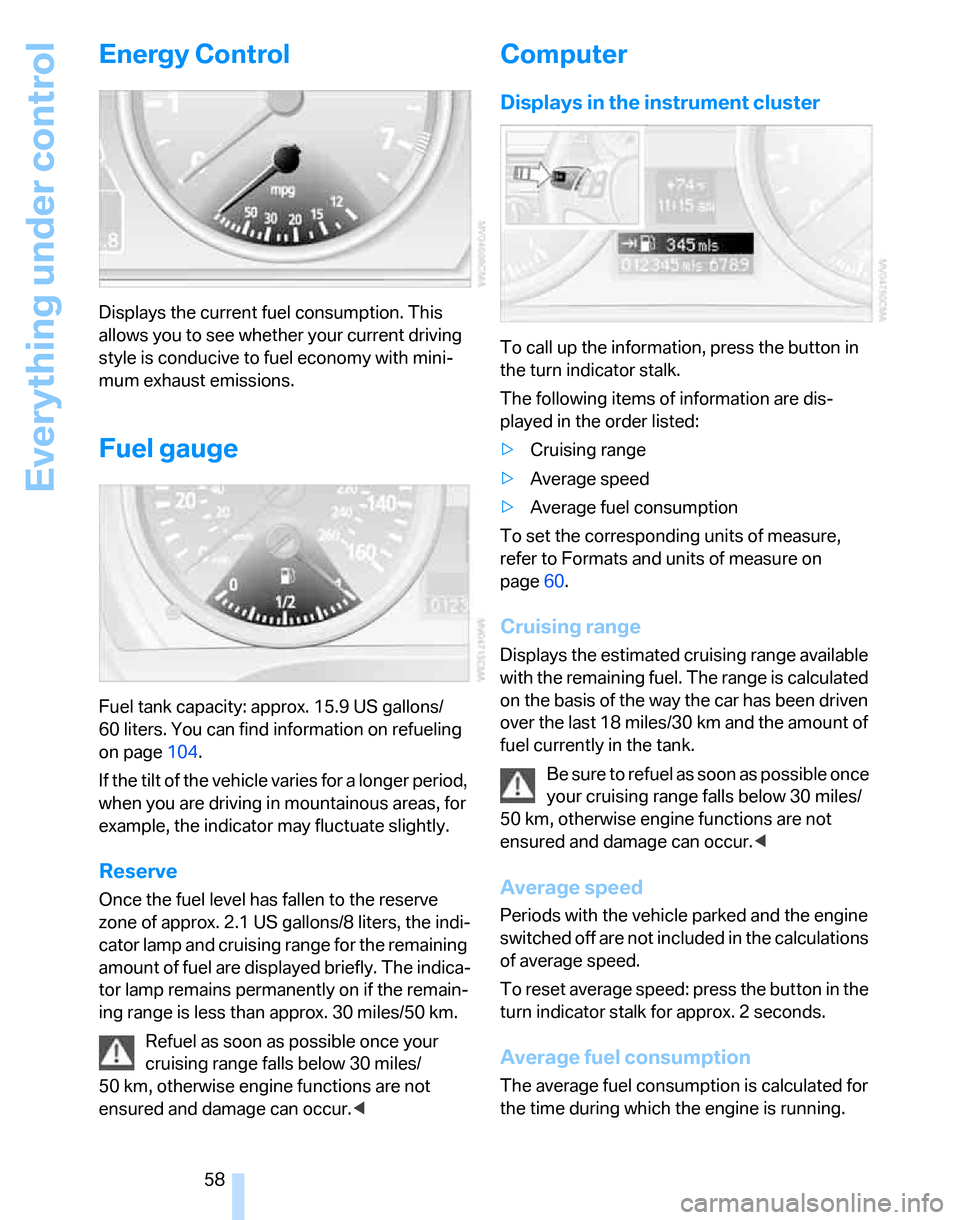
Displays the current fuel consumption. This
allows you to see whether your current driving
style is conducive to fuel economy with mini-
mum exhaust emissions.
Fuel gauge
Fuel tank capacity: approx. 15.9 US gallons/
60 liters. You can find information on refueling
on page104.
If the tilt of the vehicle varies for a longer period,
when you are driving in mountainous areas, for
example, the indicator may fluctuate slightly.
Reserve
Once the fuel level has fallen to the reserve
zone of approx. 2.1 US gallons/8 liters, the indi-
cator lamp and cruising range for the remaining
amount of fuel are displayed briefly. The indica-
tor lamp remains permanently on if the remain-
ing range is less than approx. 30 miles/50 km.
Refuel as soon as possible once your
cruising range falls below 30 miles/
50 km, otherwise engine functions are not
ensured and damage can occur.<
Computer
Displays in the instrument cluster
To call up the information, press the button in
the turn indicator stalk.
The following items of information are dis-
played in the order listed:
>Cruising range
>Average speed
>Average fuel consumption
To set the corresponding units of measure,
refer to Formats and units of measure on
page60.
Cruising range
Displays the estimated cruising range available
with the remaining fuel. The range is calculated
on the basis of the way the car has been driven
over the last 18 miles/30 km and the amount of
fuel currently in the tank.
B e s u r e t o r e f u e l a s s o o n a s p o s s i b l e o n c e
your cruising range falls below 30 miles/
50 km, otherwise engine functions are not
ensured and damage can occur.<
Average speed
Periods with the vehicle parked and the engine
switched off are not included in the calculations
of average speed.
To reset average speed: press the button in the
turn indicator stalk for approx. 2 seconds.
Average fuel consumption
The average fuel consumption is calculated for
the time during which the engine is running.
Page 61 of 160

Reference
At a glance
Controls
Driving tips
Mobility
59
To reset average fuel consumption: press the
button in the turn indicator stalk for approx.
2seconds.
Settings and information
Operating principle
1Button for:
>Selecting display
>Setting values
2Button for:
>Confirming selected display or set val-
ues
>Calling up computer information58
3When the lights are switched on: instrument
lighting brightness76
4Calling up Check Control63
5Checking engine oil level*113
6Initializing the Flat Tire Monitor69
7Setting the time628Setting the date63
9Viewing service requirement display61
10Setting formats and units of measure,
resetting to factory settings60
11Adjusting settings
>Confirmation signals when locking and
unlocking the vehicle21
>Response during unlocking
procedure20
>Automatic locking22
>Pathway lighting74
>Daytime driving lamps75
>Triple turn signal activation46
>Seat and mirror memory35
Page 62 of 160

Everything under control
60
Exiting displays
The outside-temperature reading and the time
reappear when you press button2 or if you
make no entries within approx. 15 seconds. If
required, complete the current setting first.
Formats and units of measure
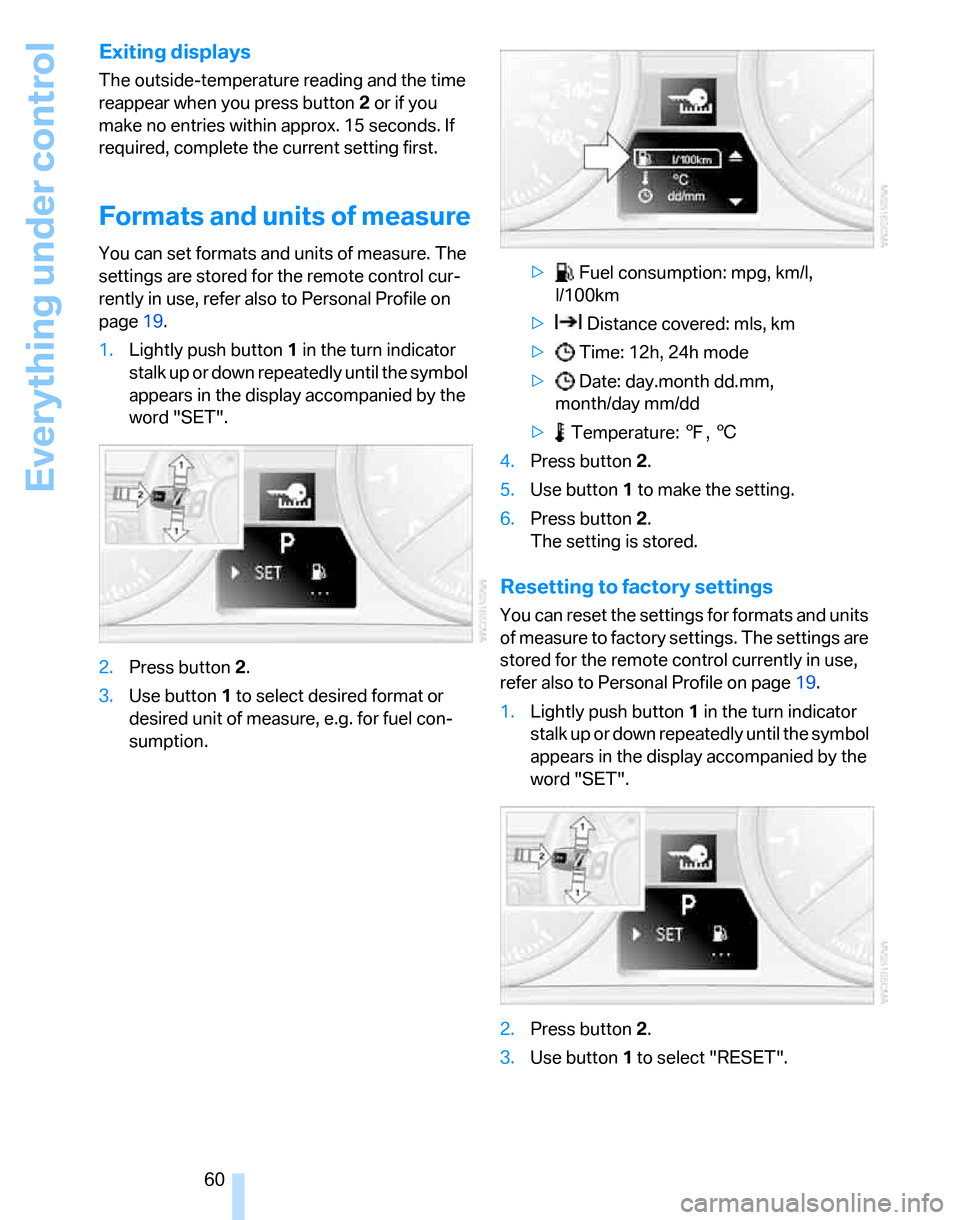
You can set formats and units of measure. The
settings are stored for the remote control cur-
rently in use, refer also to Personal Profile on
page19.
1.Lightly push button1 in the turn indicator
stalk up or down repeatedly until the symbol
appears in the display accompanied by the
word "SET".
2.Press button 2.
3.Use button 1 to select desired format or
desired unit of measure, e.g. for fuel con-
sumption.> Fuel consumption: mpg, km/l,
l/100km
> Distance covered: mls, km
> Time: 12h, 24h mode
> Date: day.month dd.mm,
month/day mm/dd
> Temperature: 7, 6
4.Press button 2.
5.Use button 1 to make the setting.
6.Press button 2.
The setting is stored.
Resetting to factory settings
You can reset the settings for formats and units
of measure to factory settings. The settings are
stored for the remote control currently in use,
refer also to Personal Profile on page19.
1.Lightly push button1 in the turn indicator
stalk up or down repeatedly until the symbol
appears in the display accompanied by the
word "SET".
2.Press button 2.
3.Use button1 to select "RESET".
Page 63 of 160

Reference
At a glance
Controls
Driving tips
Mobility
61
4.Press button 2 until is displayed.
The settings are reset.
Service requirements
The remaining driving distance and the date of
the next scheduled service are displayed briefly
immediately after you start the engine or switch
on the ignition.
The extent of service work required can
be read out from the remote control by
your BMW Service Advisor.<
For certain maintenance operations, you can
view the respective distance remaining or due
date individually in the instrument cluster.
1.Lightly push button 1 in the turn indicator
stalk up or down repeatedly until the appro-
priate symbol appears in the display, accompanied by the words "SERVICE-
INFO".
2.Press button 2.
3.Use button 1 to scroll through the individual
service items.