Page 165 of 354
Driving your vehicle42 4
1
2
3
4
5
6
7
8
9
Tripmeter (trip odometer)You can choose the tripmeter A and
tripmeter B by pressing the tripmeter
mode button.TRIP A: Tripmeter A
TRIP B: Tripmeter B
The tripmeter indicates the distance
of individual trips selected by the
driver. Tripmeter A and B can be
reset to 0 by pressing the reset but-
ton for 1 second or more, and then
releasing.
Trip computer (if equipped)The trip computer is a microcomput-
er-controlled driver information sys-
tem that displays information related
to driving, including distance traveled
("tripmeter"), driving time, average
fuel consumption and distance to
empty on the LCD. All stored driving
information is reset if the battery is
disconnected.
1KMN2100
1KMN2102
1KMN2100
KM CAN (ENG) 4.qxd 9/13/2004 4:48 PM Page 42
Page 167 of 354
Driving your vehicle44 4
1
2
3
4
5
6
7
8
9
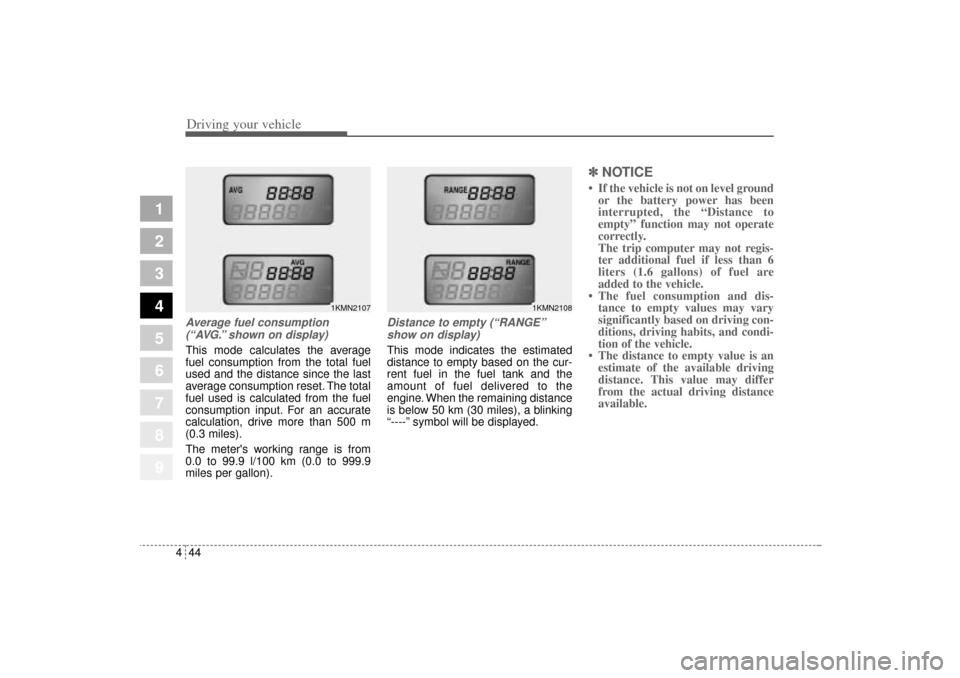
Average fuel consumption
(“AVG.” shown on display)This mode calculates the average
fuel consumption from the total fuel
used and the distance since the last
average consumption reset. The total
fuel used is calculated from the fuel
consumption input. For an accurate
calculation, drive more than 500 m
(0.3 miles).
The meter's working range is from
0.0 to 99.9 l/100 km (0.0 to 999.9
miles per gallon).
Distance to empty (“RANGE”
show on display)This mode indicates the estimated
distance to empty based on the cur-
rent fuel in the fuel tank and the
amount of fuel delivered to the
engine. When the remaining distance
is below 50 km (30 miles), a blinking
“----” symbol will be displayed.
✽ ✽
NOTICE• If the vehicle is not on level ground
or the battery power has been
interrupted, the “Distance to
empty” function may not operate
correctly.
The trip computer may not regis-
ter additional fuel if less than 6
liters (1.6 gallons) of fuel are
added to the vehicle.
• The fuel consumption and dis-
tance to empty values may vary
significantly based on driving con-
ditions, driving habits, and condi-
tion of the vehicle.
• The distance to empty value is an
estimate of the available driving
distance. This value may differ
from the actual driving distance
available.
1KMN2107
1KMN2108
KM CAN (ENG) 4.qxd 9/13/2004 4:48 PM Page 44
Page 180 of 354
457
Driving your vehicle
1
2
3
4
5
6
7
8
9
If the vehicle's compass headings
become inaccurate continuously, the
compass should be manually cali-
brated as follows:
1) Move the vehicle away from any
large steel structures or power
generating cables or equipment.
2) Turn on the compass by pressing
the COMP button.
3) Check the zone number by press-
ing the COMP button for more
than 4 seconds until the current
zone number appears in the dis-
play. To re-calibrate, hold the
COMP button for 3 seconds until
C is displayed.
If the zone number is different for
your country, set the correct zone
number referring to "Setting the
compass zone" and perform the
"Calibration procedure" again.4) Make sure the vehicle windshield
wipers are turned off.
5) Drive your vehicle in at least 2
complete (either clockwise or
counter-clockwise) circles at less
than 8 km/h (5 mph) until the com-
pass heading appears. Driving in
a circle in right-handed direction
and opposite direction is possible
and if possible, stop the wiper
operation.
6) If the vehicle's compass headings
become inaccurate again, repeat
steps 1 through 6 above.
✽ ✽
NOTICEIf new vehicle is first driven or if the
battery has been disconnected, do
the calibration procedure as above.
Setting the compass zoneThis compass must be set to com-
pensate for the variation between
true north and magnetic north. To set
variation:
1. Find your current location and
variance zone number on the zone
map.
2. Press the COMP button for more
than 4 seconds. The current zone
number will appear in the display.
3. Release and press the COMP but-
ton until the new zone number
appears in the display. After you
stop pressing the button in, the
display will show a compass direc-
tion within a few seconds.
KM CAN (ENG) 4.qxd 9/13/2004 4:48 PM Page 57
Page 182 of 354
459
Driving your vehicle
1
2
3
4
5
6
7
8
9
Battery saver function The purpose of this feature is to
prevent the battery from being dis-
charged. The system automatically
turns off the headlights and park-
ing lights when the driver removes
the ignition key and opens the driv-
er- side door.
With this feature, the parklight will
be turned off automatically if the
driver parks on the side of road at
night.
If necessary, to keep the lights on
when the ignition key is removed,
perform the following :
1) Open the driver-side door.
2) Turn the parklights OFF and ON
again using the light switch on the
steering column.
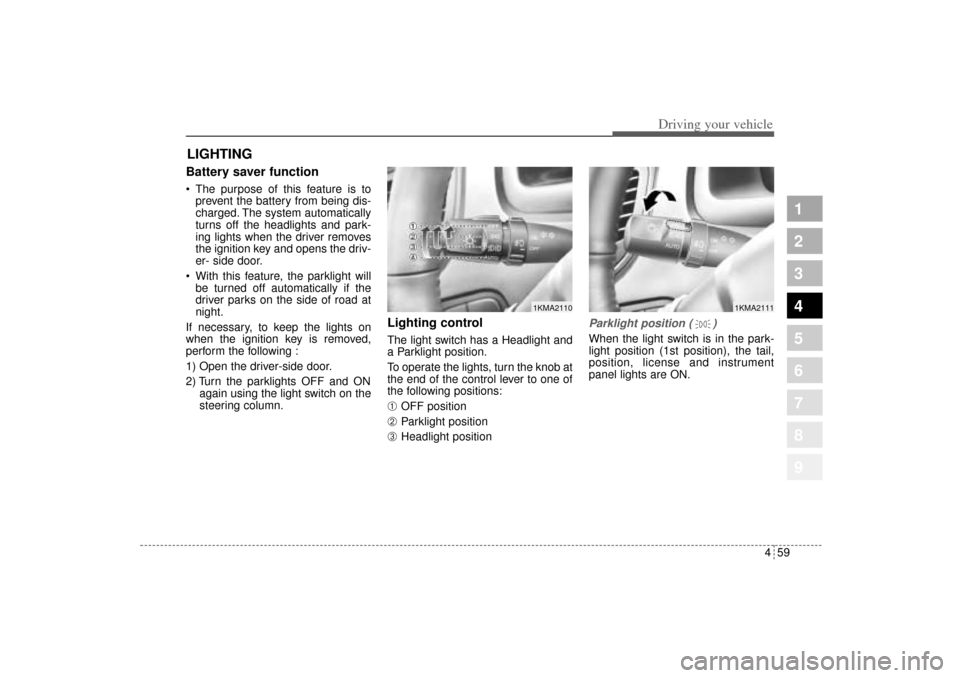
Lighting control The light switch has a Headlight and
a Parklight position.
To operate the lights, turn the knob at
the end of the control lever to one of
the following positions:➀
OFF position
➁
Parklight position
➂
Headlight position
Parklight position ( )When the light switch is in the park-
light position (1st position), the tail,
position, license and instrument
panel lights are ON.
LIGHTING
1KMA2111
1KMA2110
KM CAN (ENG) 4.qxd 9/13/2004 4:48 PM Page 59
Page 183 of 354
Driving your vehicle60 4
1
2
3
4
5
6
7
8
9
Headlight position ( )When the light switch is in the head-
light position (2nd position) the head,
tail, position, license and instrument
panel lights are ON.
High - beam operation To turn on the high beam headlights,
push the lever forward.
The high-beam indicator will light
when the headlight high beams are
switched on.
To prevent the battery from being
discharged, do not leave the lights
on for a prolonged time while the
engine is not running.
Flashing headlights To flash the headlights, pull the lever
towards you. It will return to the nor-
mal (low-beam) position when
released. The headlight switch does
not need to be on to use this flashing
feature.
1KMA2112
1KMA2114
1KMA2115
KM CAN (ENG) 4.qxd 9/13/2004 4:48 PM Page 60
Page 185 of 354
Driving your vehicle62 4
1
2
3
4
5
6
7
8
9
✽ ✽
NOTICEWhen in operation, the fog lights
consume large amounts of vehicle
electrical power. Only use the fog
lights when visibility is poor.
Unnecessary battery and generator
drain could occur if the fog lights
are used excessively.
Daytime running light
(if equipped)Daytime Running Lights (DRL) can
make it easier for others to see the
front of your vehicle during the day.
DRL can be helpful in many different
driving conditions, and it is especial-
ly helpful after dawn and before sun-
set.
The DRL system will make your
high-beam headlights turn OFF
when:
1. The head light switch is ON.
2. The parking brake engaged.
3. Engine stops.
KM CAN (ENG) 4.qxd 9/13/2004 4:48 PM Page 62
Page 189 of 354
Driving your vehicle66 4
1
2
3
4
5
6
7
8
9
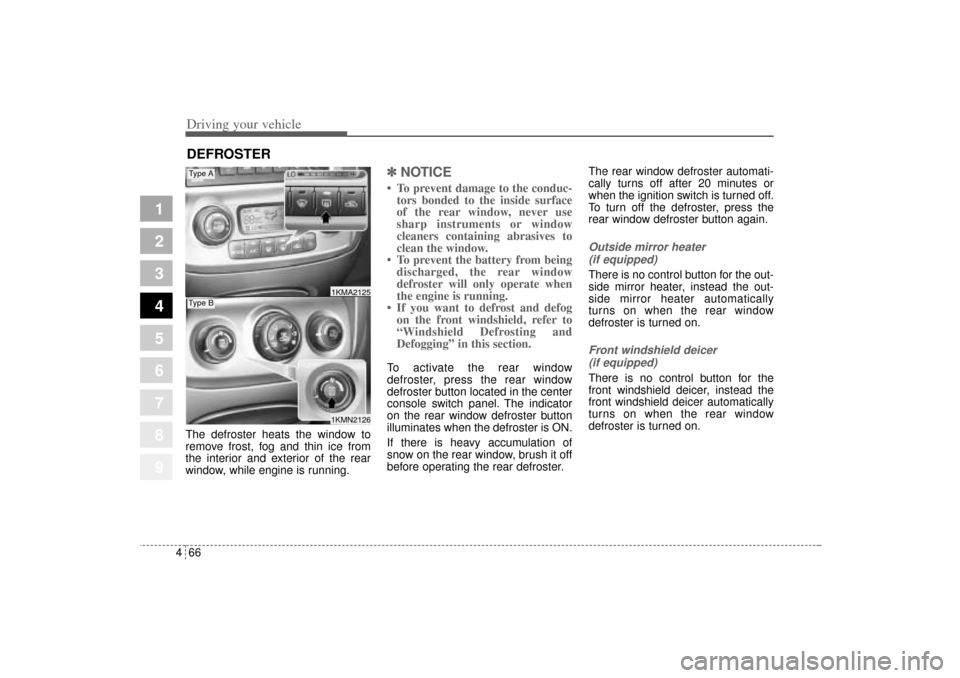
The defroster heats the window to
remove frost, fog and thin ice from
the interior and exterior of the rear
window, while engine is running.
✽ ✽
NOTICE• To prevent damage to the conduc-
tors bonded to the inside surface
of the rear window, never use
sharp instruments or window
cleaners containing abrasives to
clean the window.
• To prevent the battery from being
discharged, the rear window
defroster will only operate when
the engine is running.
• If you want to defrost and defog
on the front windshield, refer to
“Windshield Defrosting and
Defogging” in this section. To activate the rear window
defroster, press the rear window
defroster button located in the center
console switch panel. The indicator
on the rear window defroster button
illuminates when the defroster is ON.
If there is heavy accumulation of
snow on the rear window, brush it off
before operating the rear defroster.The rear window defroster automati-
cally turns off after 20 minutes or
when the ignition switch is turned off.
To turn off the defroster, press the
rear window defroster button again.
Outside mirror heater
(if equipped)There is no control button for the out-
side mirror heater, instead the out-
side mirror heater automatically
turns on when the rear window
defroster is turned on.Front windshield deicer
(if equipped)There is no control button for the
front windshield deicer, instead the
front windshield deicer automatically
turns on when the rear window
defroster is turned on.
DEFROSTER
1KMN21261KMA2125
Type AType B
KM CAN (ENG) 4.qxd 9/13/2004 4:48 PM Page 66
Page 202 of 354
479
Driving your vehicle
1
2
3
4
5
6
7
8
9
Manual operation The heating and cooling system can
be controlled manually as well by
pushing buttons other than the AUTO
button. In this case, the system
works sequentially according to the
order of buttons selected.
When pressing any button except
AUTO button while automatic opera-
tion, the functions of the buttons not
selected will be controlled automati-
cally.
Press the AUTO button in order to
convert to full automatic control of
the system.
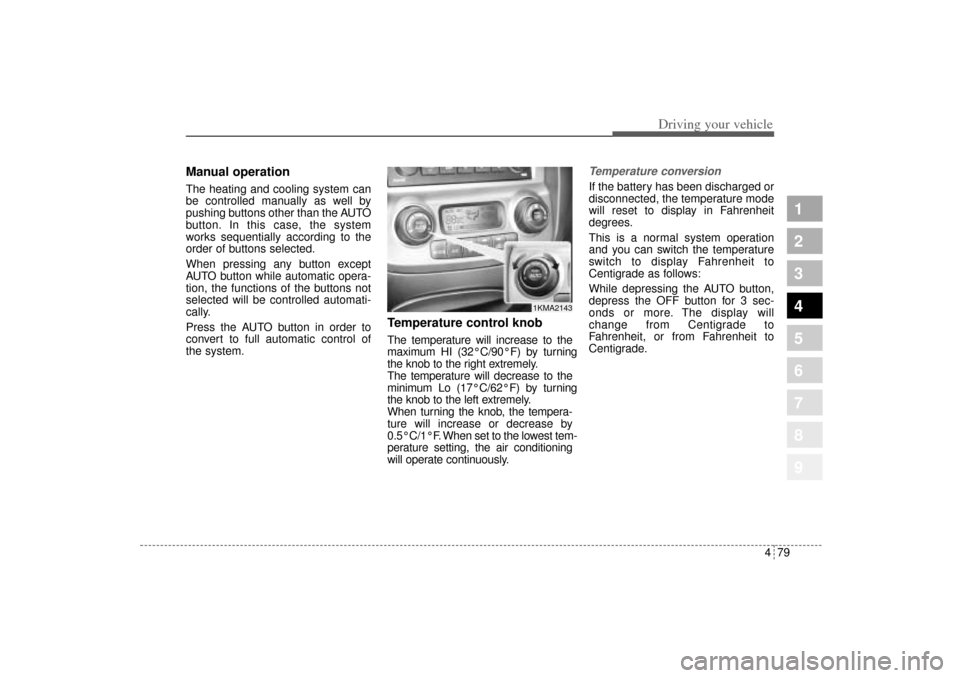
Temperature control knobThe temperature will increase to the
maximum HI (32°C/90°F) by turning
the knob to the right extremely.
The temperature will decrease to the
minimum Lo (17°C/62°F) by turning
the knob to the left extremely.
When turning the knob, the tempera-
ture will increase or decrease by
0.5°C/1°F. When set to the lowest tem-
perature setting, the air conditioning
will operate continuously.
Temperature conversionIf the battery has been discharged or
disconnected, the temperature mode
will reset to display in Fahrenheit
degrees.
This is a normal system operation
and you can switch the temperature
switch to display Fahrenheit to
Centigrade as follows:
While depressing the AUTO button,
depress the OFF button for 3 sec-
onds or more. The display will
change from Centigrade to
Fahrenheit, or from Fahrenheit to
Centigrade.
1KMA2143
KM CAN (ENG) 4.qxd 9/13/2004 4:49 PM Page 79