Page 210 of 238

Maintenance7-38
Wheel Replacement
When replacing the metal wheels for any reason, make
sure the new wheels are equivalent to the original
factory units in diameter, rim width and offset.
✻ ✻
NOTICE
When replacing tires, never mix radial, bias-
belted, and bias-type tires. All four tires
should be of the same size, design and
construction. Use only the tire sizes listed on
the Tire Label attached to the passenger’s
door. Make sure that all tires and wheels are
the same size and have the same load-
carrying capacity. Use only tire and wheel
combinations recommended on the Tire
Label or by an Authorized Kia Dealer.
Failure to follow these precautions can
adversely affect the safety and handling of
your vehicle.
The use of any other tire size or type may
seriously affect ride, handling, ground
clearance, tire clearance, and speedometer
calibration.
(Continued)
(Continued)
Driving on worn-out tires is very hazardous
and will reduce braking effectiveness,
steering accuracy, and traction.
It is best to replace all four tires on your
vehicle at the same time. If that is not
possible, then replace the two front or two
rear tires as a pair. Replacing just one tire
can seriously affect vehicle handling.
RIO ENG CNA 7-2.qxd 7/29/05 5:18 PM Page 38
Page 212 of 238
Uniform Tire Quality Grading
The following information relates to the tire grading
system developed by the Canadian Motor Vehicle
Safety Standard (CMVSS) for grading tires by tread
wear, traction and temperature performance.
These temperature grades are molded on the sidewalls
of passenger vehicle tires. Tires available as standard
or optional equipment on Kia vehicles may vary with
respect to grade.
Maintenance7-40Tire Speed Ratings
The following chart below shows many of the different
speed ratings currently used for passenger car tires.
The speed rating symbol is part of the tire size
designation on the sidewall of the tire. This symbol
corresponds to that tire’s designed maximum safe
operating speed.
Speed Rating
Symbol
Maximum Speed
S
180 km/h (112 mph)
T
190 km/h (118 mph)
H
210 km/h (130 mph)
V
240 km/h (149 mph)
Z
Above 240 km/h (149 mph)
AN7B07024
Treadwear 340 Traction A
Temperature A
RIO ENG CNA 7-2.qxd 7/29/05 5:18 PM Page 40
Page 214 of 238

Maintenance7-42
1. Remove the headlight bulb cover by turning it
counterclockwise.
2. Disconnect the electrical connector from the bulb
assembly.
3. Unsnap the headlight bulb retaining wire by
depressing the end of it and pulling it upward.
4. Remove the bulb.
5. Install a new bulb by aligning the bulb with the
three(3) slots on the headlight assembly and snap the
headlight bulb retaining wire into position.
6. Connect the headlight bulb electrical connector.
7. Install the headlight bulb cover.
Bulb ReplacementHeadlight Bulb Replacement
WARNING - Halogen Bulbs
Wear eye protection when changing a bulb.
Allow the bulb to cool before handling it.
Halogen bulbs contain pressurized gas. If
broken, a halogen bulb will explode and will
produce flying pieces of glass.
Always handle halogen bulbs carefully to
avoid scratches and abrasion. If the bulbs
are lit, avoid contact with liquids. Never
touch the glass with bare hands. Residual oil
may cause the bulb to overheat and burst
when lit. A bulb should be operated only
when installed in the headlight assembly.
If a bulb becomes damaged or cracked,
replace it immediately and carefully dispose
it.
1B3106004B
RIO ENG CNA 7-2.qxd 7/29/05 5:18 PM Page 42
Page 216 of 238
5. Insert a new bulb in the socket, then push the bulb
in and rotate it one-quarter turn clockwise to lock
the bulb in place.
6. Re-install the bulb socket into the rear combination
light assembly and rotate it one-quarter turn
clockwise to lock the socket in place.
7. Carefully re-install the light assembly in the
vehicle.
Maintenance7-44
AS2B07033
3. Turn the bulb socket counterclockwise and remove
it from the housing.
4. Push the bulb in, then rotate it one-quarter turn
counterclockwise and remove the bulb from the
socket.
1B3106007C
Turn signal bulbStop/tail light bulb
Backup light bulb
RIO ENG CNA 7-2.qxd 7/29/05 5:18 PM Page 44
Page 218 of 238
License Plate Light Bulb Replacement1. Using a Phillips screwdriver, remove the two (2)
lens mounting screws and the lens.Maintenance7-46
2. Carefully pull the bulb out of the socket.
3. Insert a new bulb in the socket.
4. Re-install the lens and the two (2) mounting
screws.
2BLA745
RIO ENG CNA 7-2.qxd 7/29/05 5:18 PM Page 46
Page 220 of 238

Maintenance7-48
Engine oil viscosity (thickness) has an effect on fuel
economy and cold weather operation (starting and oil
flow). Lower viscosity engine oils can provide better
fuel economy and cold weather performance, however,
higher viscosity engine oils are required for
satisfactory lubrication in hot weather. Using oils of
any viscosity other than those recommended could
result in engine damage.
When choosing an oil, consider the range of
temperature your vehicle will be operated in before the
next oil change. Then select the recommended oil
viscosity from the chart.
✻ ✻
NOTICE
Always be sure to clean the area around any filler
plug, drain plug, or dipstick before checking or
draining any lubricant. This is especially
important in dusty or sandy areas and when the
vehicle is used on unpaved roads. Cleaning the
plug and dipstick areas will prevent dirt and grit
from entering the engine and other mechanisms
that could be damaged.
Recommended SAE Viscosity Number
Temperature Range for SAE Viscosity Numbers
Temperature
Gasoline
Engine Oil°C
(°F)
-30 -20 -10 0 10 20 30 40 50
-10 0 20 40 60 80 100 120
10W-30
5W-20, 5W-30
RIO ENG CNA 7-2.qxd 7/29/05 5:18 PM Page 48
Page 221 of 238

7-49
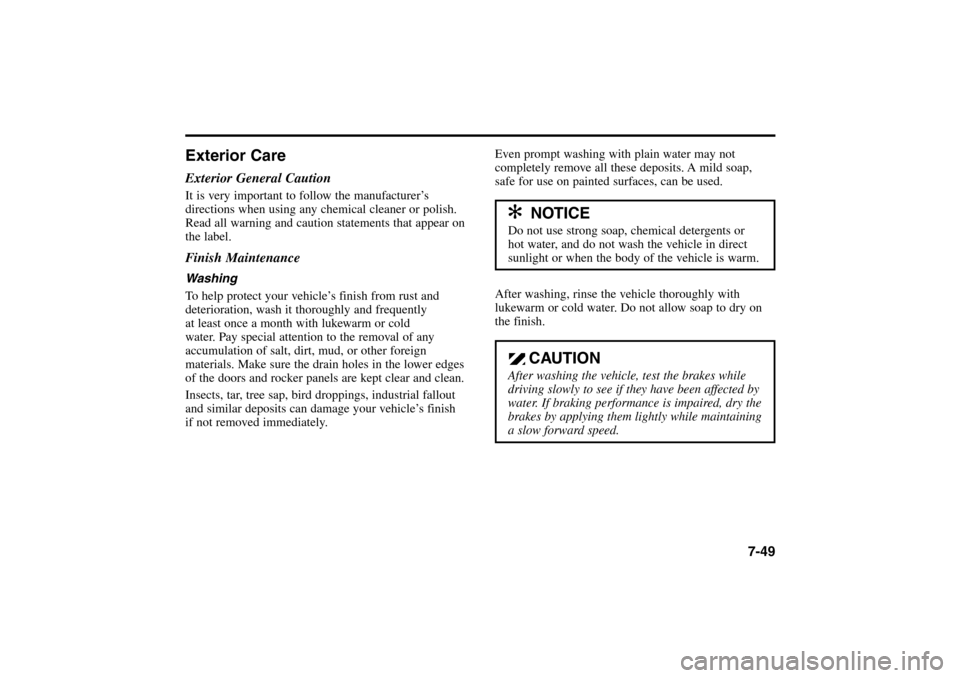
Exterior CareExterior General CautionIt is very important to follow the manufacturer’s
directions when using any chemical cleaner or polish.
Read all warning and caution statements that appear on
the label.Finish MaintenanceWashing
To help protect your vehicle’s finish from rust and
deterioration, wash it thoroughly and frequently
at least once a month with lukewarm or cold
water. Pay special attention to the removal of any
accumulation of salt, dirt, mud, or other foreign
materials. Make sure the drain holes in the lower edges
of the doors and rocker panels are kept clear and clean.
Insects, tar, tree sap, bird droppings, industrial fallout
and similar deposits can damage your vehicle’s finish
if not removed immediately. Even prompt washing with plain water may not
completely remove all these deposits. A mild soap,
safe for use on painted surfaces, can be used.
After washing, rinse the vehicle thoroughly with
lukewarm or cold water. Do not allow soap to dry on
the finish.
✻ ✻
NOTICE
Do not use strong soap, chemical detergents or
hot water, and do not wash the vehicle in direct
sunlight or when the body of the vehicle is warm.
CAUTION
After washing the vehicle, test the brakes while
driving slowly to see if they have been affected by
water. If braking performance is impaired, dry the
brakes by applying them lightly while maintaining
a slow forward speed.
RIO ENG CNA 7-2.qxd 7/29/05 5:18 PM Page 49
Page 222 of 238

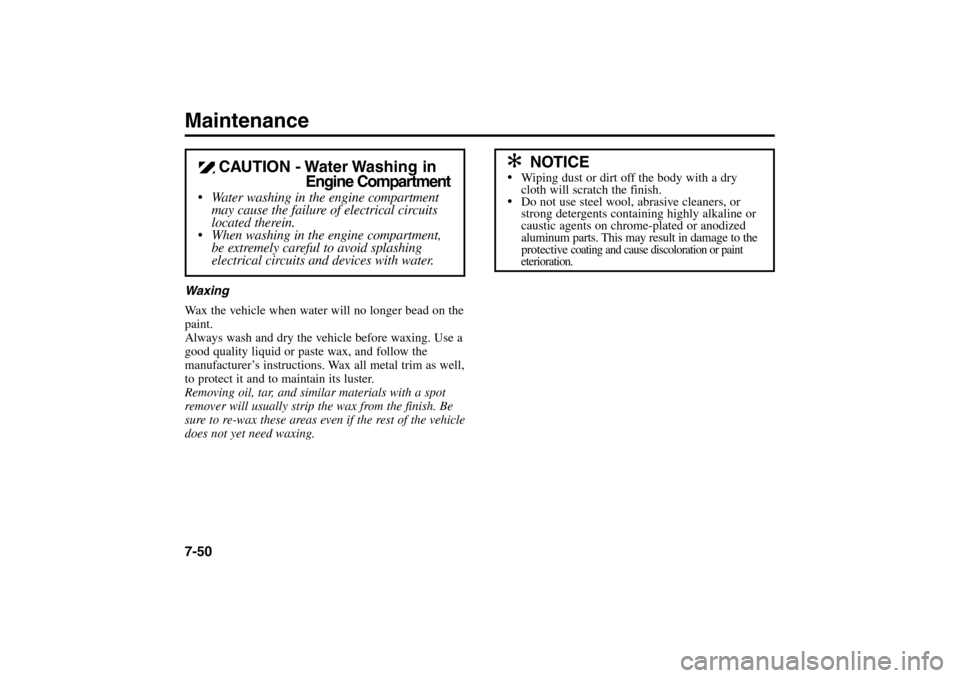
Maintenance7-50Waxing
Wax the vehicle when water will no longer bead on the
paint.
Always wash and dry the vehicle before waxing. Use a
good quality liquid or paste wax, and follow the
manufacturer’s instructions. Wax all metal trim as well,
to protect it and to maintain its luster.
Removing oil, tar, and similar materials with a spot
remover will usually strip the wax from the finish. Be
sure to re-wax these areas even if the rest of the vehicle
does not yet need waxing.
✻ ✻
NOTICE
Wiping dust or dirt off the body with a dry
cloth will scratch the finish.
Do not use steel wool, abrasive cleaners, or
strong detergents containing highly alkaline or
caustic agents on chrome-plated or anodized
aluminum parts. This may result in damage to the
protective
coating and cause discoloration or paint
eterioration.
CAUTION - Water Washing in
Engine Compartment
Water washing in the engine compartment
may cause the failure of electrical circuits
located therein.
When washing in the engine compartment,
be extremely careful to avoid splashing
electrical circuits and devices with water.
RIO ENG CNA 7-2.qxd 7/29/05 5:18 PM Page 50