Page 261 of 4731
AT-178
DTC P1843 ATF PRESSURE SWITCH 3
Revision: 2005 July 2005 FX
Diagnostic ProcedureACS002QR
1. CHECK INPUT SIGNAL
With CONSULT-II
1. Start engine.
2. Select “ECU INPUT SIGNALS” or “MAIN SIGNALS” in “DATA MONITOR” mode for “A/T” with CONSULT-II.
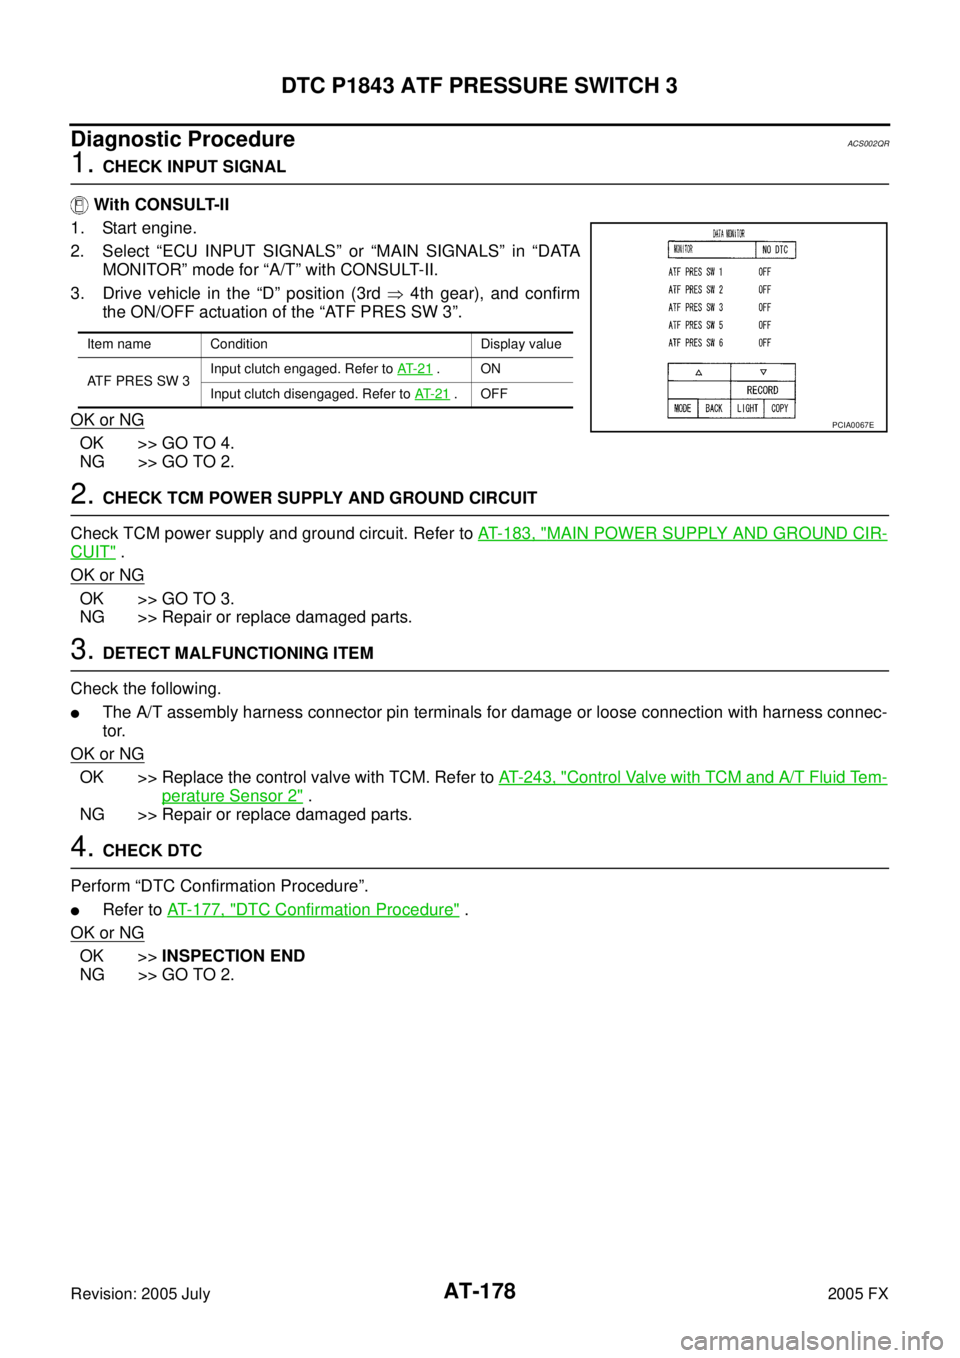
3. Drive vehicle in the “D” position (3rd � 4th gear), and confirm
the ON/OFF actuation of the “ATF PRES SW 3”.
OK or NG
OK >> GO TO 4.
NG >> GO TO 2.
2. CHECK TCM POWER SUPPLY AND GROUND CIRCUIT
Check TCM power supply and ground circuit. Refer to AT- 1 8 3 , "
MAIN POWER SUPPLY AND GROUND CIR-
CUIT" .
OK or NG
OK >> GO TO 3.
NG >> Repair or replace damaged parts.
3. DETECT MALFUNCTIONING ITEM
Check the following.
�The A/T assembly harness connector pin terminals for damage or loose connection with harness connec-
tor.
OK or NG
OK >> Replace the control valve with TCM. Refer to AT- 2 4 3 , "Control Valve with TCM and A/T Fluid Tem-
perature Sensor 2" .
NG >> Repair or replace damaged parts.
4. CHECK DTC
Perform “DTC Confirmation Procedure”.
�Refer to AT- 1 7 7 , "DTC Confirmation Procedure" .
OK or NG
OK >> INSPECTION END
NG >> GO TO 2.
Item name Condition Display value
ATF PRES SW 3 Input clutch engaged. Refer to
AT- 2 1
.ON
Input clutch disengaged. Refer to AT- 2 1
.OFF
PCIA0067E
Page 262 of 4731
DTC P1845 ATF PRESSURE SWITCH 5 AT-179
D E
F
G H
I
J
K L
M A
B
AT
Revision: 2005 July 2005 FX
DTC P1845 ATF PRESSURE SWITCH 5PFP:25240
DescriptionACS002QS
Fail-safe function to detect direct clutch solenoid valve condition.
CONSULT-II Reference ValueACS003K0
On Board Diagnosis LogicACS002QT
�This is not an OBD-II self-diagnostic item.
�Diagnostic trouble code “P1845 ATF PRES SW 5/CIRC” with CONSULT-II is detected when TCM detects
that actual gear ratio is normal, and relation between gear position and condition of ATF pressure switch 5
is irregular during depressing accelerator pedal. (Other than during shift change)
Possible CauseACS002QU
�ATF pressure switch 5
�Harness or connectors
(Switch circuit is open or shorted.)
DTC Confirmation ProcedureACS002QV
CAUTION:
Always drive vehicle at a safe speed.
NOTE:
If “DTC Confirmation Procedure” has been previously performed, always turn ignition switch OFF and
wait at least 10 seconds before performing the next test.
After the repair, perform the following procedure to confirm the malfunction is eliminated.
WITH CONSULT-II
1. Start engine.
2. Accelerate vehicle to maintain the following conditions. ACCELE POSI: 1.5/8 - 2.0/8
Selector lever: “D” position
Gear position: 1st � 2nd Gear (D/C ON/OFF)
Driving location: Driving the vehicle uphill (increased
engine load) will help maintain the driving conditions
required for this test.
3. Perform step “2” again.
4. Turn ignition switch OFF, then perform step “1” to “3” again.
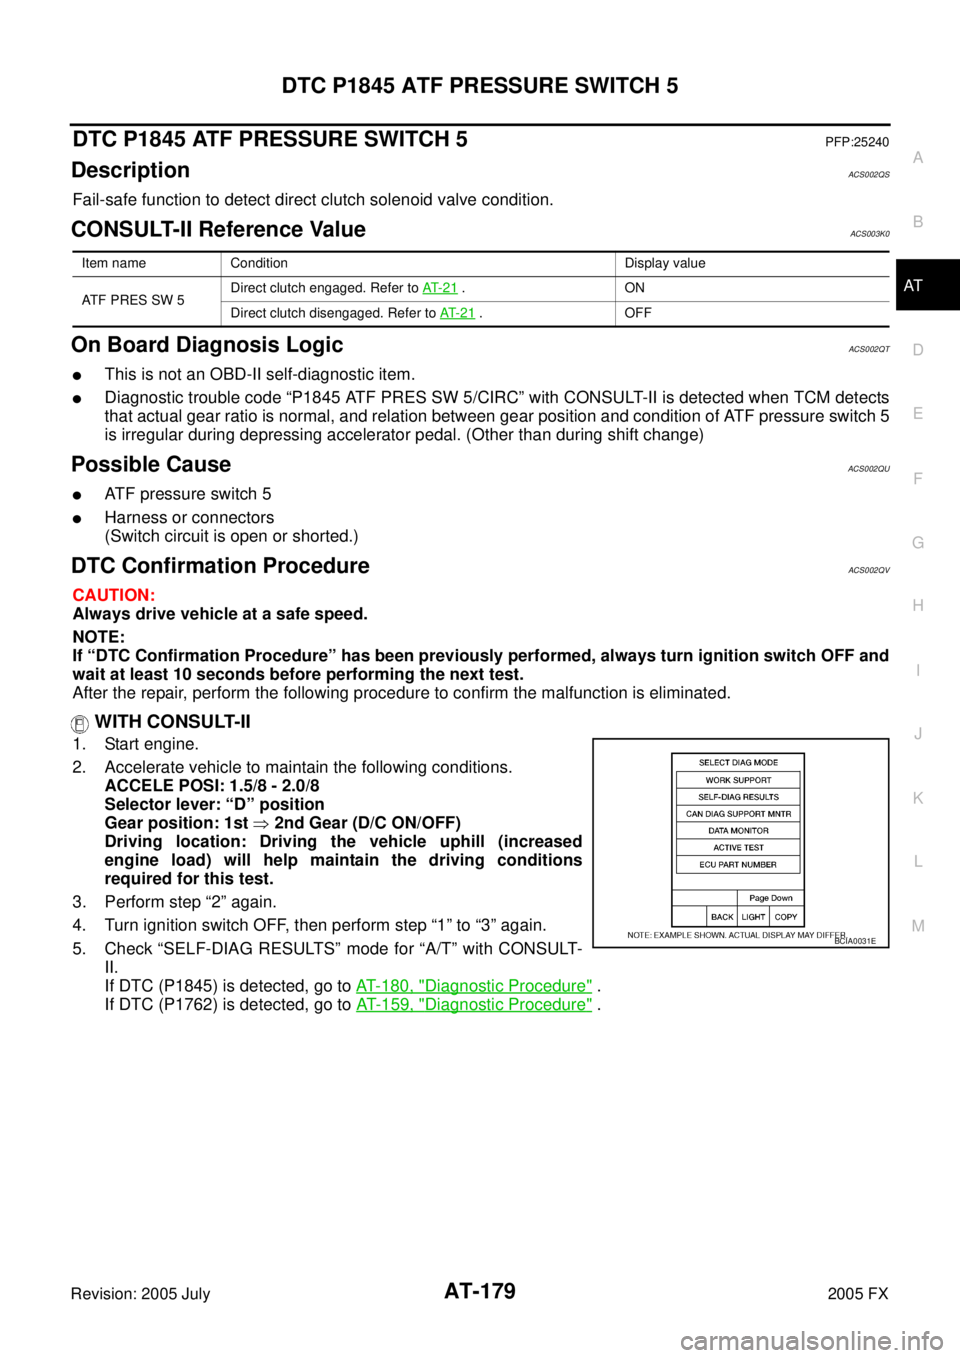
5. Check “SELF-DIAG RESULTS” mode for “A/T” with CONSULT- II.
If DTC (P1845) is detected, go to AT- 1 8 0 , "
Diagnostic Procedure" .
If DTC (P1762) is detected, go to AT- 1 5 9 , "
Diagnostic Procedure" .
Item name Condition Display value
ATF PRES SW 5 Direct clutch engaged. Refer to
AT- 2 1
.ON
Direct clutch disengaged. Refer to AT- 2 1
.OFF
BCIA0031E
Page 263 of 4731
AT-180
DTC P1845 ATF PRESSURE SWITCH 5
Revision: 2005 July 2005 FX
Diagnostic ProcedureACS002QW
1. CHECK INPUT SIGNAL
With CONSULT-II
1. Start engine.
2. Select “ECU INPUT SIGNALS” or “MAIN SIGNALS” in “DATA MONITOR” mode for “A/T” with CONSULT-II.
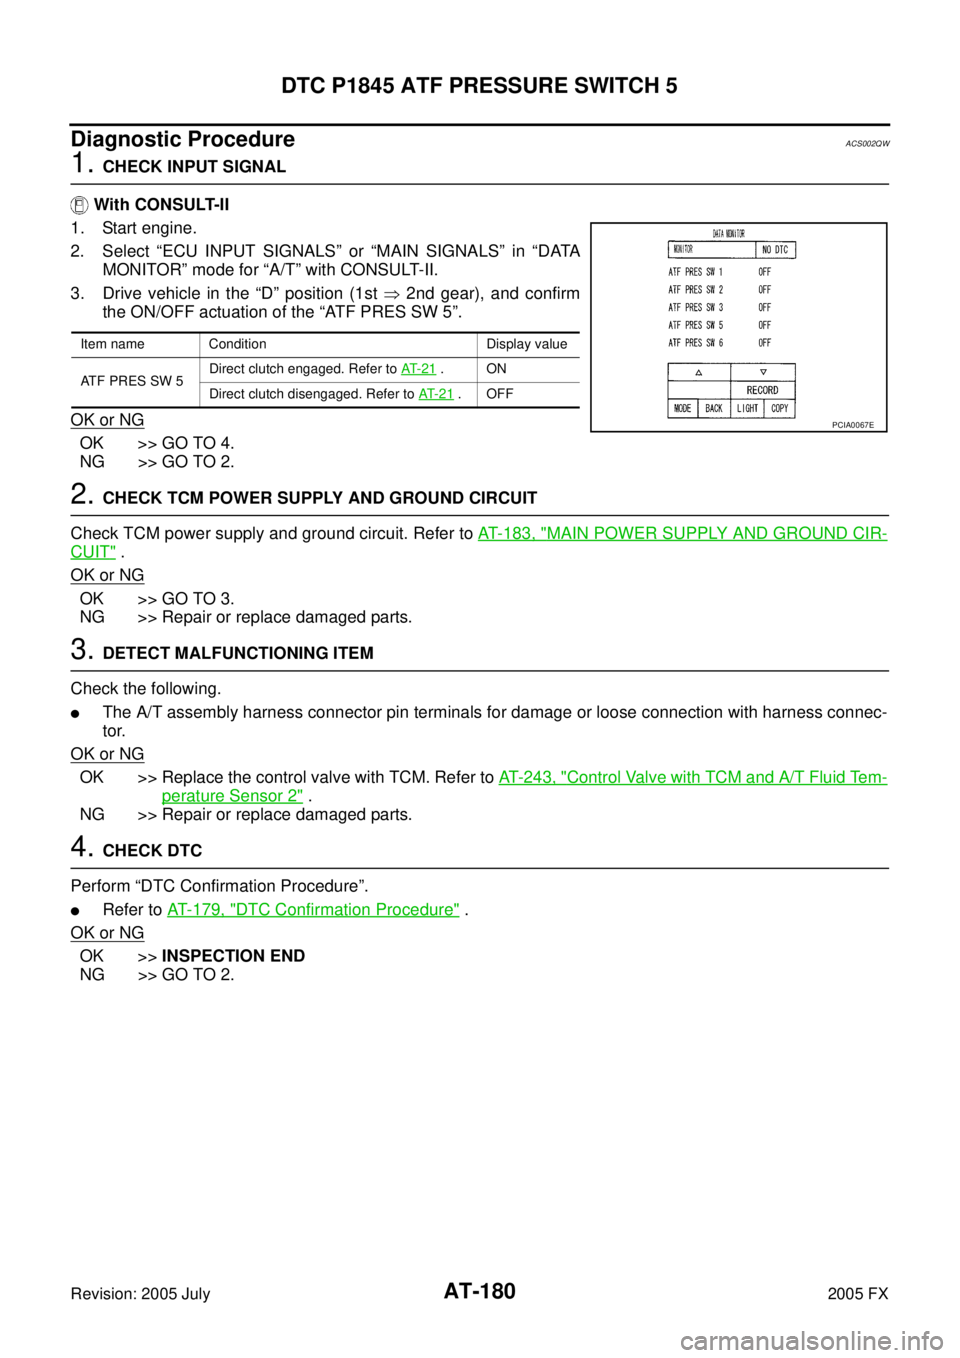
3. Drive vehicle in the “D” position (1st � 2nd gear), and confirm
the ON/OFF actuation of the “ATF PRES SW 5”.
OK or NG
OK >> GO TO 4.
NG >> GO TO 2.
2. CHECK TCM POWER SUPPLY AND GROUND CIRCUIT
Check TCM power supply and ground circuit. Refer to AT- 1 8 3 , "
MAIN POWER SUPPLY AND GROUND CIR-
CUIT" .
OK or NG
OK >> GO TO 3.
NG >> Repair or replace damaged parts.
3. DETECT MALFUNCTIONING ITEM
Check the following.
�The A/T assembly harness connector pin terminals for damage or loose connection with harness connec-
tor.
OK or NG
OK >> Replace the control valve with TCM. Refer to AT- 2 4 3 , "Control Valve with TCM and A/T Fluid Tem-
perature Sensor 2" .
NG >> Repair or replace damaged parts.
4. CHECK DTC
Perform “DTC Confirmation Procedure”.
�Refer to AT- 1 7 9 , "DTC Confirmation Procedure" .
OK or NG
OK >> INSPECTION END
NG >> GO TO 2.
Item name Condition Display value
ATF PRES SW 5 Direct clutch engaged. Refer to
AT- 2 1
.ON
Direct clutch disengaged. Refer to AT- 2 1
.OFF
PCIA0067E
Page 264 of 4731
DTC P1846 ATF PRESSURE SWITCH 6 AT-181
D E
F
G H
I
J
K L
M A
B
AT
Revision: 2005 July 2005 FX
DTC P1846 ATF PRESSURE SWITCH 6PFP:25240
DescriptionACS002QX
Fail-safe function to detect high and low reverse clutch solenoid valve condition.
CONSULT-II Reference ValueACS003K1
On Board Diagnosis LogicACS002QY
�This is not an OBD-II self-diagnostic item.
�Diagnostic trouble code “P1846 ATF PRES SW 6/CIRC” with CONSULT-II is detected when TCM detects
that actual gear ratio is normal, and relation between gear position and condition of ATF pressure switch 6
is irregular during depressing accelerator pedal. (Other than during shift change)
Possible CauseACS002QZ
�ATF pressure switch 6
�Harness or connectors
(Switch circuit is open or shorted.)
DTC Confirmation ProcedureACS002R0
CAUTION:
Always drive vehicle at a safe speed.
NOTE:
If “DTC Confirmation Procedure” has been previously performed, always turn ignition switch OFF and
wait at least 10 seconds before performing the next test.
After the repair, perform the following procedure to confirm the malfunction is eliminated.
WITH CONSULT-II
1. Start engine.
2. Accelerate vehicle to maintain the following conditions. ACCELE POSI: 1.5/8 - 2.0/8
Selector lever: “D” position
Gear position: 2nd � 3rd Gear (HLR/C ON/OFF)
Driving location: Driving the vehicle uphill (increased
engine load) will help maintain the driving conditions
required for this test.
3. Perform step “2” again.
4. Turn ignition switch OFF, then perform step “1” to “3” again.
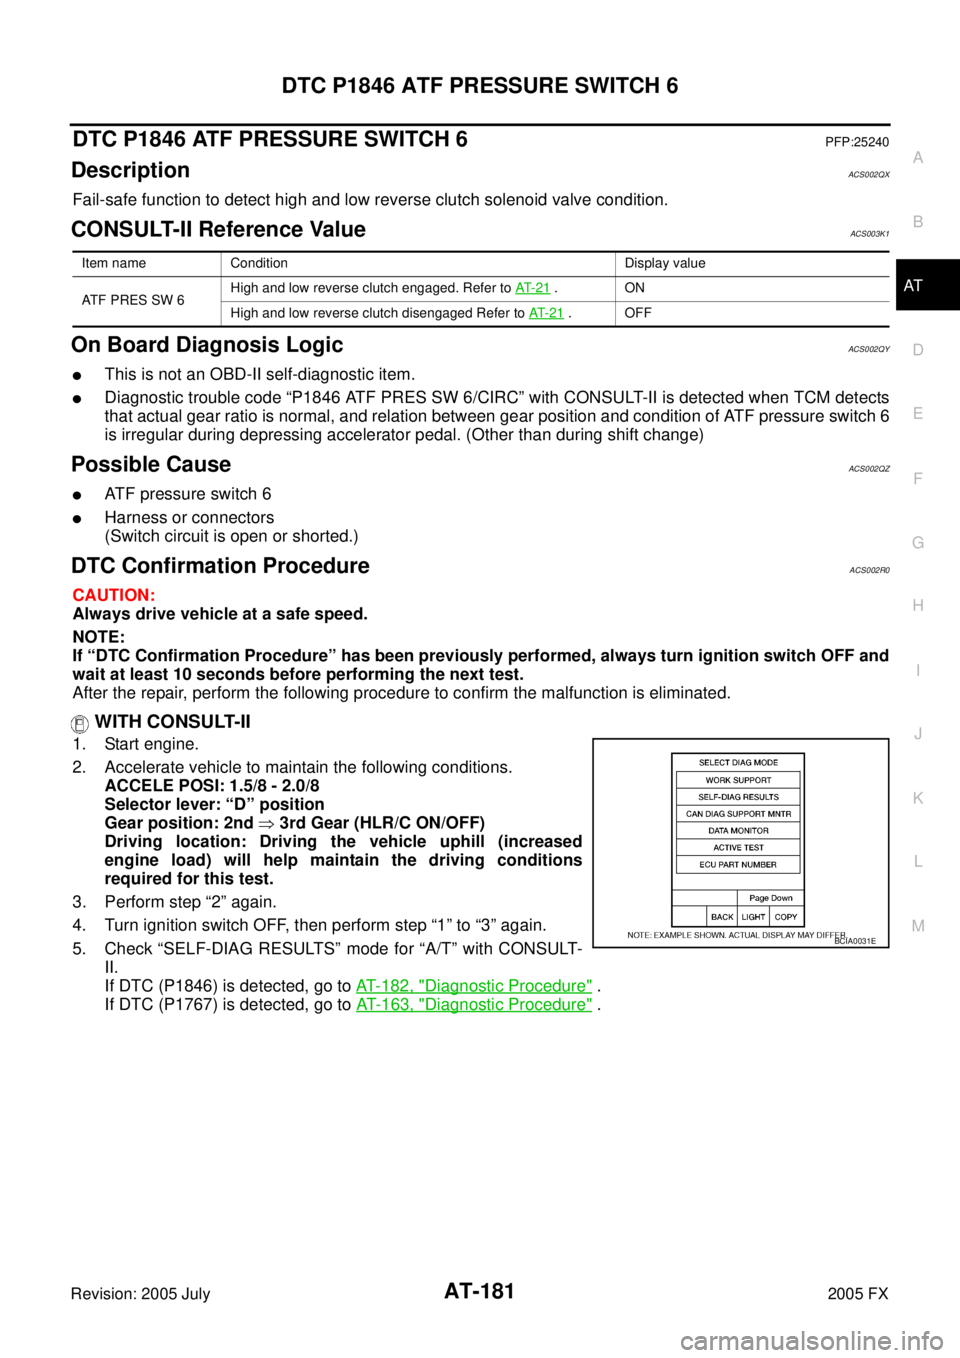
5. Check “SELF-DIAG RESULTS” mode for “A/T” with CONSULT- II.
If DTC (P1846) is detected, go to AT- 1 8 2 , "
Diagnostic Procedure" .
If DTC (P1767) is detected, go to AT- 1 6 3 , "
Diagnostic Procedure" .
Item name Condition Display value
ATF PRES SW 6 High and low reverse clutch engaged. Refer to
AT- 2 1
.ON
High and low reverse clutch disengaged Refer to AT- 2 1
.OFF
BCIA0031E
Page 265 of 4731
AT-182
DTC P1846 ATF PRESSURE SWITCH 6
Revision: 2005 July 2005 FX
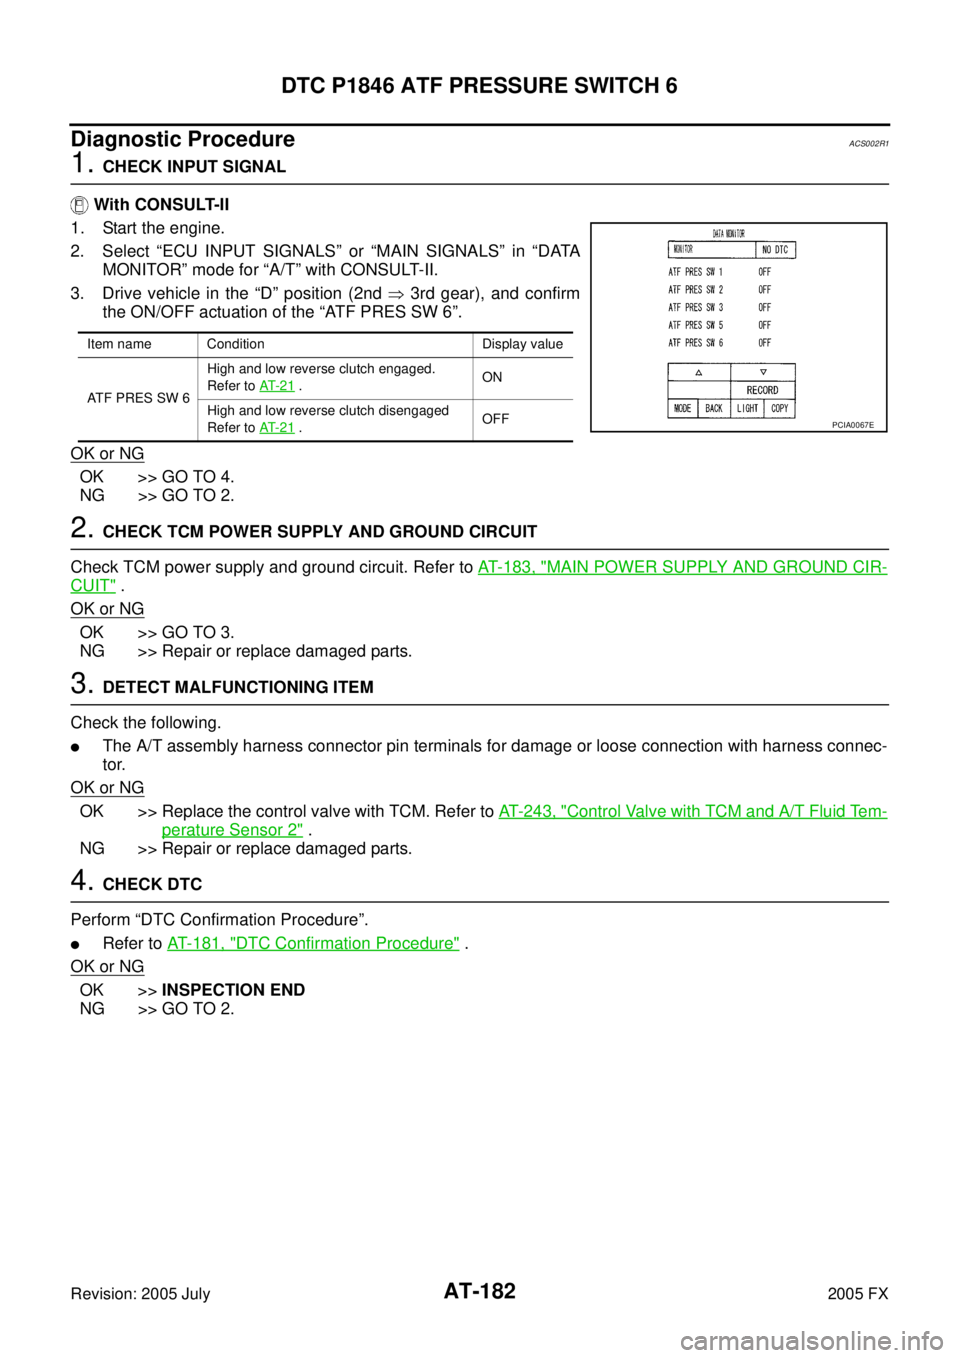
Diagnostic ProcedureACS002R1
1. CHECK INPUT SIGNAL
With CONSULT-II
1. Start the engine.
2. Select “ECU INPUT SIGNALS” or “MAIN SIGNALS” in “DATA MONITOR” mode for “A/T” with CONSULT-II.
3. Drive vehicle in the “D” position (2nd � 3rd gear), and confirm
the ON/OFF actuation of the “ATF PRES SW 6”.
OK or NG
OK >> GO TO 4.
NG >> GO TO 2.
2. CHECK TCM POWER SUPPLY AND GROUND CIRCUIT
Check TCM power supply and ground circuit. Refer to AT- 1 8 3 , "
MAIN POWER SUPPLY AND GROUND CIR-
CUIT" .
OK or NG
OK >> GO TO 3.
NG >> Repair or replace damaged parts.
3. DETECT MALFUNCTIONING ITEM
Check the following.
�The A/T assembly harness connector pin terminals for damage or loose connection with harness connec-
tor.
OK or NG
OK >> Replace the control valve with TCM. Refer to AT- 2 4 3 , "Control Valve with TCM and A/T Fluid Tem-
perature Sensor 2" .
NG >> Repair or replace damaged parts.
4. CHECK DTC
Perform “DTC Confirmation Procedure”.
�Refer to AT- 1 8 1 , "DTC Confirmation Procedure" .
OK or NG
OK >> INSPECTION END
NG >> GO TO 2.
Item name Condition Display value
ATF PRES SW 6 High and low reverse clutch engaged.
Refer to AT- 2 1
. ON
High and low reverse clutch disengaged
Refer to AT- 2 1
. OFFPCIA0067E
Page 327 of 4731
AT-244
ON-VEHICLE SERVICE
Revision: 2005 July 2005 FX
6. Remove snap ring from A/T assembly harness connector.
7. Push A/T assembly harness connector.
CAUTION:
Be careful not to damage connector.
8. Remove oil pan and oil pan gasket.
9. Check foreign materials in oil pan to help determine causes of malfunction. If the ATF is very dark, smells burned, or contains
foreign particles, the frictional material (clutches, band) may
need replacement. A tacky film that will not wipe clean indicates
varnish build up. Varnish can cause valves, servo, and clutches
to stick and can inhibit pump pressure.
�If frictional material is detected, perform A/T fluid cooler
cleaning. Refer to AT- 1 5 , "
A/T Fluid Cooler Cleaning" .
10. Remove magnets from oil pan.
SCIA5021E
SCIA5022E
SCIA2308E
SCIA5199E
SCIA5200E
Page 335 of 4731
AT-252
ON-VEHICLE SERVICE
Revision: 2005 July 2005 FX
6. Check foreign materials in oil pan to help determine causes of
malfunction. If the ATF is very dark, smells burned, or contains
foreign particles, the frictional material (clutches, band) may
need replacement. A tacky film that will not wipe clean indicates
varnish build up. Varnish can cause valves, servo, and clutches
to stick and can inhibit pump pressure.
�If frictional material is detected, perform A/T fluid cooler
cleaning. Refer to AT- 1 5 , "
A/T Fluid Cooler Cleaning" .
7. Disconnect A/T fluid temperature sensor 2 connector. CAUTION:
Be careful not to damage connector.
8. Straighten terminal clip to free A/T fluid temperature sensor 2 harness.
9. Remove A/T fluid temperature sensor 2 with bracket from con- trol valve with TCM.
10. Remove bracket from A/T fluid temperature sensor 2.
SCIA5199E
SCIA5023E
SCIA5146E
SCIA5302E
SCIA5264E
Page 347 of 4731
AT-264
ON-VEHICLE SERVICE
Revision: 2005 July 2005 FX
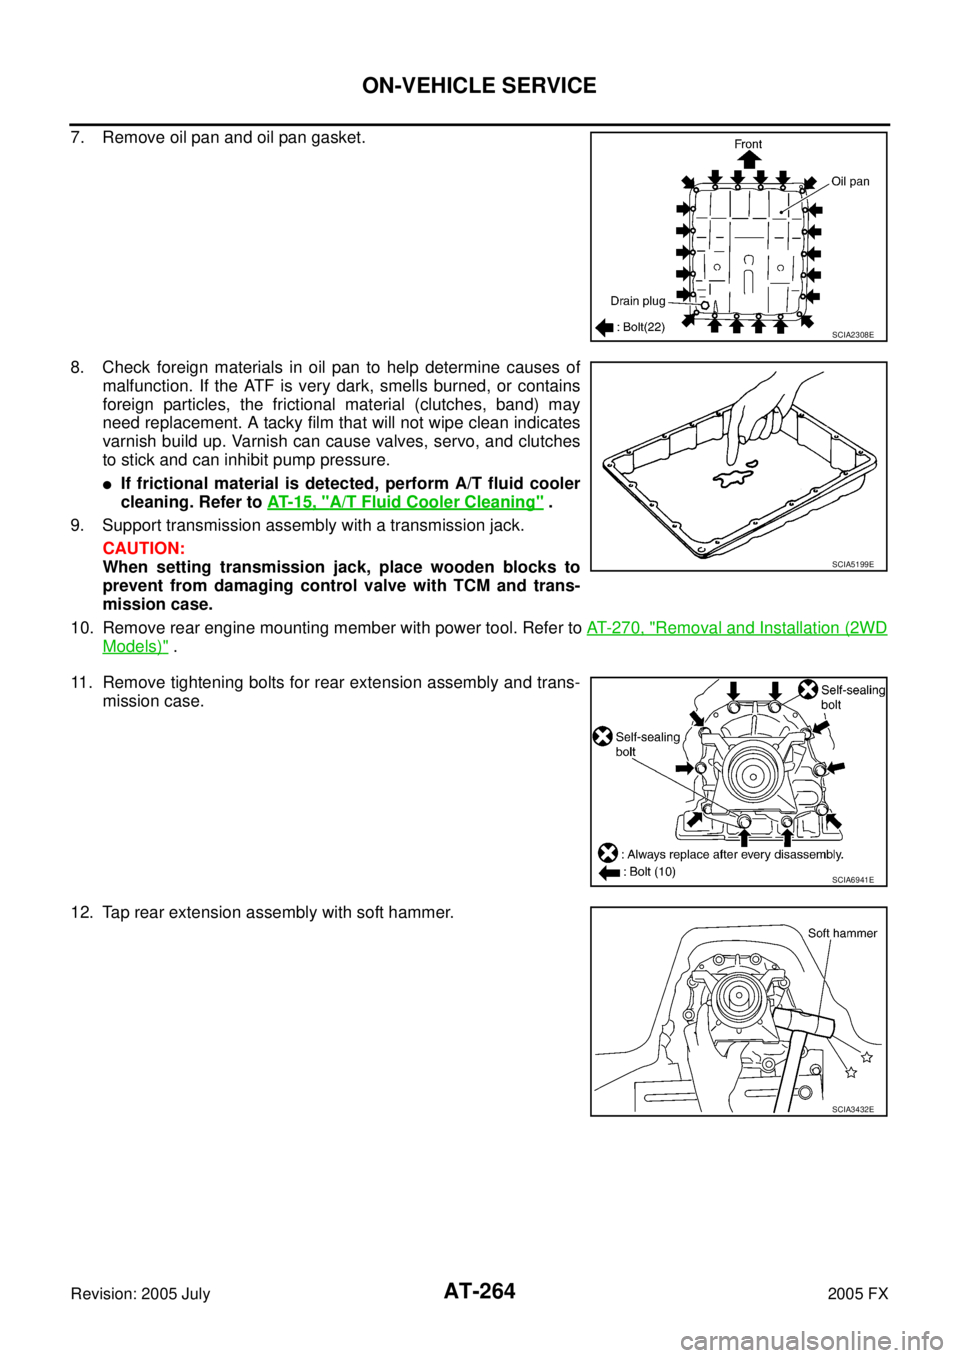
7. Remove oil pan and oil pan gasket.
8. Check foreign materials in oil pan to help determine causes of
malfunction. If the ATF is very dark, smells burned, or contains
foreign particles, the frictional material (clutches, band) may
need replacement. A tacky film that will not wipe clean indicates
varnish build up. Varnish can cause valves, servo, and clutches
to stick and can inhibit pump pressure.
�If frictional material is detected, perform A/T fluid cooler
cleaning. Refer to AT- 1 5 , "
A/T Fluid Cooler Cleaning" .
9. Support transmission assembly with a transmission jack. CAUTION:
When setting transmission jack, place wooden blocks to
prevent from damaging control valve with TCM and trans-
mission case.
10. Remove rear engine mounting member with power tool. Refer to AT- 2 7 0 , "
Removal and Installation (2WD
Models)" .
11. Remove tightening bolts for rear extension assembly and trans- mission case.
12. Tap rear extension assembly with soft hammer.
SCIA2308E
SCIA5199E
SCIA6941E
SCIA3432E