Page 105 of 178
105 Interior conveniences
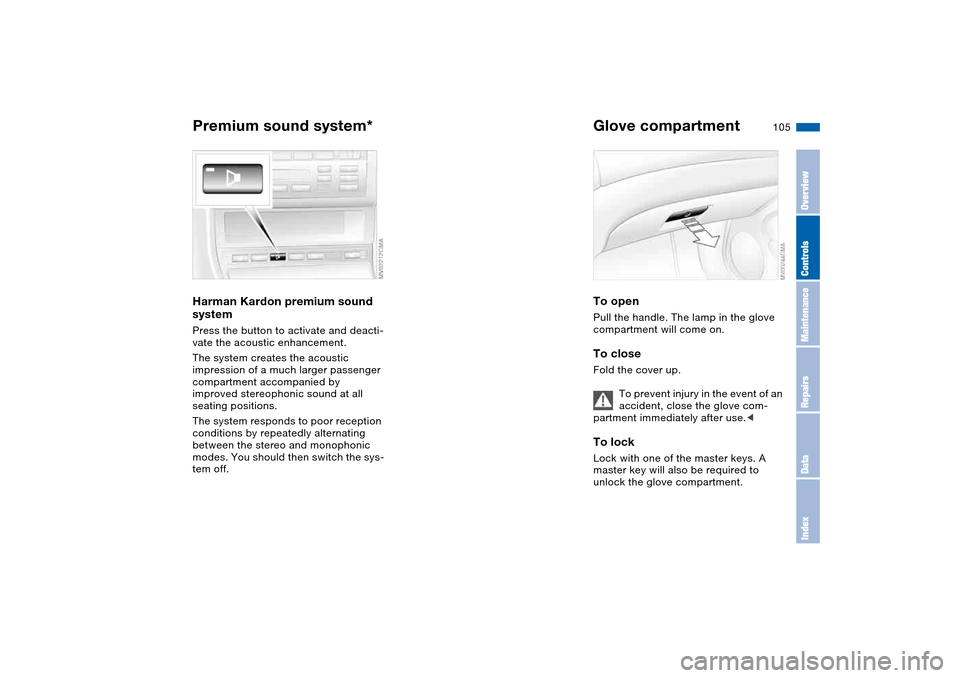
Premium sound system*Harman Kardon premium sound
systemPress the button to activate and deacti-
vate the acoustic enhancement.
The system creates the acoustic
impression of a much larger passenger
compartment accompanied by
improved stereophonic sound at all
seating positions.
The system responds to poor reception
conditions by repeatedly alternating
between the stereo and monophonic
modes. You should then switch the sys-
tem off.
Glove compartmentTo openPull the handle. The lamp in the glove
compartment will come on.To closeFold the cover up.
To prevent injury in the event of an
accident, close the glove com-
partment immediately after use.
master key will also be required to
unlock the glove compartment.
OverviewControlsMaintenanceRepairsDataIndex
Page 106 of 178
106
If – for example for valet parking –
you turn over only your spare key,
refer to page 30, then access to the
locked glove compartment is not possi-
ble.<
Rechargeable flashlightThe flashlight is located on the left side
of the glove compartment.
It features integral overload protection,
so it can be left in its holder continu-
ously.
To avoid completely discharging
and possibly damaging the flash-
light, always ensure that it is switched
off before inserting it in the socket.<
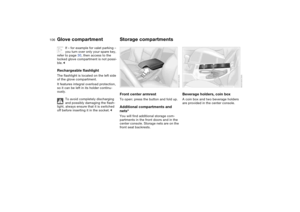
Storage compartmentsFront center armrestTo open: press the button and fold up.Additional compartments and
nets*You will find additional storage com-
partments in the front doors and in the
center console. Storage nets are on the
front seat backrests.
Beverage holders, coin boxA coin box and two beverage holders
are provided in the center console.
Glove compartment
Page 107 of 178
107
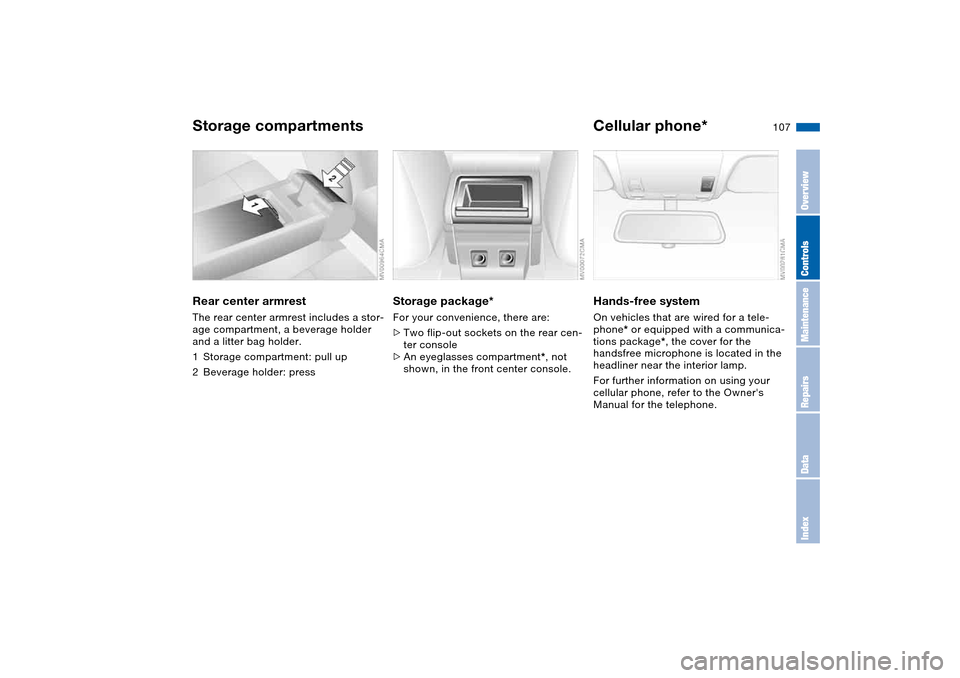
Rear center armrestThe rear center armrest includes a stor-
age compartment, a beverage holder
and a litter bag holder.
1Storage compartment: pull up
2Beverage holder: press
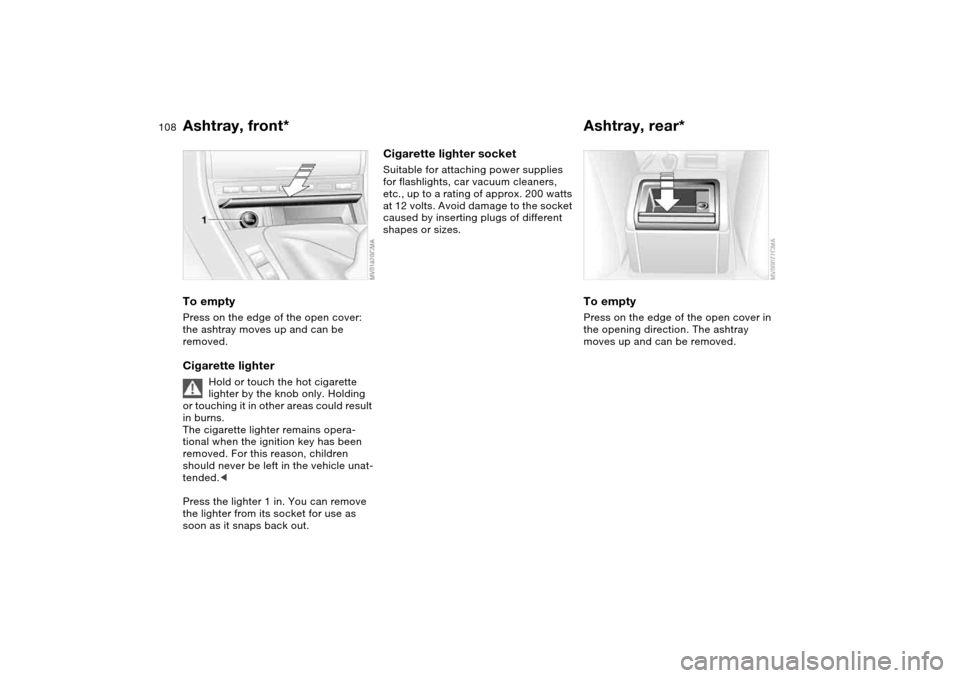
Storage package*For your convenience, there are:
>Two flip-out sockets on the rear cen-
ter console
>An eyeglasses compartment*, not
shown, in the front center console.
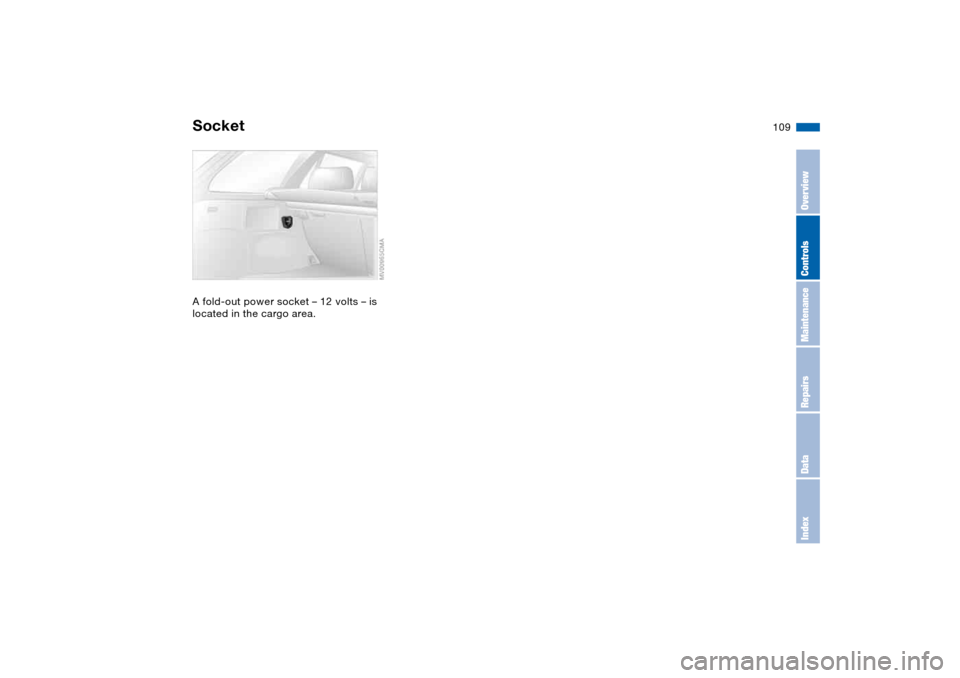
Cellular phone*Hands-free systemOn vehicles that are wired for a tele-
phone* or equipped with a communica-
tions package*, the cover for the
handsfree microphone is located in the
headliner near the interior lamp.
For further information on using your
cellular phone, refer to the Owner's
Manual for the telephone.
Storage compartments
OverviewControlsMaintenanceRepairsDataIndex
Page 108 of 178
108
Ashtray, front*To emptyPress on the edge of the open cover:
the ashtray moves up and can be
removed.Cigarette lighter
Hold or touch the hot cigarette
lighter by the knob only. Holding
or touching it in other areas could result
in burns.
The cigarette lighter remains opera-
tional when the ignition key has been
removed. For this reason, children
should never be left in the vehicle unat-
tended.<
Press the lighter 1 in. You can remove
the lighter from its socket for use as
soon as it snaps back out.
Cigarette lighter socketSuitable for attaching power supplies
for flashlights, car vacuum cleaners,
etc., up to a rating of approx. 200 watts
at 12 volts. Avoid damage to the socket
caused by inserting plugs of different
shapes or sizes.
Ashtray, rear*To emptyPress on the edge of the open cover in
the opening direction. The ashtray
moves up and can be removed.
Page 109 of 178
109
SocketA fold-out power socket – 12 volts – is
located in the cargo area.
OverviewControlsMaintenanceRepairsDataIndex
Page 110 of 178

110Loading and transporting
Ski bag*The ski bag allows the safe and clean
transport of up to 4 pairs of standard
skis or up to two snowboards.
The length of the ski bag and the addi-
tional space provided in the cargo area
make it possible to carry skis up to
6 ft 10 in / 2.10 m long. Because of the
tapered shape of the bag, only two
pairs of skis longer than 6 ft 10 in /
2.10 m can be carried.
Loading1. Fold the center armrest outward.
Loosen the trim from the upper
Velcro® fastener and place it on the
armrest
2. Press the button – see arrow 1, from
inside the passenger compartment:
the cargo hatch drops onto the floor
of the cargo area
3. Press down the detent lever – see
arrow 2 – and fold the cover forward
4. Extend the ski bag between the front
seats. The zipper provides conve-
nient access to stored items. It may
be opened to allow the ski bag to
dry.
To store the ski bag, perform the above
steps in reverse sequence.
Securing cargo
Secure skis and any other objects
stored in the bag by tightening the
retaining strap at the buckle.<
Be sure that your skis are clean
before loading them into the bag.
Avoid damage from sharp edges during
loading.<
Page 111 of 178

111
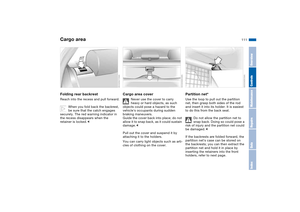
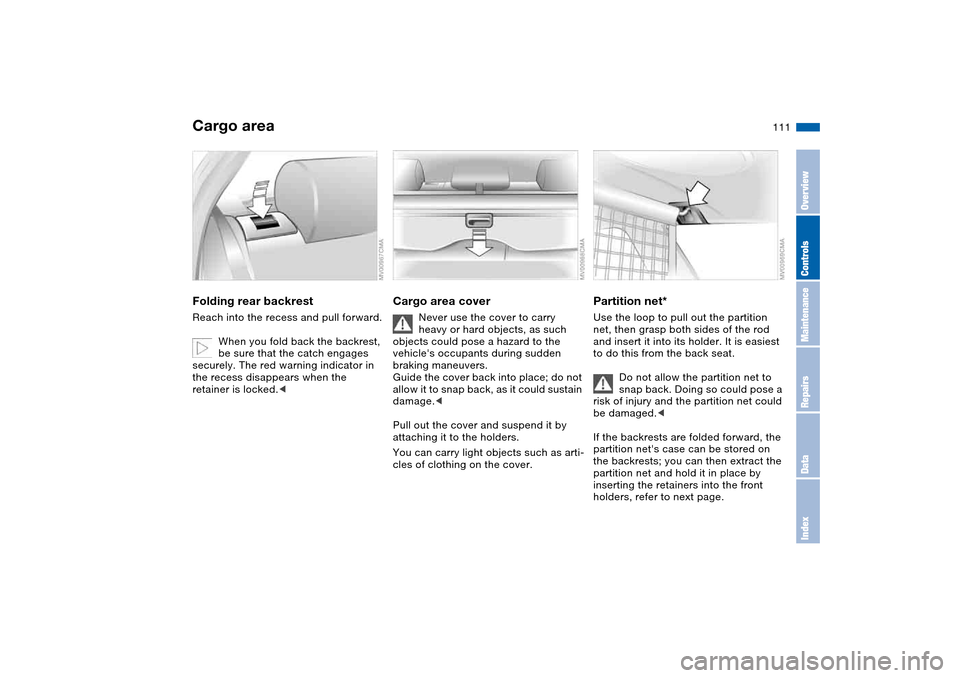
Cargo areaFolding rear backrestReach into the recess and pull forward.
When you fold back the backrest,
be sure that the catch engages
securely. The red warning indicator in
the recess disappears when the
retainer is locked.<
Cargo area cover
Never use the cover to carry
heavy or hard objects, as such
objects could pose a hazard to the
vehicle's occupants during sudden
braking maneuvers.
Guide the cover back into place; do not
allow it to snap back, as it could sustain
damage.<
Pull out the cover and suspend it by
attaching it to the holders.
You can carry light objects such as arti-
cles of clothing on the cover.
Partition net*Use the loop to pull out the partition
net, then grasp both sides of the rod
and insert it into its holder. It is easiest
to do this from the back seat.
Do not allow the partition net to
snap back. Doing so could pose a
risk of injury and the partition net could
be damaged.<
If the backrests are folded forward, the
partition net's case can be stored on
the backrests; you can then extract the
partition net and hold it in place by
inserting the retainers into the front
holders, refer to next page.
OverviewControlsMaintenanceRepairsDataIndex
Page 112 of 178
112
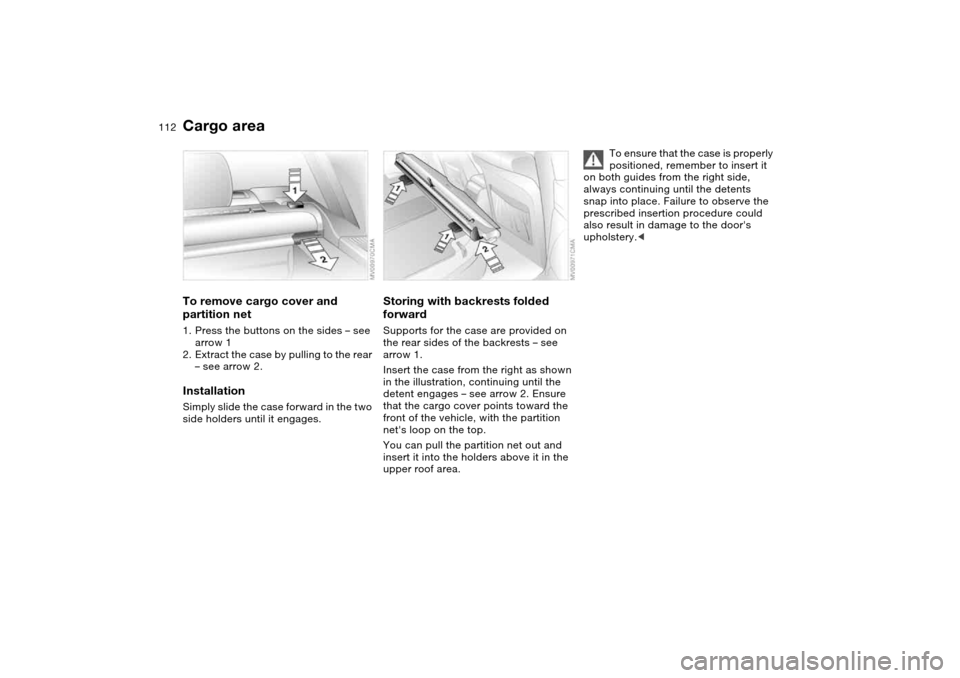
To remove cargo cover and
partition net1. Press the buttons on the sides – see
arrow 1
2. Extract the case by pulling to the rear
– see arrow 2.InstallationSimply slide the case forward in the two
side holders until it engages.
Storing with backrests folded
forwardSupports for the case are provided on
the rear sides of the backrests – see
arrow 1.
Insert the case from the right as shown
in the illustration, continuing until the
detent engages – see arrow 2. Ensure
that the cargo cover points toward the
front of the vehicle, with the partition
net's loop on the top.
You can pull the partition net out and
insert it into the holders above it in the
upper roof area.
To ensure that the case is properly
positioned, remember to insert it
on both guides from the right side,
always continuing until the detents
snap into place. Failure to observe the
prescribed insertion procedure could
also result in damage to the door's
upholstery.<
Cargo area