2004 PONTIAC BONNEVILLE brake light
[x] Cancel search: brake lightPage 93 of 446
5. The SECURITY telltale light will turn off once the
key has been programmed. It may not be apparent
that the SECURITY light went on due to how
quickly the key is programmed.
6. Repeat Steps 1 through 4 if additional keys are to
be programmed.
If you are ever driving and the SECURITY light comes
on and stays on, you will be able to restart your
engine if you turn it off. Your PASS-Key
®III system,
however, is not working properly and must be serviced
by your dealer. Your vehicle is not protected by the
PASS-Key
®III system at this time.
If you lose or damage a PASS-Key
®III key, see your
dealer to have a new key made.
Starting and Operating Your
Vehicle
New Vehicle Break-In
Notice:Your vehicle does not need an elaborate
“break-in.” But it will perform better in the long run
if you follow these guidelines:
Do not drive at any one speed — fast or
slow — for the �rst 500 miles (805 km). Do not
make full-throttle starts.
Avoid making hard stops for the �rst 200 miles
(322 km) or so. During this time your new brake
linings are not yet broken in. Hard stops with new
linings can mean premature wear and earlier
replacement. Follow this breaking-in guideline
every time you get new brake linings.
Do not tow a trailer during break-in. SeeTowing a
Trailer on page 4-39for more information.
2-25
Page 100 of 446
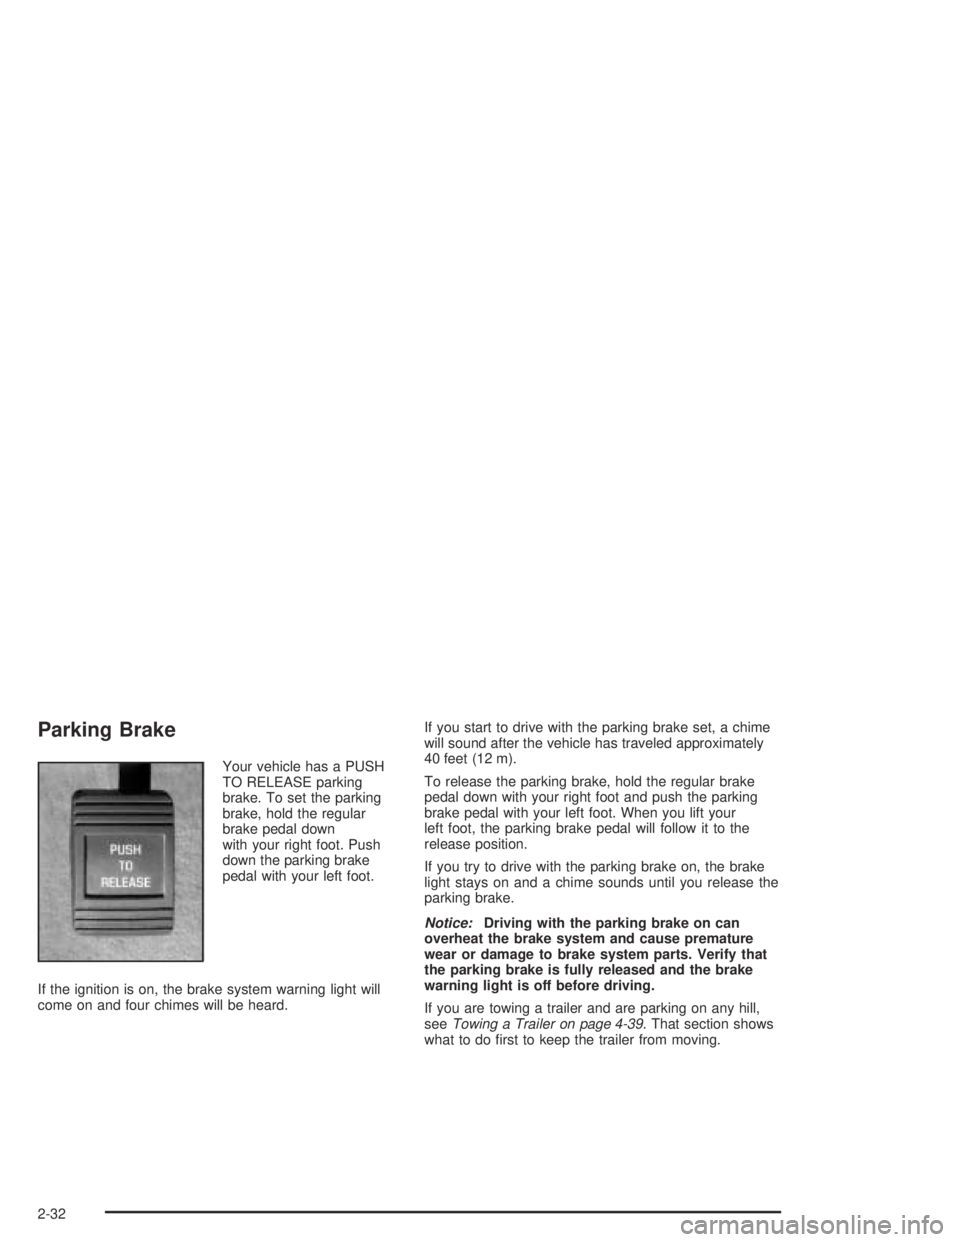
Parking Brake
Your vehicle has a PUSH
TO RELEASE parking
brake. To set the parking
brake, hold the regular
brake pedal down
with your right foot. Push
down the parking brake
pedal with your left foot.
If the ignition is on, the brake system warning light will
come on and four chimes will be heard.If you start to drive with the parking brake set, a chime
will sound after the vehicle has traveled approximately
40 feet (12 m).
To release the parking brake, hold the regular brake
pedal down with your right foot and push the parking
brake pedal with your left foot. When you lift your
left foot, the parking brake pedal will follow it to the
release position.
If you try to drive with the parking brake on, the brake
light stays on and a chime sounds until you release the
parking brake.
Notice:Driving with the parking brake on can
overheat the brake system and cause premature
wear or damage to brake system parts. Verify that
the parking brake is fully released and the brake
warning light is off before driving.
If you are towing a trailer and are parking on any hill,
seeTowing a Trailer on page 4-39. That section shows
what to do �rst to keep the trailer from moving.
2-32
Page 121 of 446
Instrument Panel Overview...............................3-4
Hazard Warning Flashers................................3-6
Other Warning Devices...................................3-6
Horn.............................................................3-7
Tilt Wheel.....................................................3-7
Turn Signal/Multifunction Lever.........................3-7
Windshield Wiper Lever.................................3-13
Exterior Lamps.............................................3-14
Interior Lamps..............................................3-18
Head-Up Display (HUD).................................3-22
Accessory Power Outlets...............................3-25
Ashtrays and Cigarette Lighter........................3-26
Climate Controls............................................3-27
Climate Control System.................................3-27
Automatic Climate Control System...................3-29
Outlet Adjustment.........................................3-34
Climate Controls Personalization.....................3-35
Warning Lights, Gages, and Indicators............3-36
Instrument Panel Cluster................................3-37
Speedometer and Odometer...........................3-39
Tachometer.................................................3-40
Safety Belt Reminder Light.............................3-40
Air Bag Readiness Light................................3-41
Voltmeter Gage............................................3-42Brake System Warning Light..........................3-42
Anti-Lock Brake System Warning Light.............3-44
Traction Control System (TCS) Warning Light......3-45
Low Traction Active Light...............................3-46
Engine Coolant Temperature Gage..................3-47
Tire Pressure Light.......................................3-48
Malfunction Indicator Lamp.............................3-48
Oil Pressure Gage........................................3-52
Check Oil Level Light....................................3-53
Security Light...............................................3-53
Low Washer Fluid Warning Light.....................3-53
Check Gages Warning Light...........................3-54
Door Ajar Light.............................................3-54
Trunk Ajar Light............................................3-55
Service Vehicle Soon Light............................3-55
Fuel Gage...................................................3-56
Systems Monitor............................................3-57
Driver Information Center (DIC).......................3-58
DIC Controls and Displays.............................3-58
DIC Warnings and Messages.........................3-61
Driver Identi�er DIC Display...........................3-63
DIC Vehicle Personalization............................3-64
Secondary Information Center (SIC).................3-70
Electronic Compass......................................3-70
Section 3 Instrument Panel
3-1
Page 132 of 446
Reducing Speed While Using Cruise
Control
There are two ways to reduce your speed while using
cruise control:
Press and hold the SET button until you get to the
speed you want, and then release it.
To slow down in very small amounts, press and
release the SET button brie�y. Each time you
do this, you will go about 1 mph (1.6 km/h) slower.
Passing Another Vehicle While Using
Cruise Control
Use the accelerator pedal to increase your speed.
When you take your foot off the pedal, your vehicle will
slow down to the cruise control speed you set earlier.
Using Cruise Control on Hills
How well your cruise control will work on hills depends
upon your speed, load and the steepness of the
hills. When going up steep hills, you may have to step
on the accelerator pedal to maintain your speed.
When going downhill, you may have to brake or shift to
a lower gear to keep your speed down. Of course,
applying the brake takes you out of cruise control. Many
drivers �nd this to be too much trouble and do not
use cruise control on steep hills.
Ending Cruise Control
There are three ways to turn off the cruise control:
Step lightly on the brake pedal.
Move the cruise switch to OFF.
Pull the multifunction lever toward the driver.
Erasing Speed Memory
When you turn off the cruise control or the ignition, your
cruise control set speed memory is erased.
3-12
Page 162 of 446
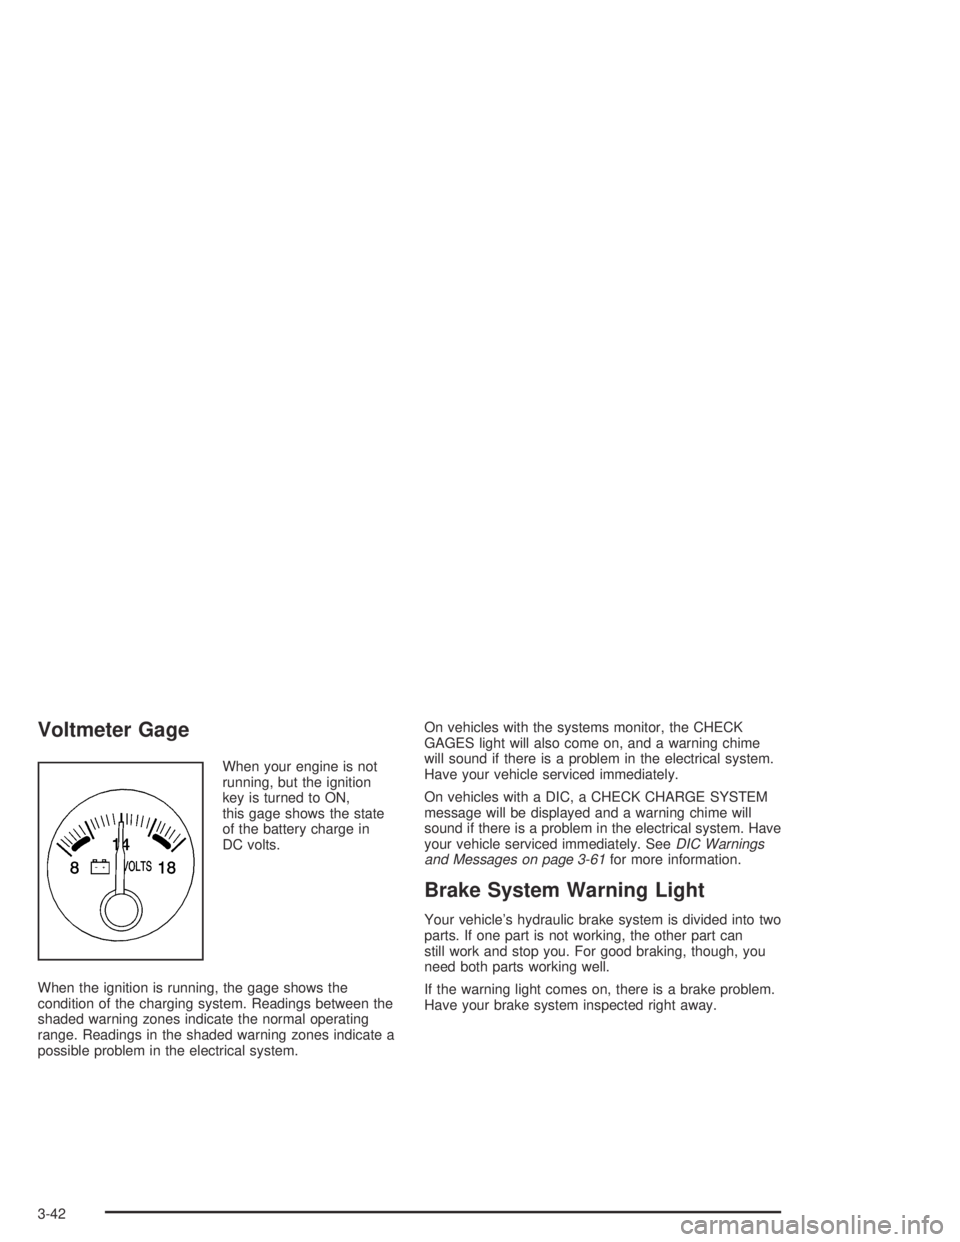
Voltmeter Gage
When your engine is not
running, but the ignition
key is turned to ON,
this gage shows the state
of the battery charge in
DC volts.
When the ignition is running, the gage shows the
condition of the charging system. Readings between the
shaded warning zones indicate the normal operating
range. Readings in the shaded warning zones indicate a
possible problem in the electrical system.On vehicles with the systems monitor, the CHECK
GAGES light will also come on, and a warning chime
will sound if there is a problem in the electrical system.
Have your vehicle serviced immediately.
On vehicles with a DIC, a CHECK CHARGE SYSTEM
message will be displayed and a warning chime will
sound if there is a problem in the electrical system. Have
your vehicle serviced immediately. SeeDIC Warnings
and Messages on page 3-61for more information.
Brake System Warning Light
Your vehicle’s hydraulic brake system is divided into two
parts. If one part is not working, the other part can
still work and stop you. For good braking, though, you
need both parts working well.
If the warning light comes on, there is a brake problem.
Have your brake system inspected right away.
3-42
Page 163 of 446
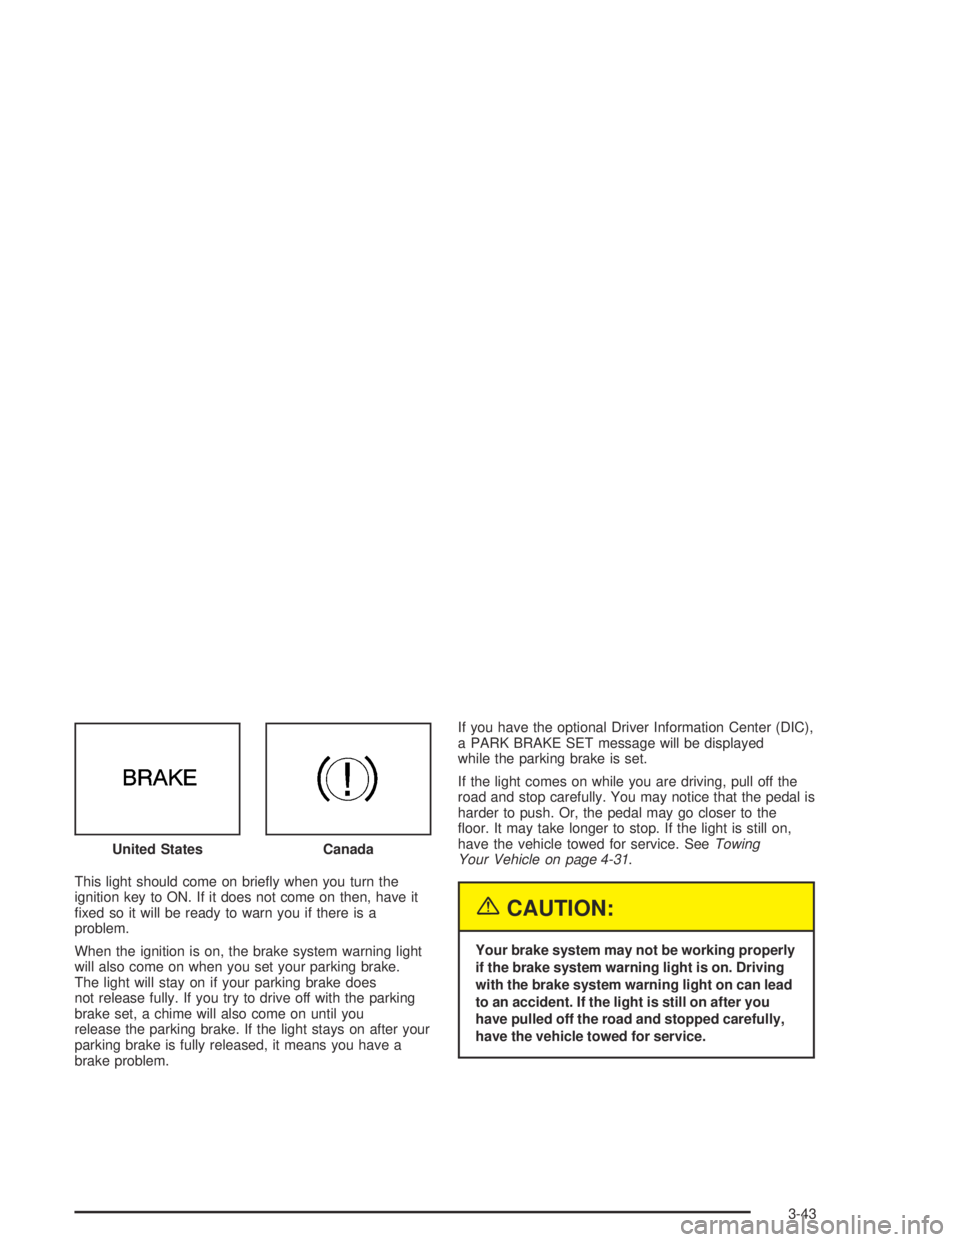
This light should come on brie�y when you turn the
ignition key to ON. If it does not come on then, have it
�xed so it will be ready to warn you if there is a
problem.
When the ignition is on, the brake system warning light
will also come on when you set your parking brake.
The light will stay on if your parking brake does
not release fully. If you try to drive off with the parking
brake set, a chime will also come on until you
release the parking brake. If the light stays on after your
parking brake is fully released, it means you have a
brake problem.If you have the optional Driver Information Center (DIC),
a PARK BRAKE SET message will be displayed
while the parking brake is set.
If the light comes on while you are driving, pull off the
road and stop carefully. You may notice that the pedal is
harder to push. Or, the pedal may go closer to the
�oor. It may take longer to stop. If the light is still on,
have the vehicle towed for service. SeeTowing
Your Vehicle on page 4-31.
{CAUTION:
Your brake system may not be working properly
if the brake system warning light is on. Driving
with the brake system warning light on can lead
to an accident. If the light is still on after you
have pulled off the road and stopped carefully,
have the vehicle towed for service. United States
Canada
3-43
Page 164 of 446
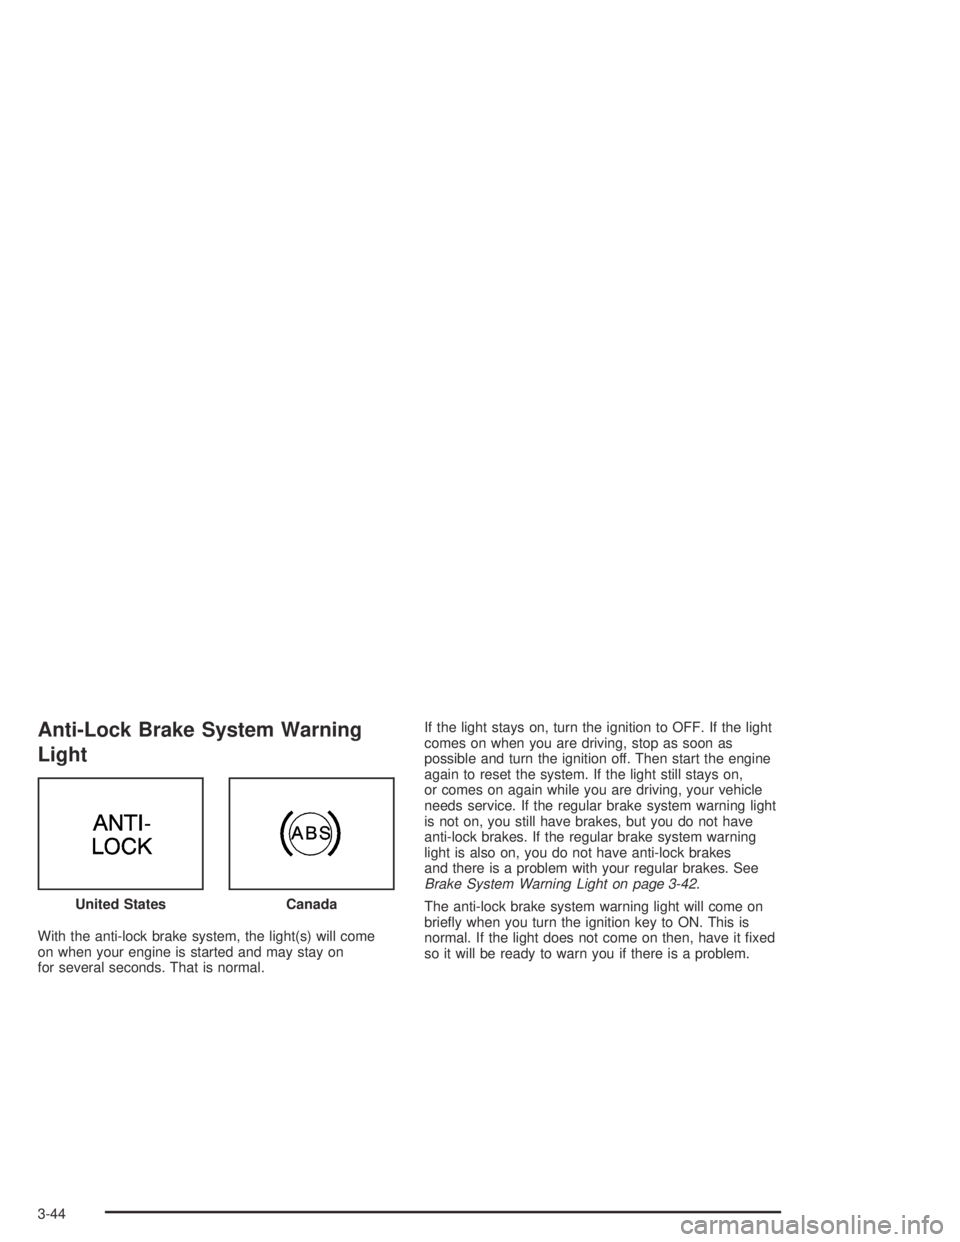
Anti-Lock Brake System Warning
Light
With the anti-lock brake system, the light(s) will come
on when your engine is started and may stay on
for several seconds. That is normal.If the light stays on, turn the ignition to OFF. If the light
comes on when you are driving, stop as soon as
possible and turn the ignition off. Then start the engine
again to reset the system. If the light still stays on,
or comes on again while you are driving, your vehicle
needs service. If the regular brake system warning light
is not on, you still have brakes, but you do not have
anti-lock brakes. If the regular brake system warning
light is also on, you do not have anti-lock brakes
and there is a problem with your regular brakes. See
Brake System Warning Light on page 3-42.
The anti-lock brake system warning light will come on
brie�y when you turn the ignition key to ON. This is
normal. If the light does not come on then, have it �xed
so it will be ready to warn you if there is a problem. United States
Canada
3-44
Page 165 of 446
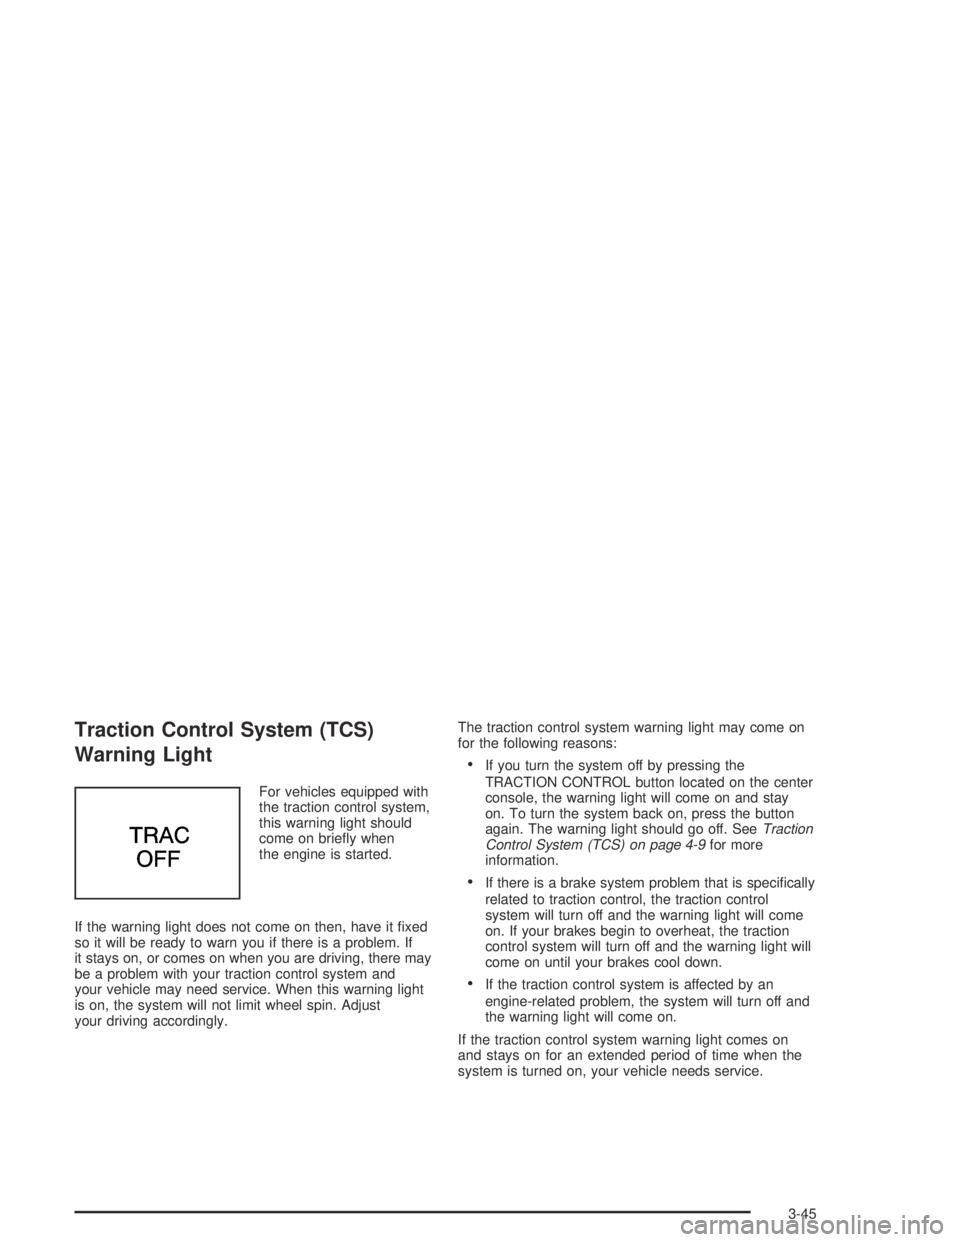
Traction Control System (TCS)
Warning Light
For vehicles equipped with
the traction control system,
this warning light should
come on brie�y when
the engine is started.
If the warning light does not come on then, have it �xed
so it will be ready to warn you if there is a problem. If
it stays on, or comes on when you are driving, there may
be a problem with your traction control system and
your vehicle may need service. When this warning light
is on, the system will not limit wheel spin. Adjust
your driving accordingly.The traction control system warning light may come on
for the following reasons:
If you turn the system off by pressing the
TRACTION CONTROL button located on the center
console, the warning light will come on and stay
on. To turn the system back on, press the button
again. The warning light should go off. SeeTraction
Control System (TCS) on page 4-9for more
information.
If there is a brake system problem that is speci�cally
related to traction control, the traction control
system will turn off and the warning light will come
on. If your brakes begin to overheat, the traction
control system will turn off and the warning light will
come on until your brakes cool down.
If the traction control system is affected by an
engine-related problem, the system will turn off and
the warning light will come on.
If the traction control system warning light comes on
and stays on for an extended period of time when the
system is turned on, your vehicle needs service.
3-45