2004 NISSAN QUEST check transmission fluid
[x] Cancel search: check transmission fluidPage 82 of 320

orAnti-lock brake warning lightSeat belt warning light and chimeorFront passenger air bag status
light
orBrake warning lightSupplemental air bag warning lightSecurity indicator light (NVIS)
Charge warning lightAutomatic transmission position indicator lightSlip indicator light
Door open warning lightCruise main switch indicator lightTraction control system off indicator light (if so
equipped)
Engine oil pressure warning lightCruise set switch indicator lightTurn signal/hazard indicator lights
Low fuel warning lightHigh beam indicator light (Blue)Vehicle dynamic control off indicator light (if so
equipped)
Low tire pressure warning lightMalfunction indicator lamp (MIL)
Low windshield washer fluid warning lightOverdrive off indicator light
CHECKING BULBS
With all doors closed, apply the parking brake
and turn the ignition key to the ON position
without starting the engine. The following lights
will come on:
,or,,,
The following lights come on briefly and then go
off:
or,,,,,,
If any light fails to come on, it may indicate
a burned-out bulb or an open circuit in the
electrical system. Have the system repaired
promptly.
WARNING LIGHTS
orAnti-lock brake
warning light
If the light comes on while the engine is running,
it may indicate the anti-lock brake system is not
functioning properly. Have the system checked
by a NISSAN dealer.
WARNING/INDICATOR LIGHTS AND
AUDIBLE REMINDERS
2-6Instruments and controls
ZREVIEW COPY:Ð2004 Quest(van)
Owners Manual(owners)ÐUSA English(nna)
10/08/03Ðtbrooks
X
Page 85 of 320

CAUTION
cThe low tire pressure warning system is
not a substitute for the regular tire pres-
sure check. Be sure to check the tire
pressure regularly.
cIf the vehicle is being driven at speeds
of less than 20 MPH (32 km/h) , the low
tire pressure warning system may not
operate correctly.
cBe sure to install the specified size of
tires to the 4 wheels correctly.
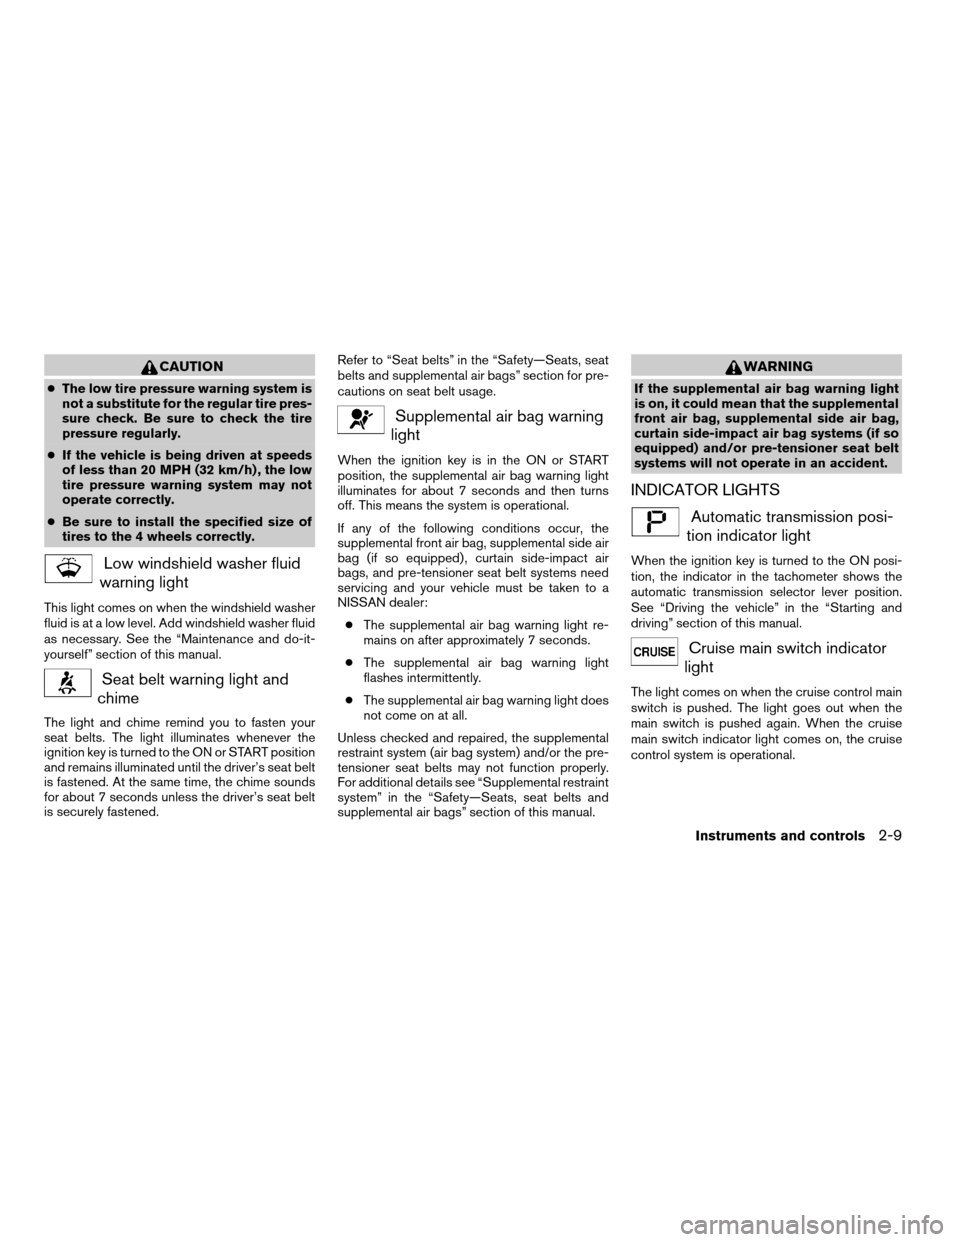
Low windshield washer fluid
warning light
This light comes on when the windshield washer
fluid is at a low level. Add windshield washer fluid
as necessary. See the “Maintenance and do-it-
yourself” section of this manual.
Seat belt warning light and
chime
The light and chime remind you to fasten your
seat belts. The light illuminates whenever the
ignition key is turned to the ON or START position
and remains illuminated until the driver’s seat belt
is fastened. At the same time, the chime sounds
for about 7 seconds unless the driver’s seat belt
is securely fastened.Refer to “Seat belts” in the “Safety—Seats, seat
belts and supplemental air bags” section for pre-
cautions on seat belt usage.
Supplemental air bag warning
light
When the ignition key is in the ON or START
position, the supplemental air bag warning light
illuminates for about 7 seconds and then turns
off. This means the system is operational.
If any of the following conditions occur, the
supplemental front air bag, supplemental side air
bag (if so equipped) , curtain side-impact air
bags, and pre-tensioner seat belt systems need
servicing and your vehicle must be taken to a
NISSAN dealer:
cThe supplemental air bag warning light re-
mains on after approximately 7 seconds.
cThe supplemental air bag warning light
flashes intermittently.
cThe supplemental air bag warning light does
not come on at all.
Unless checked and repaired, the supplemental
restraint system (air bag system) and/or the pre-
tensioner seat belts may not function properly.
For additional details see “Supplemental restraint
system” in the “Safety—Seats, seat belts and
supplemental air bags” section of this manual.
WARNING
If the supplemental air bag warning light
is on, it could mean that the supplemental
front air bag, supplemental side air bag,
curtain side-impact air bag systems (if so
equipped) and/or pre-tensioner seat belt
systems will not operate in an accident.
INDICATOR LIGHTS
Automatic transmission posi-
tion indicator light
When the ignition key is turned to the ON posi-
tion, the indicator in the tachometer shows the
automatic transmission selector lever position.
See “Driving the vehicle” in the “Starting and
driving” section of this manual.
Cruise main switch indicator
light
The light comes on when the cruise control main
switch is pushed. The light goes out when the
main switch is pushed again. When the cruise
main switch indicator light comes on, the cruise
control system is operational.
Instruments and controls2-9
ZREVIEW COPY:Ð2004 Quest(van)
Owners Manual(owners)ÐUSA English(nna)
10/08/03Ðtbrooks
X
Page 247 of 320

8 Maintenance and do-it-yourself
Maintenance requirements..........................8-2
General maintenance..............................8-2
Explanation of general maintenance items.........8-2
Maintenance precautions...........................8-5
Engine compartment check locations................8-6
Engine cooling system.............................8-7
Checking engine coolant level...................8-7
Changing engine coolant........................8-8
Engine oil.........................................8-8
Checking engine oil level........................8-8
Changing engine oil............................8-9
Changing engine oil filter.......................8-10
4-speed automatic transmission fluid...............8-11
Temperature conditions for checking.............8-11
5-speed automatic transmission fluid...............8-12
Power steering fluid...............................8-13
Brake fluid.......................................8-13
Brake fluid....................................8-14
Window washer fluid.............................8-14
Window washer fluid reservoir..................8-14
Battery..........................................8-15
Jump starting.................................8-16
Drive belts.......................................8-16
Spark plugs......................................8-17Replacing spark plugs.........................8-17
Air cleaner.......................................8-18
In-cabin microfilter.............................8-18
Windshield wiper blades..........................8-19
Cleaning.....................................8-19
Replacing....................................8-19
Parking brake and brake pedal.....................8-22
Checking parking brake........................8-22
Checking brake pedal..........................8-22
Brake booster.................................8-23
Fuses...........................................8-23
Engine compartment...........................8-23
Passenger compartment.......................8-24
Keyfob battery replacement........................8-25
Lights...........................................8-26
Headlights....................................8-26
Fog lights (if so equipped)......................8-26
Exterior and interior lights.......................8-27
Wheels and tires.................................8-31
Tire pressure..................................8-31
Tire labeling...................................8-33
Types of tires..................................8-36
Tire chains....................................8-36
Changing wheels and tires.....................8-37
ZREVIEW COPY:Ð2004 Quest(van)
Owners Manual(owners)ÐUSA English(nna)
10/08/03Ðtbrooks
X
Page 250 of 320

Windshield defrosterCheck that the air
comes out of the defroster outlets properly and in
sufficient quantity when operating the heater or
air conditioner.
Under the hood and vehicle
The maintenance items listed here should be
checked periodically (for example, each time you
check the engine oil or refuel) .
4–speed automatic transmission fluid
level*Check the level after putting the selector
lever in P with the engine idling at operating
temperature.
Battery*Check the fluid level in each cell. It
should be between the MAX and MIN lines. Ve-
hicles operated in high temperatures or under
severe conditions require frequent checks of the
battery fluid level.
Brake fluid levels*Make sure that the brake
fluid level is between the MIN and MAX lines on
the reservoir.
Engine coolant level*Check the coolant level
when the engine is cold.
Engine drive belts*Make sure the drive belts
are not frayed, worn, cracked or oily.Engine oil level*Check the level after parking
the vehicle on a level surface with the engine off.
Wait more than 10 minutes for the oil to drain
back into the oil pan.
Exhaust systemMake sure there are no loose
supports, cracks or holes. If the sound of the
exhaust seems unusual or there is a smell of
exhaust fumes, immediately have the exhaust
system inspected by a NISSAN dealer. See the
carbon monoxide warning in the “Starting and
driving” section of this manual.
Fluid leaksCheck under the vehicle for fuel, oil,
water or other fluid leaks after the vehicle has
been parked for a while. Water dripping from the
air conditioner after use is normal. If you should
notice any leaks or if gasoline fumes are evident,
check for the cause and have it corrected imme-
diately.
Power steering fluid level* and linesCheck
the level when the fluid is cold, with the engine
off. Check the lines for proper attachment, leaks,
cracks, etc.
Radiator and hosesCheck the front of the
radiator and clean off any dirt, insects, leaves,
etc., that may have accumulated. Make sure the
hoses have no cracks, deformation, rot or loose
connections.UnderbodyThe underbody is frequently ex-
posed to corrosive substances such as those
used on icy roads or to control dust. It is very
important to remove these substances from the
underbody, otherwise rust may form on the floor
pan, frame, fuel lines and exhaust system. At the
end of winter, the underbody should be thor-
oughly flushed with plain water, in those areas
where mud and dirt may have accumulated. See
the “Appearance and care” section of this
manual.
Windshield washer fluid*Check that there is
adequate fluid in the reservoir.
8-4Maintenance and do-it-yourself
ZREVIEW COPY:Ð2004 Quest(van)
Owners Manual(owners)ÐUSA English(nna)
10/08/03Ðtbrooks
X
Page 252 of 320

1. Power steering fluid reservoir
2. Engine oil filler cap
3. Brake fluid reservoir
4. Air cleaner
5. Battery
6. Fuse/fusible link box
7. Transmission dipstick
8. Engine oil dipstick
9. Radiator cap
10. Fuse block
11. Windshield washer fluid reservoir
12. Coolant reservoir
NOTE:
Engine cover removed for clarity.
LII0017
ENGINE COMPARTMENT CHECK
LOCATIONS
8-6Maintenance and do-it-yourself
ZREVIEW COPY:Ð2004 Quest(van)
Owners Manual(owners)ÐUSA English(nna)
10/08/03Ðtbrooks
X
Page 257 of 320

WARNING
cWhen the engine is running, keep
hands, jewelry and clothing away from
any moving parts such as the cooling
fan and drive belts.
cAutomatic transmission fluid is poison-
ous and should be stored carefully in
marked containers out of the reach of
children.
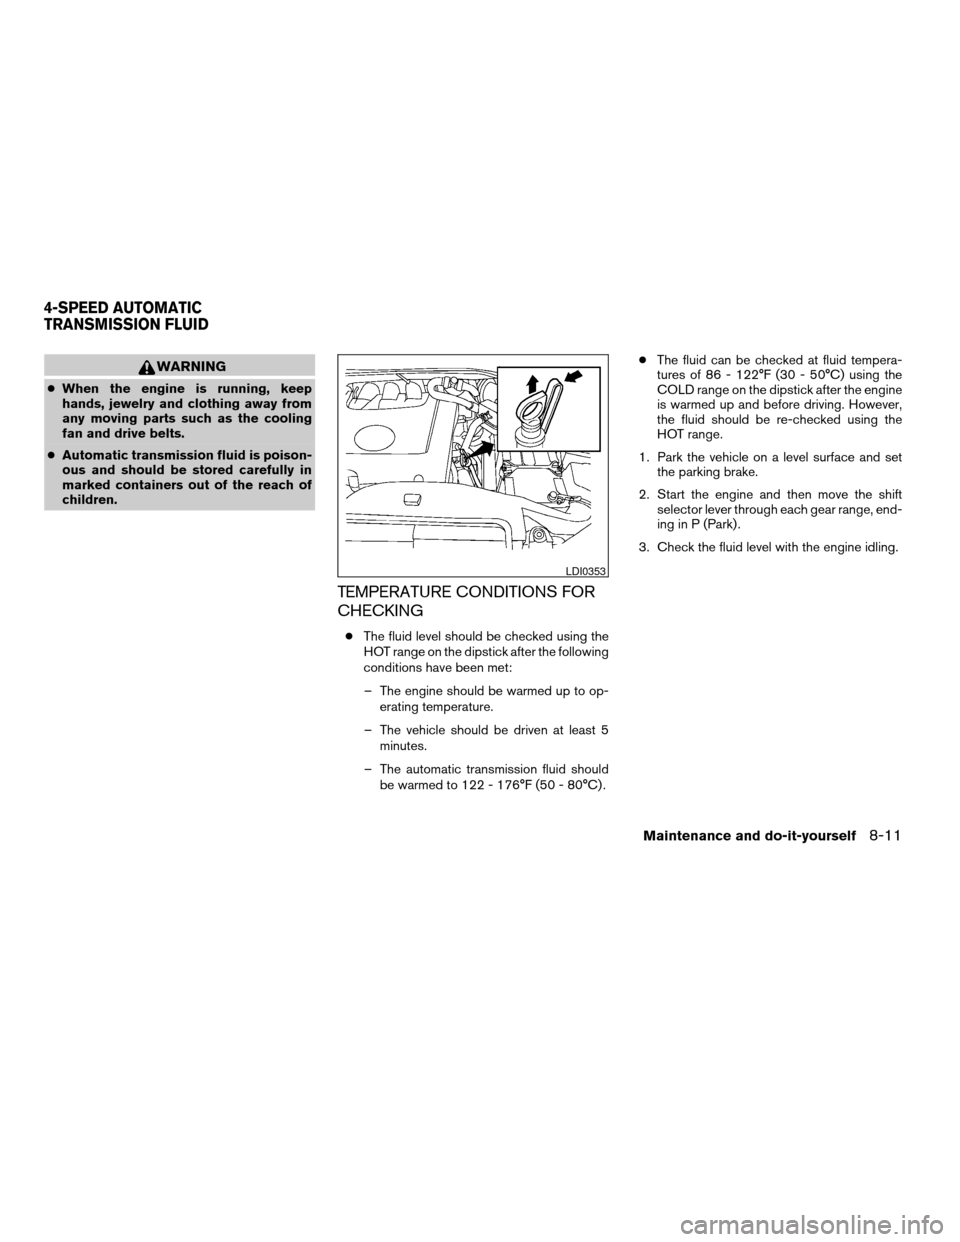
TEMPERATURE CONDITIONS FOR
CHECKING
cThe fluid level should be checked using the
HOT range on the dipstick after the following
conditions have been met:
– The engine should be warmed up to op-
erating temperature.
– The vehicle should be driven at least 5
minutes.
– The automatic transmission fluid should
be warmed to 122 - 176°F (50 - 80°C) .cThe fluid can be checked at fluid tempera-
tures of 86 - 122°F (30 - 50°C) using the
COLD range on the dipstick after the engine
is warmed up and before driving. However,
the fluid should be re-checked using the
HOT range.
1. Park the vehicle on a level surface and set
the parking brake.
2. Start the engine and then move the shift
selector lever through each gear range, end-
ing in P (Park) .
3. Check the fluid level with the engine idling.
LDI0353
4-SPEED AUTOMATIC
TRANSMISSION FLUID
Maintenance and do-it-yourself8-11
ZREVIEW COPY:Ð2004 Quest(van)
Owners Manual(owners)ÐUSA English(nna)
10/08/03Ðtbrooks
X
Page 258 of 320

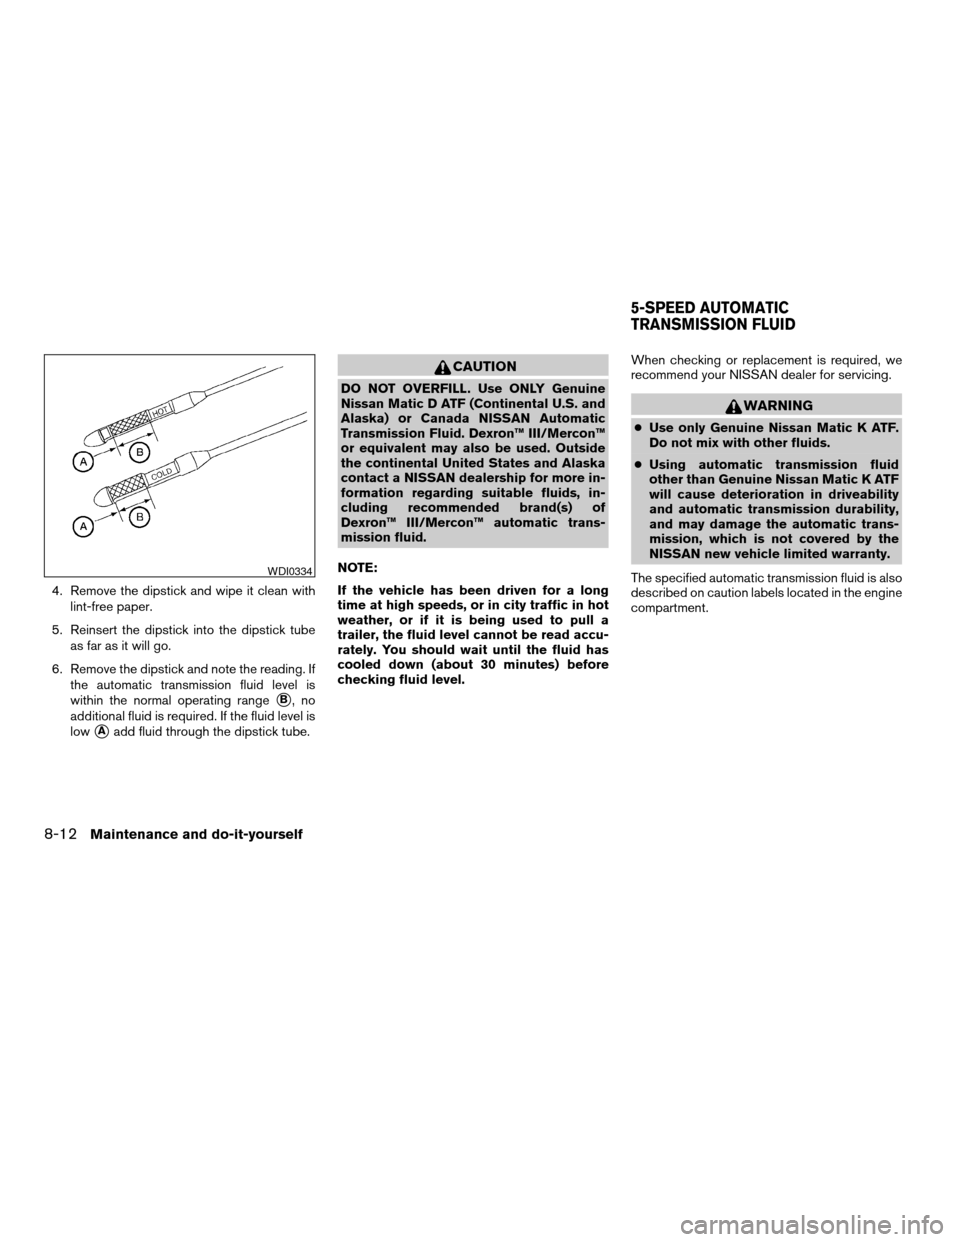
4. Remove the dipstick and wipe it clean with
lint-free paper.
5. Reinsert the dipstick into the dipstick tube
as far as it will go.
6. Remove the dipstick and note the reading. If
the automatic transmission fluid level is
within the normal operating range
sB,no
additional fluid is required. If the fluid level is
low
sAadd fluid through the dipstick tube.
CAUTION
DO NOT OVERFILL. Use ONLY Genuine
Nissan Matic D ATF (Continental U.S. and
Alaska) or Canada NISSAN Automatic
Transmission Fluid. Dexron™ III/Mercon™
or equivalent may also be used. Outside
the continental United States and Alaska
contact a NISSAN dealership for more in-
formation regarding suitable fluids, in-
cluding recommended brand(s) of
Dexron™ III/Mercon™ automatic trans-
mission fluid.
NOTE:
If the vehicle has been driven for a long
time at high speeds, or in city traffic in hot
weather, or if it is being used to pull a
trailer, the fluid level cannot be read accu-
rately. You should wait until the fluid has
cooled down (about 30 minutes) before
checking fluid level.When checking or replacement is required, we
recommend your NISSAN dealer for servicing.
WARNING
cUse only Genuine Nissan Matic K ATF.
Do not mix with other fluids.
cUsing automatic transmission fluid
other than Genuine Nissan Matic K ATF
will cause deterioration in driveability
and automatic transmission durability,
and may damage the automatic trans-
mission, which is not covered by the
NISSAN new vehicle limited warranty.
The specified automatic transmission fluid is also
described on caution labels located in the engine
compartment.
WDI0334
5-SPEED AUTOMATIC
TRANSMISSION FLUID
8-12Maintenance and do-it-yourself
ZREVIEW COPY:Ð2004 Quest(van)
Owners Manual(owners)ÐUSA English(nna)
10/08/03Ðtbrooks
X
Page 309 of 320

10 Index
A
Adjusting pedal position............3-22
Air bag (See supplemental restraint
system).....................1-15
Air bag system
Front (See supplemental front impact
air bag system)...............1-22
Side and curtain (See supplemental side
air bag and curtain side-impact air bag
system)...................1-27
Air bag warning labels.............1-29
Air bag warning light...........1-30, 2-9
Air cleaner housing filter............8-18
Air conditioner
Air conditioner operation..........4-20
Air conditioner service...........4-30
Air conditioner specification label.....9-11
Air conditioner system refrigerant and
lubrication recommendations........9-6
Heater and air conditioner
controls................4-17, 4-27
Rear seat air conditioner..........4-29
Servicing air conditioner..........4-30
Air flow charts..................4-21
Anchor point locations.............1-54
Antenna.....................4-43
Anti-lock brake system (ABS).........5-16
Anti-lock brake warning light..........2-6
Audible reminders................2-12
Audio system..................4-30AM-FM-SAT radio with compact disc
(CD) changer................4-34
AM-FM-SAT radio with compact disc
(CD) player.................4-34
Compact Disc (CD) changer.......4-39
Compact disc (CD) player.........4-37
Radio....................4-30
Rear audio controls.............4-43
Steering wheel audio control switch. . . .4-41
Autolight switch.................2-16
Automatic
Automatic drive positioner.........3-25
Automatic power window switch.....2-37
Automatic transmission fluid (ATF). . . .8-11
Automatic transmission position
indicator light.................2-9
Driving with automatic transmission.....5-7
Transmission selector lever lock release . .5-9
Automatic anti-glare inside mirror.......3-23
B
Back door....................3-15
Back door release...............3-18
Battery......................8-15
Charge warning light.............2-7
Battery replacement
(See remote keyless entry system) . . .3-13, 8-25
Before starting the engine............5-6
Belts (See drive belts).............8-16
Bench seat adjustment (3rd row).....1-8, 1-9Brake
Anti-lock brake system (ABS).......5-16
Brake booster................8-23
Brake fluid..................8-13
Brake light (See stop light).........8-27
Brake pedal.................8-22
Brake system................5-16
Brake warning light..............2-7
Brake wear indicators........2-12, 8-22
Parking brake check............8-22
Parking brake operation..........5-11
Self-adjusting brakes............8-22
Break-in schedule................5-13
Brightness control
Instrument panel..............2-18
Bulb check/instrument panel..........2-6
Bulb replacement................8-27
C
Capacities and recommended
fuel/lubricants...................9-2
Captain’s chair adjustment (2nd row)......1-6
Car phone or CB radio.............4-53
Cargo (See vehicle loading information) . . .9-12
CD care and cleaning.............4-41
CD changer (See audio system)........4-39
CD player (See audio system).........4-37
Check engine indicator light
(See malfunction indicator light)........2-10
Child restraint with top tether strap......1-53
ZREVIEW COPY:Ð2004 Quest(van)
Owners Manual(owners)ÐUSA English(nna)
10/08/03Ðtbrooks
X