2004 NISSAN QUEST load capacity
[x] Cancel search: load capacityPage 277 of 320

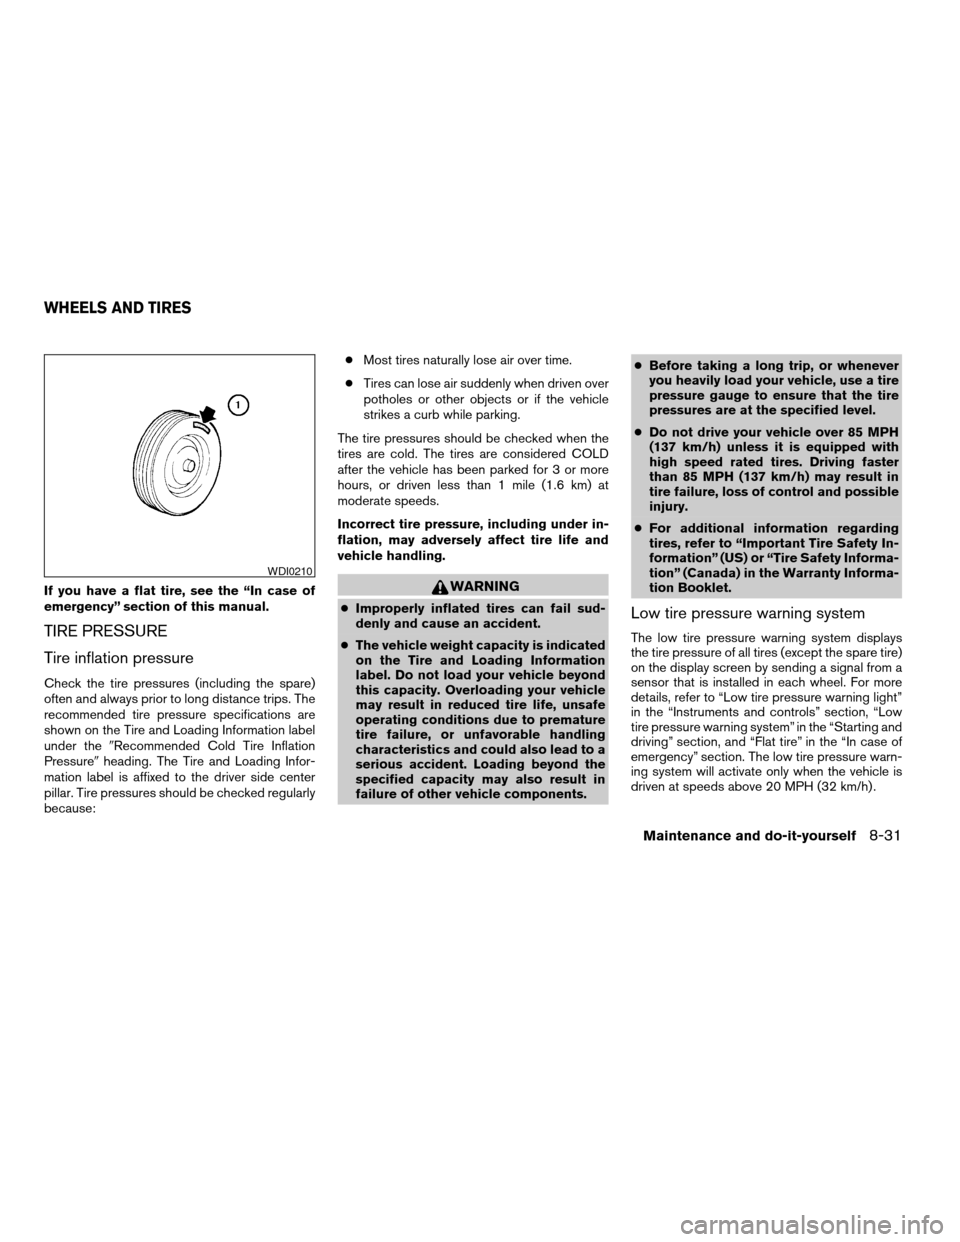
If you have a flat tire, see the “In case of
emergency” section of this manual.
TIRE PRESSURE
Tire inflation pressure
Check the tire pressures (including the spare)
often and always prior to long distance trips. The
recommended tire pressure specifications are
shown on the Tire and Loading Information label
under the9Recommended Cold Tire Inflation
Pressure9heading. The Tire and Loading Infor-
mation label is affixed to the driver side center
pillar. Tire pressures should be checked regularly
because:cMost tires naturally lose air over time.
cTires can lose air suddenly when driven over
potholes or other objects or if the vehicle
strikes a curb while parking.
The tire pressures should be checked when the
tires are cold. The tires are considered COLD
after the vehicle has been parked for 3 or more
hours, or driven less than 1 mile (1.6 km) at
moderate speeds.
Incorrect tire pressure, including under in-
flation, may adversely affect tire life and
vehicle handling.
WARNING
cImproperly inflated tires can fail sud-
denly and cause an accident.
cThe vehicle weight capacity is indicated
on the Tire and Loading Information
label. Do not load your vehicle beyond
this capacity. Overloading your vehicle
may result in reduced tire life, unsafe
operating conditions due to premature
tire failure, or unfavorable handling
characteristics and could also lead to a
serious accident. Loading beyond the
specified capacity may also result in
failure of other vehicle components.cBefore taking a long trip, or whenever
you heavily load your vehicle, use a tire
pressure gauge to ensure that the tire
pressures are at the specified level.
cDo not drive your vehicle over 85 MPH
(137 km/h) unless it is equipped with
high speed rated tires. Driving faster
than 85 MPH (137 km/h) may result in
tire failure, loss of control and possible
injury.
cFor additional information regarding
tires, refer to “Important Tire Safety In-
formation” (US) or “Tire Safety Informa-
tion” (Canada) in the Warranty Informa-
tion Booklet.Low tire pressure warning system
The low tire pressure warning system displays
the tire pressure of all tires (except the spare tire)
on the display screen by sending a signal from a
sensor that is installed in each wheel. For more
details, refer to “Low tire pressure warning light”
in the “Instruments and controls” section, “Low
tire pressure warning system” in the “Starting and
driving” section, and “Flat tire” in the “In case of
emergency” section. The low tire pressure warn-
ing system will activate only when the vehicle is
driven at speeds above 20 MPH (32 km/h) .
WDI0210
WHEELS AND TIRES
Maintenance and do-it-yourself8-31
ZREVIEW COPY:Ð2004 Quest(van)
Owners Manual(owners)ÐUSA English(nna)
10/08/03Ðtbrooks
X
Page 278 of 320

Tire and loading information label (for
US)
s1Seating capacity: The maximum number of
occupants that should be seated in the ve-
hicle.
s2Vehicle load limit: See loading information in
the Technical and consumer information
section.
s3Original tire size: The size of the tires origi-
nally installed on the vehicle at the factory.
s4Recommended cold tire inflation pressure:
Inflate the tires to this pressure when the
tires are cold. Tires are considered COLD
after the vehicle has been parked for 3 or
more hours, or driven less than 1 mile (1.6
km) at moderate speeds. The recommended
cold tire inflation is set by the manufacturer
to provide the best tire wear and vehicle
handling characteristics based on the ve-
hicles GVWR.
s5Tire size – refer to “Tire labeling” later in this
section.
s6ands7. Spare tire size or compact spare tire
size (if so equipped)
Checking tire pressure
1. Remove the valve stem cap from the tire.
2. Press the pressure gauge squarely onto the
valve stem. Do not press too hard or force
the valve stem sideways, or air will escape. If
the hissing of air escaping from the tire is
heard while checking the pressure, reposi-
tion the gauge to eliminate this leakage.
3. Remove the gauge.
4. Read the tire pressure on the gauge stem
and compare to the specification shown on
the Tire and Loading Information label.
LDI0392LDI0393
8-32Maintenance and do-it-yourself
ZREVIEW COPY:Ð2004 Quest(van)
Owners Manual(owners)ÐUSA English(nna)
10/08/03Ðtbrooks
X
Page 284 of 320

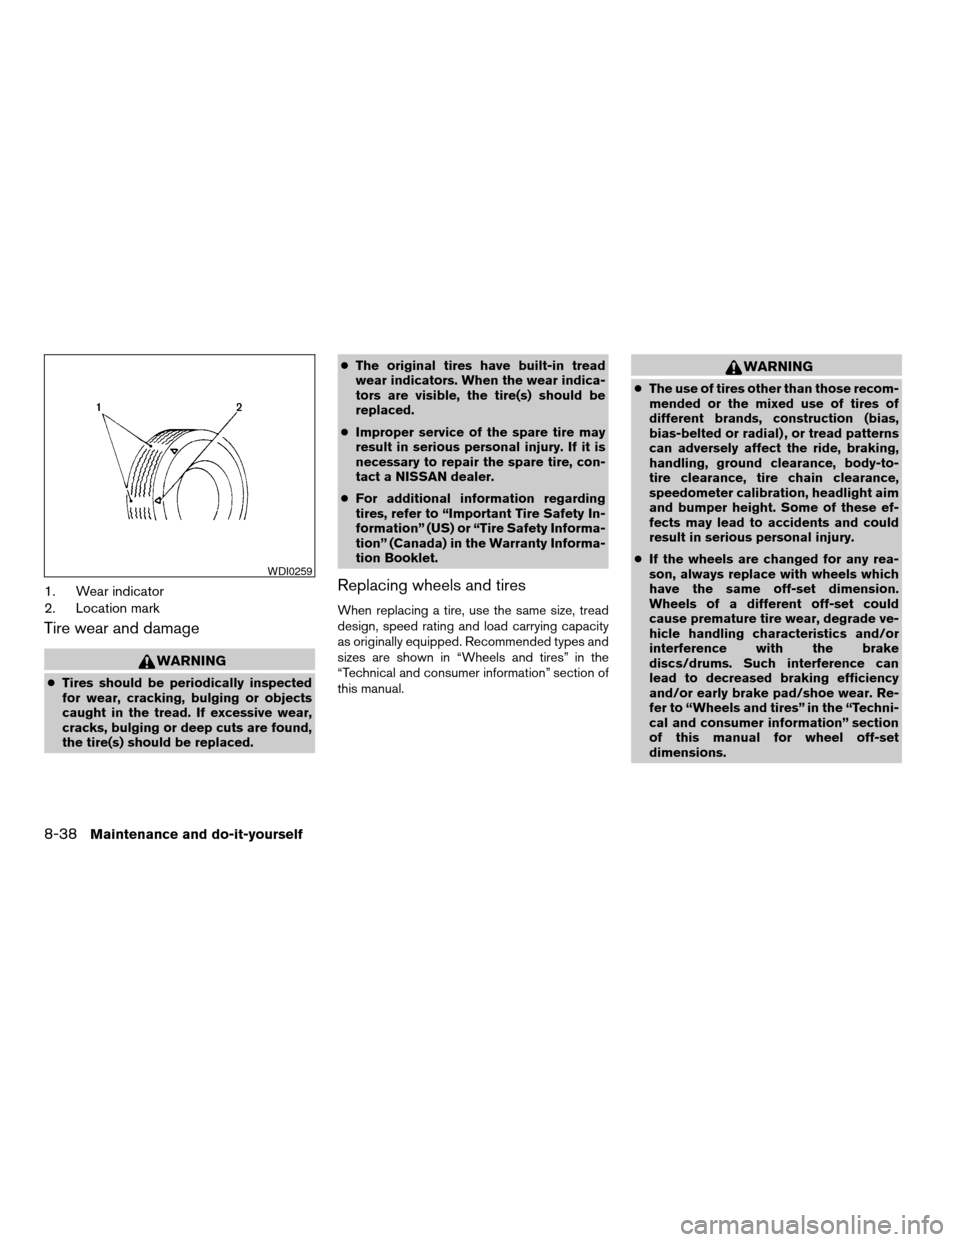
1. Wear indicator
2. Location mark
Tire wear and damage
WARNING
cTires should be periodically inspected
for wear, cracking, bulging or objects
caught in the tread. If excessive wear,
cracks, bulging or deep cuts are found,
the tire(s) should be replaced.cThe original tires have built-in tread
wear indicators. When the wear indica-
tors are visible, the tire(s) should be
replaced.
cImproper service of the spare tire may
result in serious personal injury. If it is
necessary to repair the spare tire, con-
tact a NISSAN dealer.
cFor additional information regarding
tires, refer to “Important Tire Safety In-
formation” (US) or “Tire Safety Informa-
tion” (Canada) in the Warranty Informa-
tion Booklet.
Replacing wheels and tires
When replacing a tire, use the same size, tread
design, speed rating and load carrying capacity
as originally equipped. Recommended types and
sizes are shown in “Wheels and tires” in the
“Technical and consumer information” section of
this manual.
WARNING
cThe use of tires other than those recom-
mended or the mixed use of tires of
different brands, construction (bias,
bias-belted or radial) , or tread patterns
can adversely affect the ride, braking,
handling, ground clearance, body-to-
tire clearance, tire chain clearance,
speedometer calibration, headlight aim
and bumper height. Some of these ef-
fects may lead to accidents and could
result in serious personal injury.
cIf the wheels are changed for any rea-
son, always replace with wheels which
have the same off-set dimension.
Wheels of a different off-set could
cause premature tire wear, degrade ve-
hicle handling characteristics and/or
interference with the brake
discs/drums. Such interference can
lead to decreased braking efficiency
and/or early brake pad/shoe wear. Re-
fer to “Wheels and tires” in the “Techni-
cal and consumer information” section
of this manual for wheel off-set
dimensions.
WDI0259
8-38Maintenance and do-it-yourself
ZREVIEW COPY:Ð2004 Quest(van)
Owners Manual(owners)ÐUSA English(nna)
10/08/03Ðtbrooks
X
Page 287 of 320

9 Technical and consumer information
Capacities and recommended fuel/lubricants.........9-2
Fuel recommendation...........................9-3
Engine oil and oil filter recommendation...........9-5
Recommended SAE viscosity number............9-6
Air conditioner system refrigerant and
lubricant recommendations......................9-6
Specifications.....................................9-7
Engine........................................9-7
Wheels and tires...............................9-8
Dimensions and weights........................9-8
When traveling or registering your vehicle in
another country...................................9-9
Vehicle identification...............................9-9
Vehicle identification number (VIN) plate..........9-9
Vehicle identification number
(chassis number)...............................9-9
Engine serial number...........................9-10
F.M.V.S.S. certification label....................9-10
Emission control information label...............9-10Tire and loading information label................9-11
Air conditioner specification label................9-11
Installing front license plate........................9-11
Vehicle loading information........................9-12
Terms........................................9-12
Vehicle load capacity..........................9-12
Loading tips..................................9-13
Towing a trailer...................................9-14
Maximum load limits...........................9-14
Towing load/specification chart.................9-15
Towing safety.................................9-15
Flat towing....................................9-17
Uniform tire quality grading........................9-18
Emission control system warranty..................9-19
Reporting safety defects (US only).................9-19
Readiness for inspection/maintenance (I/M) test.....9-20
Owner’s Manual/Service Manual order information . . . 9-21
In the event of a collision.......................9-22
ZREVIEW COPY:Ð2004 Quest(van)
Owners Manual(owners)ÐUSA English(nna)
10/08/03Ðtbrooks
X
Page 298 of 320

Use the following steps to mount the front license
plate:
Before mounting the license plate, confirm that
the following parts are enclosed in the plastic
bag:
cLicense plate bracket
cLicense plate bracket screws x 2
cLicense plate screws x 2
cScrew grommets x 2
1. Make a shallow hole in the bumper fascia at
the location marks (small dimples) using a
0.39 in (10 mm) drill. To avoid damaging the
area behind the fascia, apply only light pres-
sure to the drill.
2. Insert the grommets into the holes in the
bumper fascia.
3. Insert a small flat-bladed screwdriver into
the grommet hole to turn the threaded part of
the grommet 90°.
4. Mount the license plate bracket using the
two longer screws.
5. Use the two shorter hex head screws to
mount the license plate to the license plate
bracket.WARNING
cIt is extremely dangerous to ride in a
cargo area inside a vehicle. In a colli-
sion, people riding in these areas are
more likely to be seriously injured or
killed.
cDo not allow people to ride in any area
of your vehicle that is not equipped with
seats and seat belts.
cBe sure everyone in your vehicle is in a
seat and using a seat belt properly.
TERMS
It is important to familiarize yourself with the fol-
lowing terms before loading your vehicle:
cCurb Weight (actual weight of your vehicle)
- vehicle weight including: standard and op-
tional equipment, fluids, emergency tools,
and spare tire assembly. This weightdoes
notinclude passengers and cargo.
cGVW (Gross Vehicle Weight) - curb weight
plus the combined weight of passengers
and cargo.
cGVWR (Gross Vehicle Weight Rating) -
maximum total weight (load) limit specified
for the vehicle.cGAWR (Gross Axle Weight Rating) - maxi-
mum weight (load) limit specified for the
front or rear axle.
VEHICLE LOAD CAPACITY
Do not exceed the load limit of your vehicle
shown as9The combined weight of occupants
and cargo9on the Tire and Loading Information
label. Do not exceed the number of occupants
shown as9Seating Capacity9on Tire and Loading
Information label.
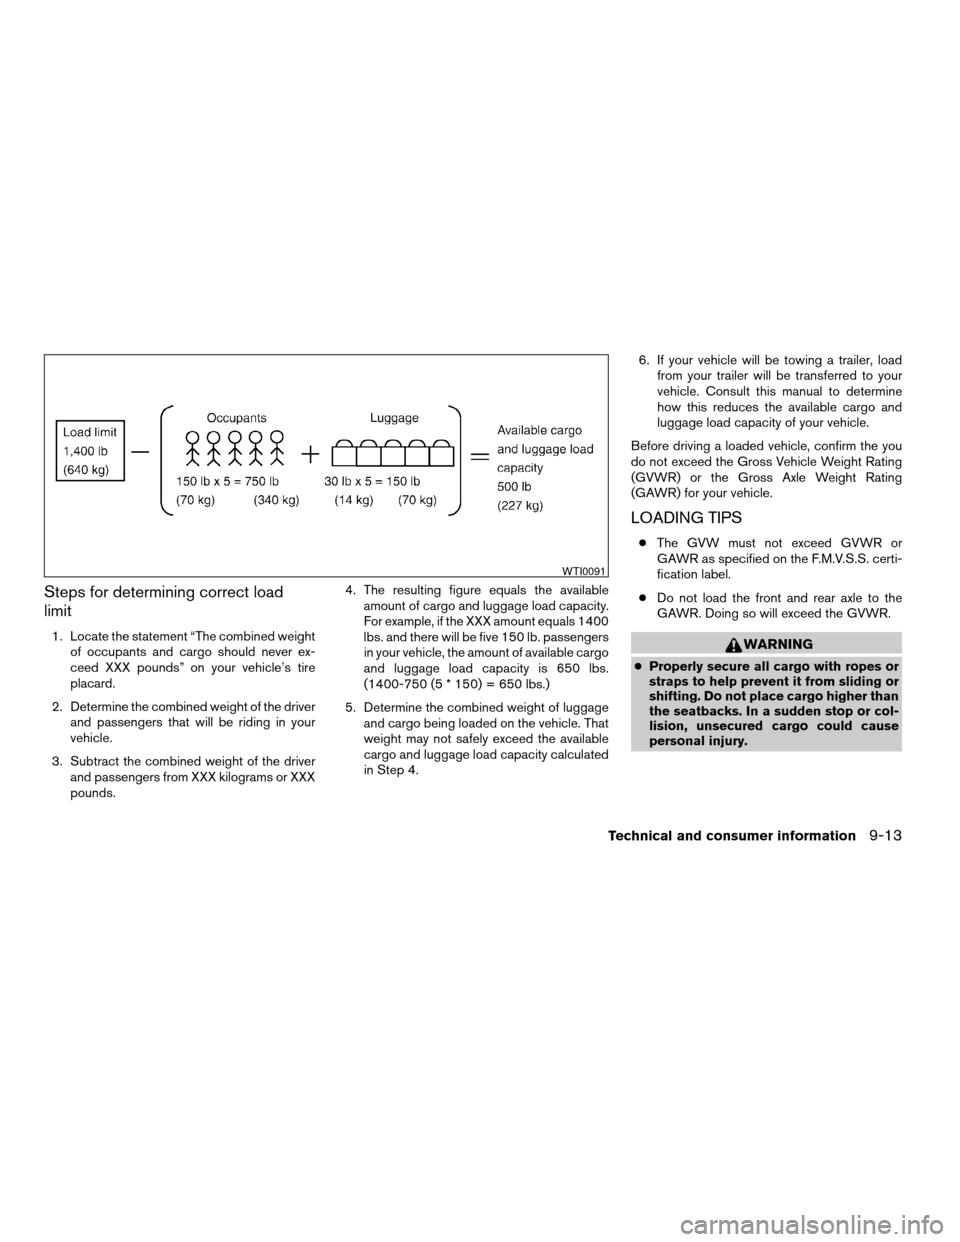
To get9the combined weight of occupants and
cargo9, add the weight of all occupants, then add
the total luggage weight. Examples are shown
below.
VEHICLE LOADING INFORMATION
9-12Technical and consumer information
ZREVIEW COPY:Ð2004 Quest(van)
Owners Manual(owners)ÐUSA English(nna)
10/08/03Ðtbrooks
X
Page 299 of 320

Steps for determining correct load
limit
1. Locate the statement “The combined weight
of occupants and cargo should never ex-
ceed XXX pounds” on your vehicle’s tire
placard.
2. Determine the combined weight of the driver
and passengers that will be riding in your
vehicle.
3. Subtract the combined weight of the driver
and passengers from XXX kilograms or XXX
pounds.4. The resulting figure equals the available
amount of cargo and luggage load capacity.
For example, if the XXX amount equals 1400
lbs. and there will be five 150 lb. passengers
in your vehicle, the amount of available cargo
and luggage load capacity is 650 lbs.
(1400-750 (5 * 150) = 650 lbs.)
5. Determine the combined weight of luggage
and cargo being loaded on the vehicle. That
weight may not safely exceed the available
cargo and luggage load capacity calculated
in Step 4.6. If your vehicle will be towing a trailer, load
from your trailer will be transferred to your
vehicle. Consult this manual to determine
how this reduces the available cargo and
luggage load capacity of your vehicle.
Before driving a loaded vehicle, confirm the you
do not exceed the Gross Vehicle Weight Rating
(GVWR) or the Gross Axle Weight Rating
(GAWR) for your vehicle.
LOADING TIPS
cThe GVW must not exceed GVWR or
GAWR as specified on the F.M.V.S.S. certi-
fication label.
cDo not load the front and rear axle to the
GAWR. Doing so will exceed the GVWR.
WARNING
cProperly secure all cargo with ropes or
straps to help prevent it from sliding or
shifting. Do not place cargo higher than
the seatbacks. In a sudden stop or col-
lision, unsecured cargo could cause
personal injury.
WTI0091
Technical and consumer information9-13
ZREVIEW COPY:Ð2004 Quest(van)
Owners Manual(owners)ÐUSA English(nna)
10/08/03Ðtbrooks
X